Famous last words “The ONLY con to the Atwood (and it’s not that big a deal) are the filters”. Well…. that is, getting that plenum down isn’t, but putting it back up IS….. thanks to mean ole MR Gavity!
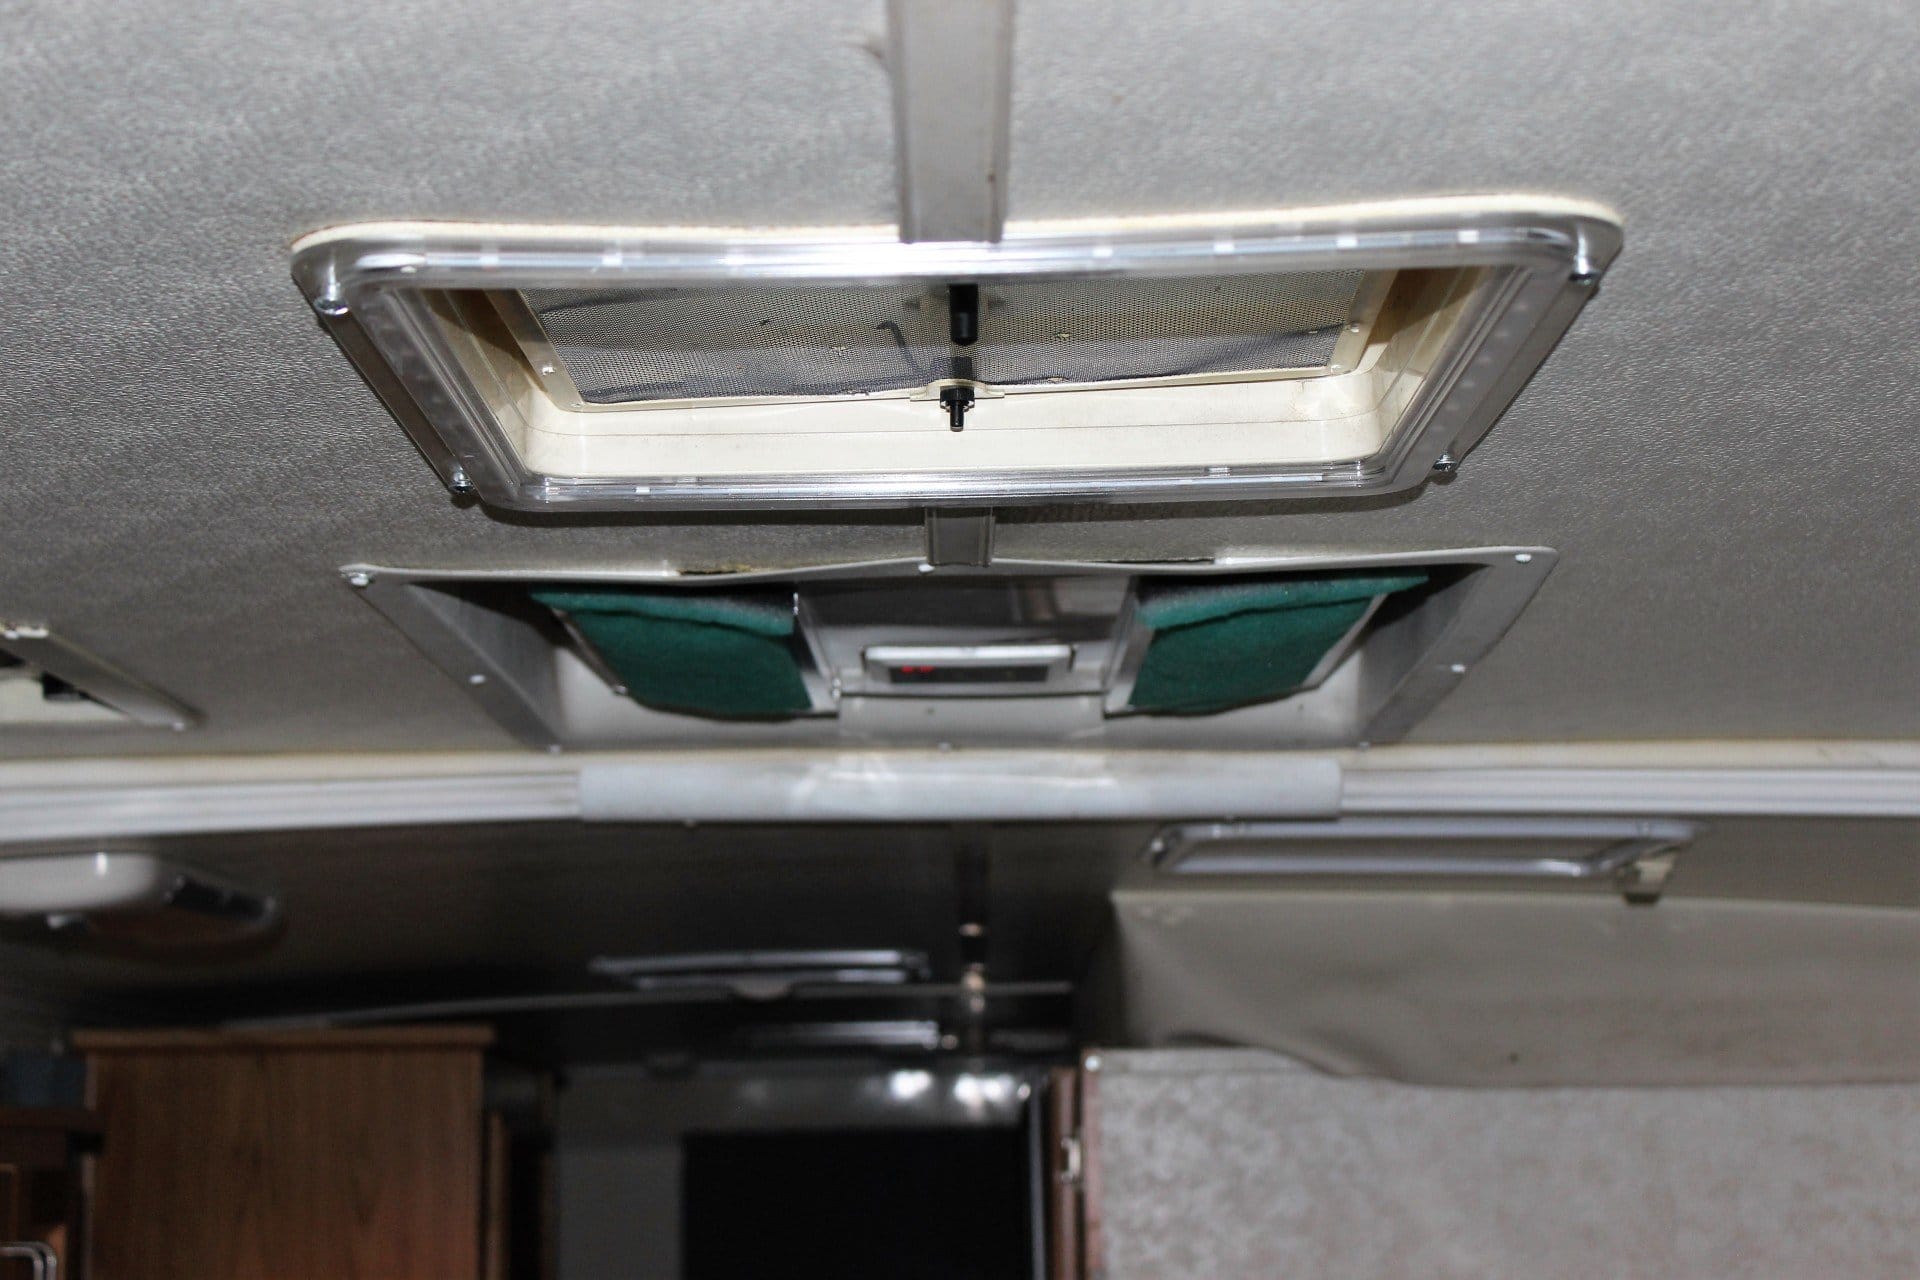
After our last trip I decided to take a good look at the filters to see how dirty they got because we ran the AC constantly. So I took the plenum down because you can’t really tell the status of the filters by looking at them through the intake vents. They were a lot dirtier than I had suspected and so I knew that I would have to clean them more often than not, which by the way turned out to be a big hassle. I can’t be doing this every time they need cleaning so I had to come up with a better way to do this. Had I had the room to slide them out to the sides would have been easy and so I wanted to keep that “easy” quotient in the formula. If they can’t slide out from the sides then I’ll make some that can slide out from the ends.
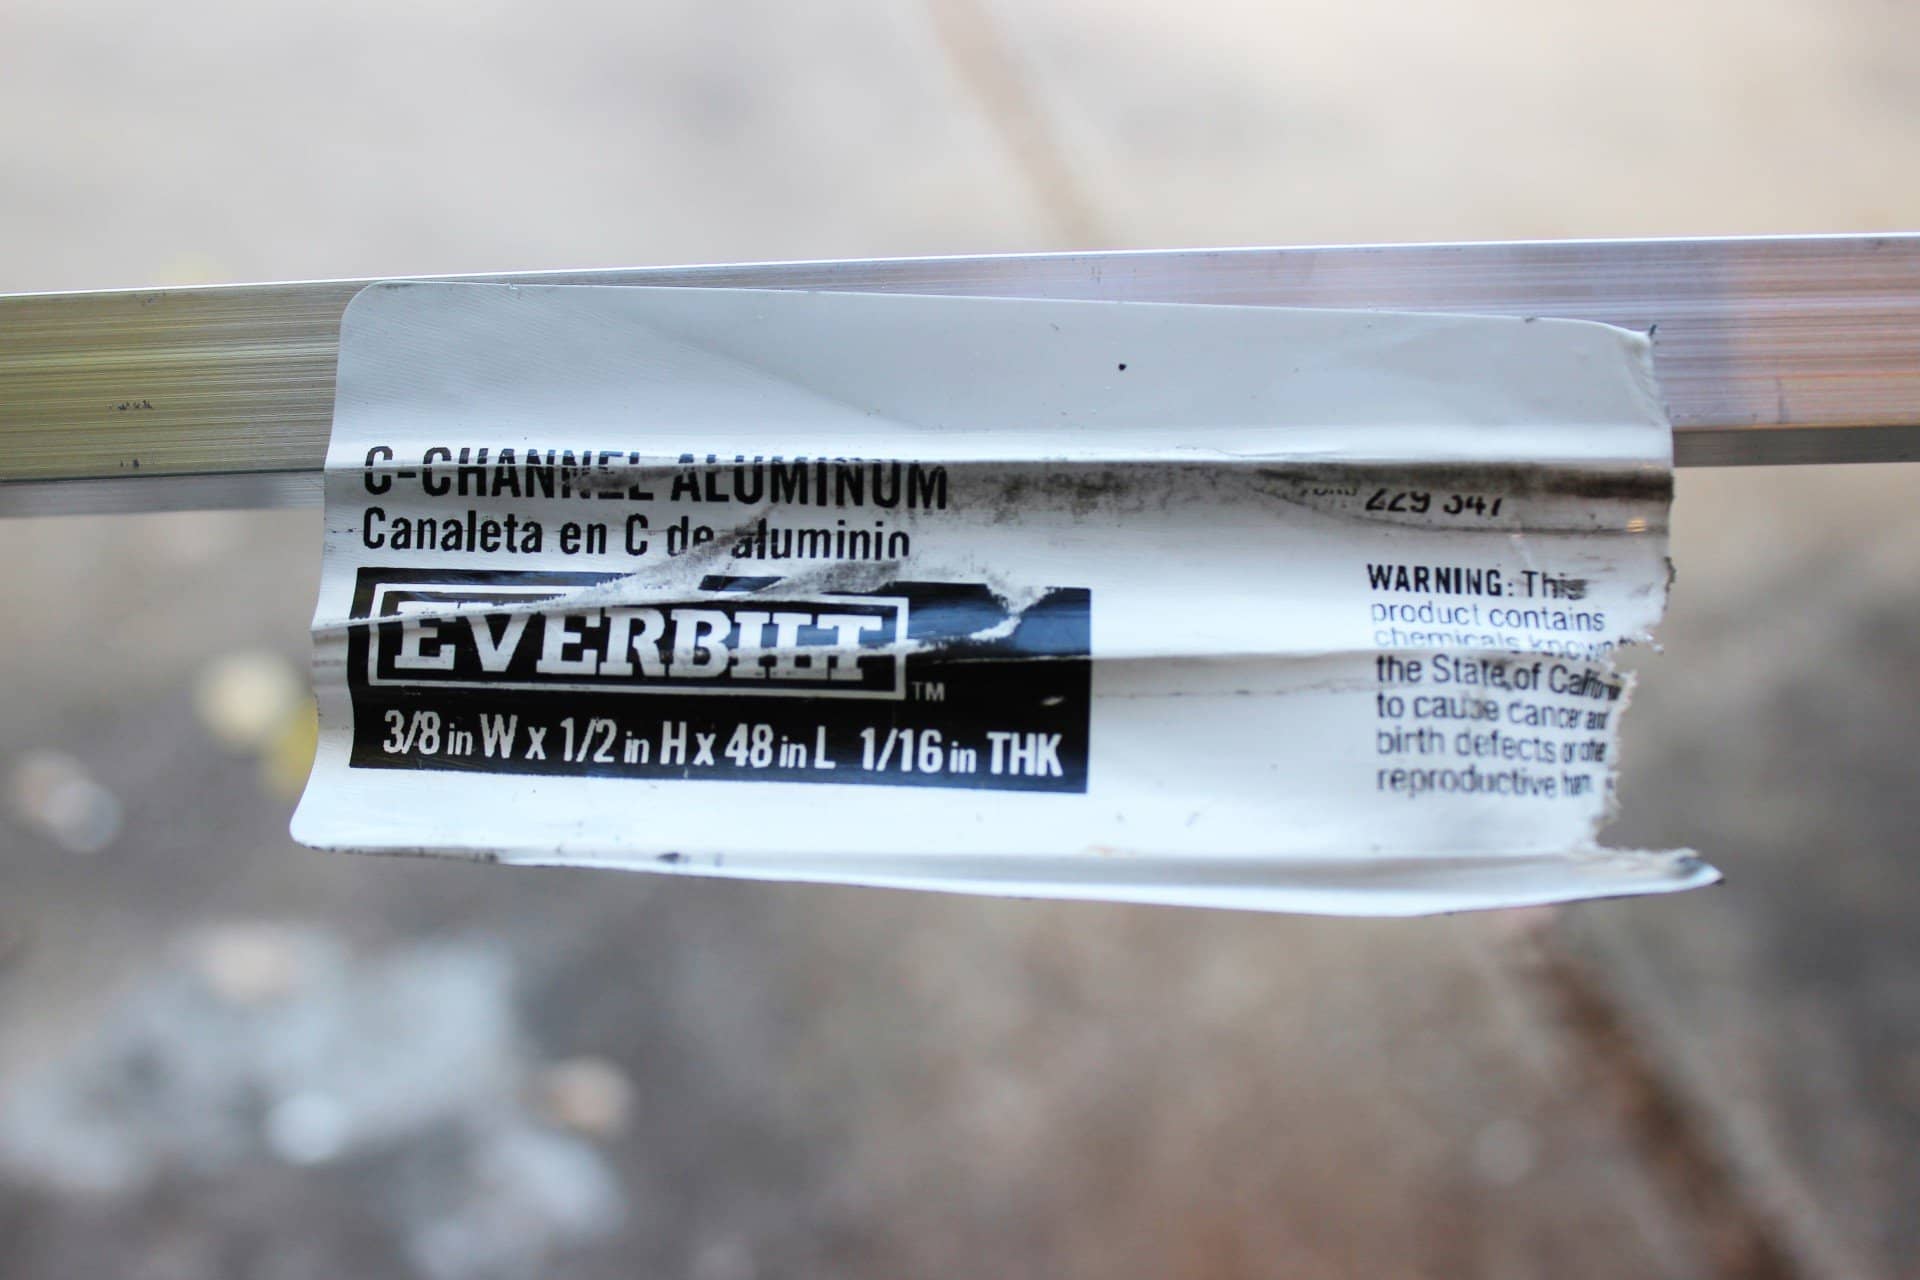
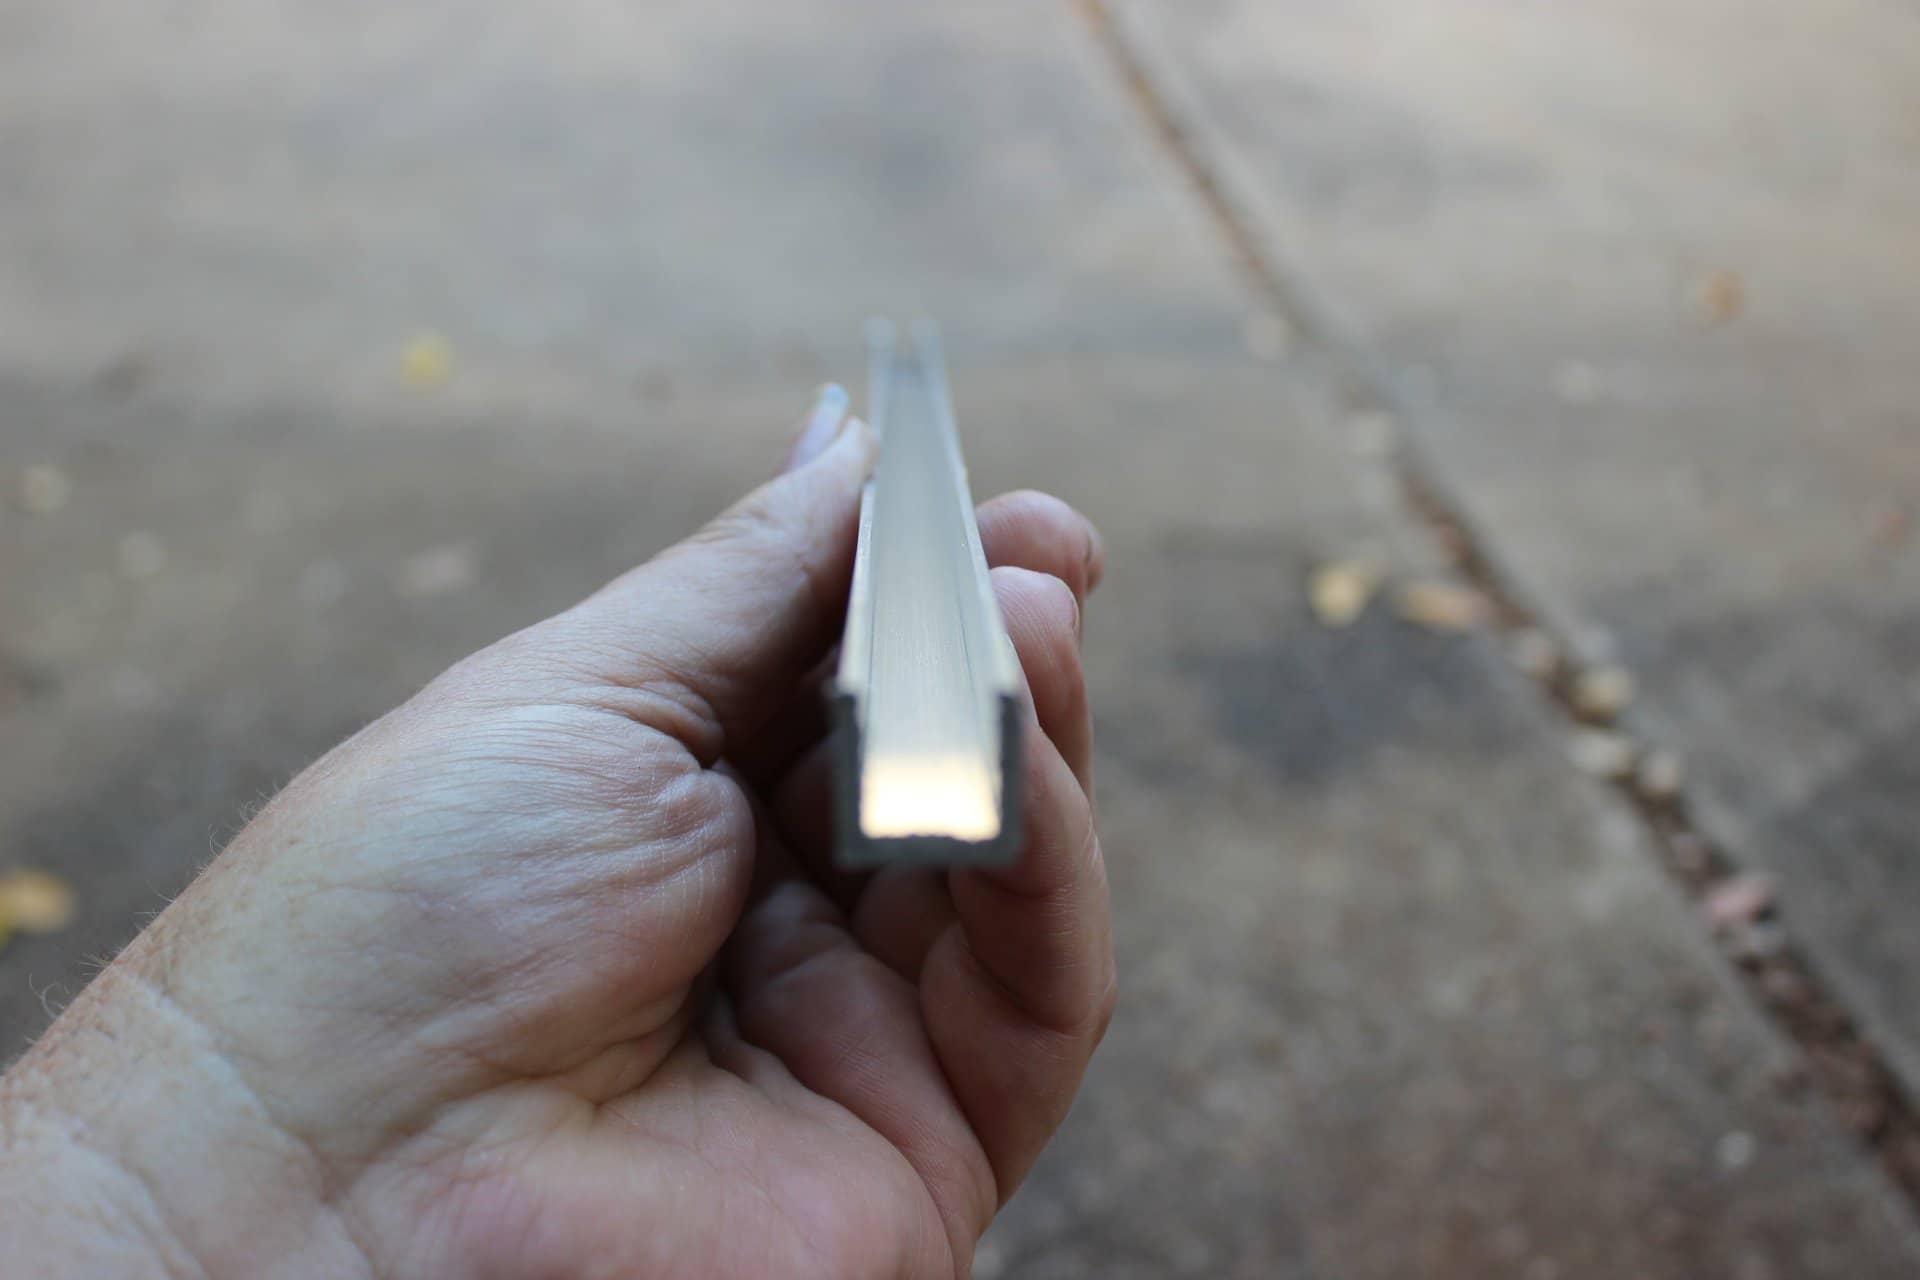
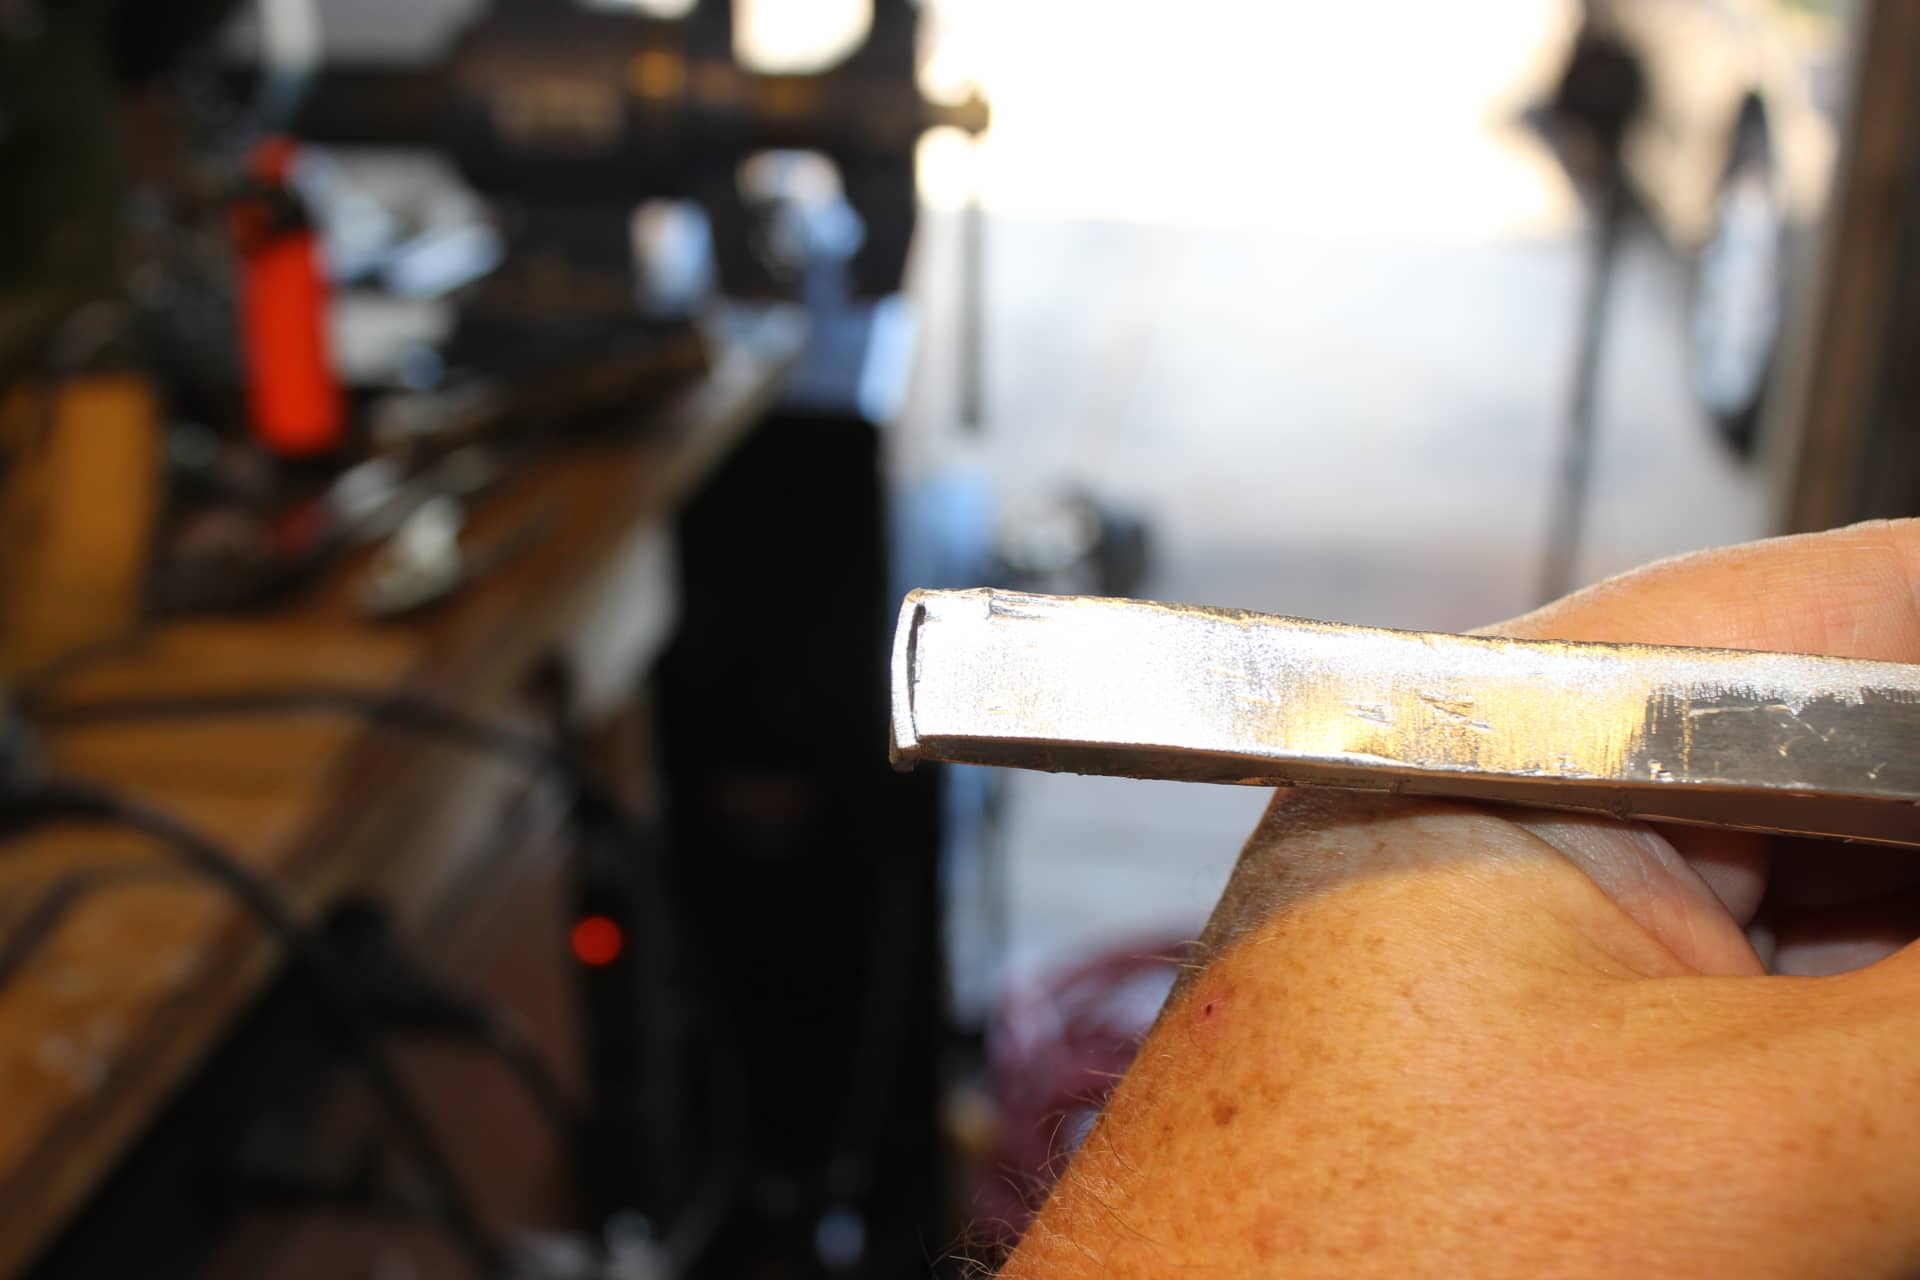
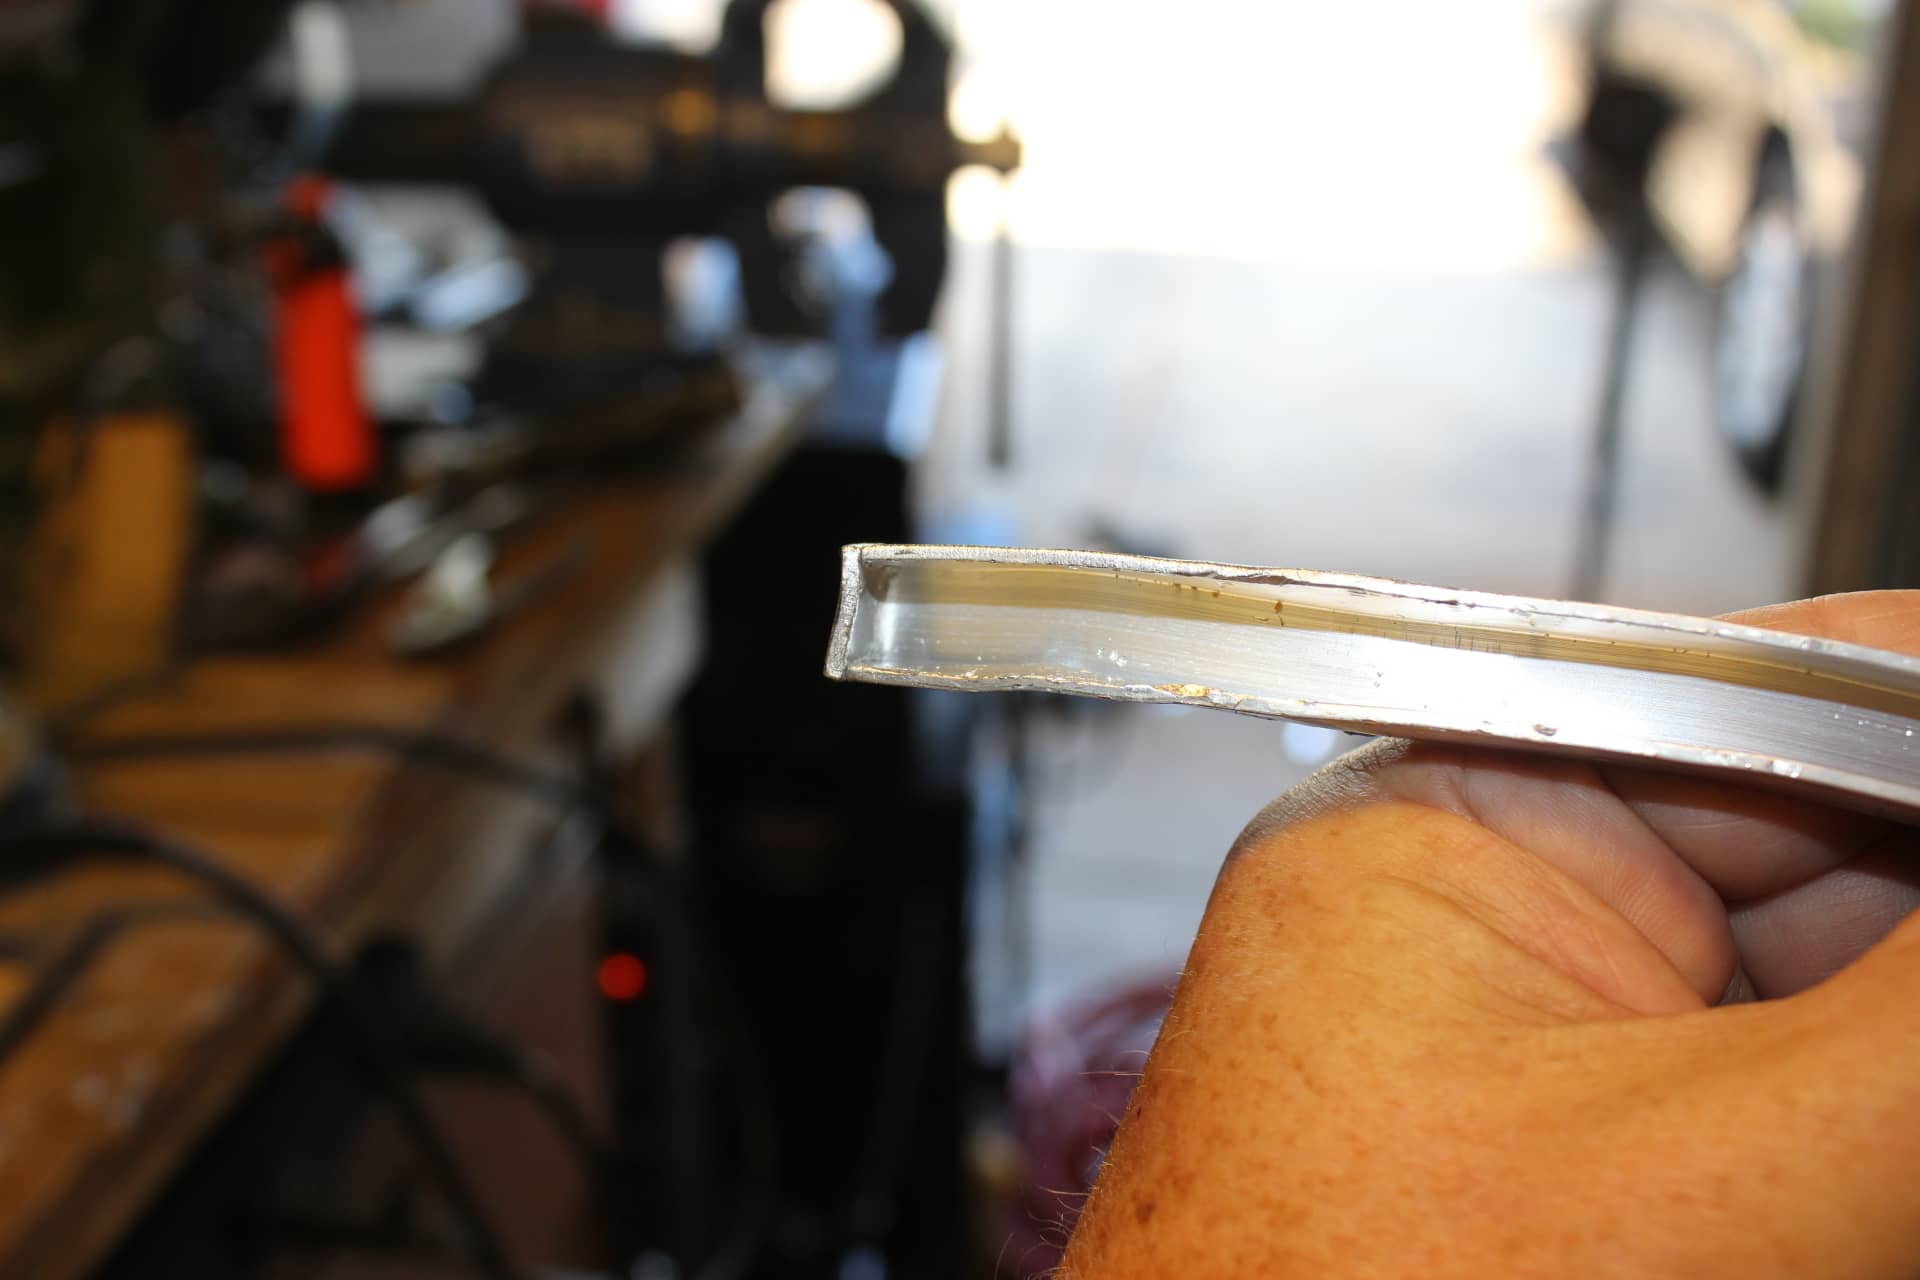
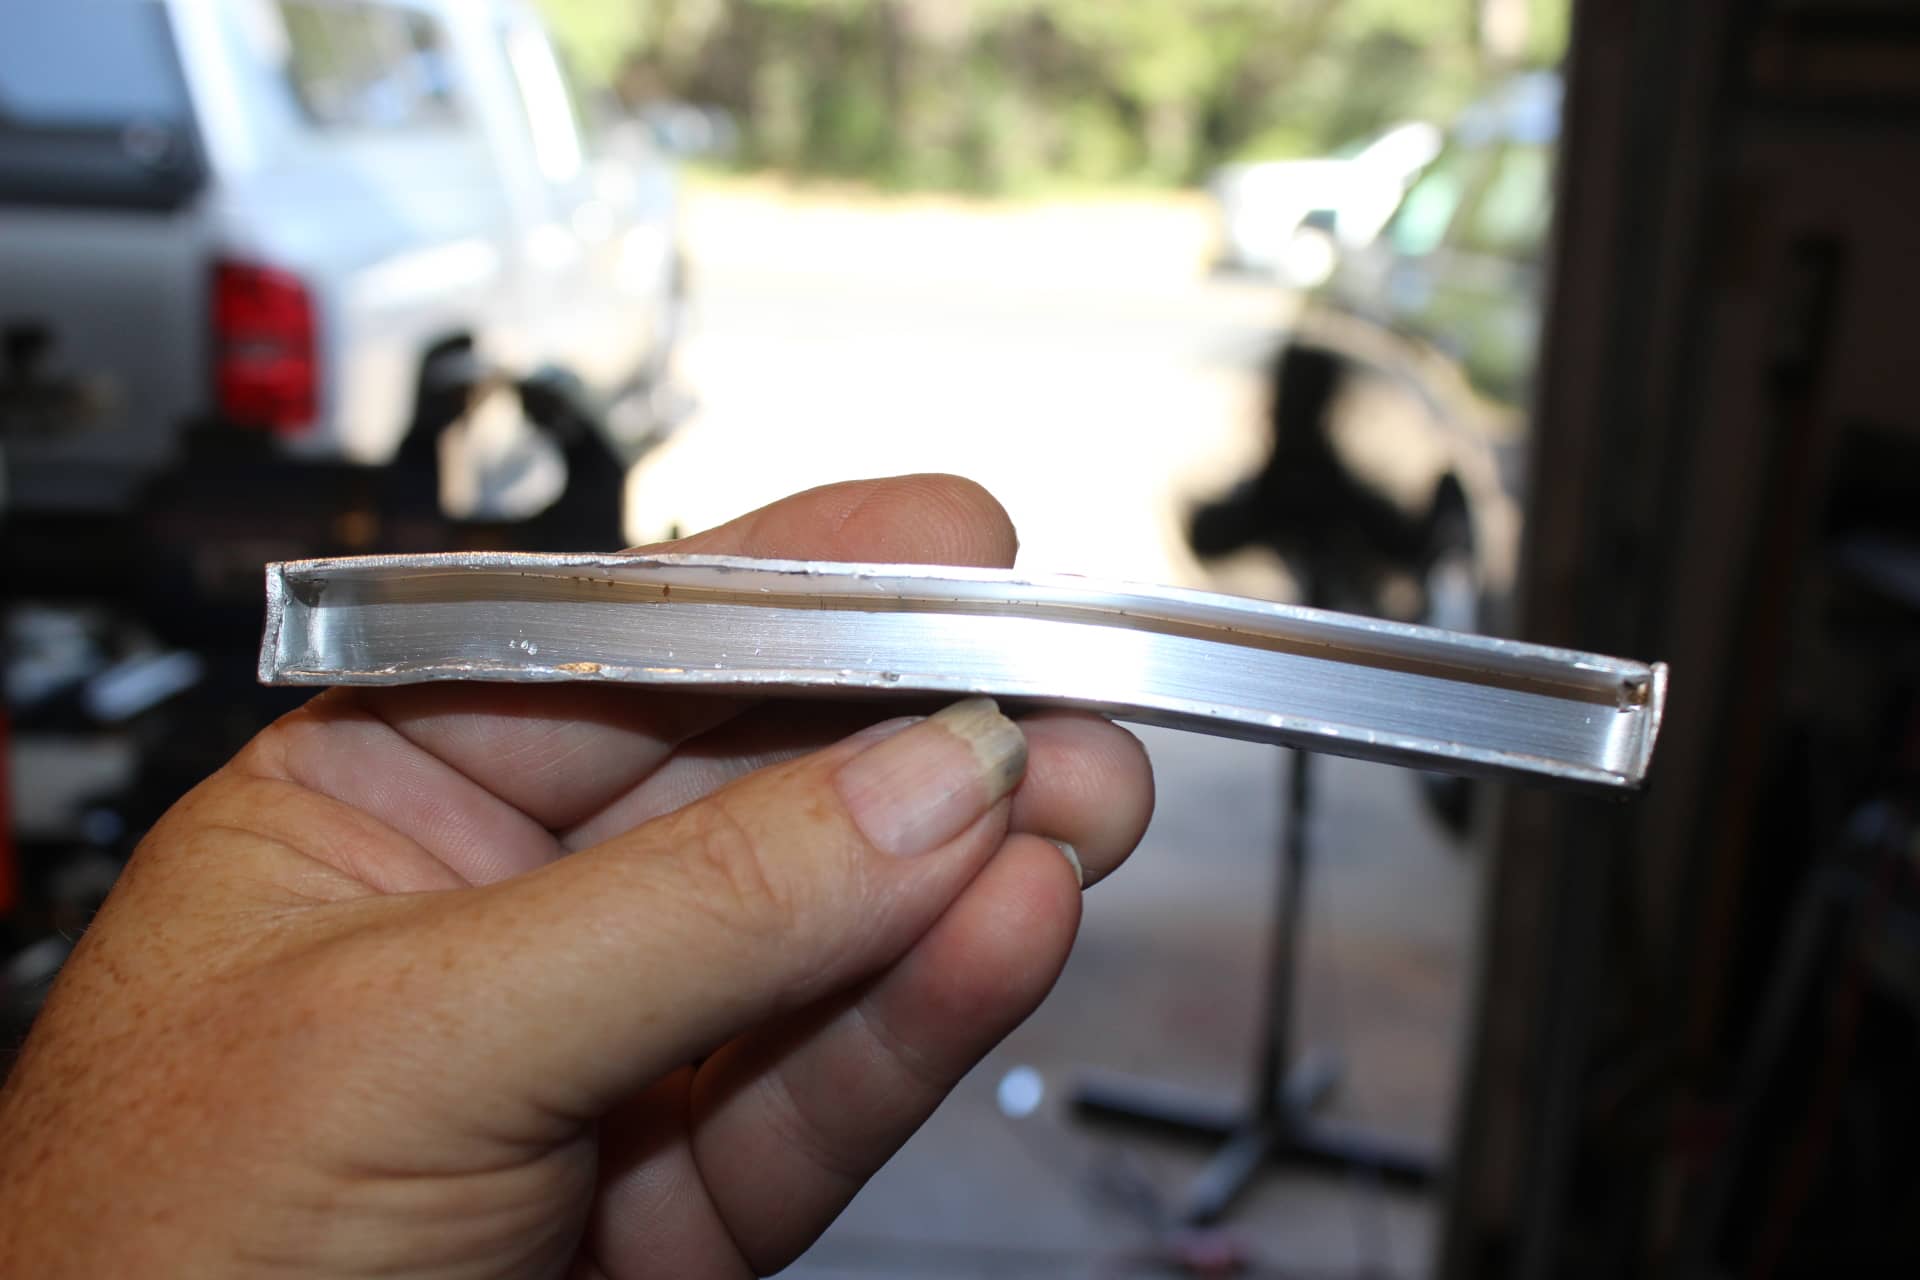
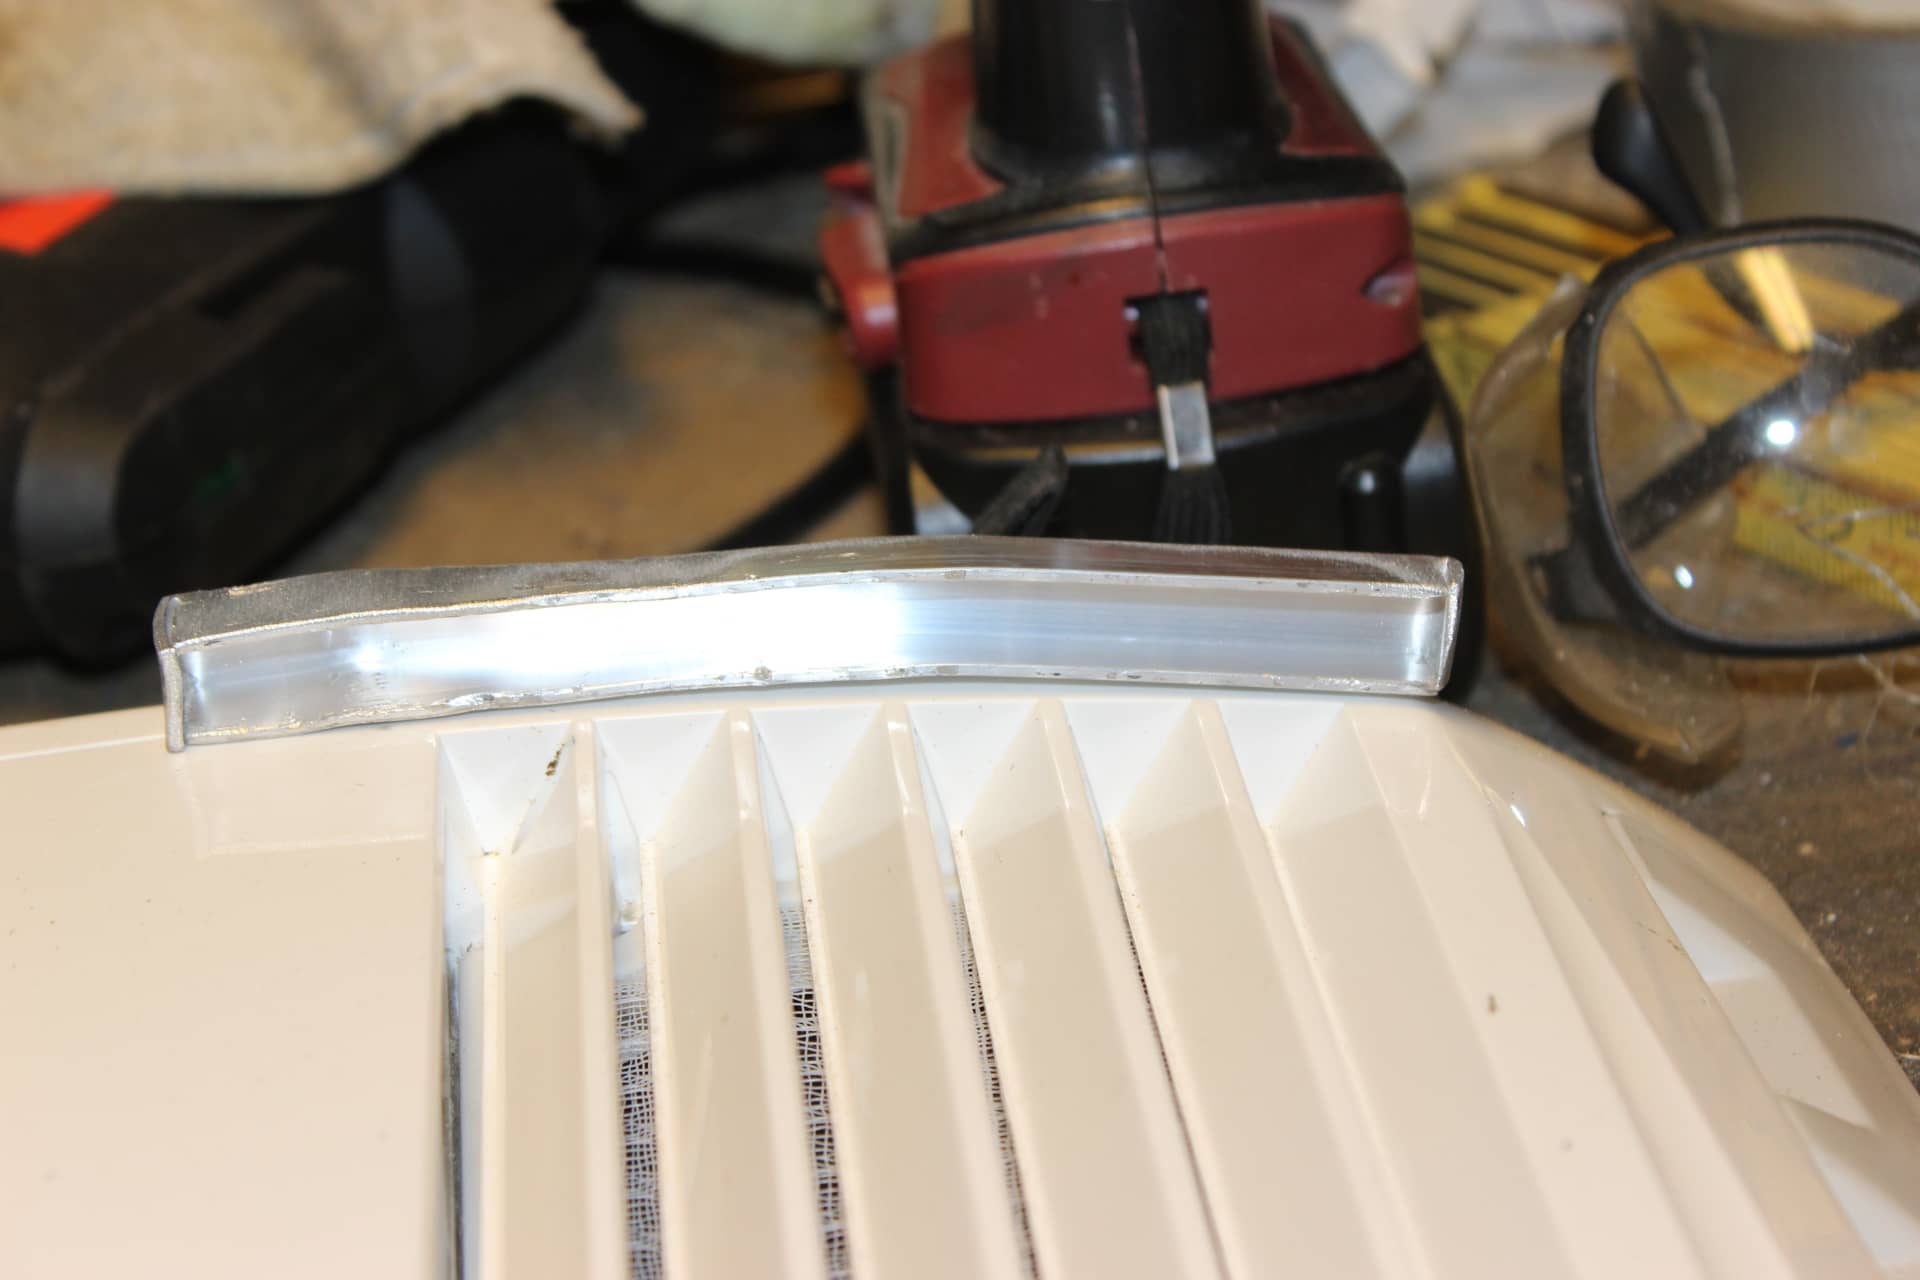
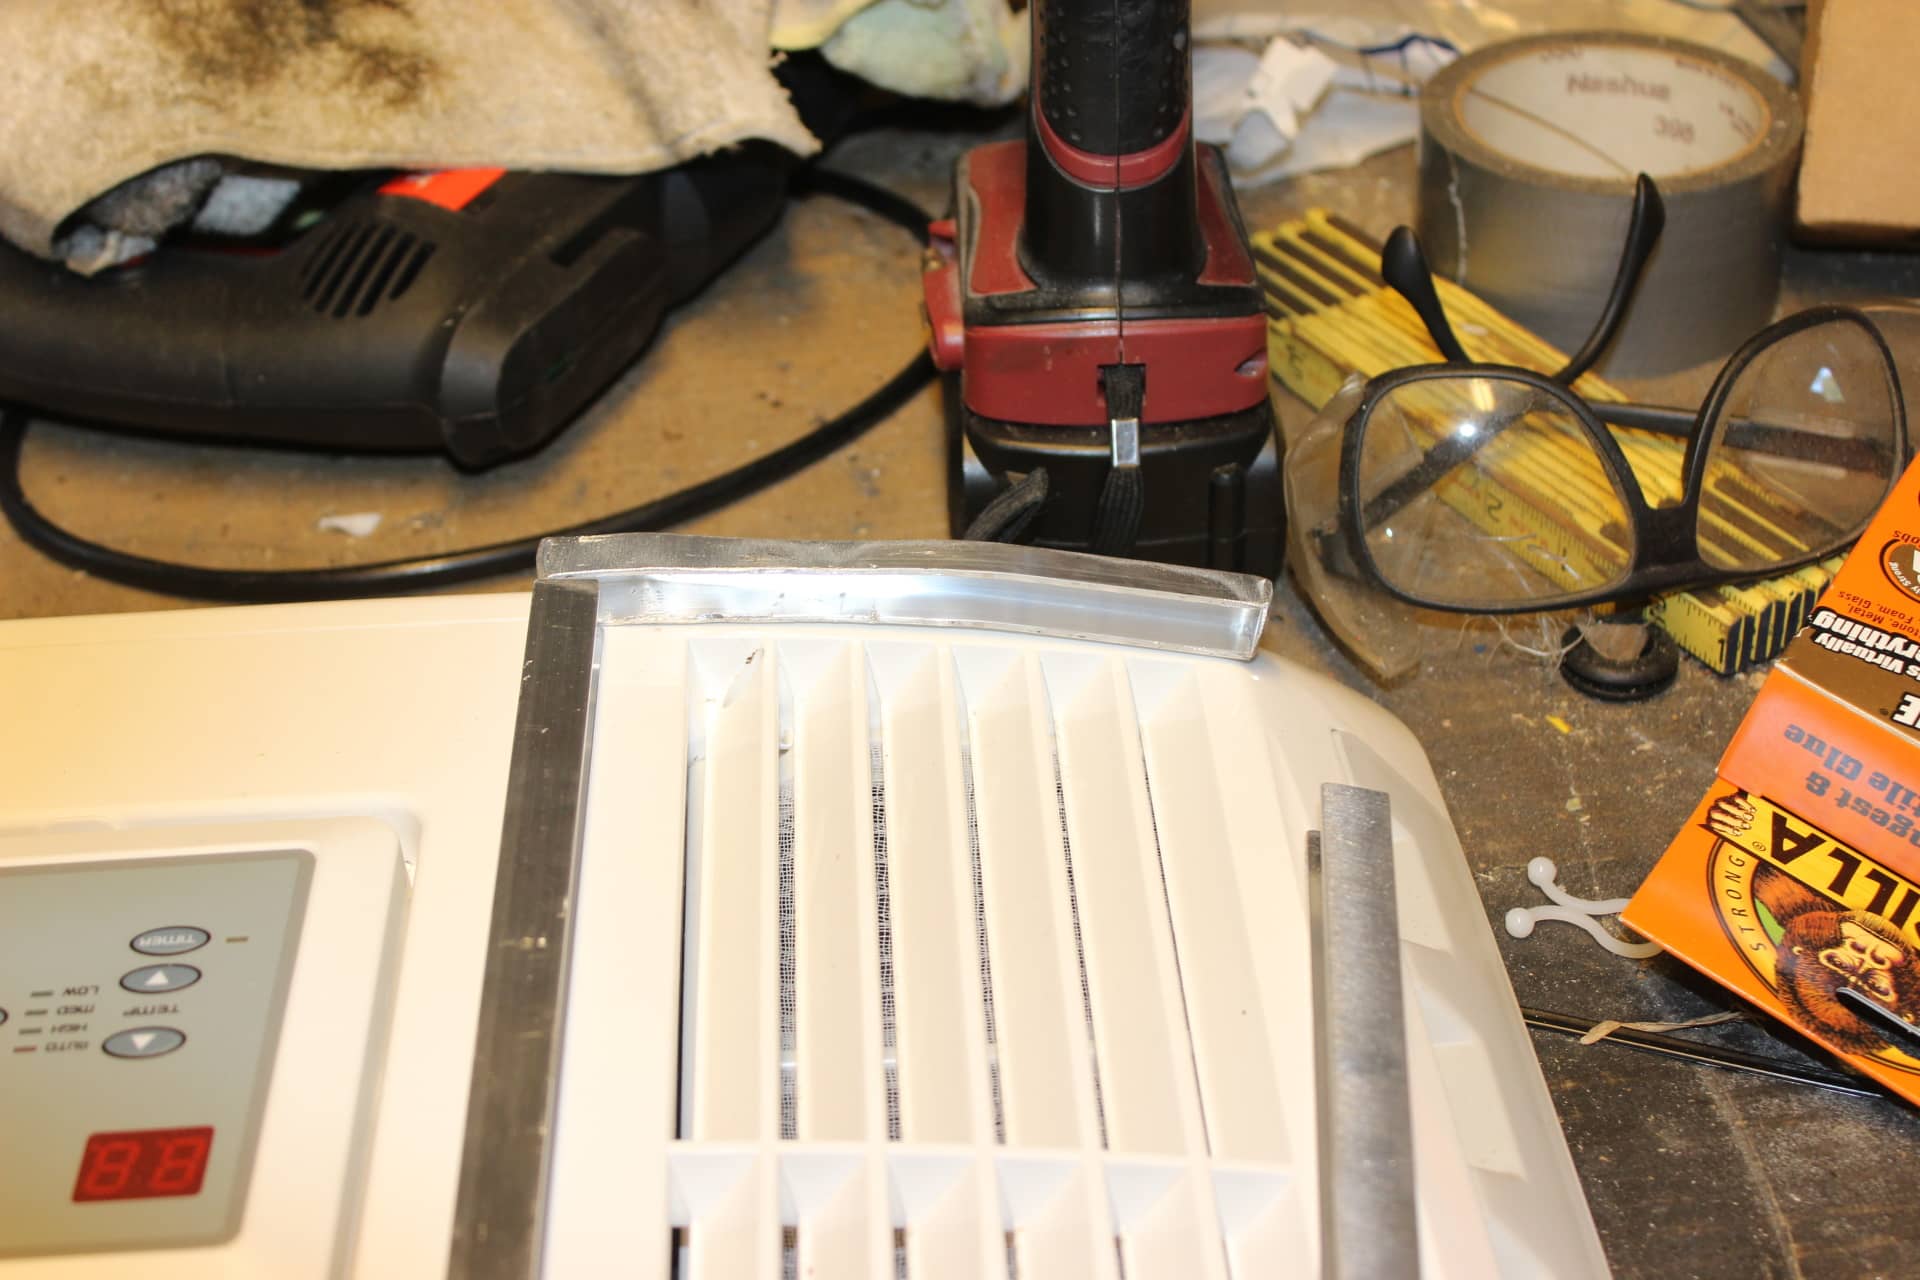
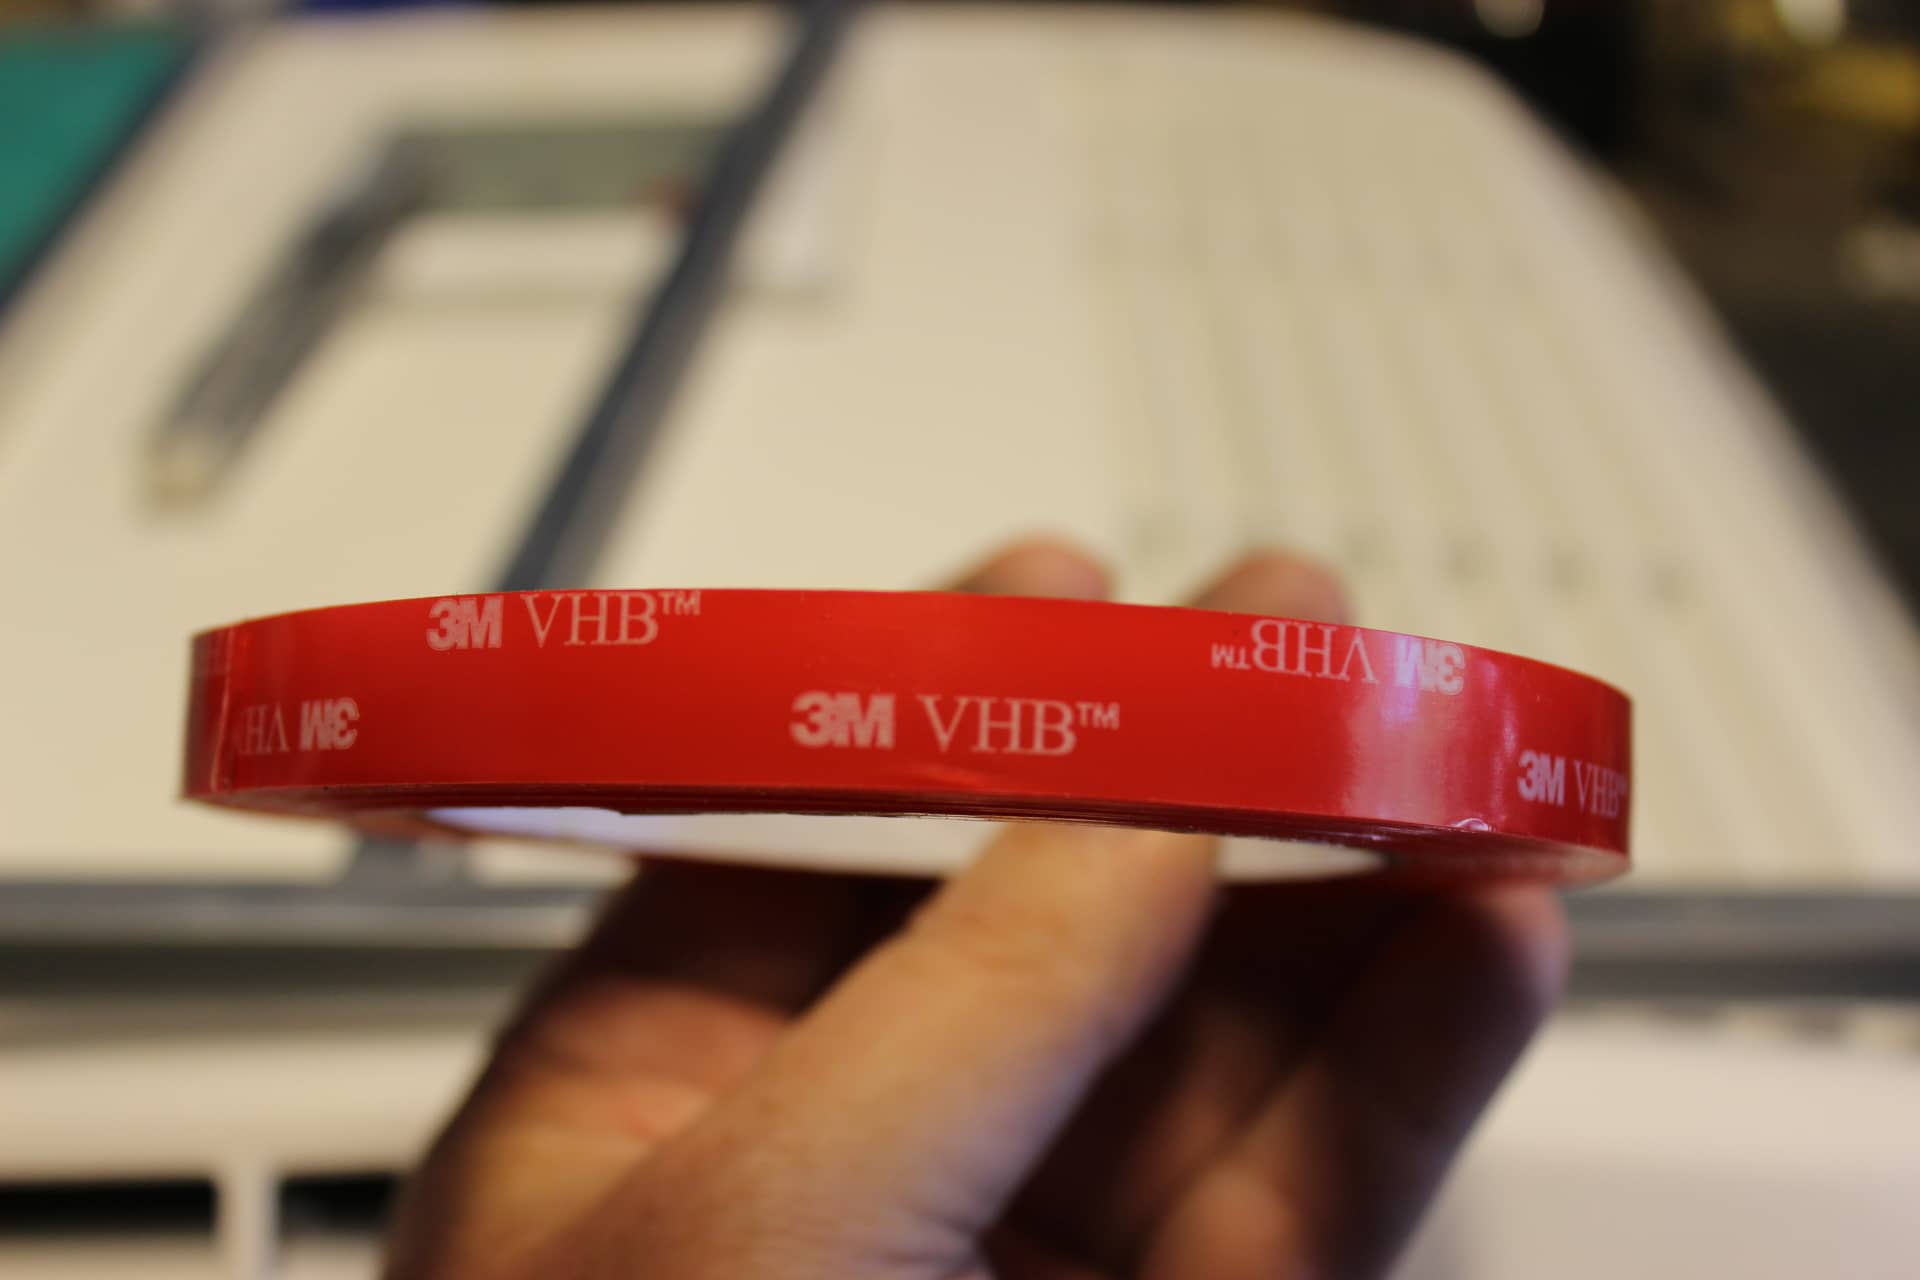
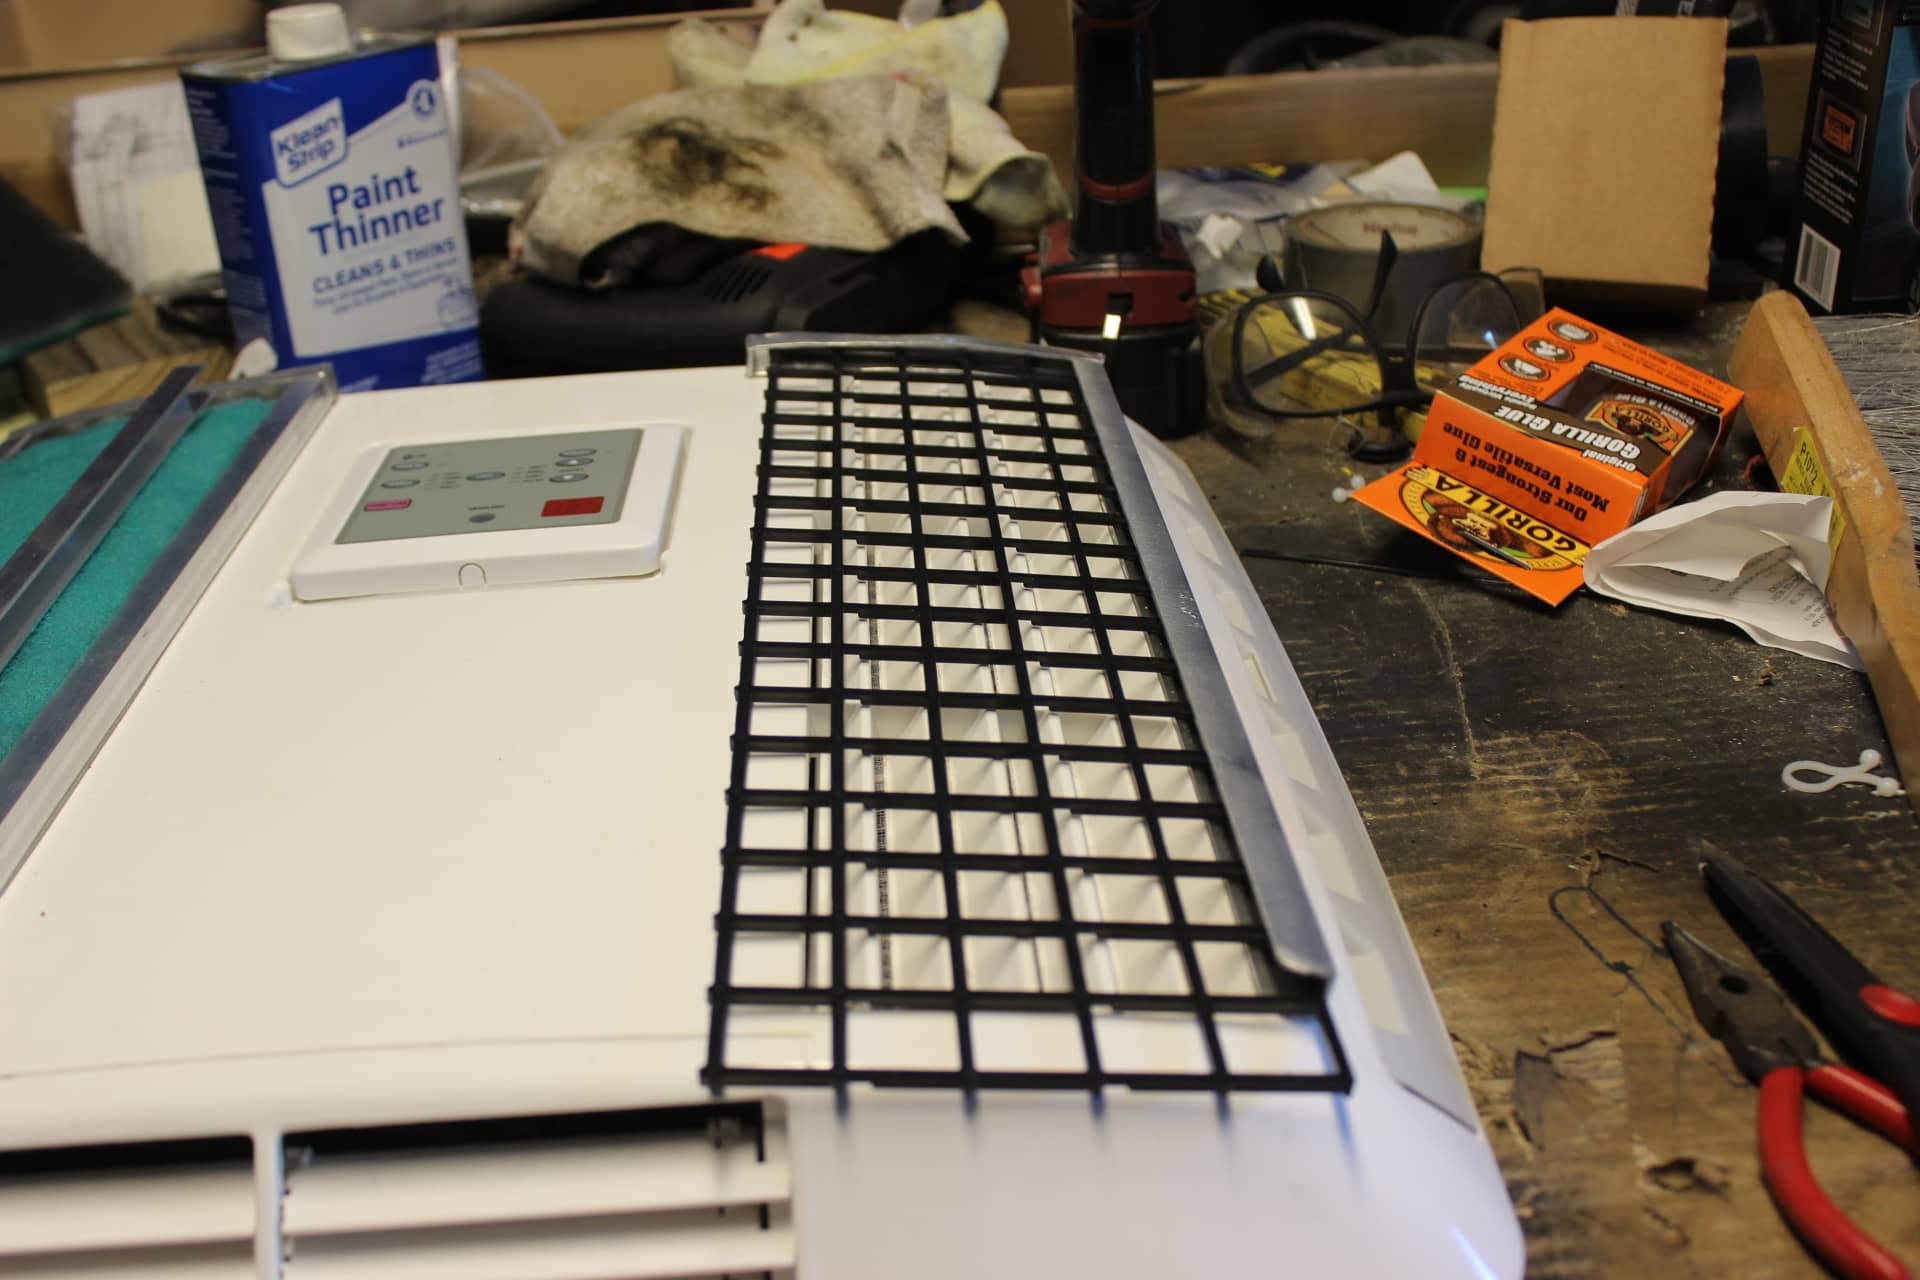
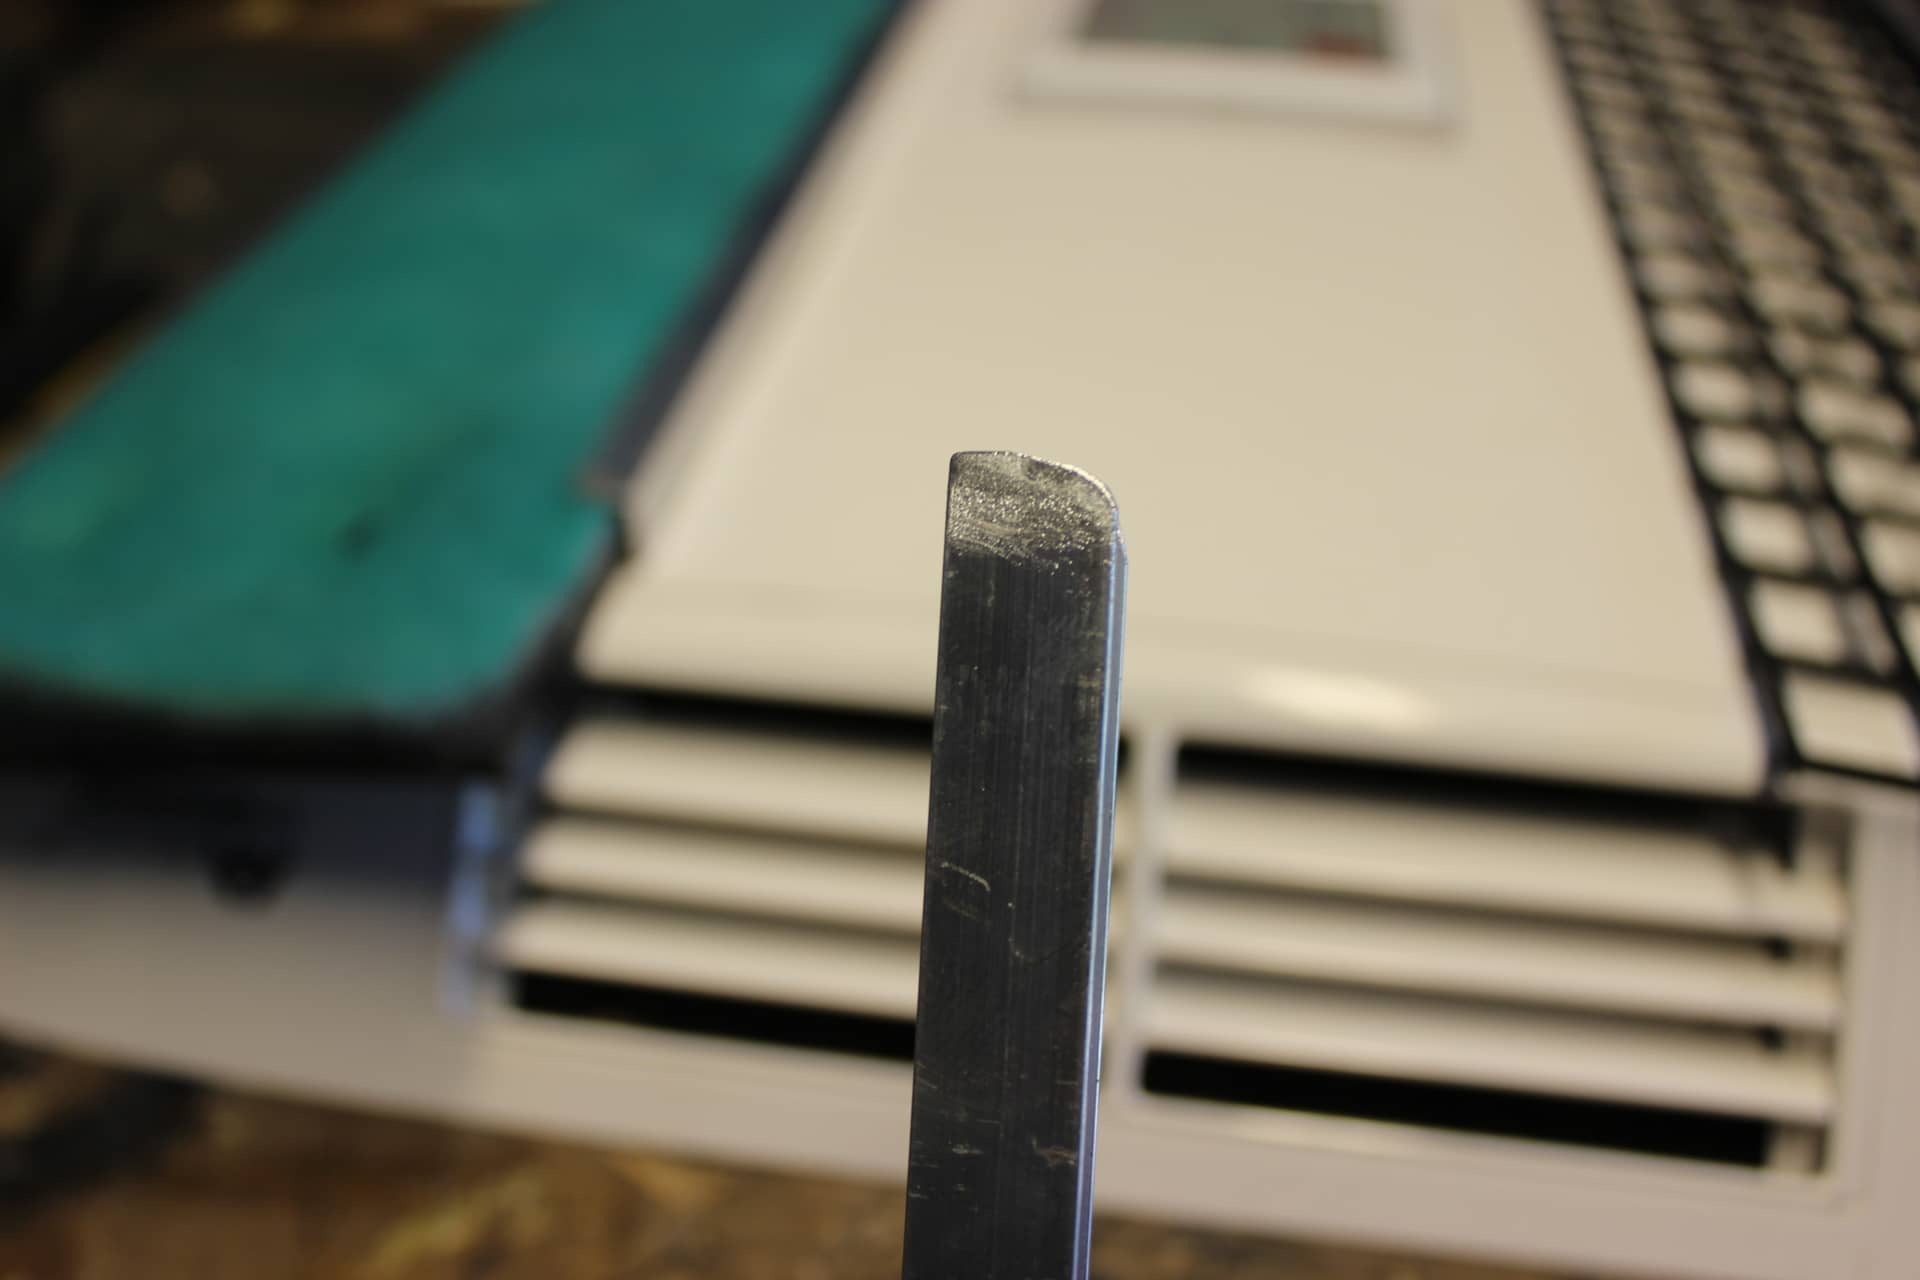
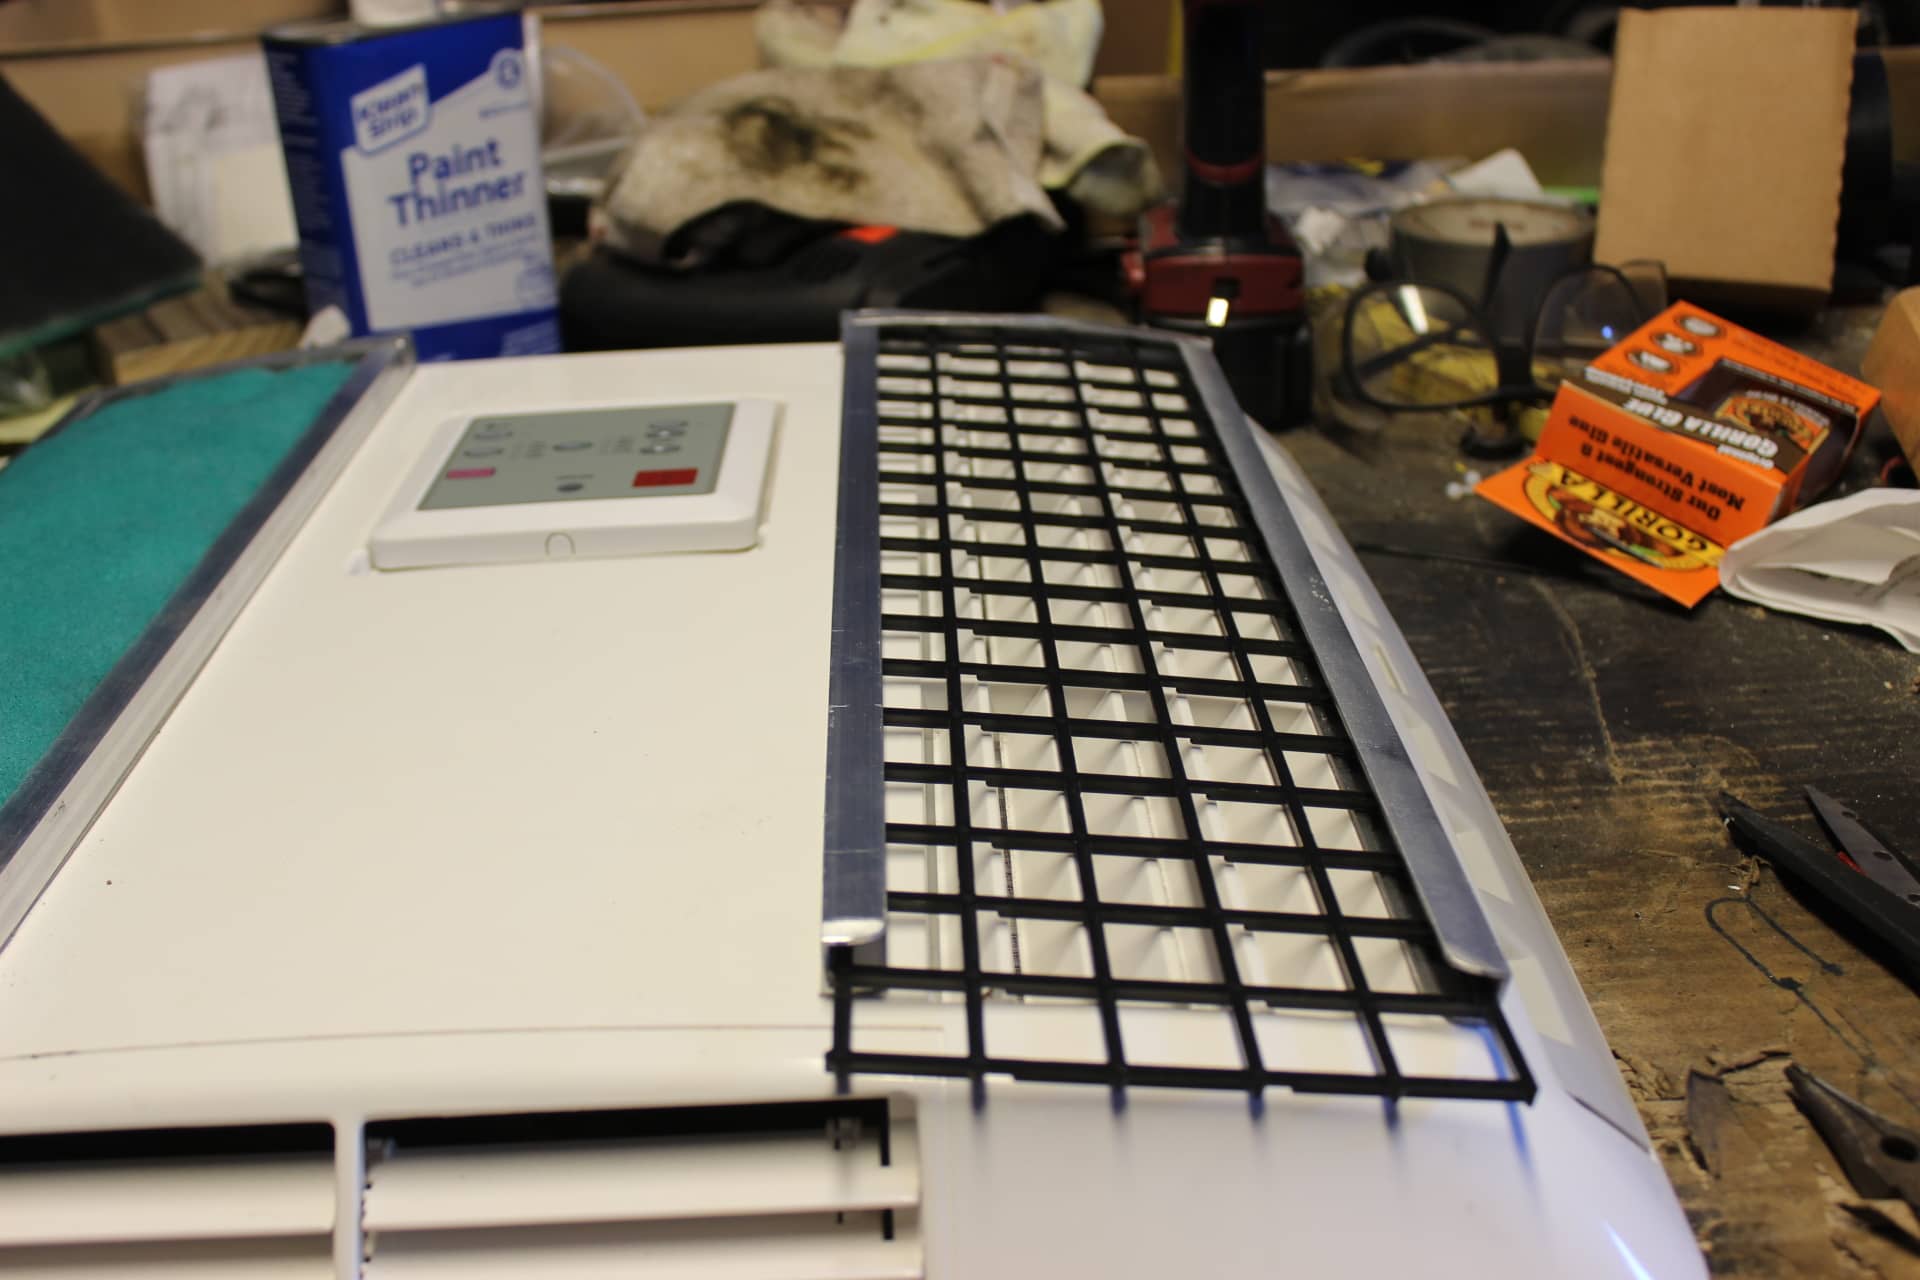
I decided to make some channels that would attach around and to the outside of the filter vents where I could slide in some washable filter media that I got at home depot (“Web” Absorbent cut to fit electrostatic filter). I used some aluminum channel (images 2559, 25560) to construct the channel frame work that would hold these in place. I took the end pieces and cut away the ½” “u” parts and with a torch I heated up the bottom part that was left and bent it over to form a closed box end to the “end” pieces (images 2561, 2562). The plenum has a slight curve to the surface so I took my torch again and bent the end pieces into a slight curve so they would seal better when set onto the plenum (images 2563, 2564). I took the side channels and ground off the edge of one end (the open side) to form a curve so the filter would slide into the channels and not get caught on a sharp corner (image 2568). Next I laid the channels out and measured the vent openings to get the dimensions of the filter material plastic support grid (image 2565). I used 3M VHB ½” tape to secure the channels to the plenum (image 2566).
After they were secured to the plenum I used the grid that came with the filter that I had cut to the correct size (images 2567, 2569), and used the cut grid to measure and cut the filter media to go on that support grid. I used some “zip” ties to secure the filter media to the grids and glued the part that would be on the open end to the last section of the grid work (image 2570)
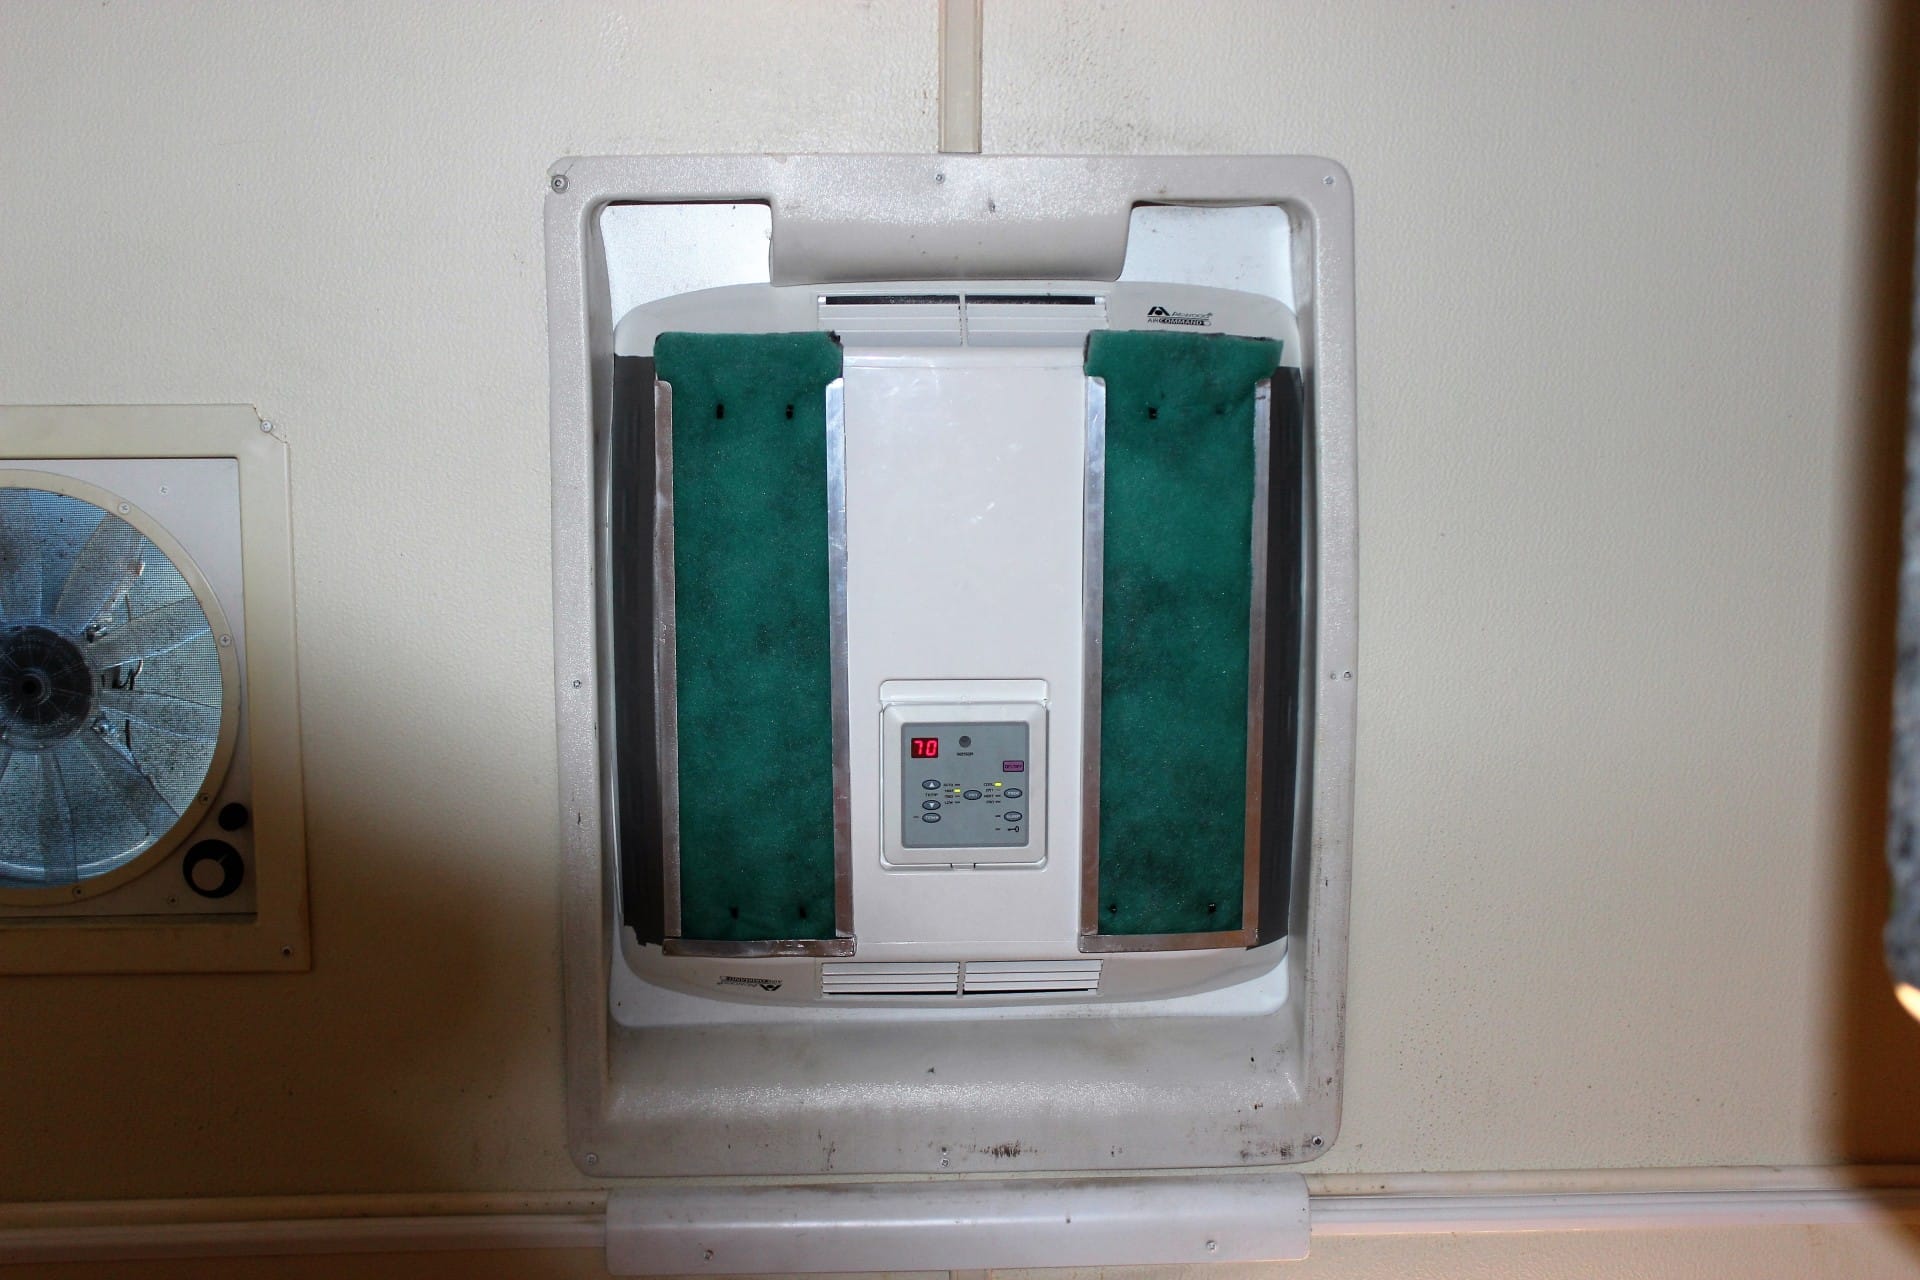
Now it was truth time to see if these would fit and work. It was quite a hassle to get the plenum fitted and screwed back up onto the AC and I am so glad I won’t have to do this again (I hope). Once I got the plenum back on, I slid the new filters back into their holding channels (that was very easy…. Images 2571, 2572) and using the a silverware knife or the flat end of a spoon, I poked any filter material that was hanging out of the channels back up into the channels….now it was done. Well almost….I covered the ends of the old filters (which by the way I decided to leave in the AC…the more the better I guess) with some duct tape to stop any leakage there so to direct the intake return air thru my new filters and not around them thru the cracks on the gray handles of the original filters.
As it turns out my new filters do not stick out that much and there is absolutely no clearance problems either (images 2573, 2574).