I know that I have touched on these hold down latches somewhat in the Bed, Bath & Kitchen section page. You know, the ones that are on each corner? Well mine have been in the state of coming loose from the side of my Trailmanor ever since I brought it, up in Bloomfield Iowa. It’s always been my thought that if you’re going to do something, do it the best that you can. I think Trailmanor dropped the ball on this one, or at least the people who owned Trailmanor at the time that mine was put together (2003). Well since then Trailmanor has been bought by the Eickhoff family (I think that’s right) and I am hoping that they will take into consideration some of the improvements that I have/am making to my Trailmanor. I’m not talking about the major things that I have done, but some of the little things……like the hold down latches.
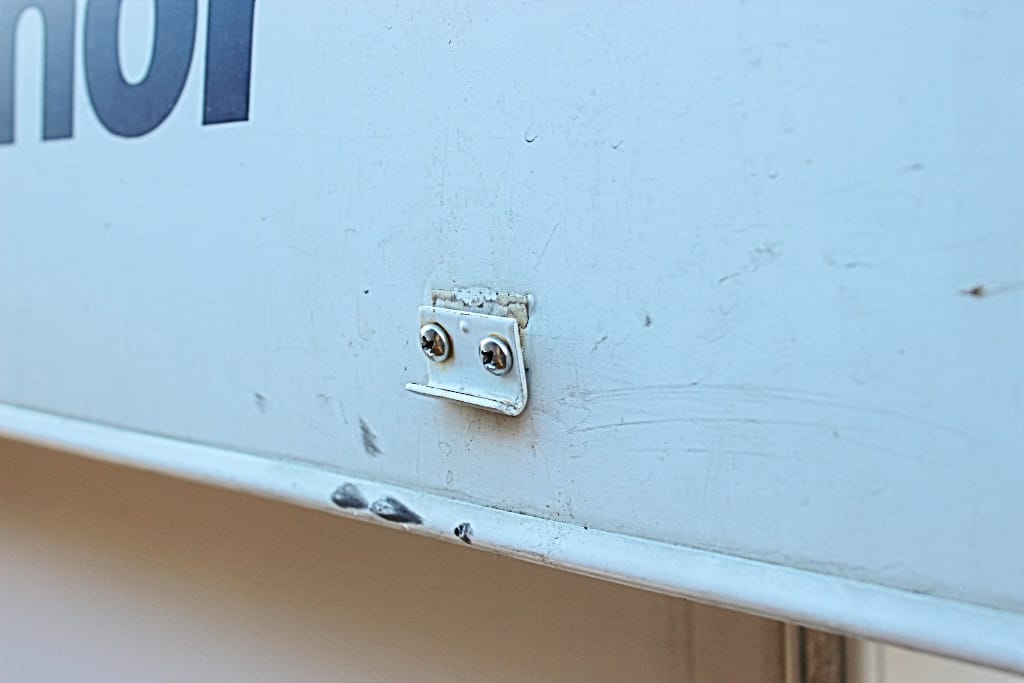
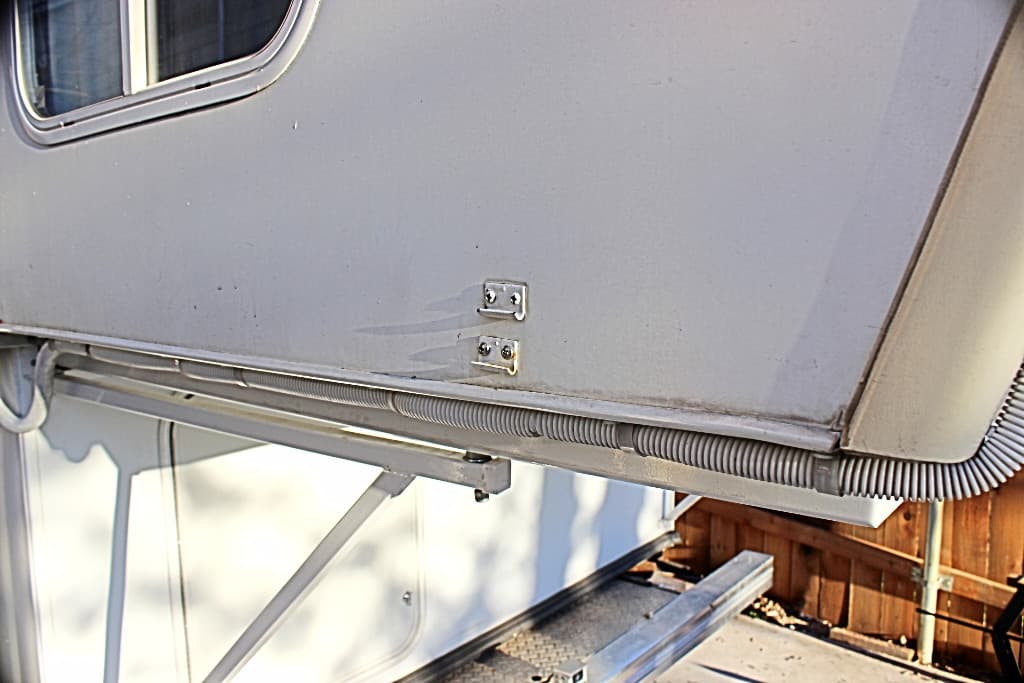
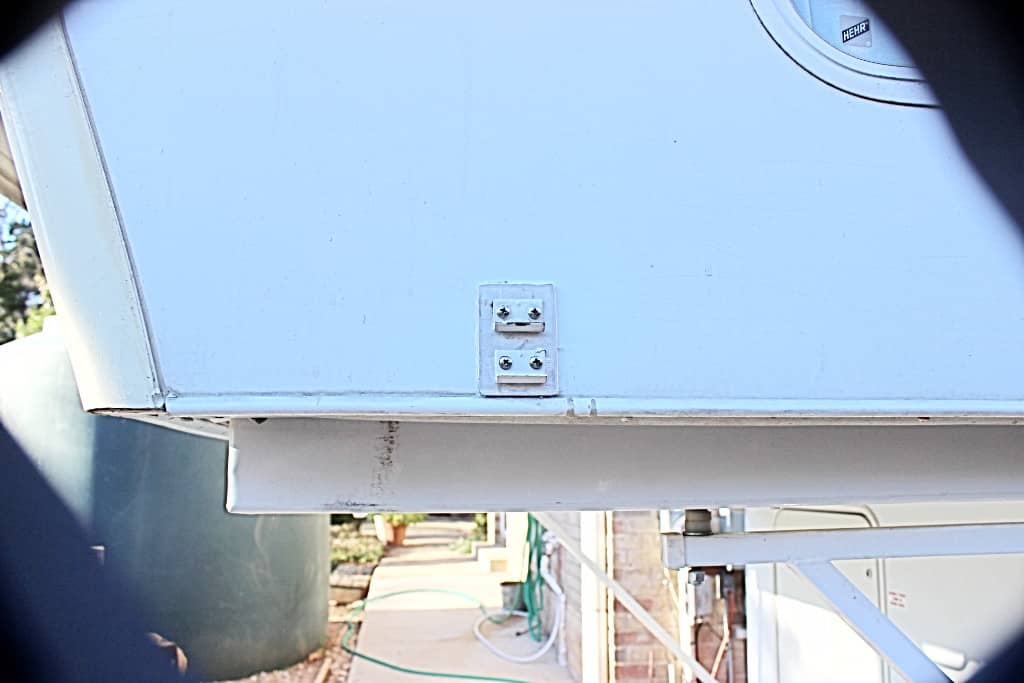
Ok, let’s take a look at these. It’s not so much the latch itself, but the latch catch (image 1567).
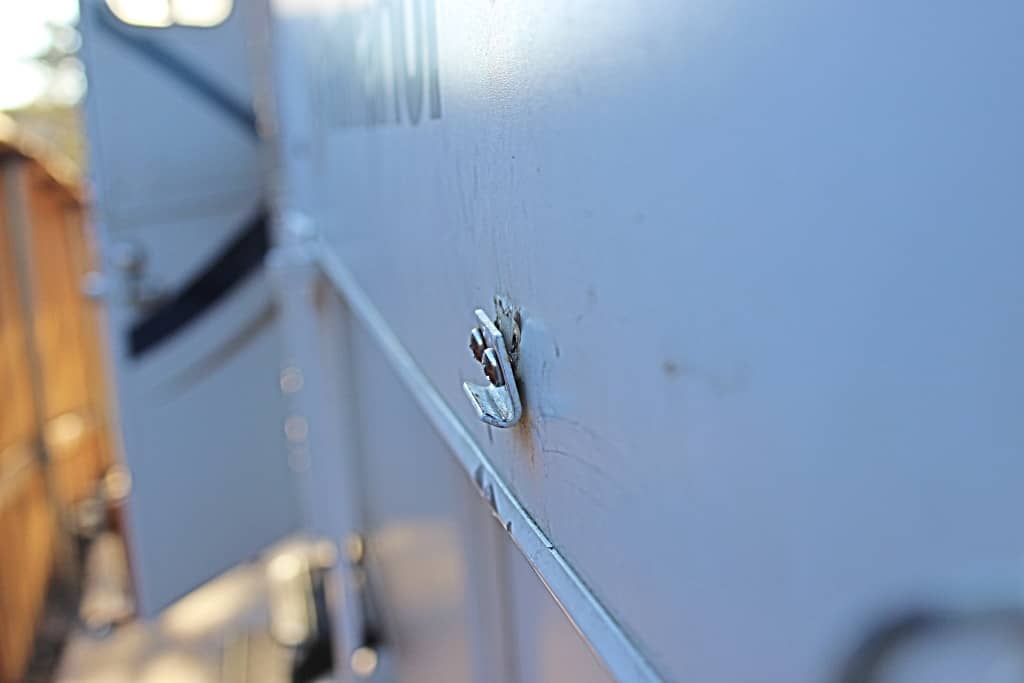
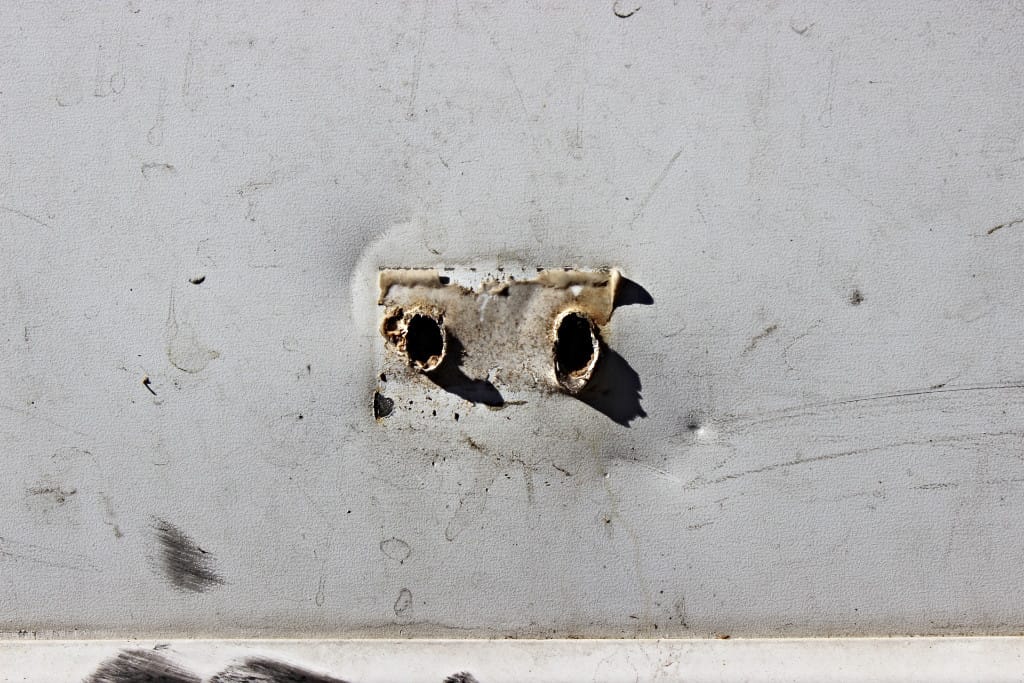
Now I love the way the Trailmanor is constructed with the aluminum/foam sandwich walls and such. They are very light weight and very strong and durable…however I don’t think that they were made to screw things into with the hopes of them lasting and holding their integrity. That aluminum is not very thick, and for good reason….to keep the weight down. At the same time, though, one cannot expect anything to hold onto it with a screw if any kind of stress is applied to that aluminum. It will just shred and the screw hole will bend and booger out (image 1600) and then the holding power of the screw itself will fail. This is what I have experienced with my Trailmanor. Any time that I have the need to secure something to that aluminum sheeting I don’t just screw it on, I drill all the way through the wall and use a carriage bolt of sorts (they have minimum clearance) to secure the item (especially if any kind of stress is involved). It doesn’t cost hardly anything to do it this way and the quality and stamina are better and things lasts longer. I hate to have to do things twice, so when I do something, I plan on making it last as long as it can!
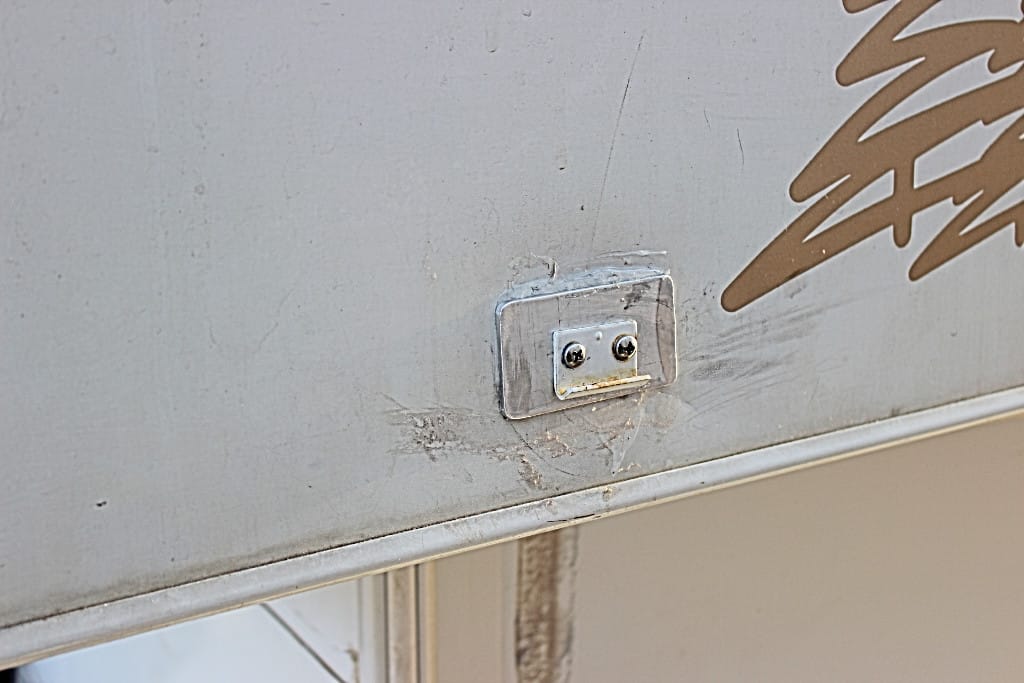
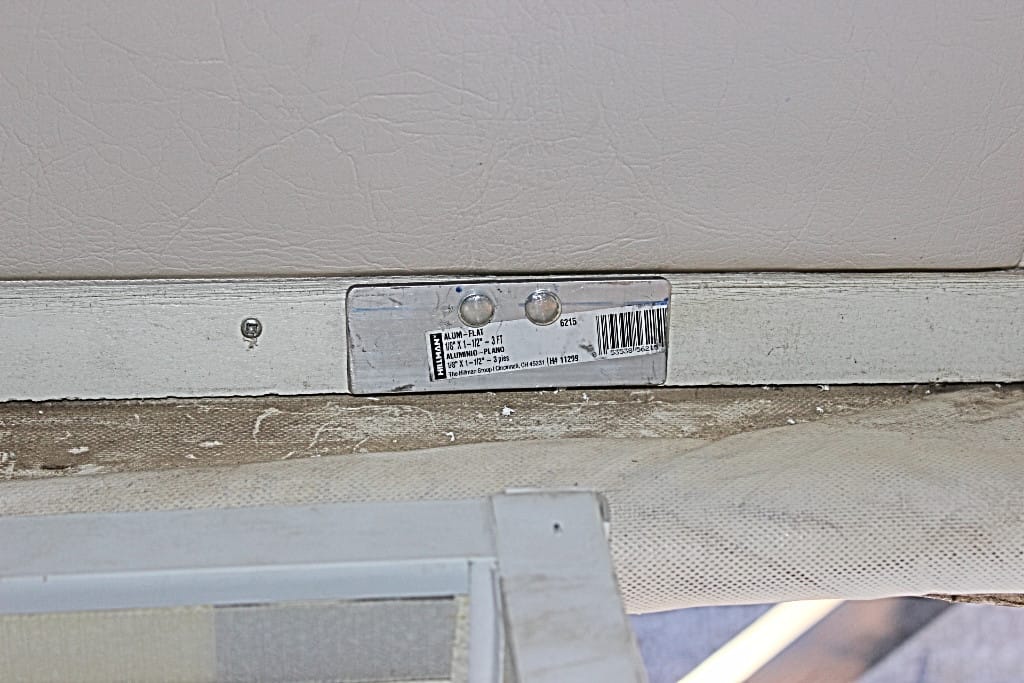
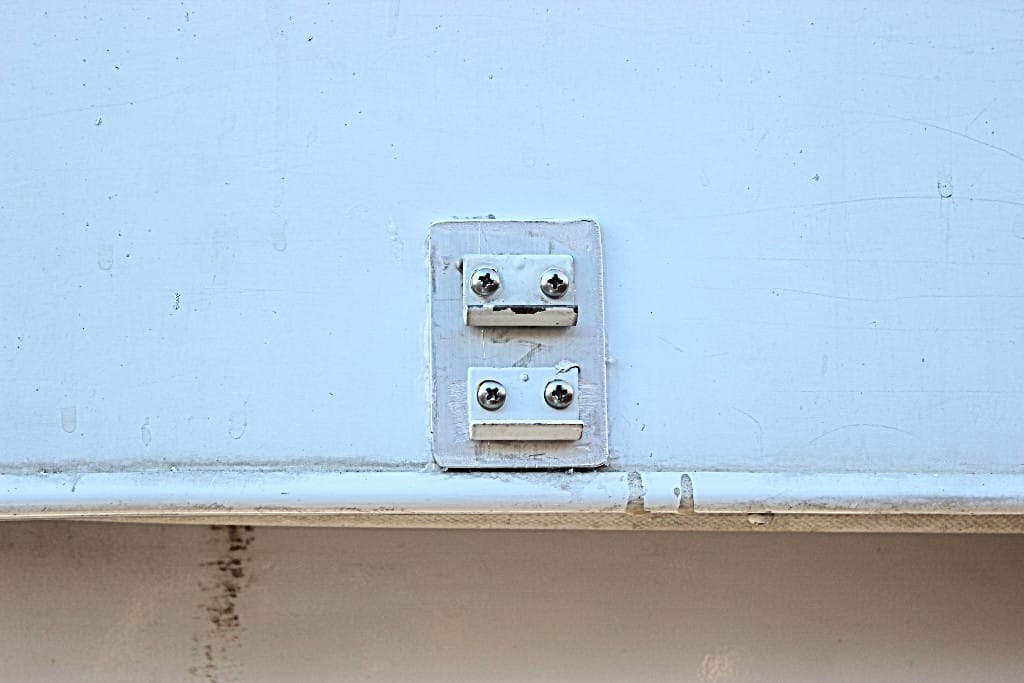
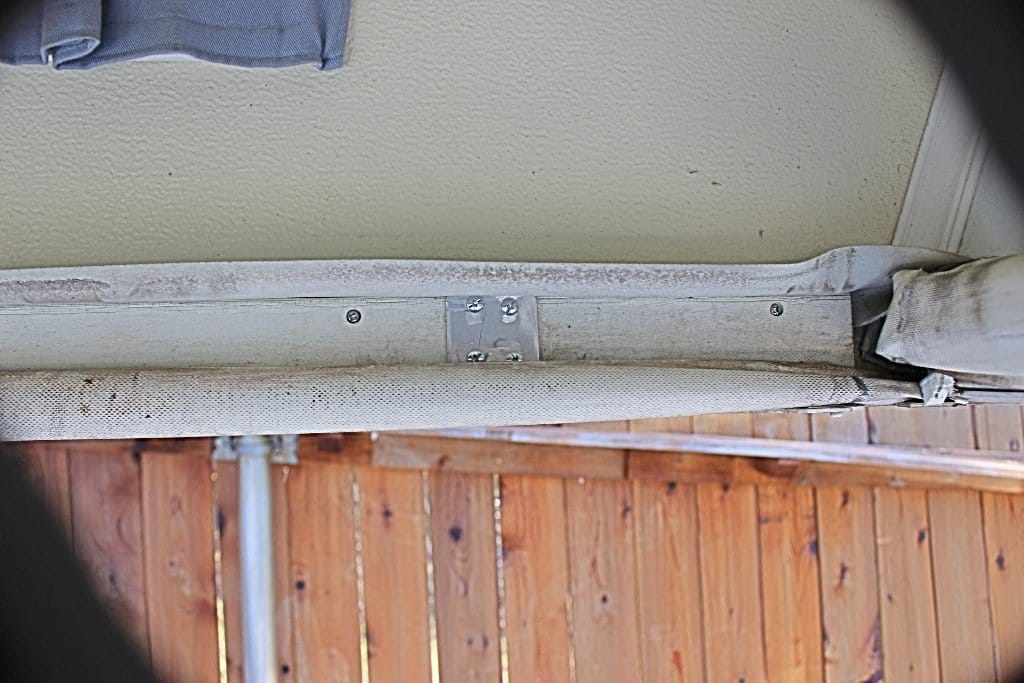
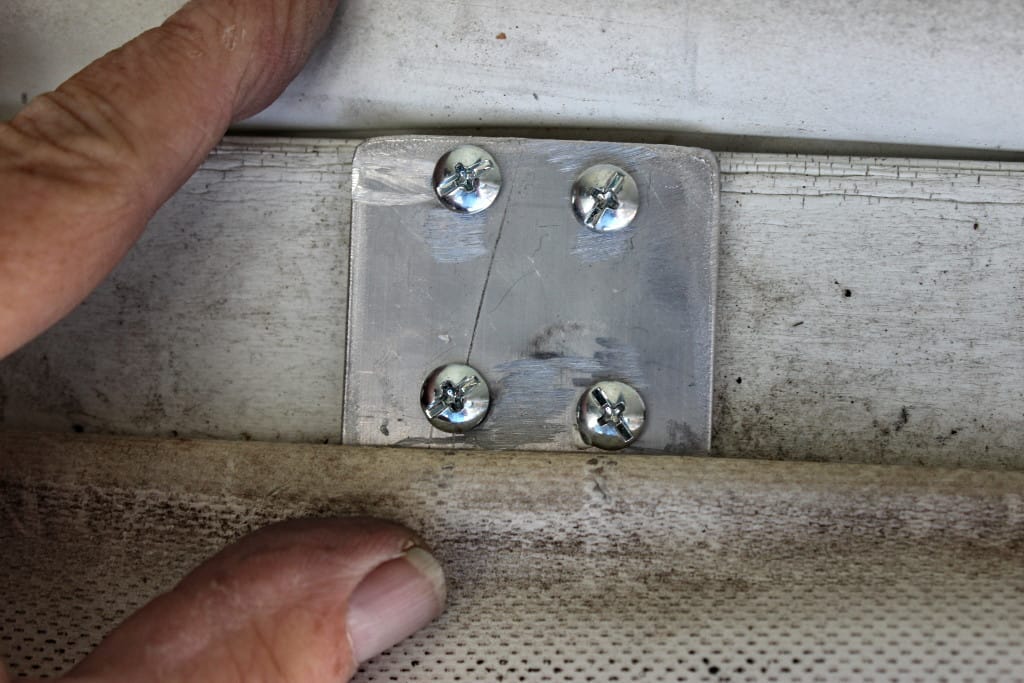
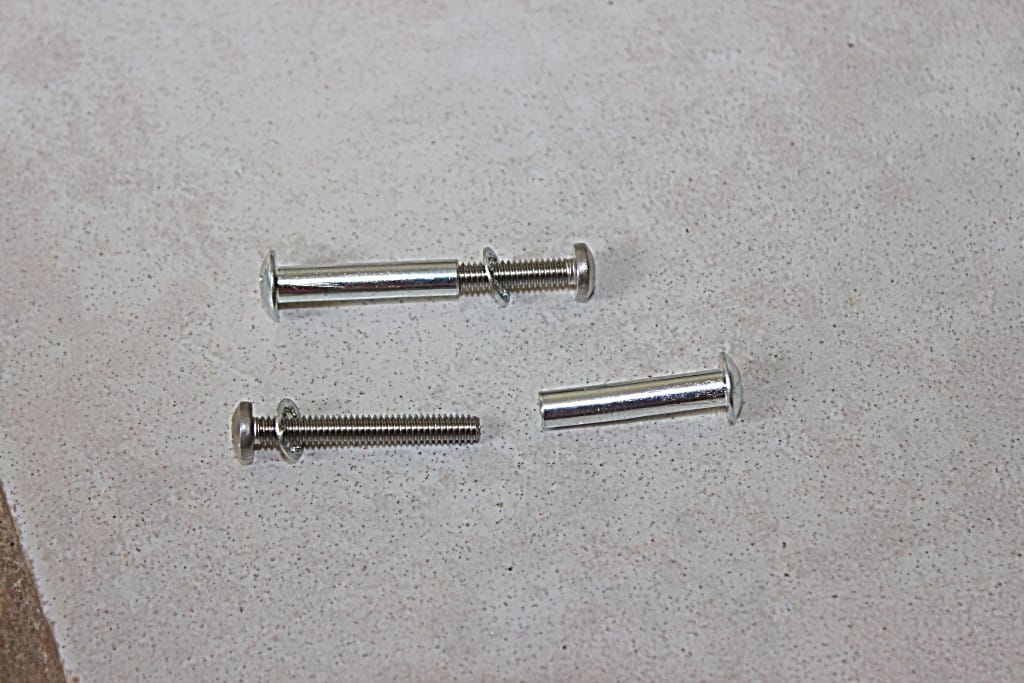
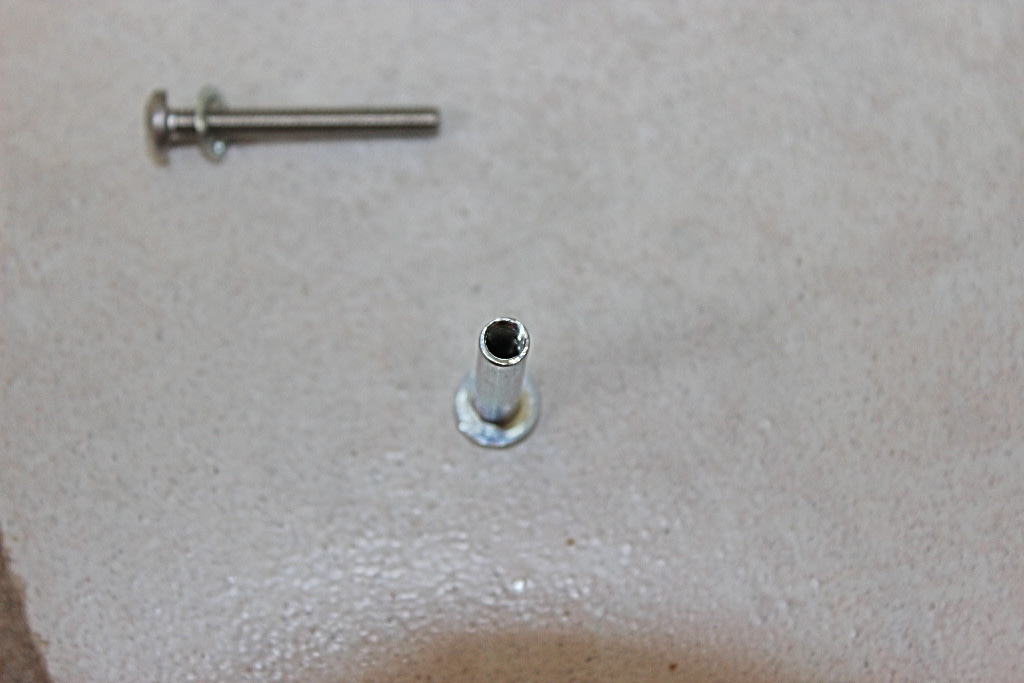
What I have done to these catches is this. I bought these binding posts (at least that is what they call them at Lowes) or cap nuts. In effect, they are threaded tubes with a flanged or washer type flat end on the closed side (images 1570, 1661, 1663) and on the open side you can screw a screw into it (image 1662). I went the extra mile here and cut some aluminum plates from 1 ½” wide 1/8” thick flat stock of about 4 ½” long and some shorter ones about 3” long and laid them horizontal for the front catches (images 1569, 1570). I drilled two holes in each using the catch’s holes as a template. Then I drilled holes all the way through on the trailer sides using the existing sheet metal holes and put the longer aluminum plate to the inside of the trailer and the shorter one to the outside and pushed those binding posts through and put screws on the outside and sealed the outside plate to the trailer with some Goop (my favorite new glue that I like to use) before screwing it down. These plates will spread all of the stress to a much wider area on the outside and on the inside too as well as to the wood that holds down the weather flaps (image 1570).
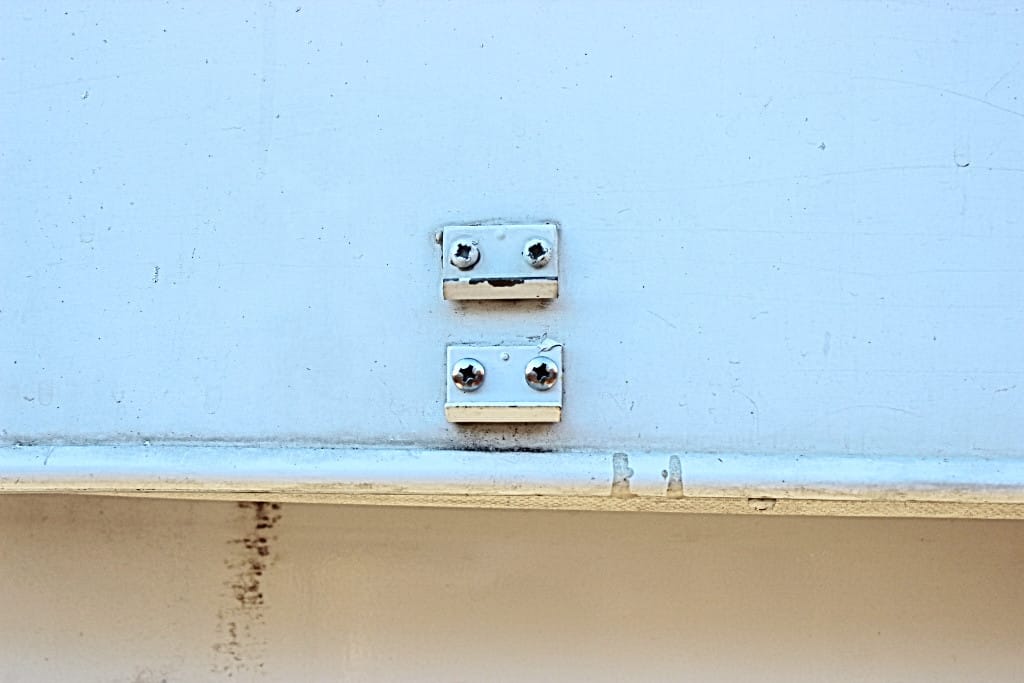
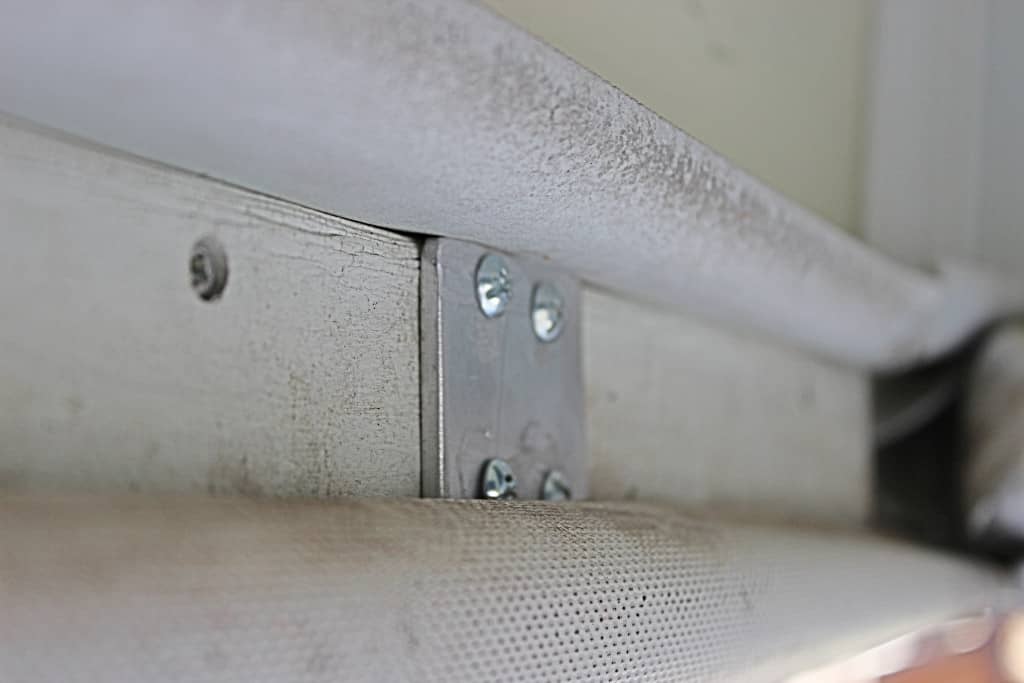
I also did the rear catches (images 1598, 1599). On the rear catches I used 2” wide aluminum flat strap. I cut four pieces 3” long and placed these vertical on the outside (images 1601, 1602 and the inside (images 1603, 1604, 1605…. what you can’t see here is that the aluminum shim extends an inch or so between the weather gasket and the shell wall). So to facilitate the extra added latch catch that I had placed, these were put on horizontally. The extra catch is possitioned about 1” under the original one (images 1601, 1602) to give a little extra clearance so as to make closing up the rear shell easier when leaving the blankets and sheets on the bed.
It just seems silly to have to strip the bed and then have to remake it every day. More work…more hassle…more time wasted!
Here’s a little secret….when I close up my trailer I use a piece of ¾” galvanized pipe about 4 ½ -5 feet long to get leverage closing the torsion arms down on the locking latches (the ones in the middle of the trailer). When closing the rear shell I stick that pipe in the stirrup (where one would normally use their foot and stand up in to use their weight…only my shoe won’t fit in there without some Vaseline Jelly ), and then push the end of the pipe under the frame of the trailer and then push that pipe down. I get plenty of leverage and the shell closes right on down and latches with no hassle at all! When closing the front shell I do the same thing, only instead of the using the trailer frame to stick the pipe under, I use the spokes on the tire rims. Works every time.