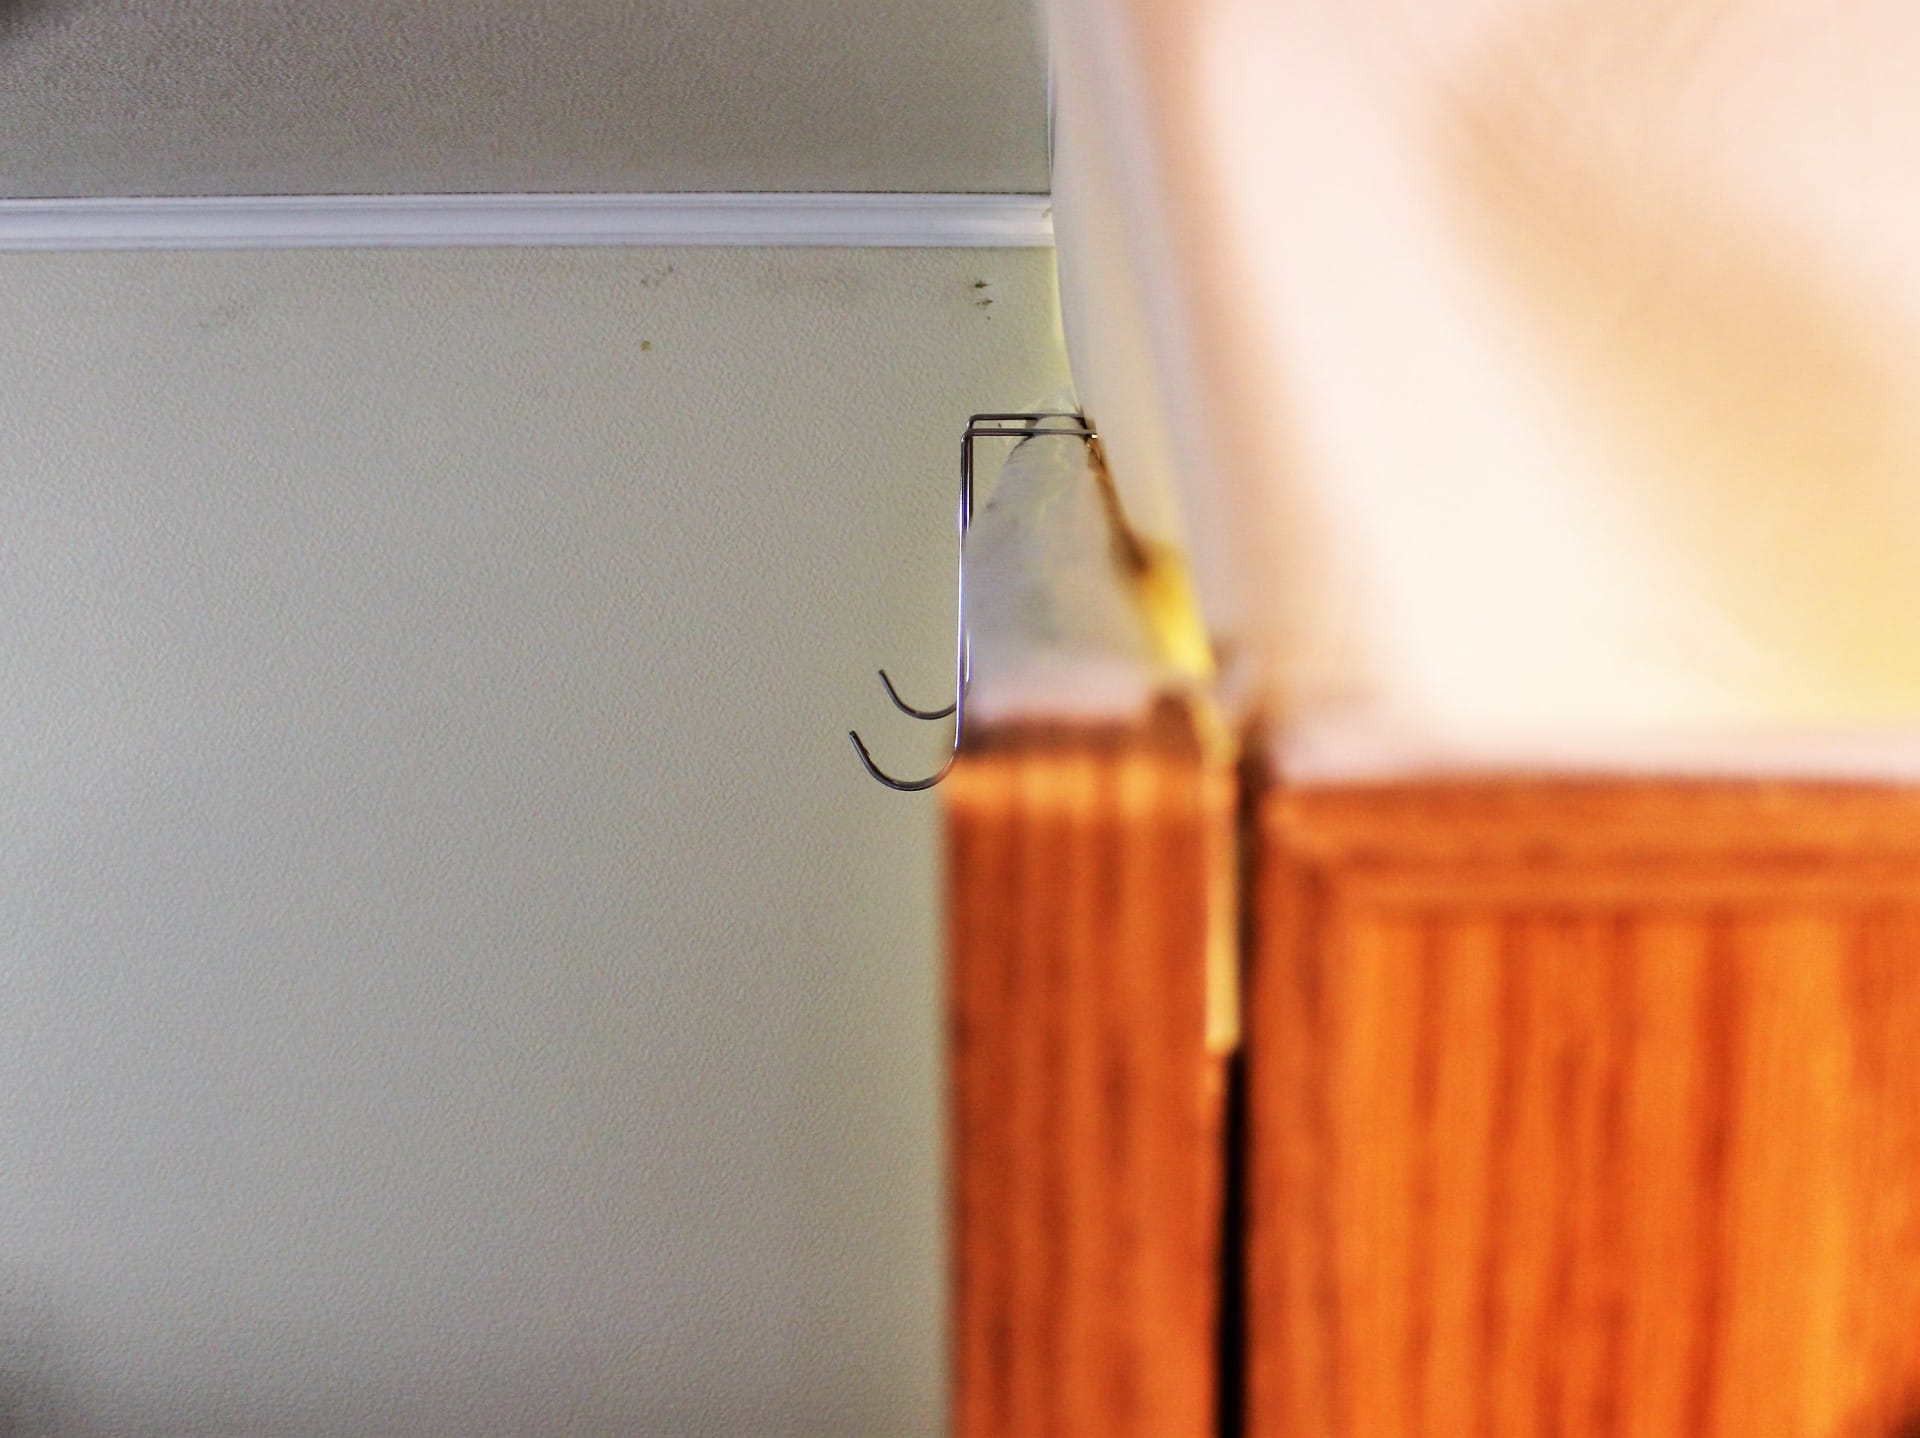
Not everything most rewarding has to be complicated. Case in point….the Trailmanor shower (tub??). Other than the toilet, it could stand the most improvement in the bathroom (preceding the lighting). When I got my TM I was told to get two shower curtains for the shower to completely surround the shower enclosure. It was nice that Trailmanor supplied you with enough hooks to do this job too. But taking a shower in there was worse than trying to use a phone booth while wearing a straightjacket. So when I got my hot water on demand hot water heater things improved a bit, but the space was still restrictive to say the least. What to do?
Enter “SirDrake” from the forum who posted a complete shower make-over (thank you). I am sure he wasn’t the first to think of this, but he was the latest. So after reading what he did, I knew I had to do it too….well maybe not to the degree he did but the basic solving of the space problem. What he did was attach another shower curtain to the two folding bathroom walls with Velcro. Ahhhh…good ole Velcro! By doing that he was able to ditch one of the shower curtains that was taking up 25% of the room in there. 25% doesn’t sound like much until you’re in there, but it’s incredible how much more room that provides!
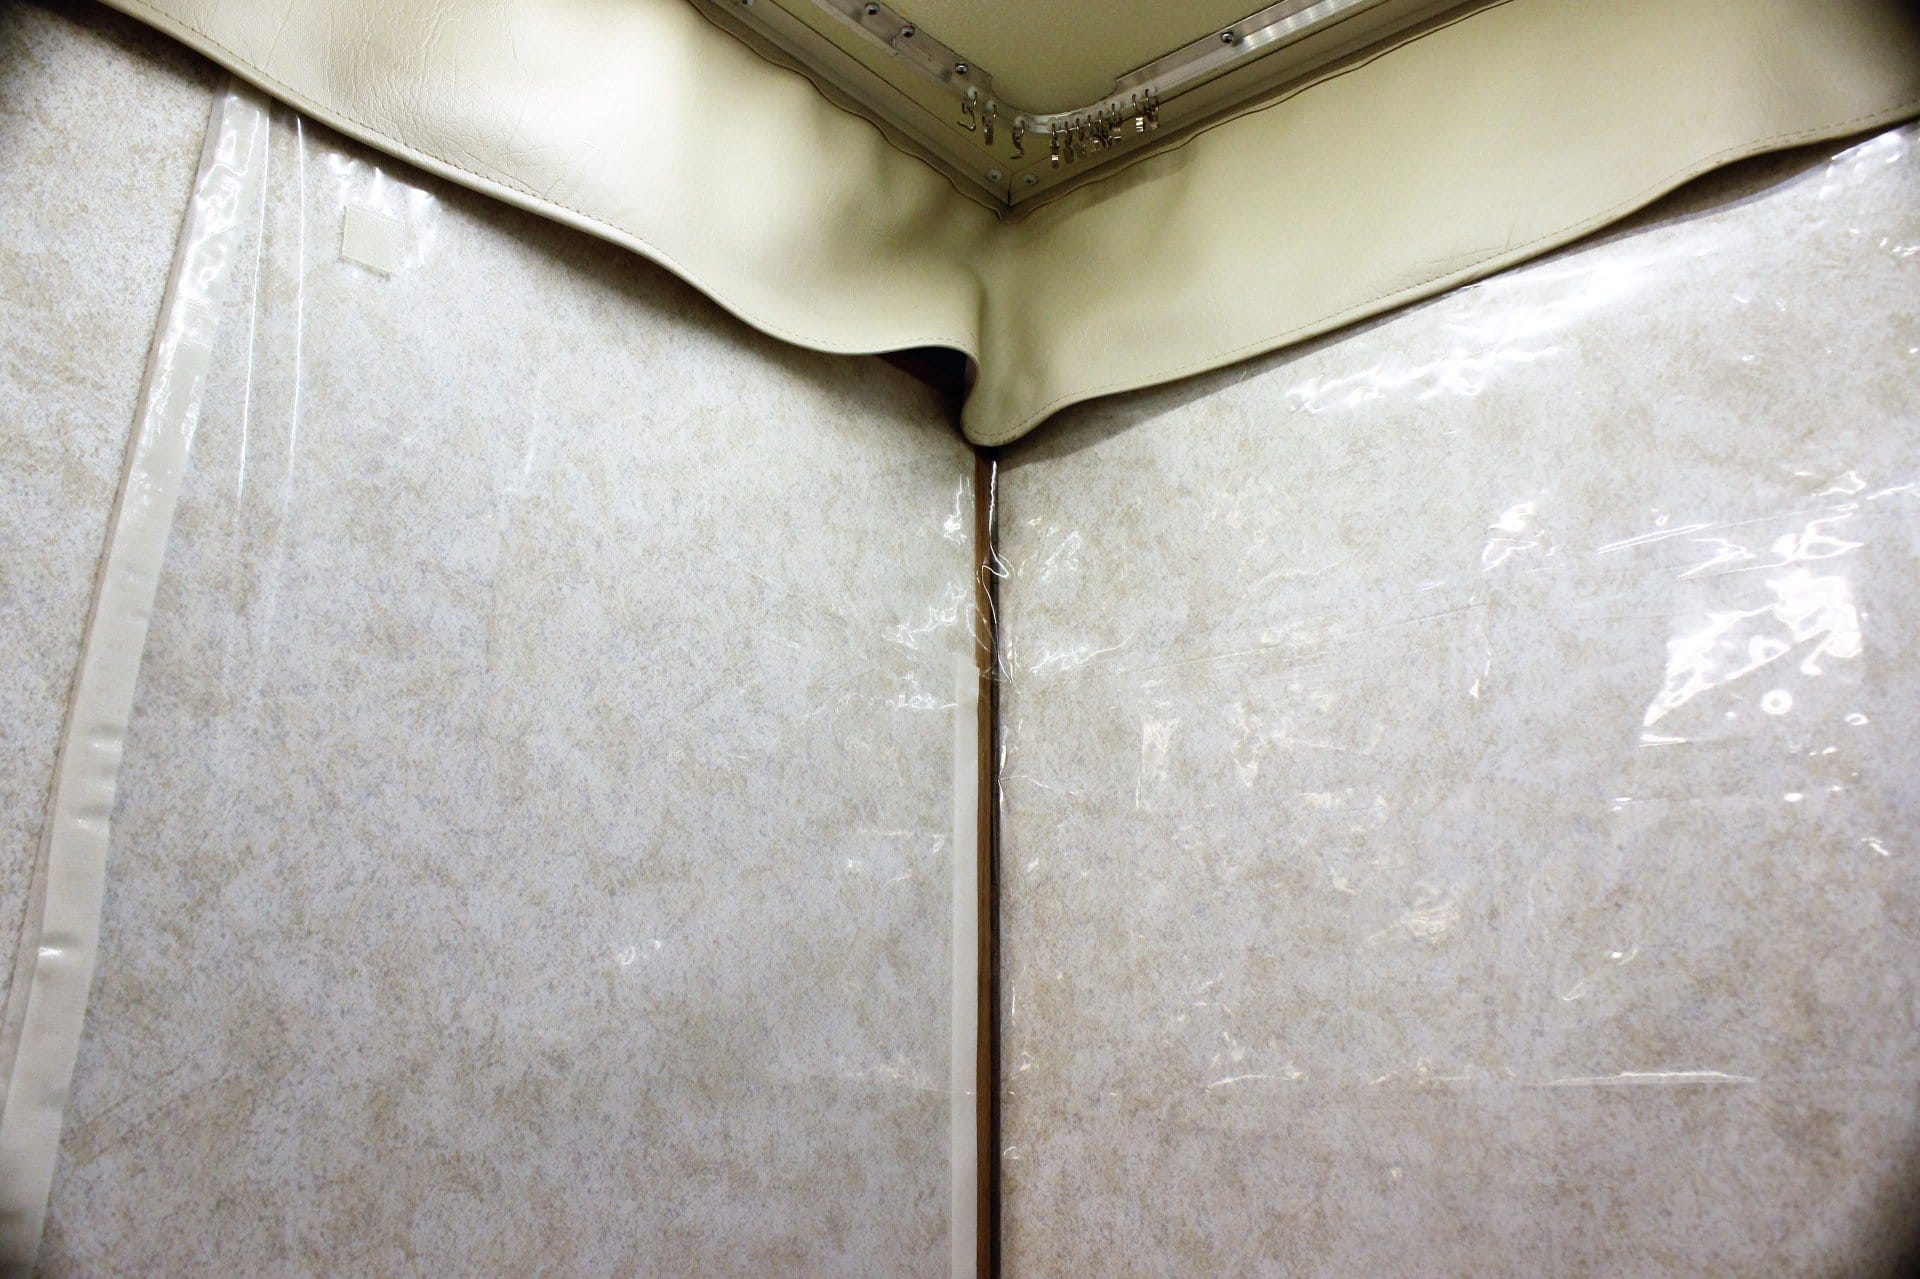
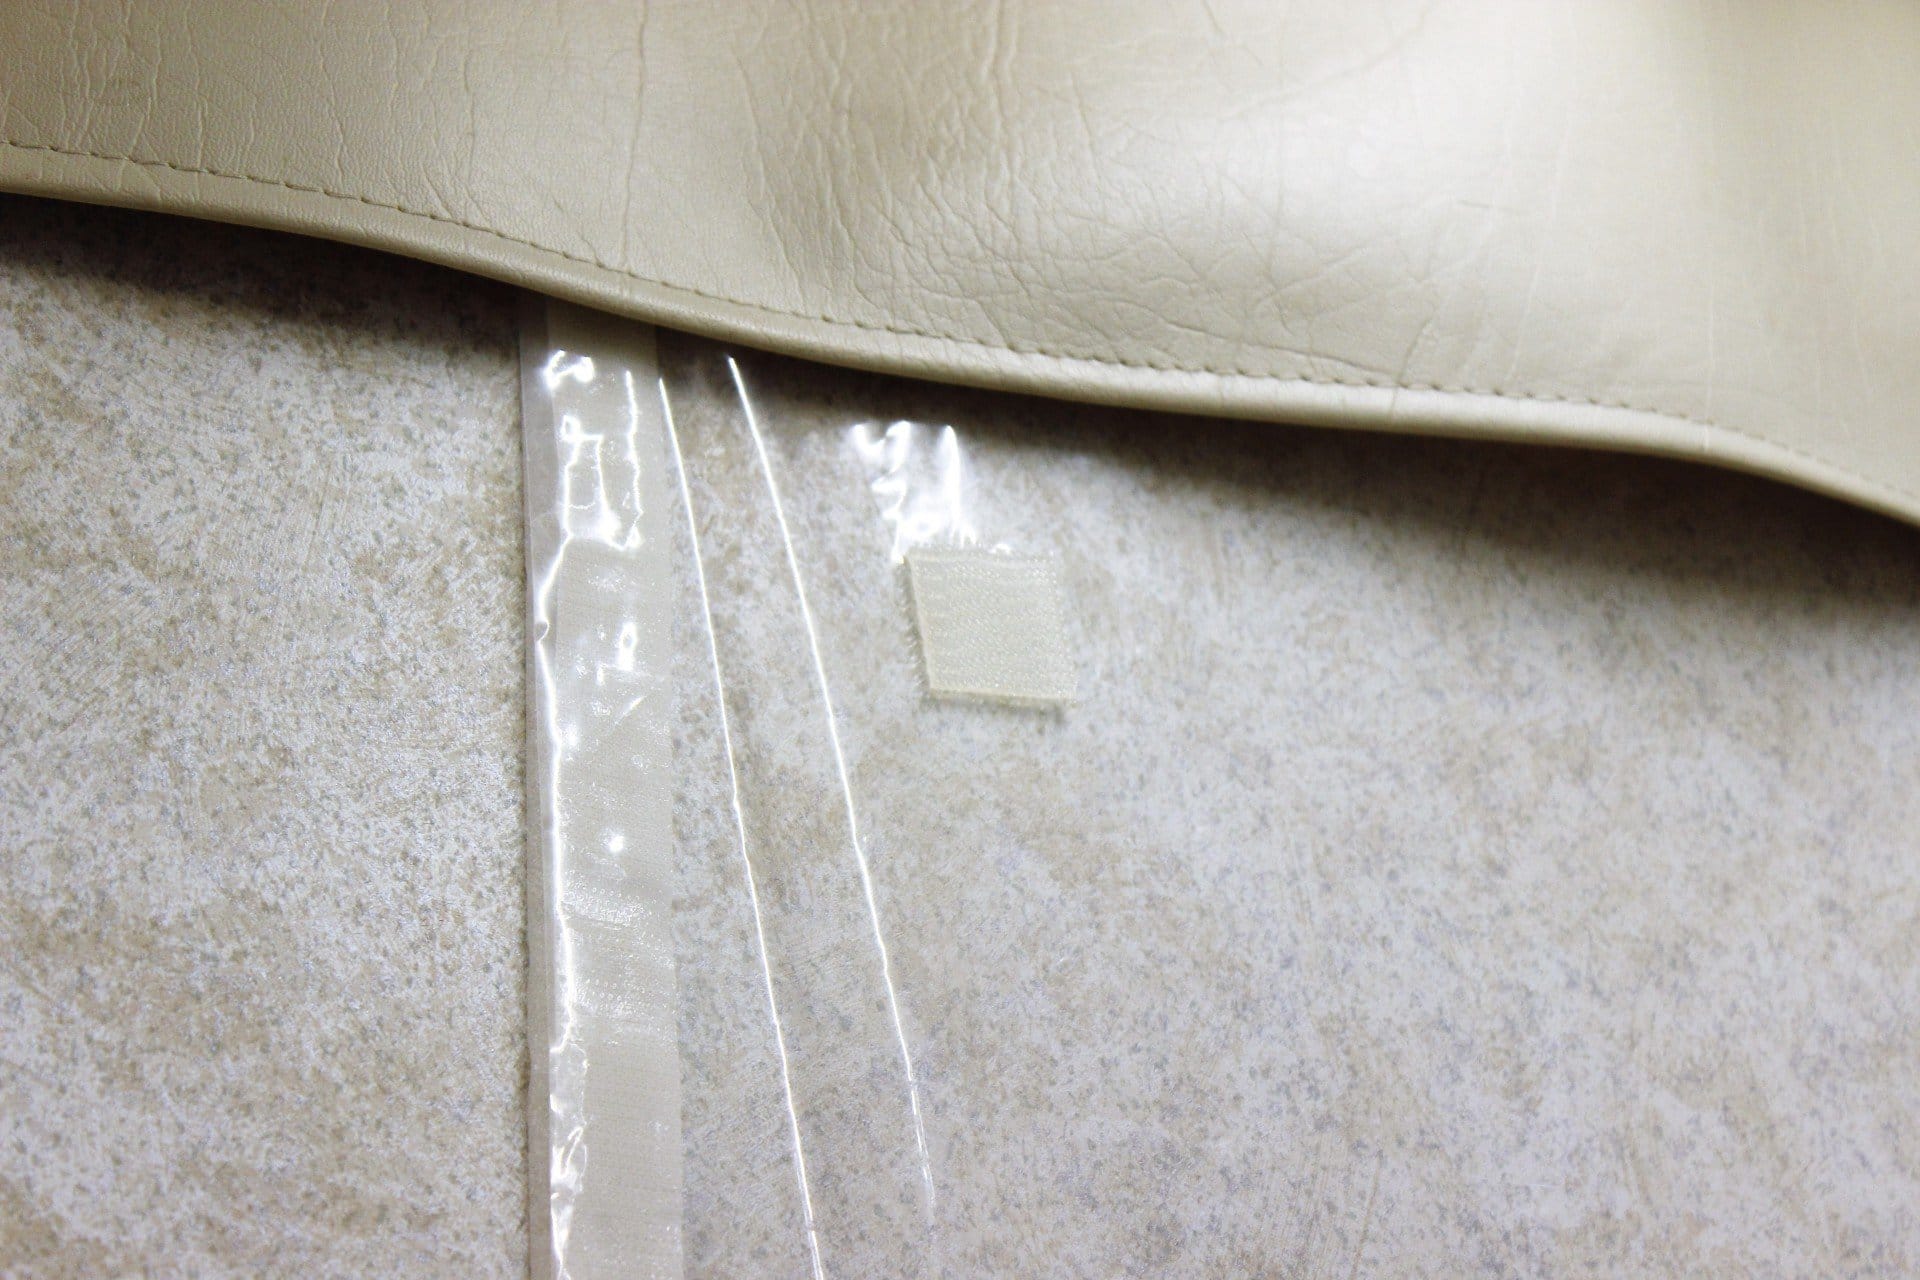
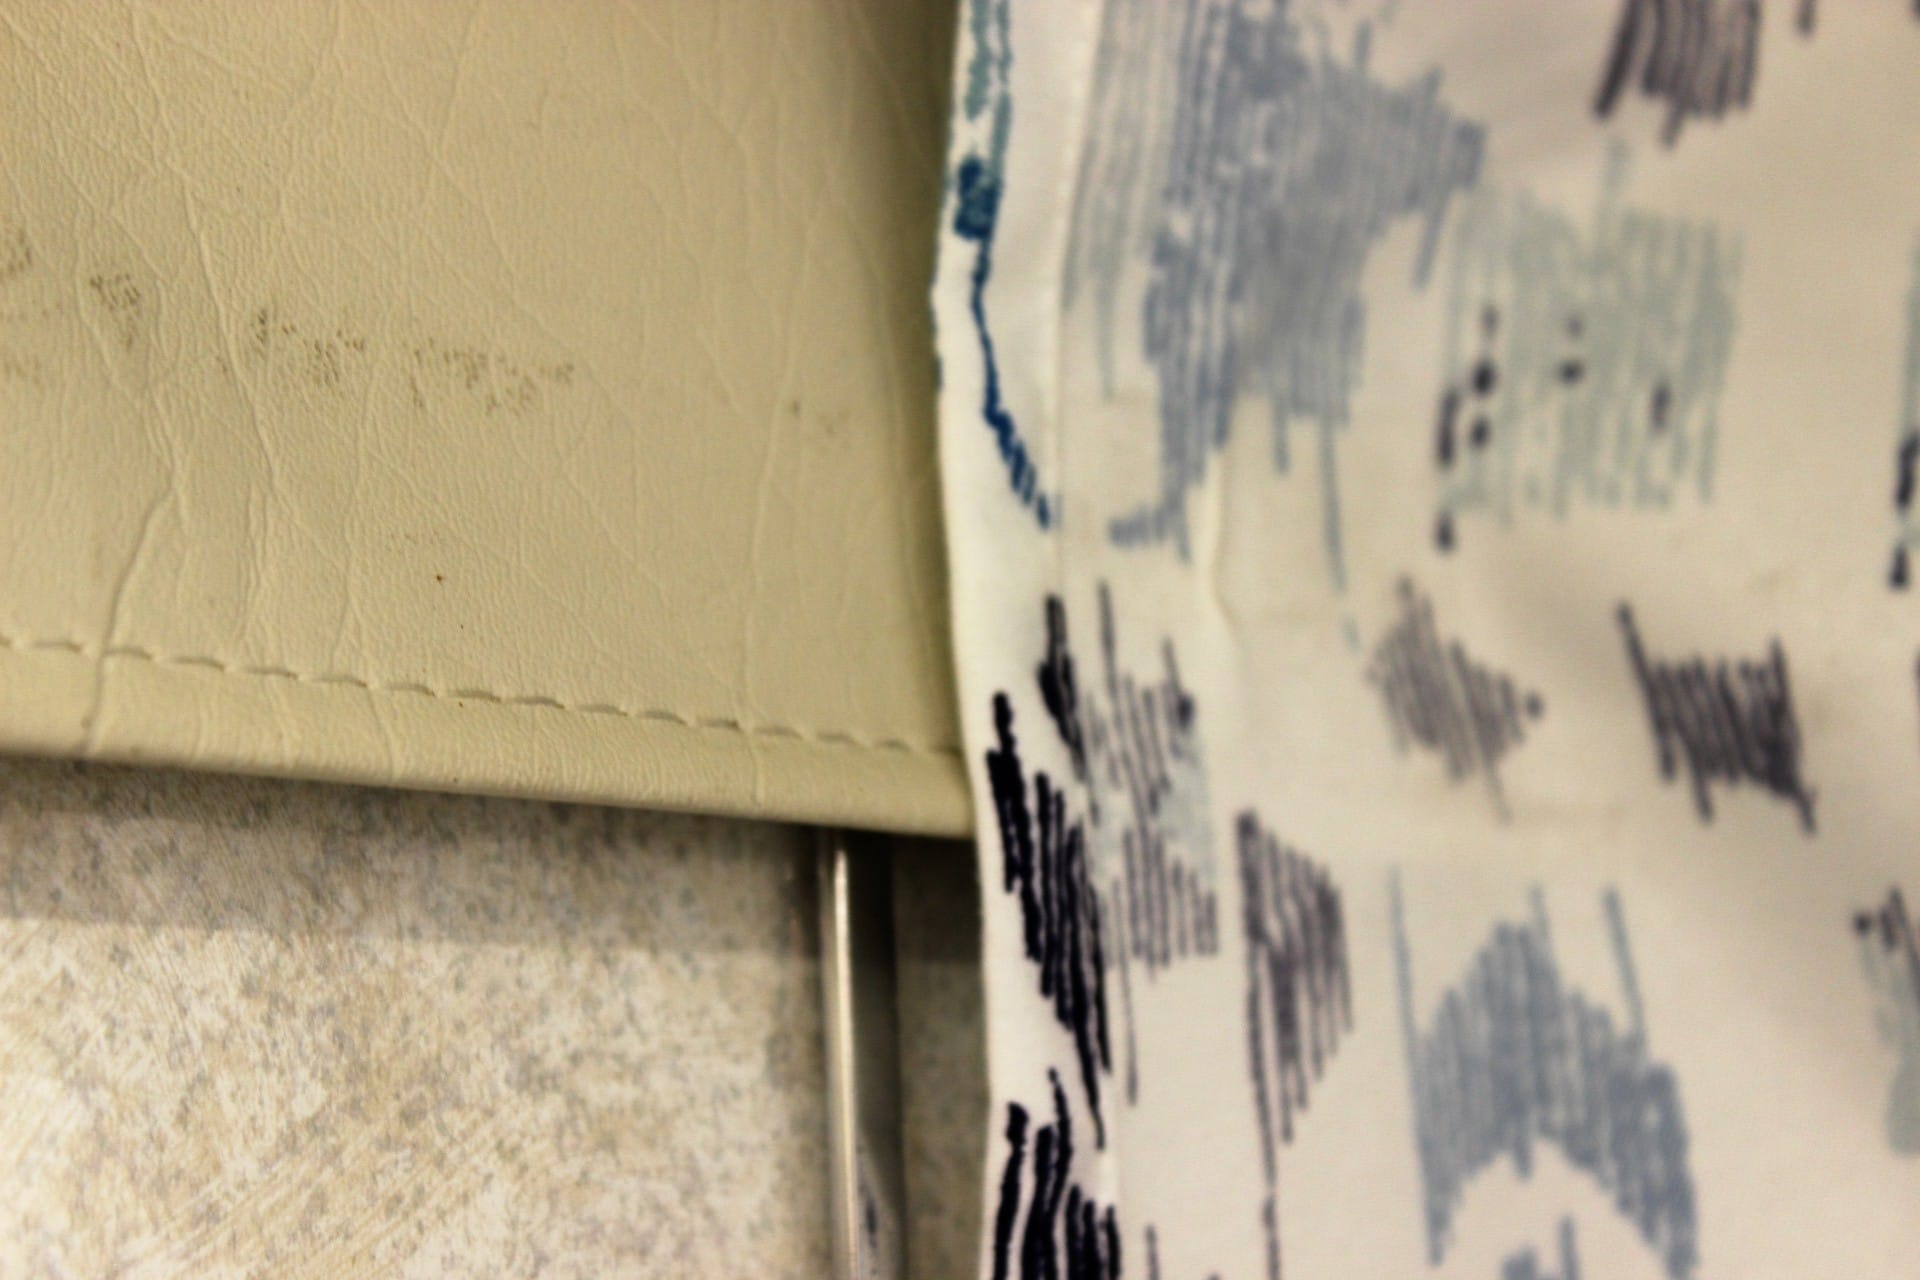
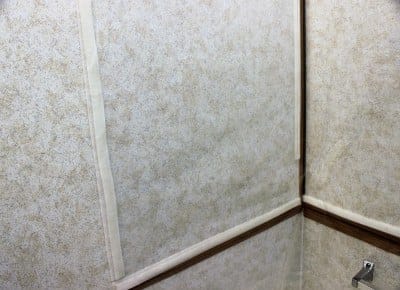
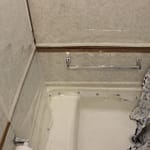
So first I took alcohol and cleaned off all the surfaces that would receive the Velcro sticky backing. This removes the oil and grime that is the enemy of Velcro. It’s a good idea to tape the shower skirt on the ceiling so you can see what you’re doing (and to let in some AC too). Next you simple lay down a 1” strip the length of the top edge (to the hinge) on the top of the rear wall (image 2098). It really helps if you have another person to assist in this project! Then do the same to the hallway/bathroom folding wall from the hinge to where it is even with the inside edge of the toilet paper holder (image 2097). Take down the towel rack and set it aside for now.
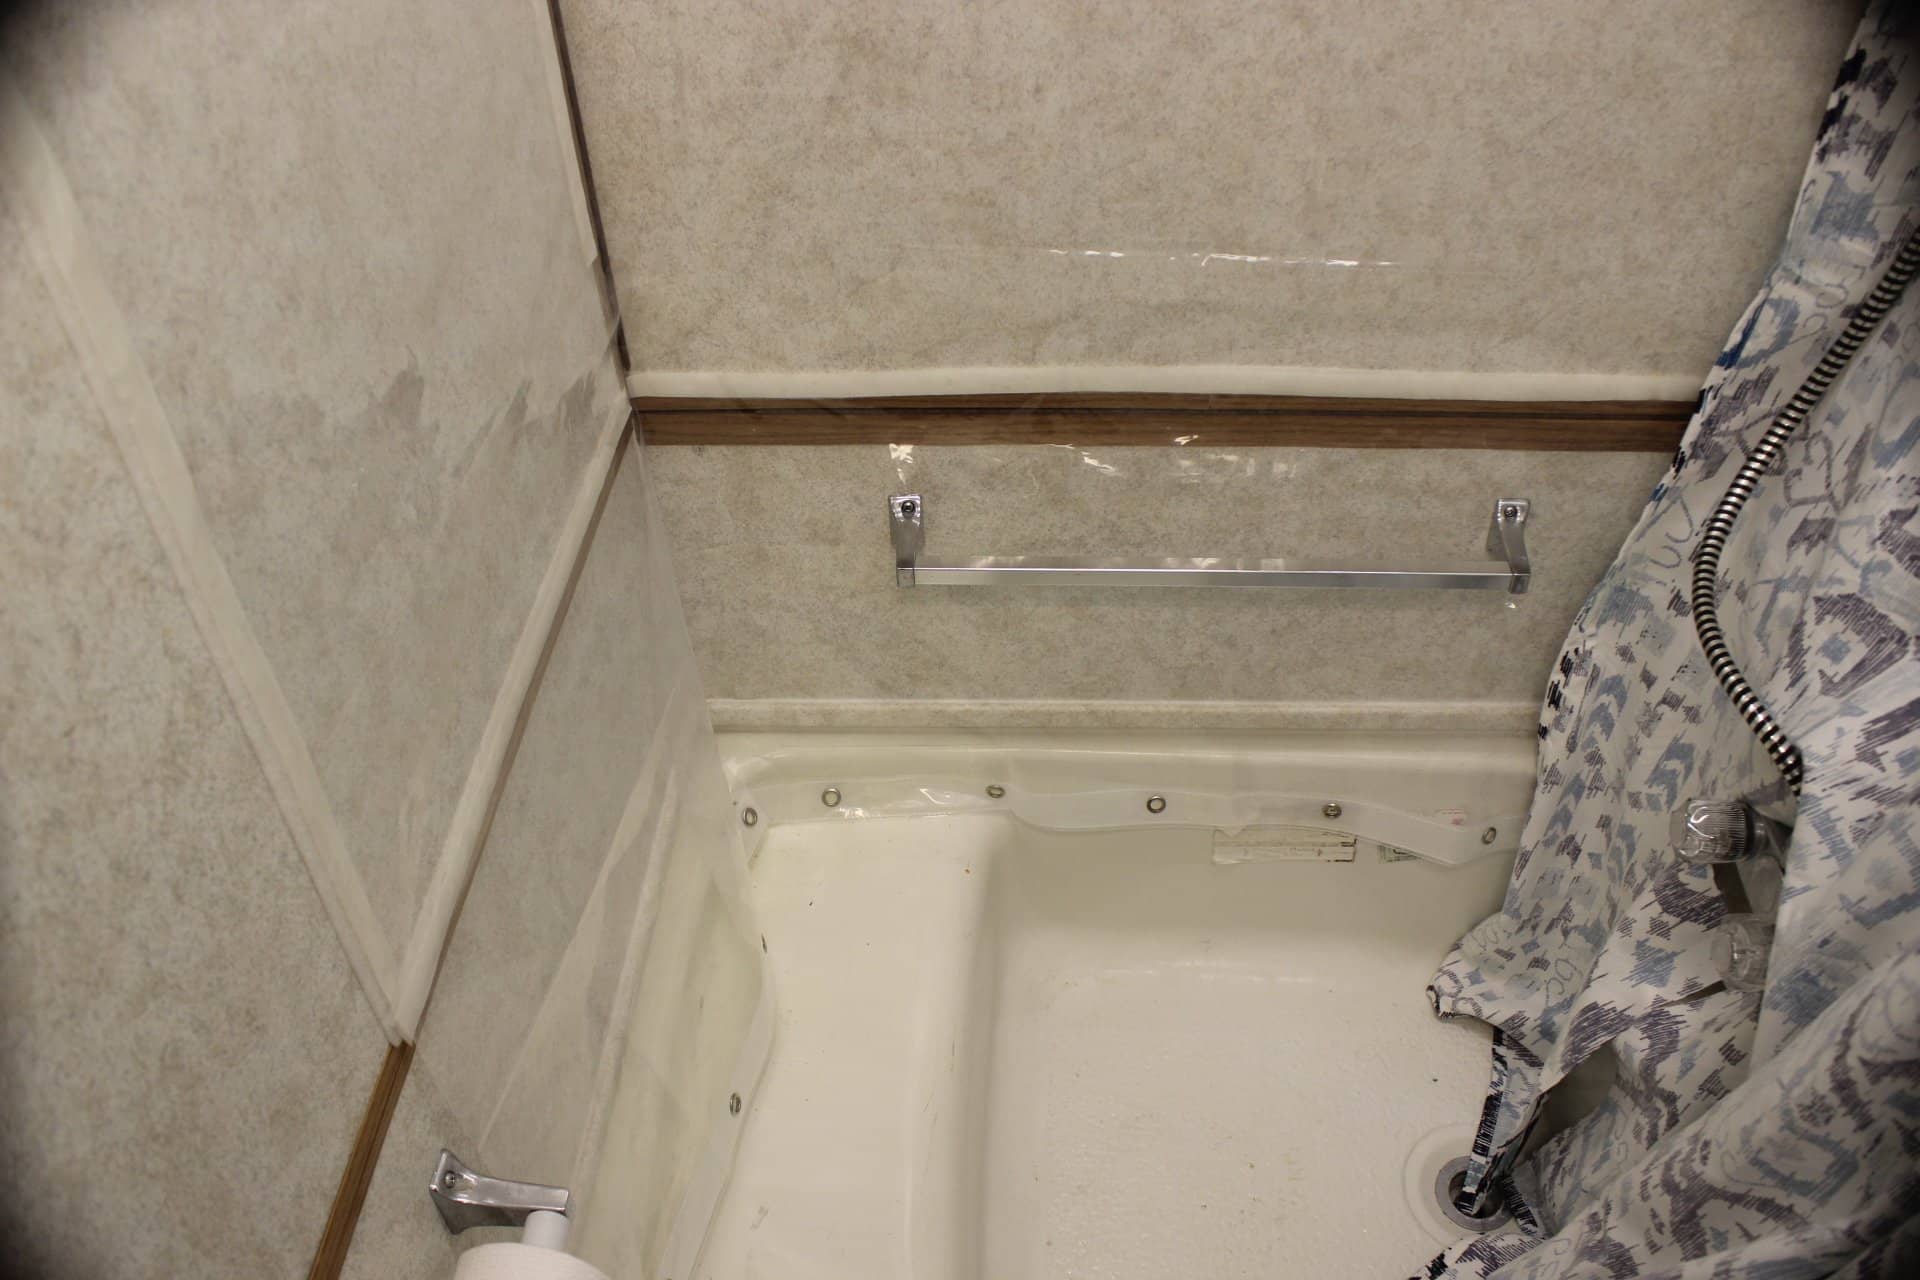
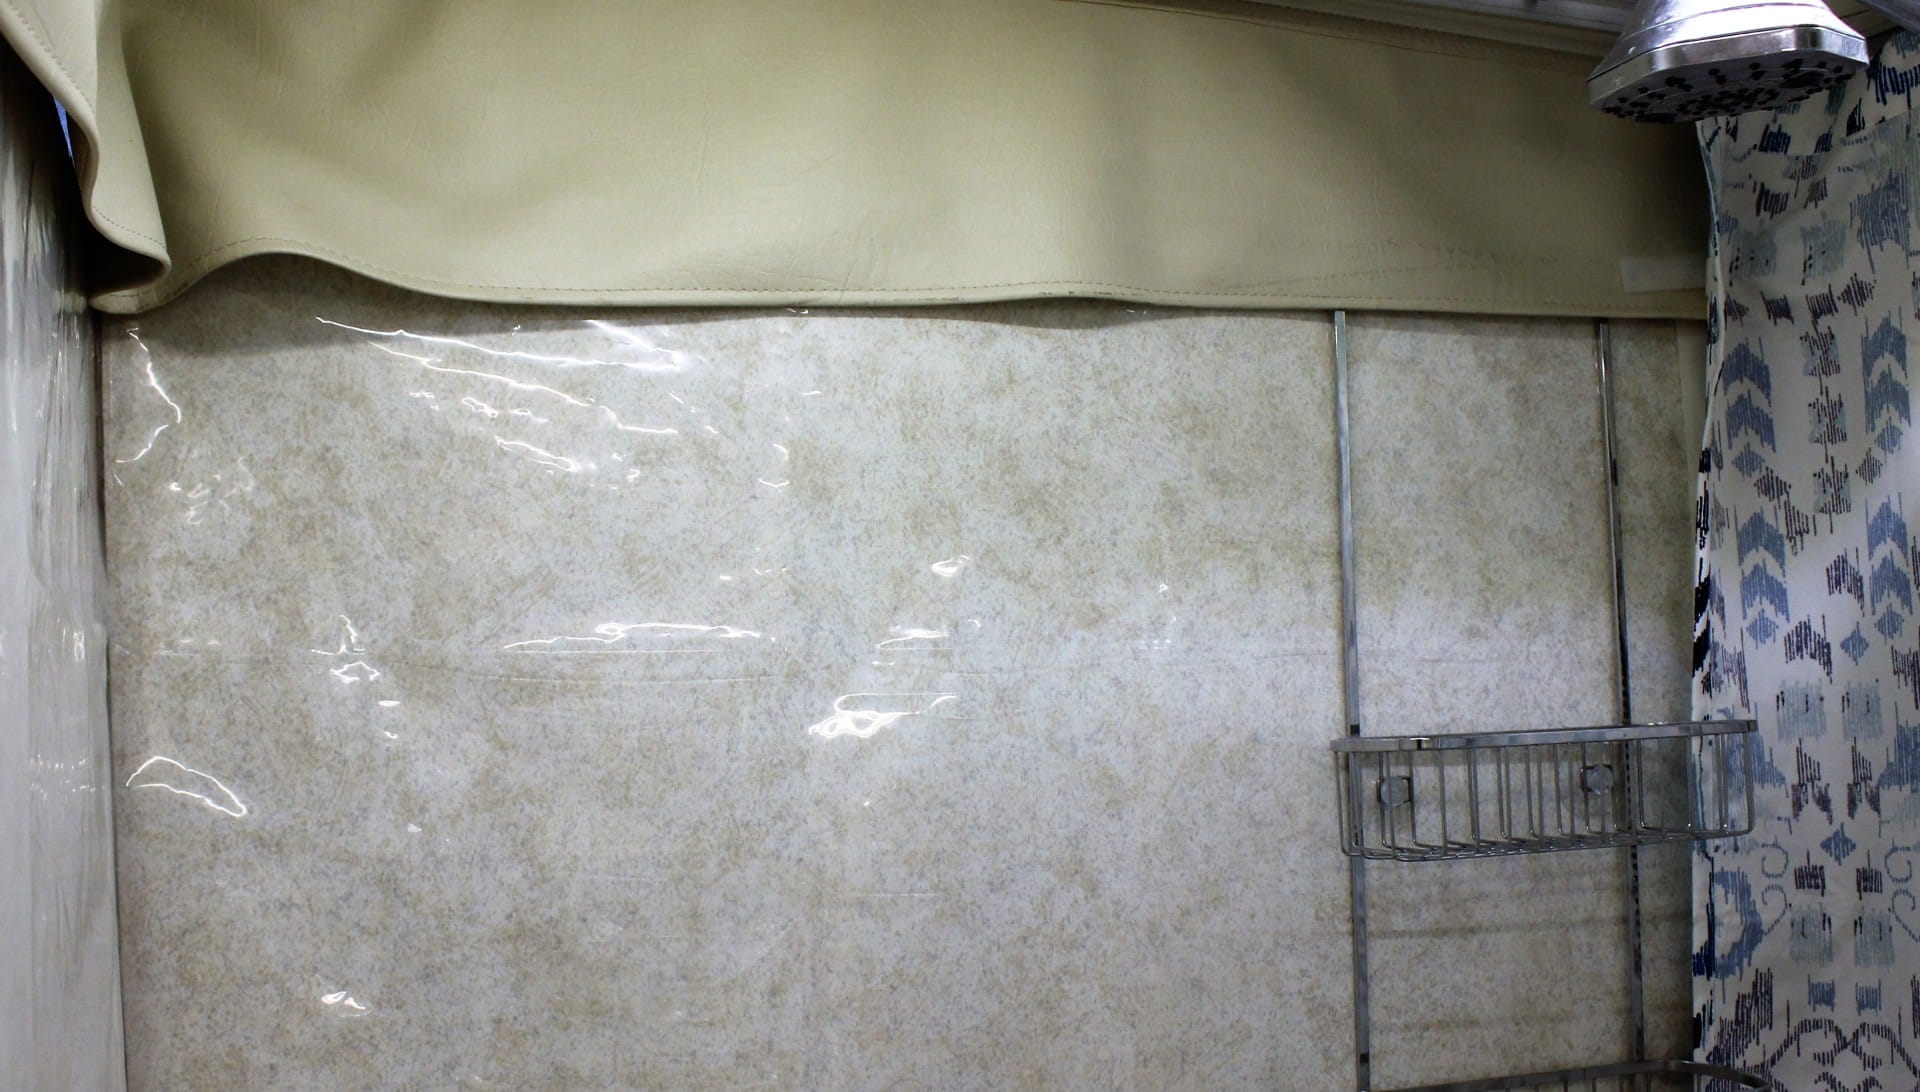
Now it’s time to cut the plastic shower curtain (I bought a clear plain shower curtain liner to put up on the walls instead of one like SirDrake bought with pockets on it). Measure from the top outside edge of the wall (folded over the wall) to the top of the tub seat/shelf. This is how long you will want your plastic to be. Then measure the width of the plastic (I left enough to reach the shell wall from the folding wall to seal that gap…about 2-3”…image 2100), from the shell wall to the folding vertical hinge and from there to the inside edge of the toilet paper holder. Mark and then using a long straight edge (like one for cutting plywood), take a razor knife and cut your plastic. It helps if you have a sheet of plywood to cut on and an assistant to help hold the straight edge. Some say to cut off the side with the grommets, but I didn’t because I like using them as weights to help keep the plastic in place in the tub (image 2086).
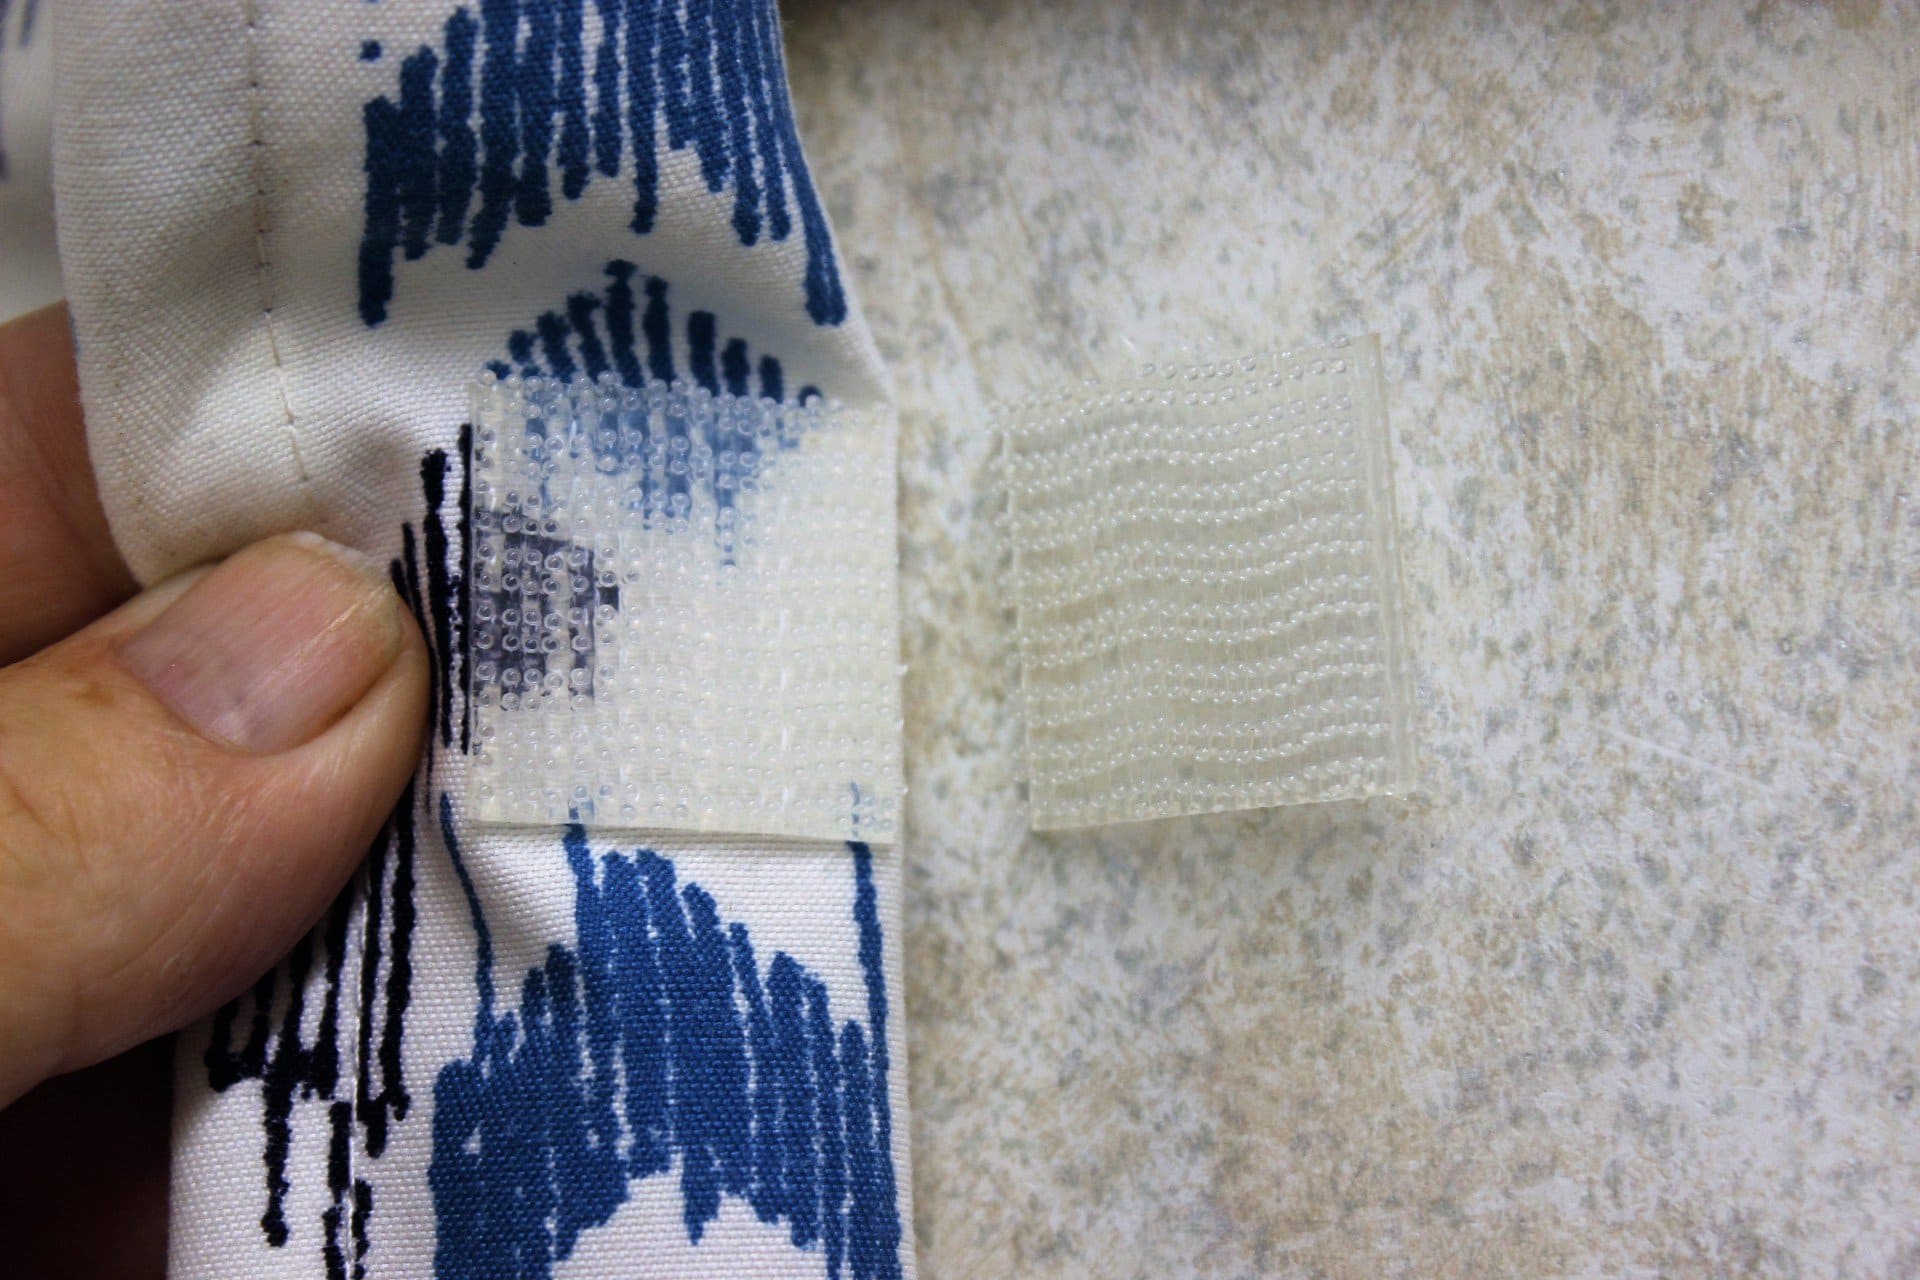
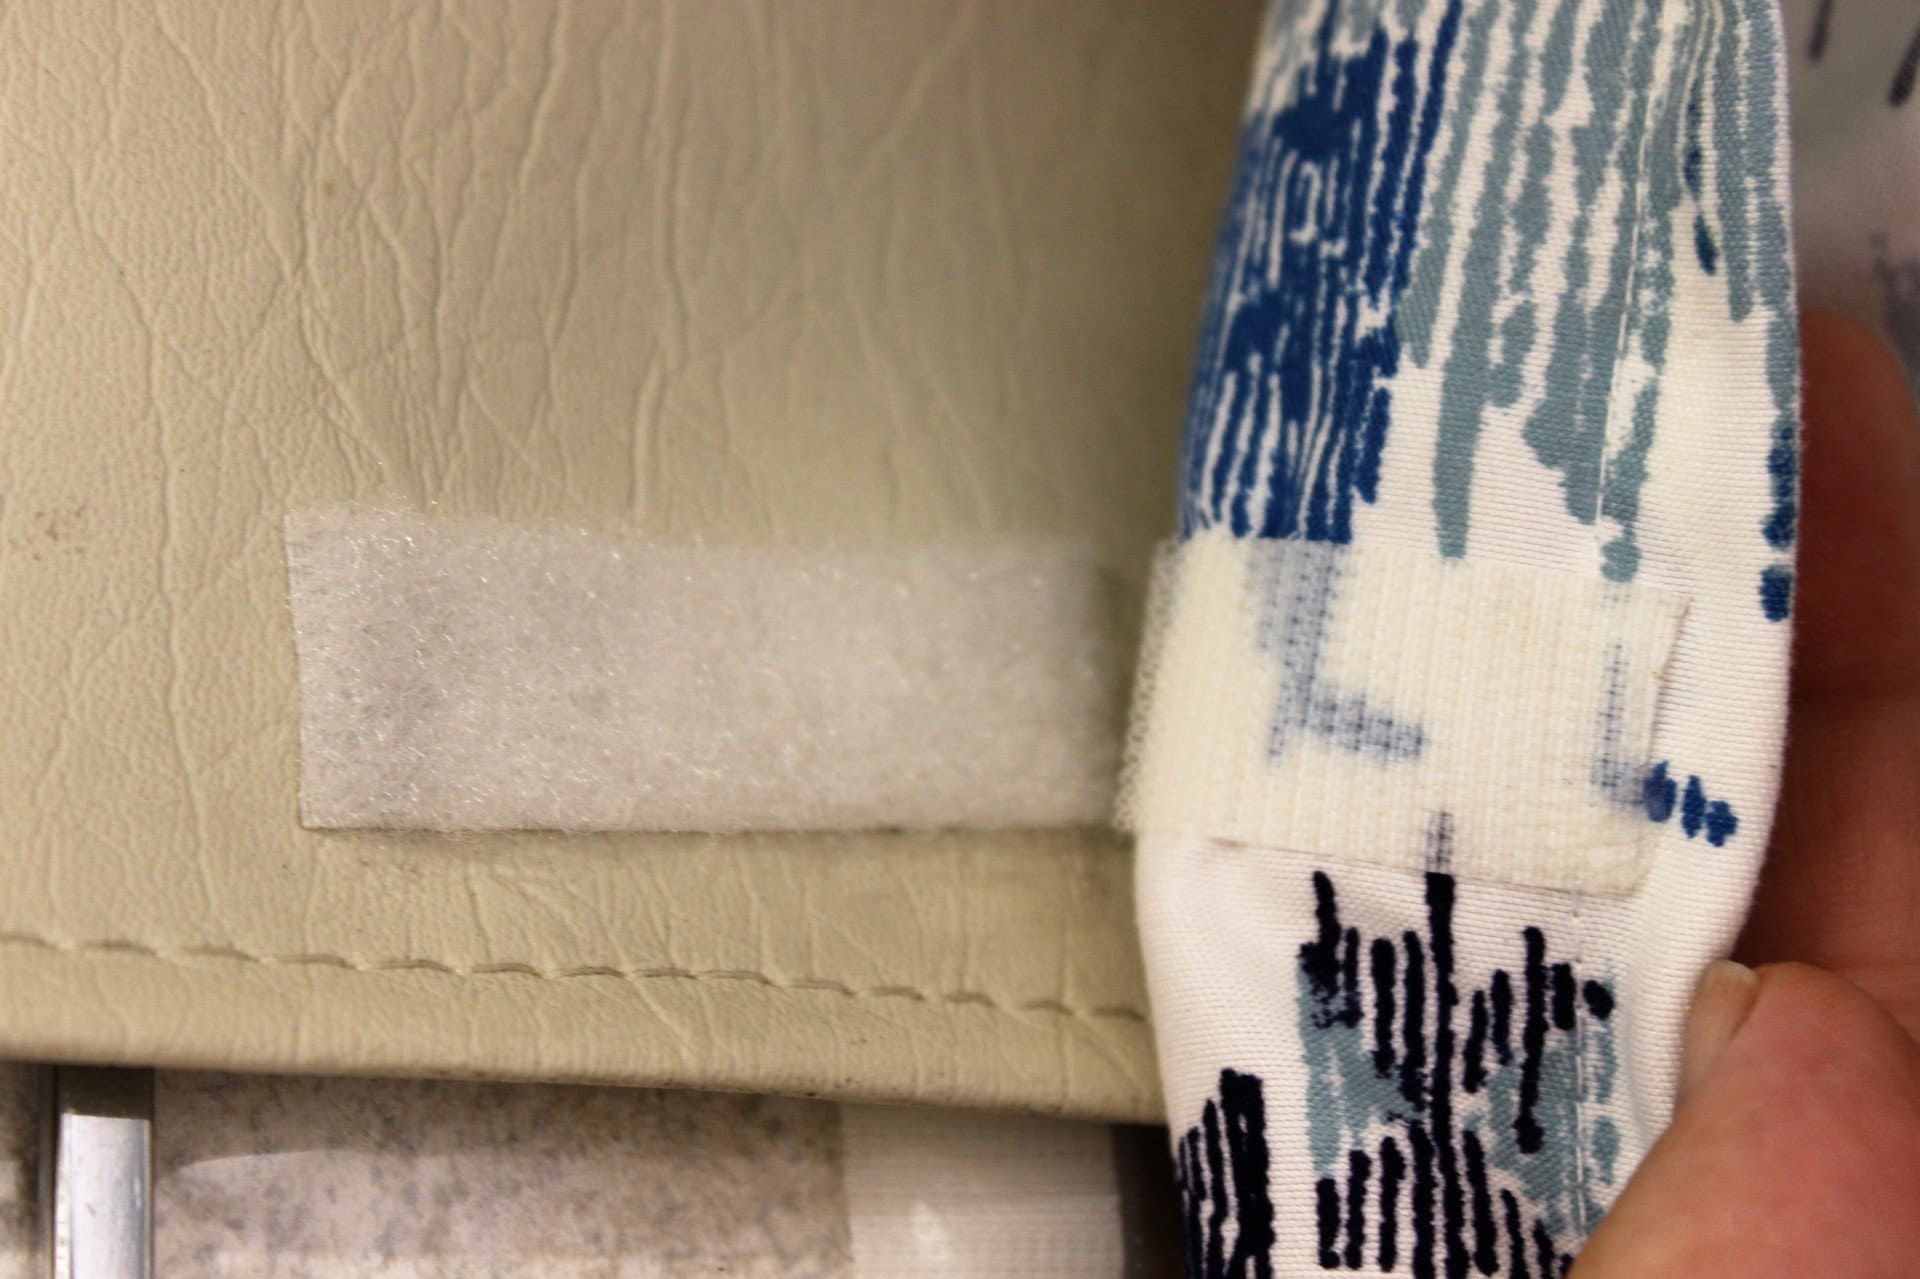
It’s time for the Velrco to go down. My Velcro came in a box on a roll, both parts side by side (fuzzy carpet looking loops on one side and nylon hooks on the other side. Take both sides of the Velcro and fold it together on its self so it will stick together. Only peel off the protective backing for the fuzzy/loop side of the Velcro and place it face up/out on the walls. Once the Velcro is up on the top edges, it’s time to run some along the bottom of each of the folding walls and some vertical pieces down the walls (image 2095). This will keep the plastic tight against the wall. Run a vertical piece on the hall side wall at the inside edge next to the hinge. This will help keep it in place when you fold the walls together (image 2087). Likewise, run another vertical piece down the rear wall on the edge next to the shell wall (image 2102). You will have to trim the extra piece/flap that seals off the gap between the rear folding wall to the shell wall, around the bottom of the tub so it will hang right (image 2101). The last vertical piece is run down the hall/bathroom wall next to the inside of the toilet paper holder.
With the hook side pressed down into the loop side of the Velcro, and the sticky side up (with the protective plastic still on it), peel the protective plastic backing off of the Velcro hook sides that run along the top edges of the walls first. Starting with the right inside edge (between the rear wall and the shell wall) on the top edge of the wall, start laying down the plastic so that the edge of the plastic folds over the rear wall and lays on the top edge. It helps if your assistant holds the plastic tight into the seam where the hinge folds the walls together. Once you reach to where the hinge is and starts to make the 90° angle, you will have to cut the plastic at that point, so that the piece that will attach to the hall folding wall can fold over its edge. Now that you have the top edge completed for the rear wall, do the same folding over of the plastic for the hall wall.
Next is to attach the vertical pieces of Velcro to the plastic. Start on the right and peel off the protective layer and work your way down the wall pressing the plastic into the Velcro. Here again, it helps to have the plastic kept tight into the 90° seam where it will fold together. Next, on the rear walls bottom edge where it folds down, peel the protective layer off and while holding it tight against the wall, press the plastic into that horizontal Velcro strip all the way to the hinge. Now do the vertical piece on the right side of the hall wall and after that the horizontal strip on the bottom of that wall. Finally, peel and press the plastic into the vertical strip that runs from the top of the wall down to the bottom of the wall next to the inside edge of the toilet paper holder. You plastic should be secured on the walls at this point so try folding the walls together and make any adjustments needed. That’s why Velcro is so nice to use. It’s easy to adjust if need be.
OK….if the fit is good (and it doesn’t have to look exactly perfect to work), install the towel rack back onto the wall.
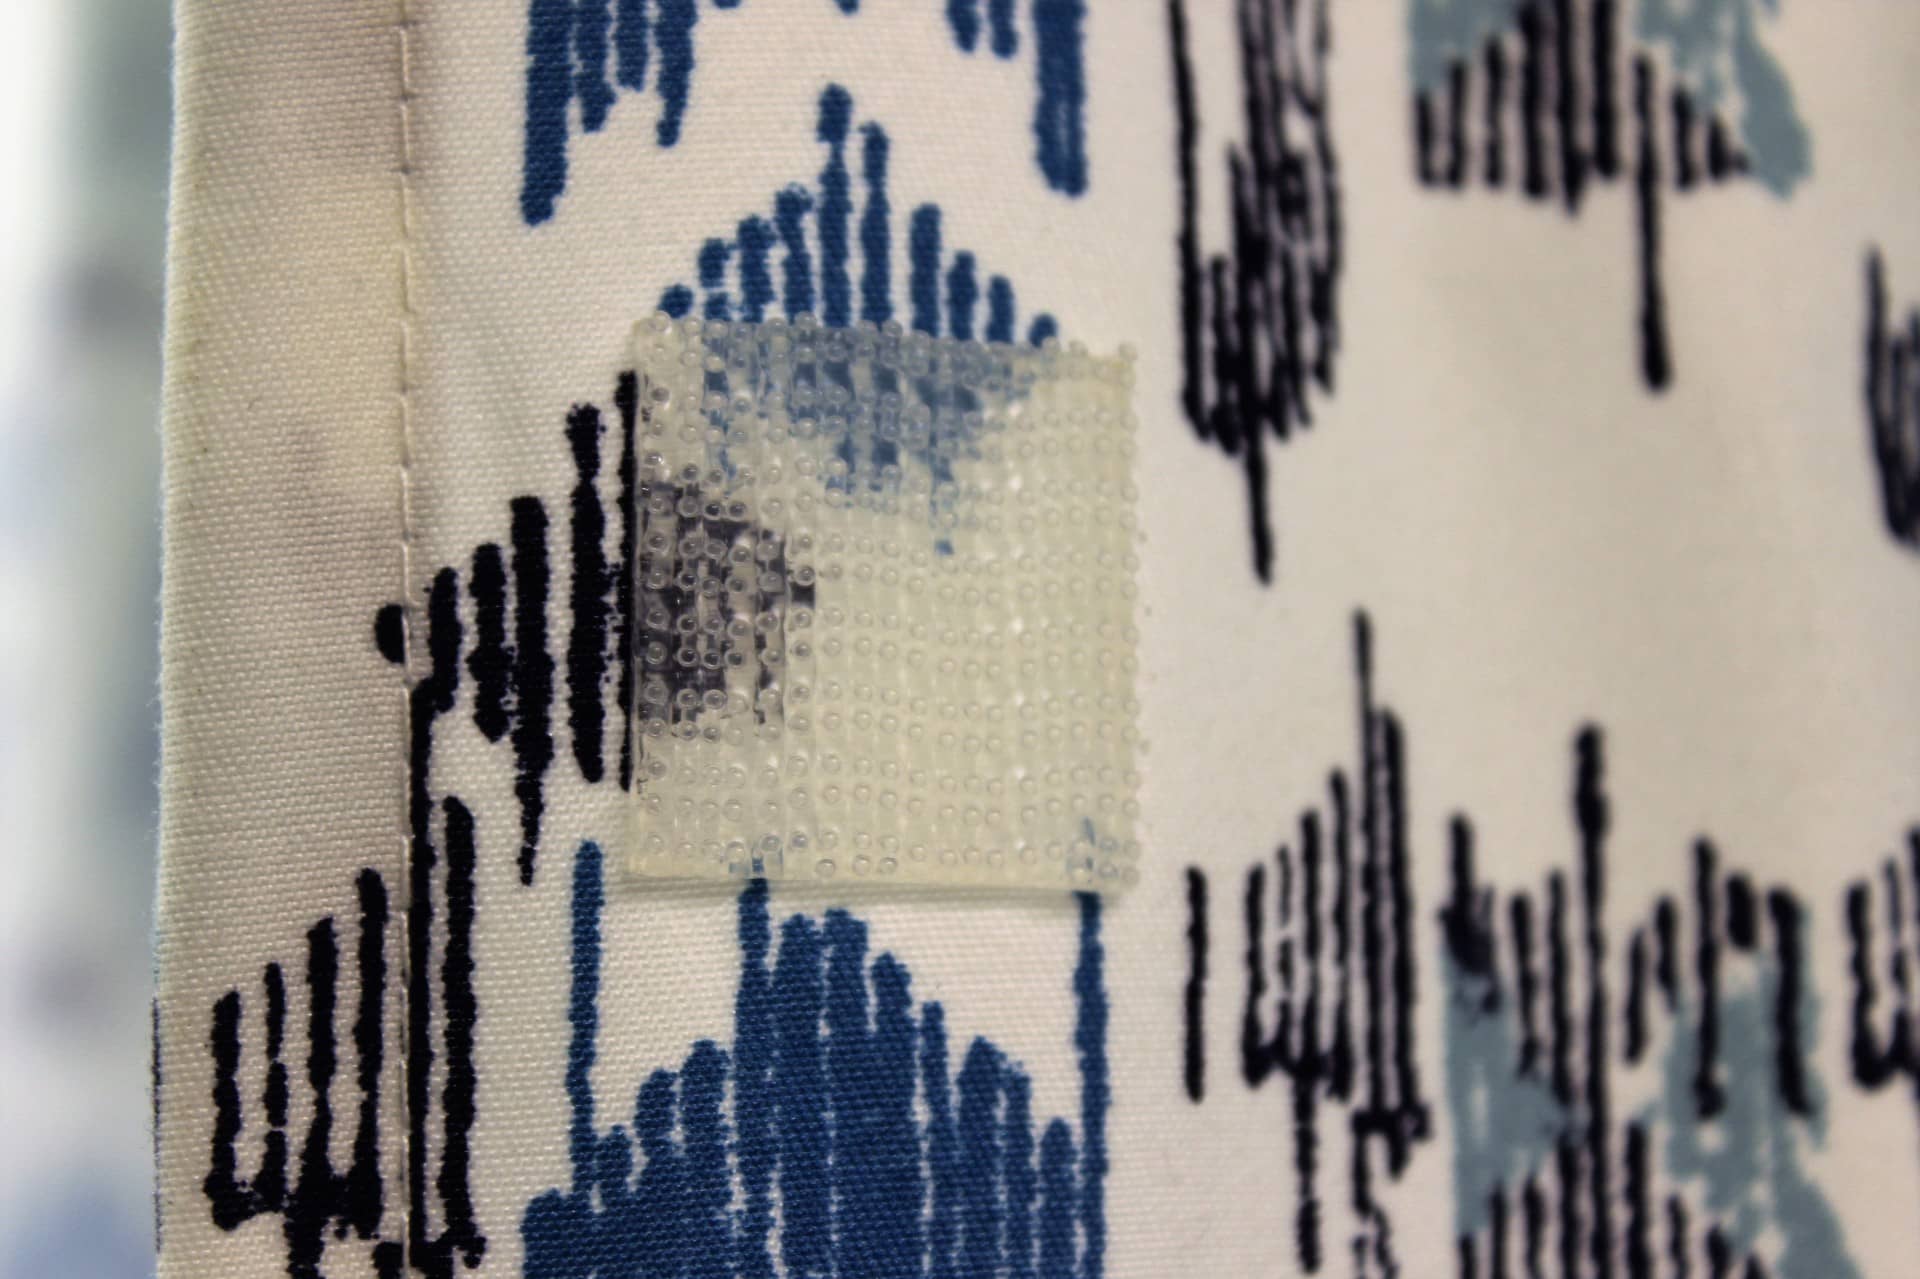
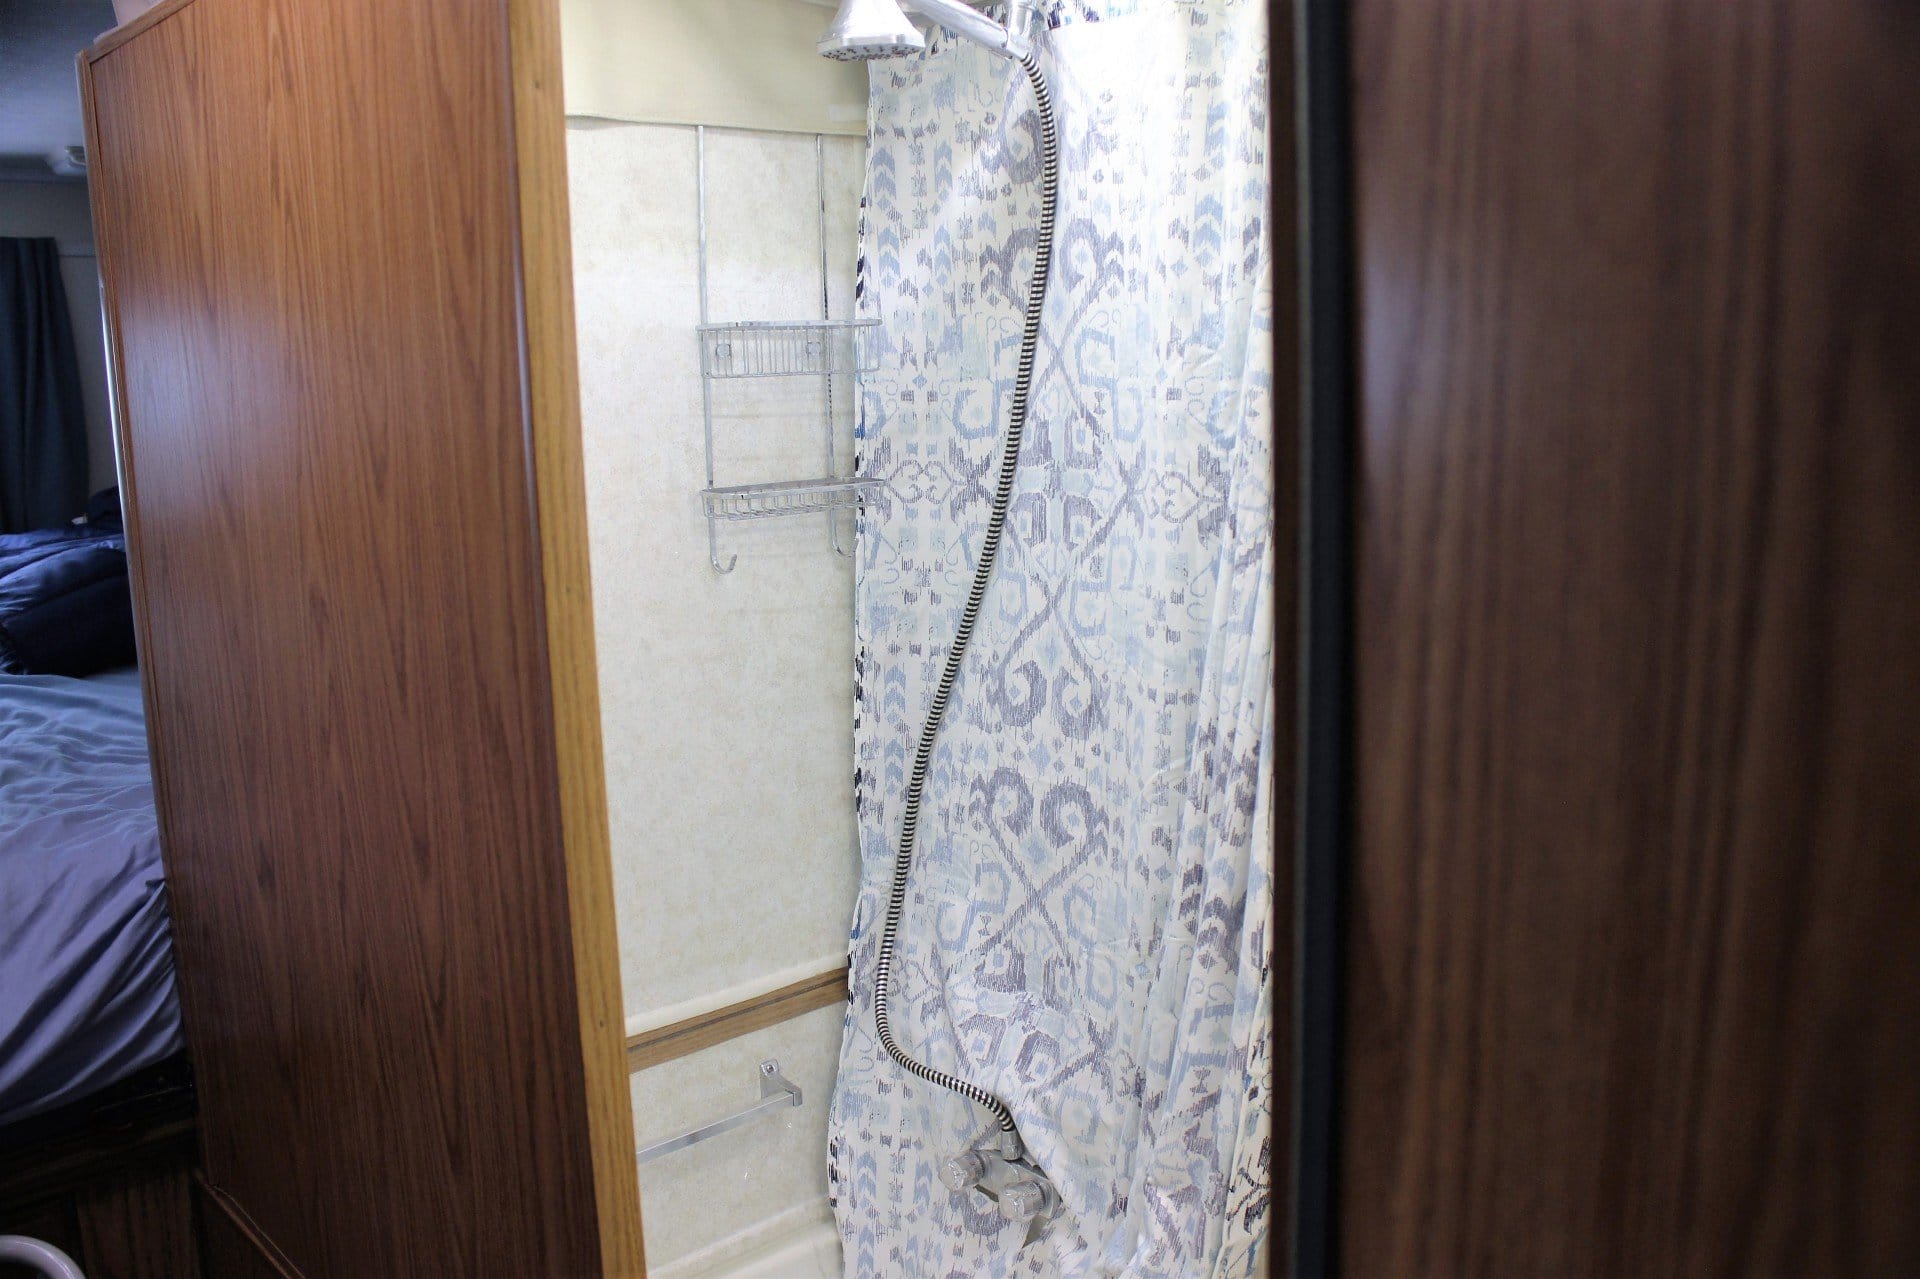
The cool thing about this modification is that you now only need ONE shower curtain to make this work. So take one down and save it for a rainy day. The one that is left up will need to be modified as well. Un-tape the skirt down from the ceiling and let it hang down as usual. While standing inside the tub, run the shower curtain around so it covers the opening completely. You will have a little slack on each end of the curtain where it overlaps the plastic on the walls. At the top of the end on the rear wall side, attach a small piece of Velcro to the shower curtain with the hook side facing out (image 2092) and the loop side on top of it. Pell off the backing and press it onto the top skirt (image 2091). This will keep the curtain in place on that end while you shower. Likewise do the same on the other end (here I used the 3M Velcro type fasteners …images 2089, 2090). This will help to keep your shower curtain closed while you shower.
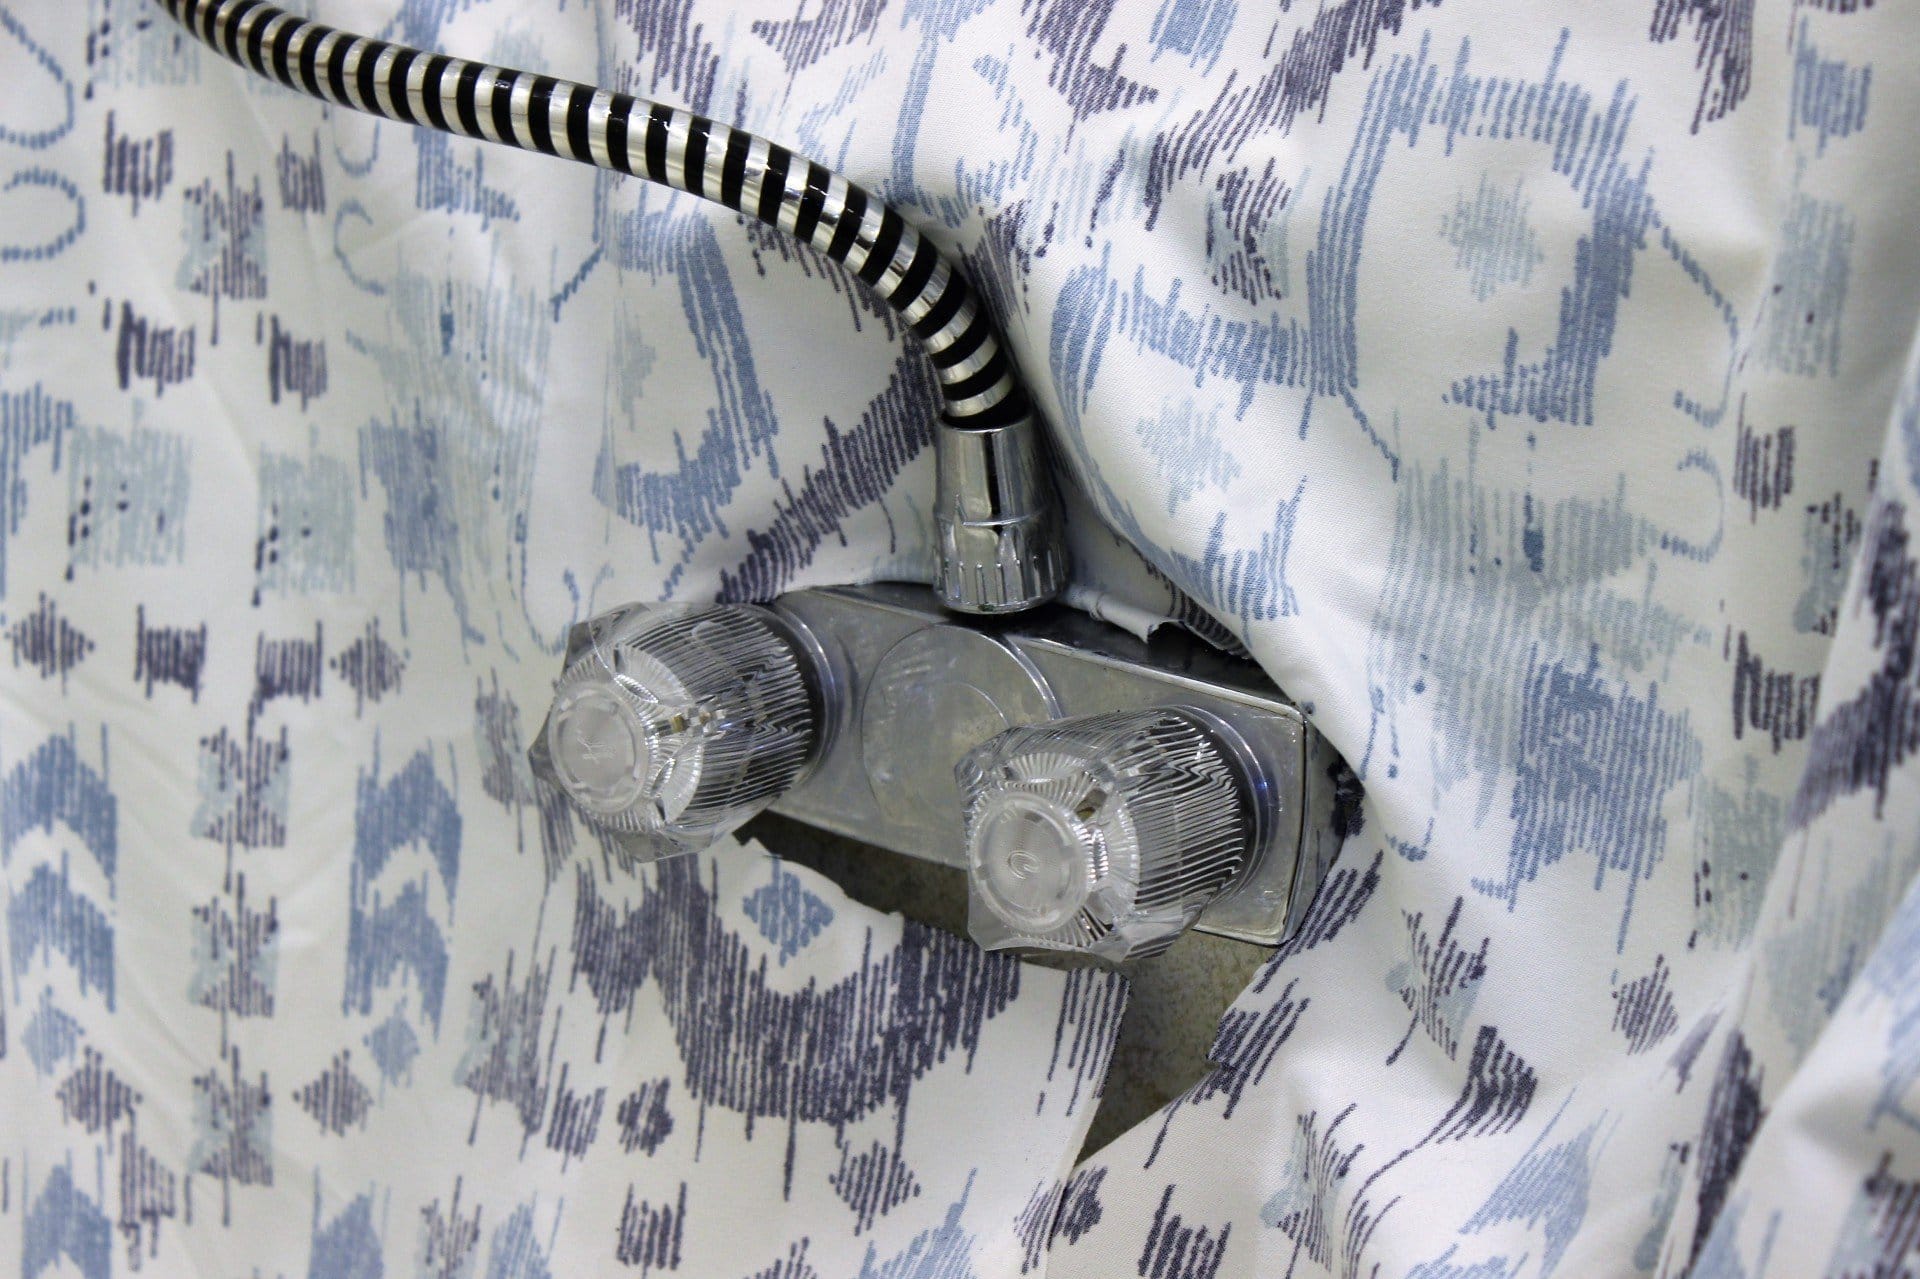
With the shower curtain closed and fastened at each end (and you in the tub again), you will now need to trim the curtain around the faucets and hose. Take a pair of scissors and cut straight up in the middle of the curtain where the middle of the faucets are and when you reach the bottom of the faucets, cut out a square around the faucets (image 2093). This allows you access to the water faucets as well as lets the hose thru the curtain and keeps the water in the tub (hopefully).
You won’t believe how much roomier the shower is now and just how much room was wasted by having to use two curtains! This also lets you put up an over-the-wall shower caddy where you couldn’t with a curtain there. I would say all in all a very affective and cheap solution to a cramped situation. Since my showers will be so much easier now, I might take more of them. That should please The Management!