When it comes to comfort and convenience the Trailmanor dose a very good job. And having a wife tuned into these things can point out the shortcomings better than most guys can. So this is about some of the little things one can do to improve on what the Trailmanor has to offer.
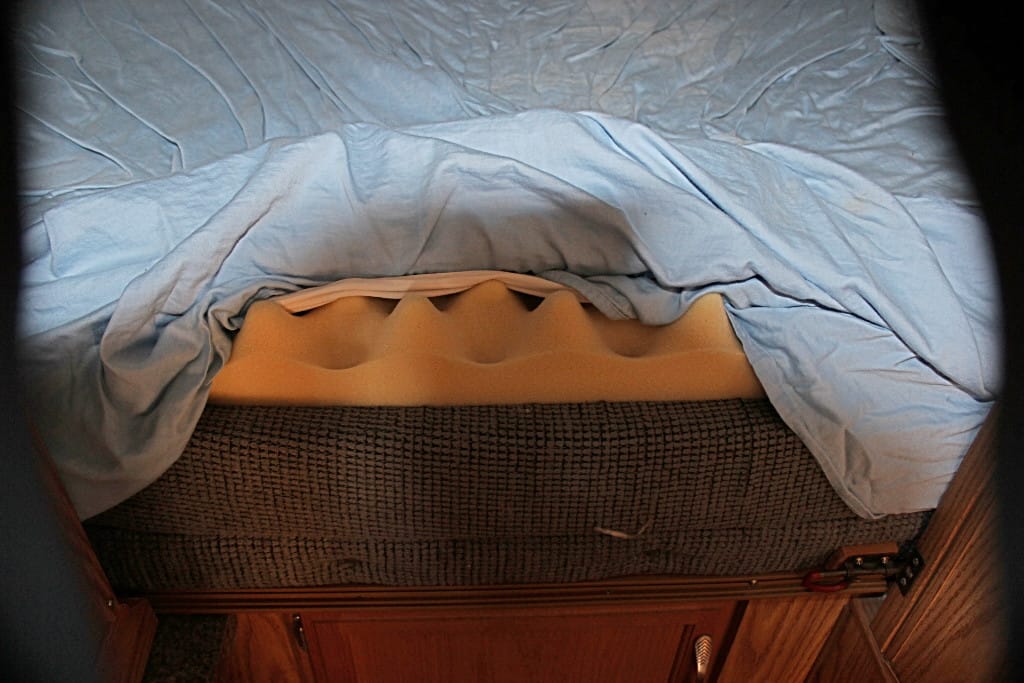
First I’ll start with the bed. It is fairly comfortable, not too soft and not to firm. A good balance between the two. However, we like our bed a little softer than what the Trailmanor has to offer. It’s a simple and quick fix, though. To achieve this we added a memory foam mattress pad (image 1546). Since we got a new Temperpedic bed, we had this pad just lying around and so we put it back in service on our trailer. It was a vast improvement over the bed that was and it didn’t affect closing the back shell except with the covers on the bed. It seems like every time we tried to close up the trailer with the bed clothes left on the bed, it just would not latch down with the holding down latches. I’m not talking about the release latches in the middle of the trailer, I’m referring to the little ones on the corners of the trailer…namely the rear ones. So we would have to clear the bed of all blankets and only then would it go down enough to latch. What a hassle…and a waste of time….strip the bed to leave only to have to make it up once we wanted to sleep in it again. This would not do!
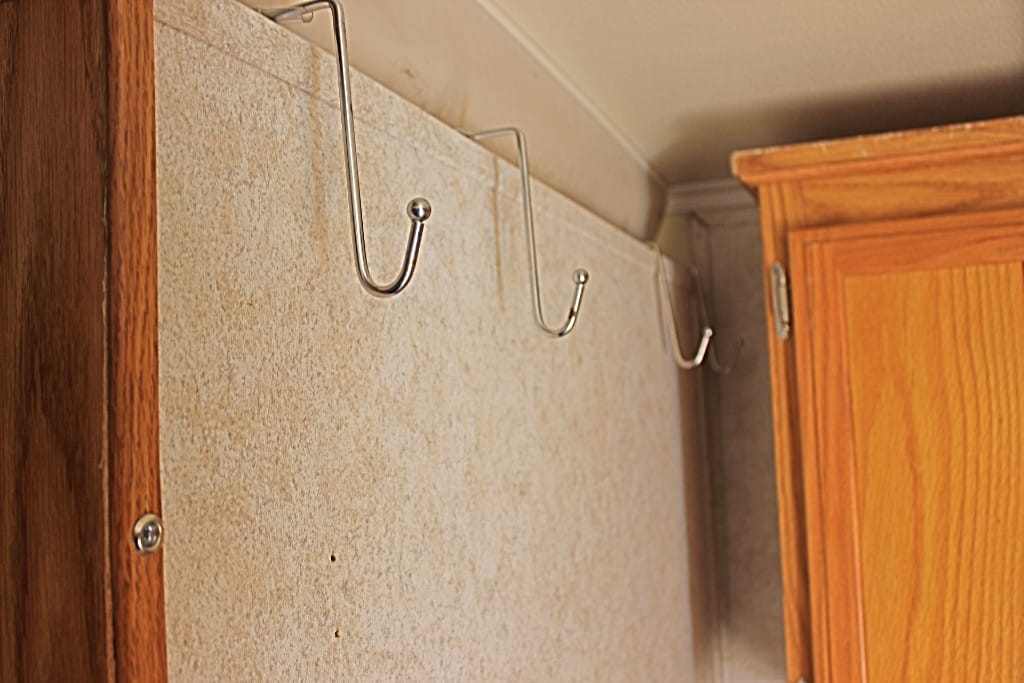
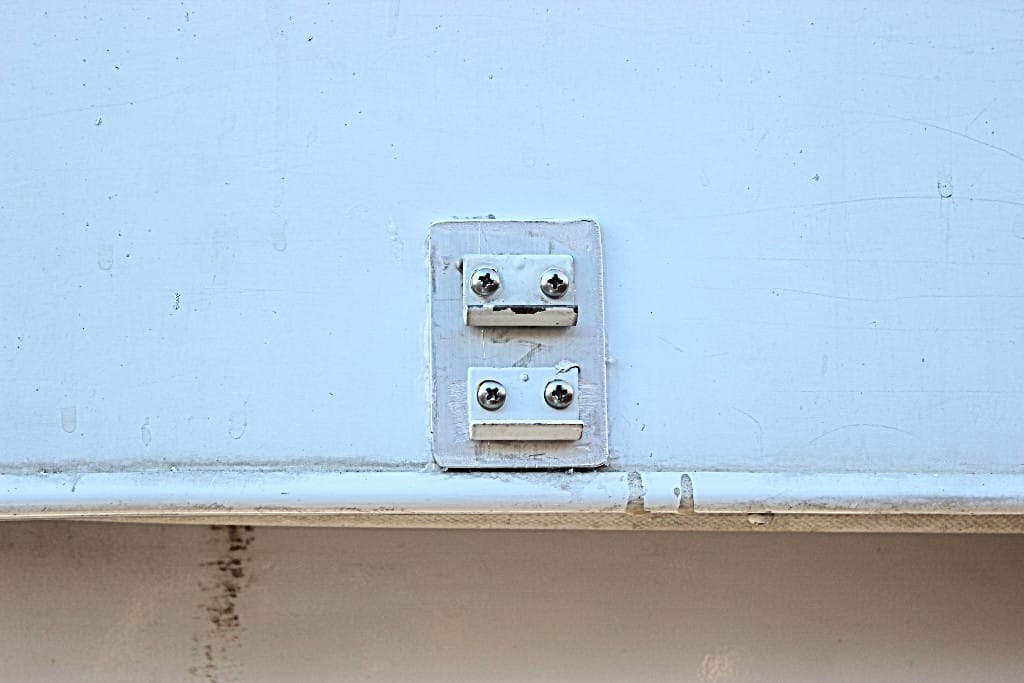
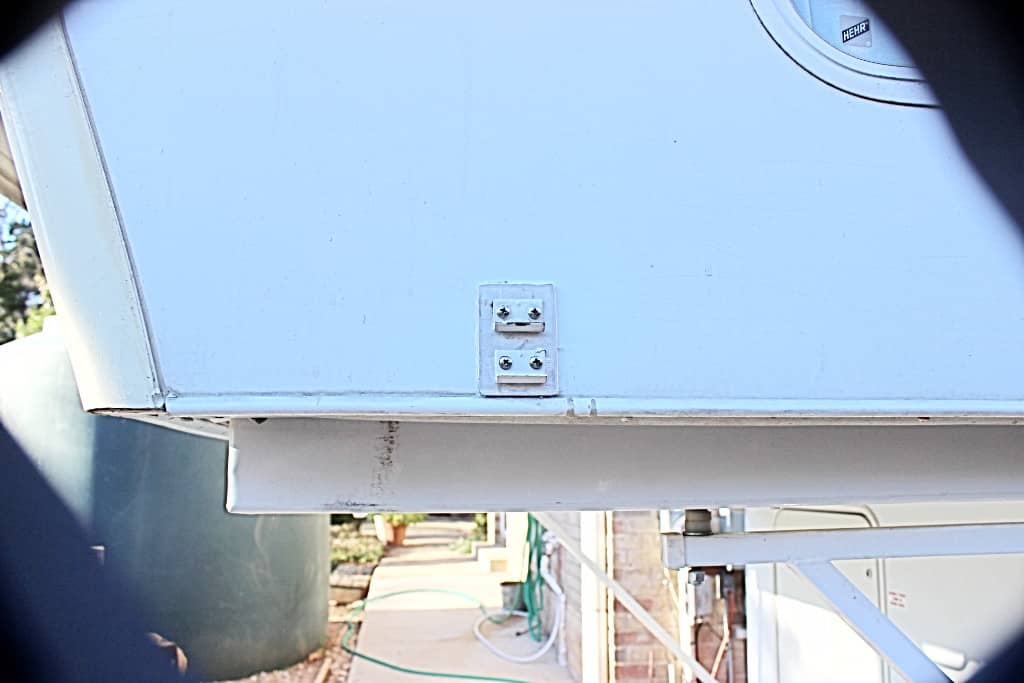
The answer: just buy some more catches that those little latches hook onto and put them on the trailer about 1” lower from the bottom of the OEM catch above it (about 1” between the top of the one you’re putting on and the bottom of the one already on your trailer …images 1601, 1602). That way the latches would be able to reach those hold down catches and you have a choice. So that’s what I did and now I can close up the trailer without having to strip the bed….YEA!!! More on these later because I am having to reattach all of mine due to them only being screwed into the sheet aluminum siding. This doesn’t work so well and will pull away from the siding in time. Trailmanor should have bolted them all the way through with an aluminum shim on each side so as to be able to spread the stress over a wider area. That’s what I’m doing. It will be under “Latches”
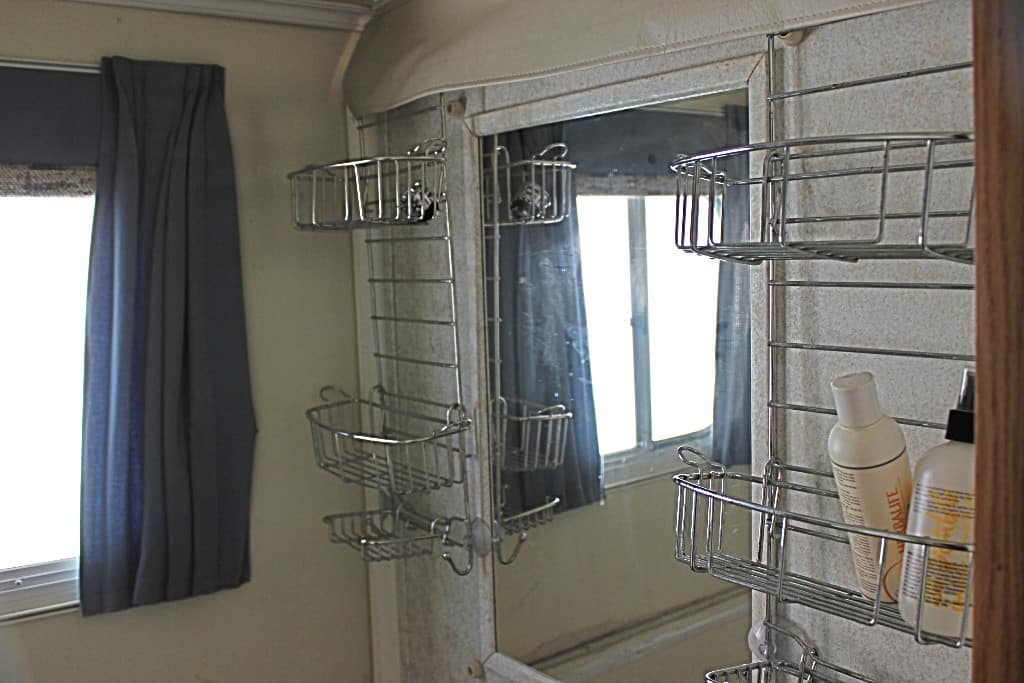
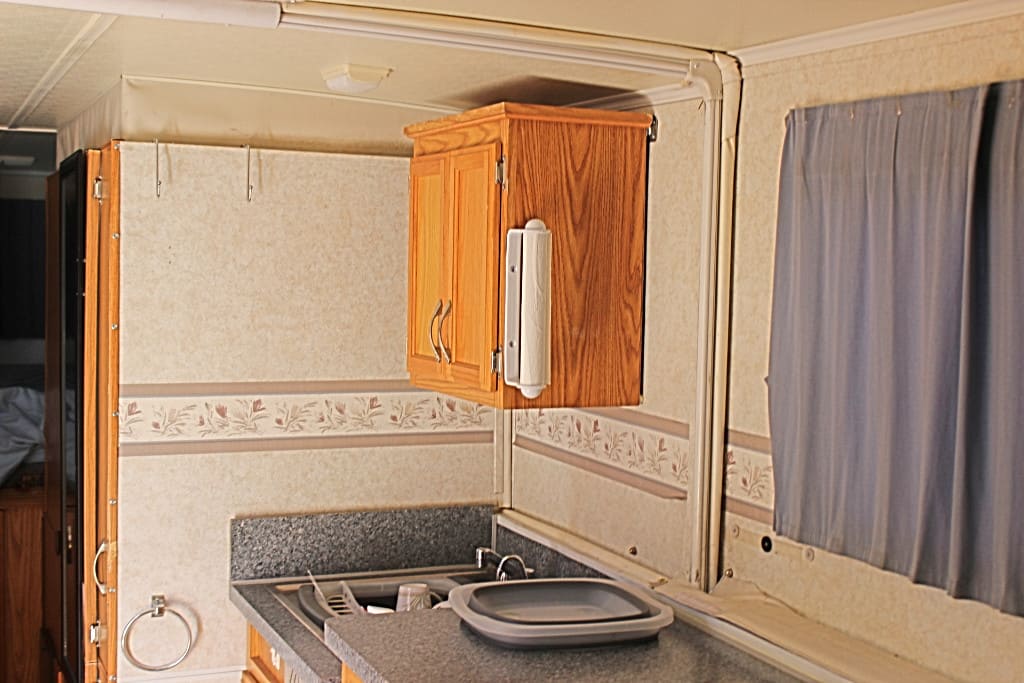
The next thing to tackle is the bathroom. It has everything you need….almost….well the important things for sure…and granted space is at a premium here also and there is nothing you can do about that, but there are improvements to be made. The first thing I did with the suggestion from my wife was to purchase two over the door shower caddies (image 1541). With counter space very limited this solved a lot of storage problems. Plus they double as a towel rack on the other side of the wall for the kitchen (image 1542). But the beauty of these are the fact that they just lift over the wall and can be stored in the tub with all of its contents (of which most stays in place during transit if you hang them on the towel rack in the tub).
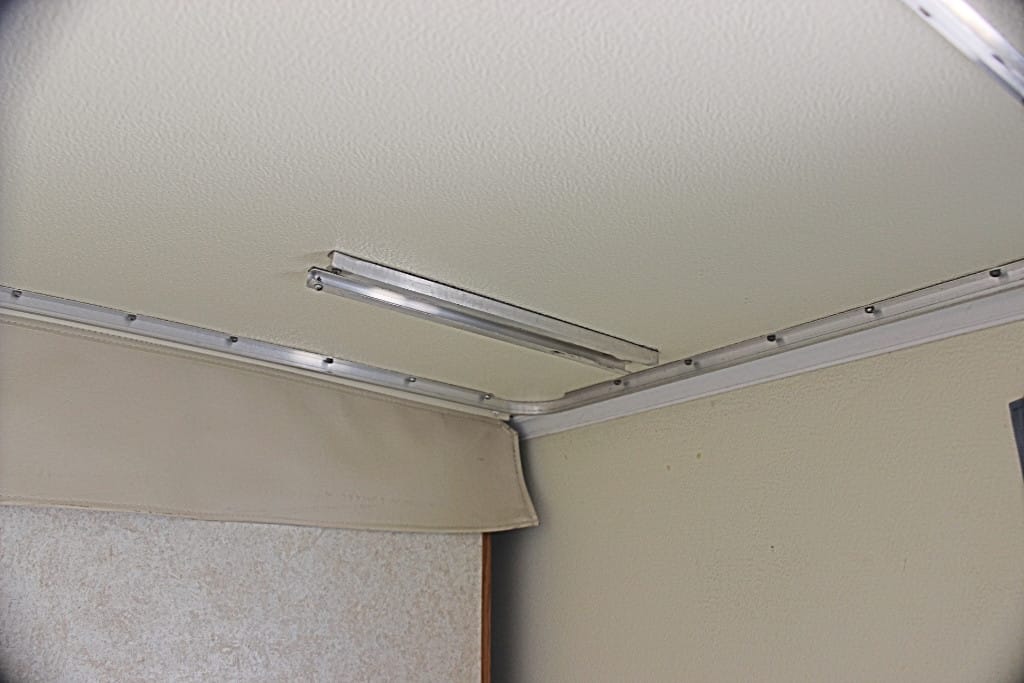
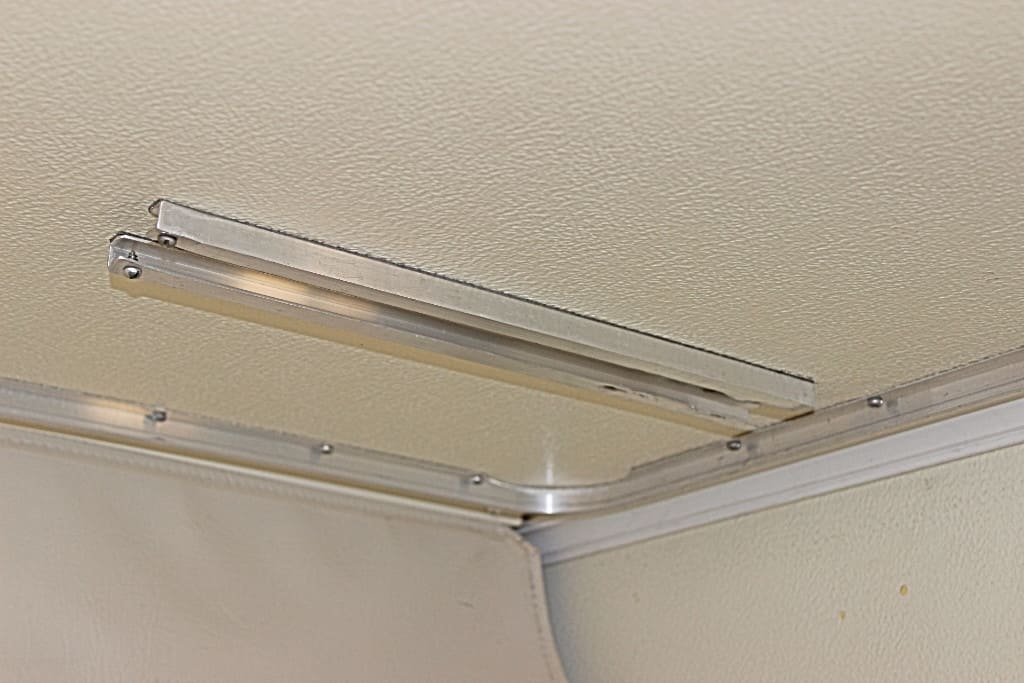
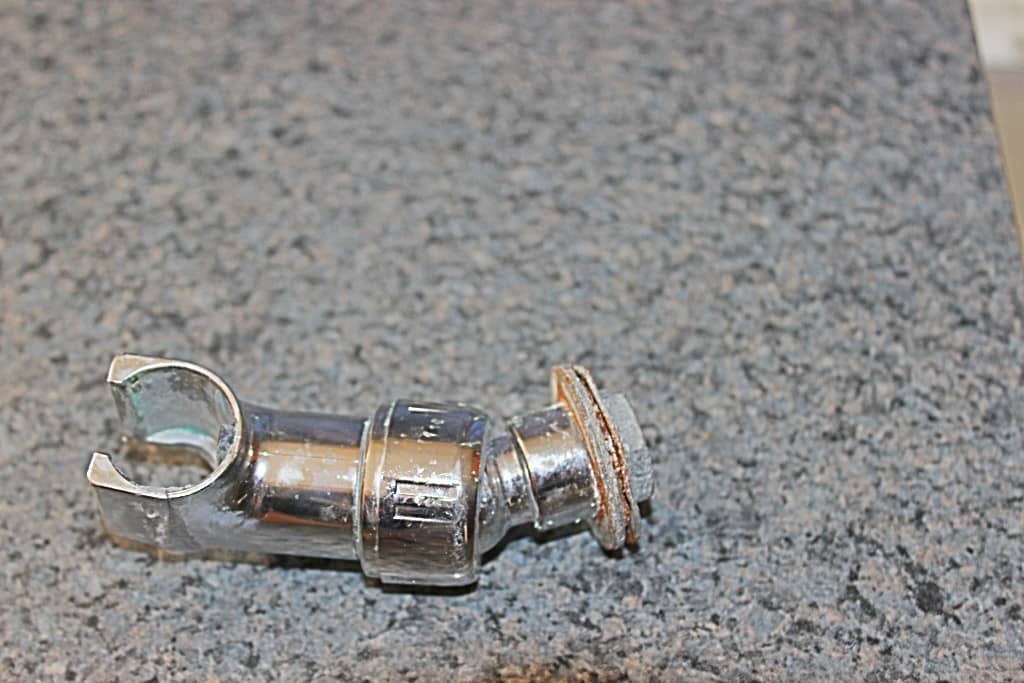
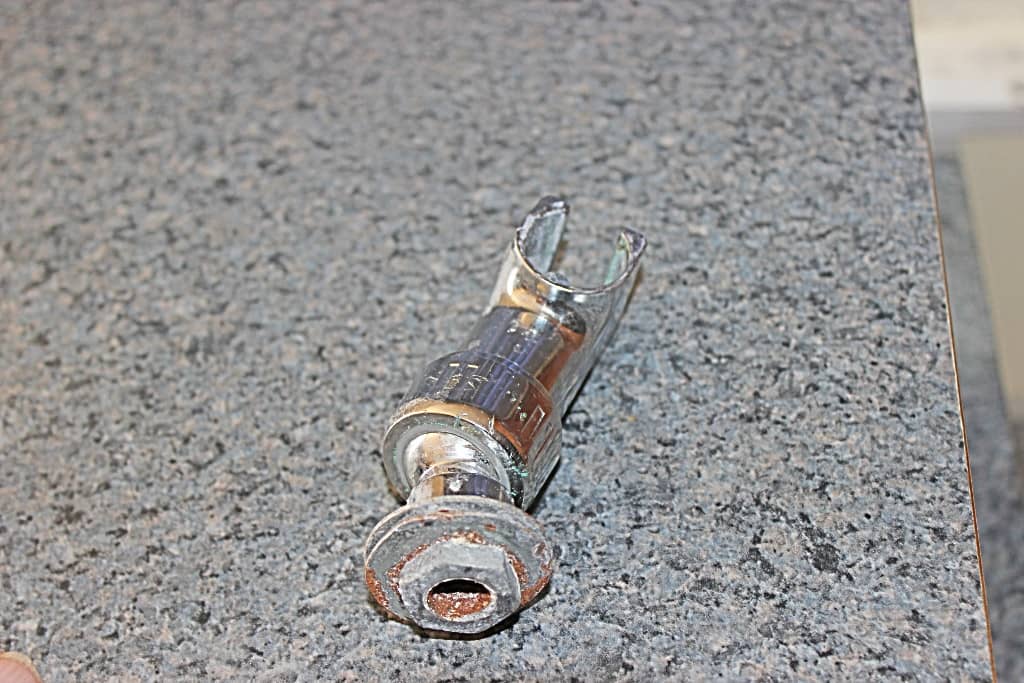
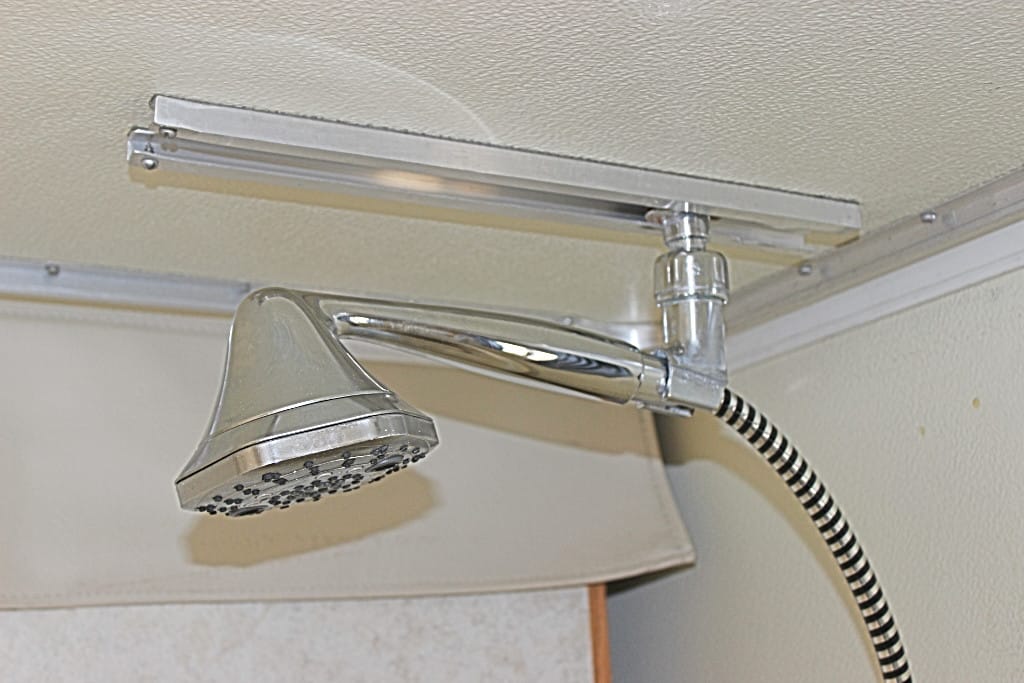
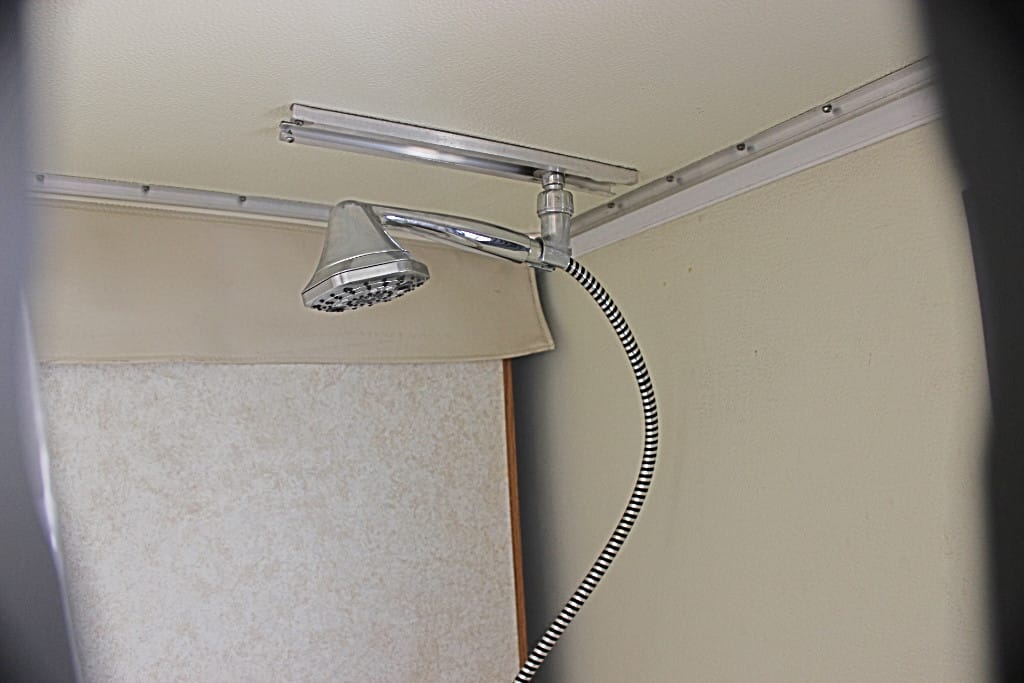
Now if you have a wife then you know she wants to wash her hair. I don’t have any hair so I don’t care about that….I do care about her and her happiness. So once she gets the hang of the hot water capacity thing and just how to use the shut off valve on the shower head, it’s easy….accept for the one handed shower! Which doesn’t work if you have a lot of long thick bushy hair. You really do need both hands for a job like this. So what I came up with was two rails made of small aluminum channel, mounted with 3-M VHB tape (the kind they stick fenders onto cars with) on the ceiling inside the shower (images 1535, 1536) that a shower head holder with some big washers screwed to it (images 1537, 1538), could slide into and back and forth on these rails in the shower (images 1539, 1540) so you would not have to take a “hand held” shower. These do not affect the clearance when you fold up the bathroom walls or close down the rear shell, but just make sure you take the shower head down before you close up you trailer.
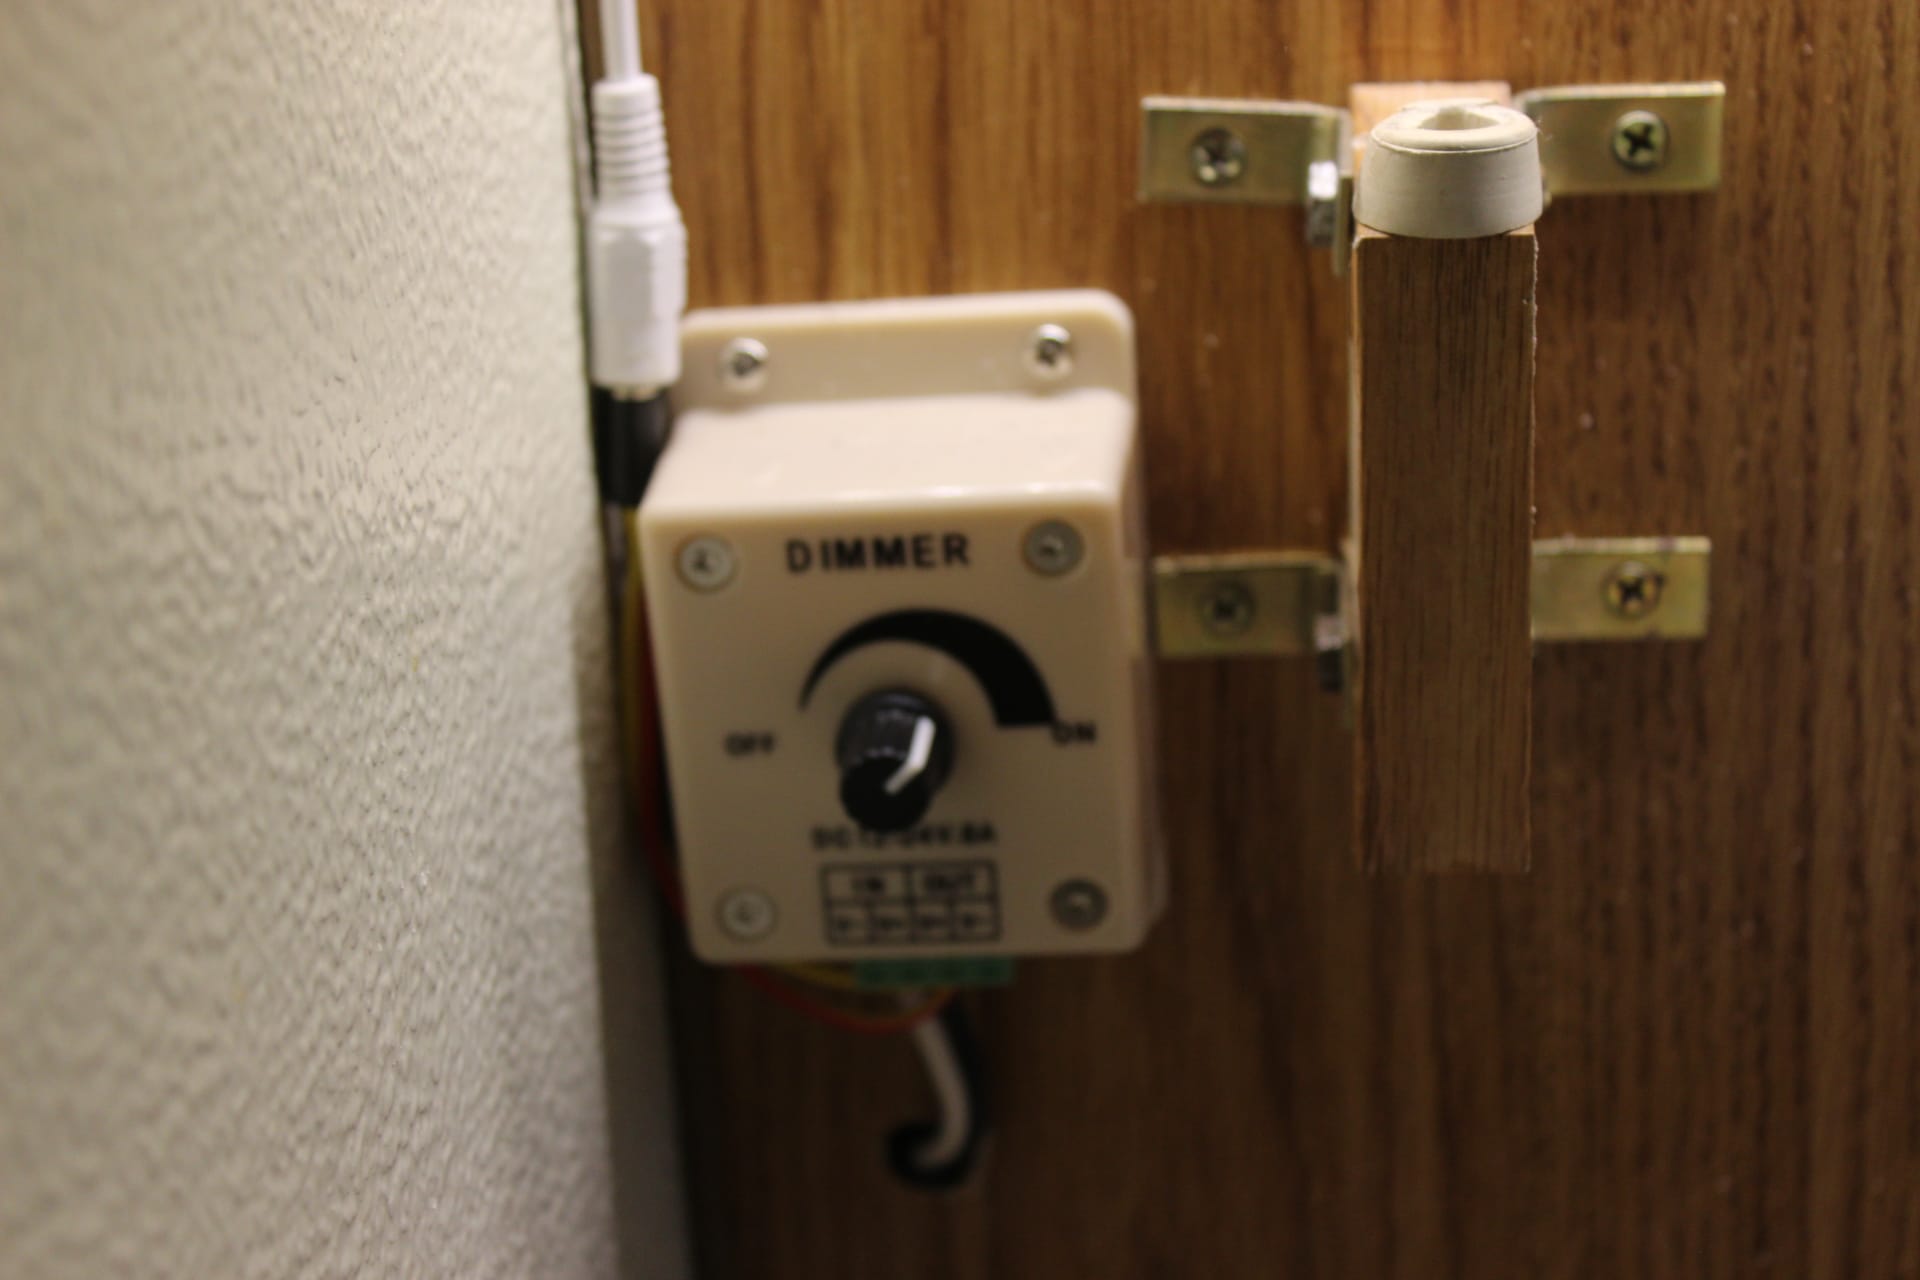
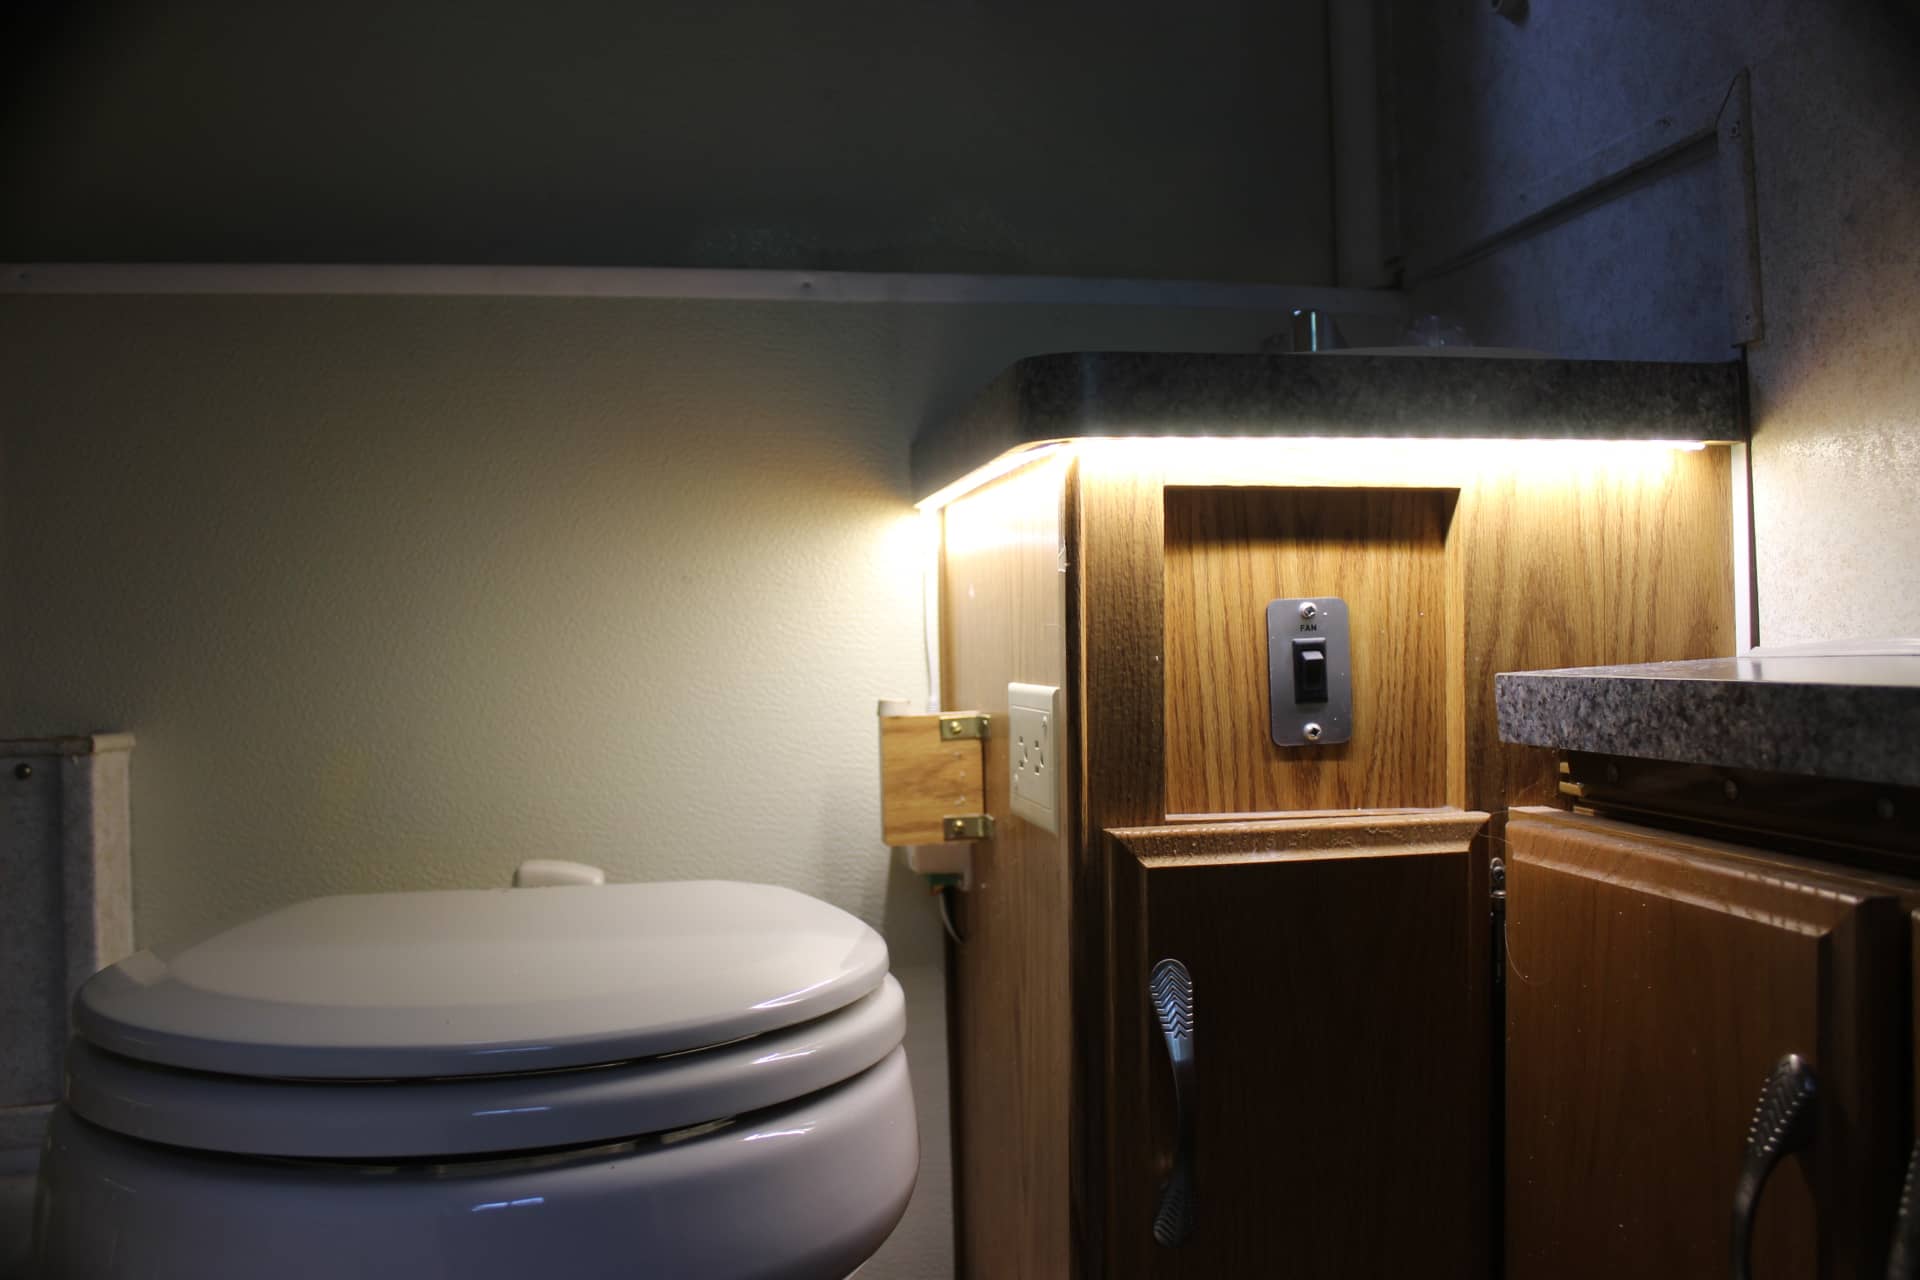
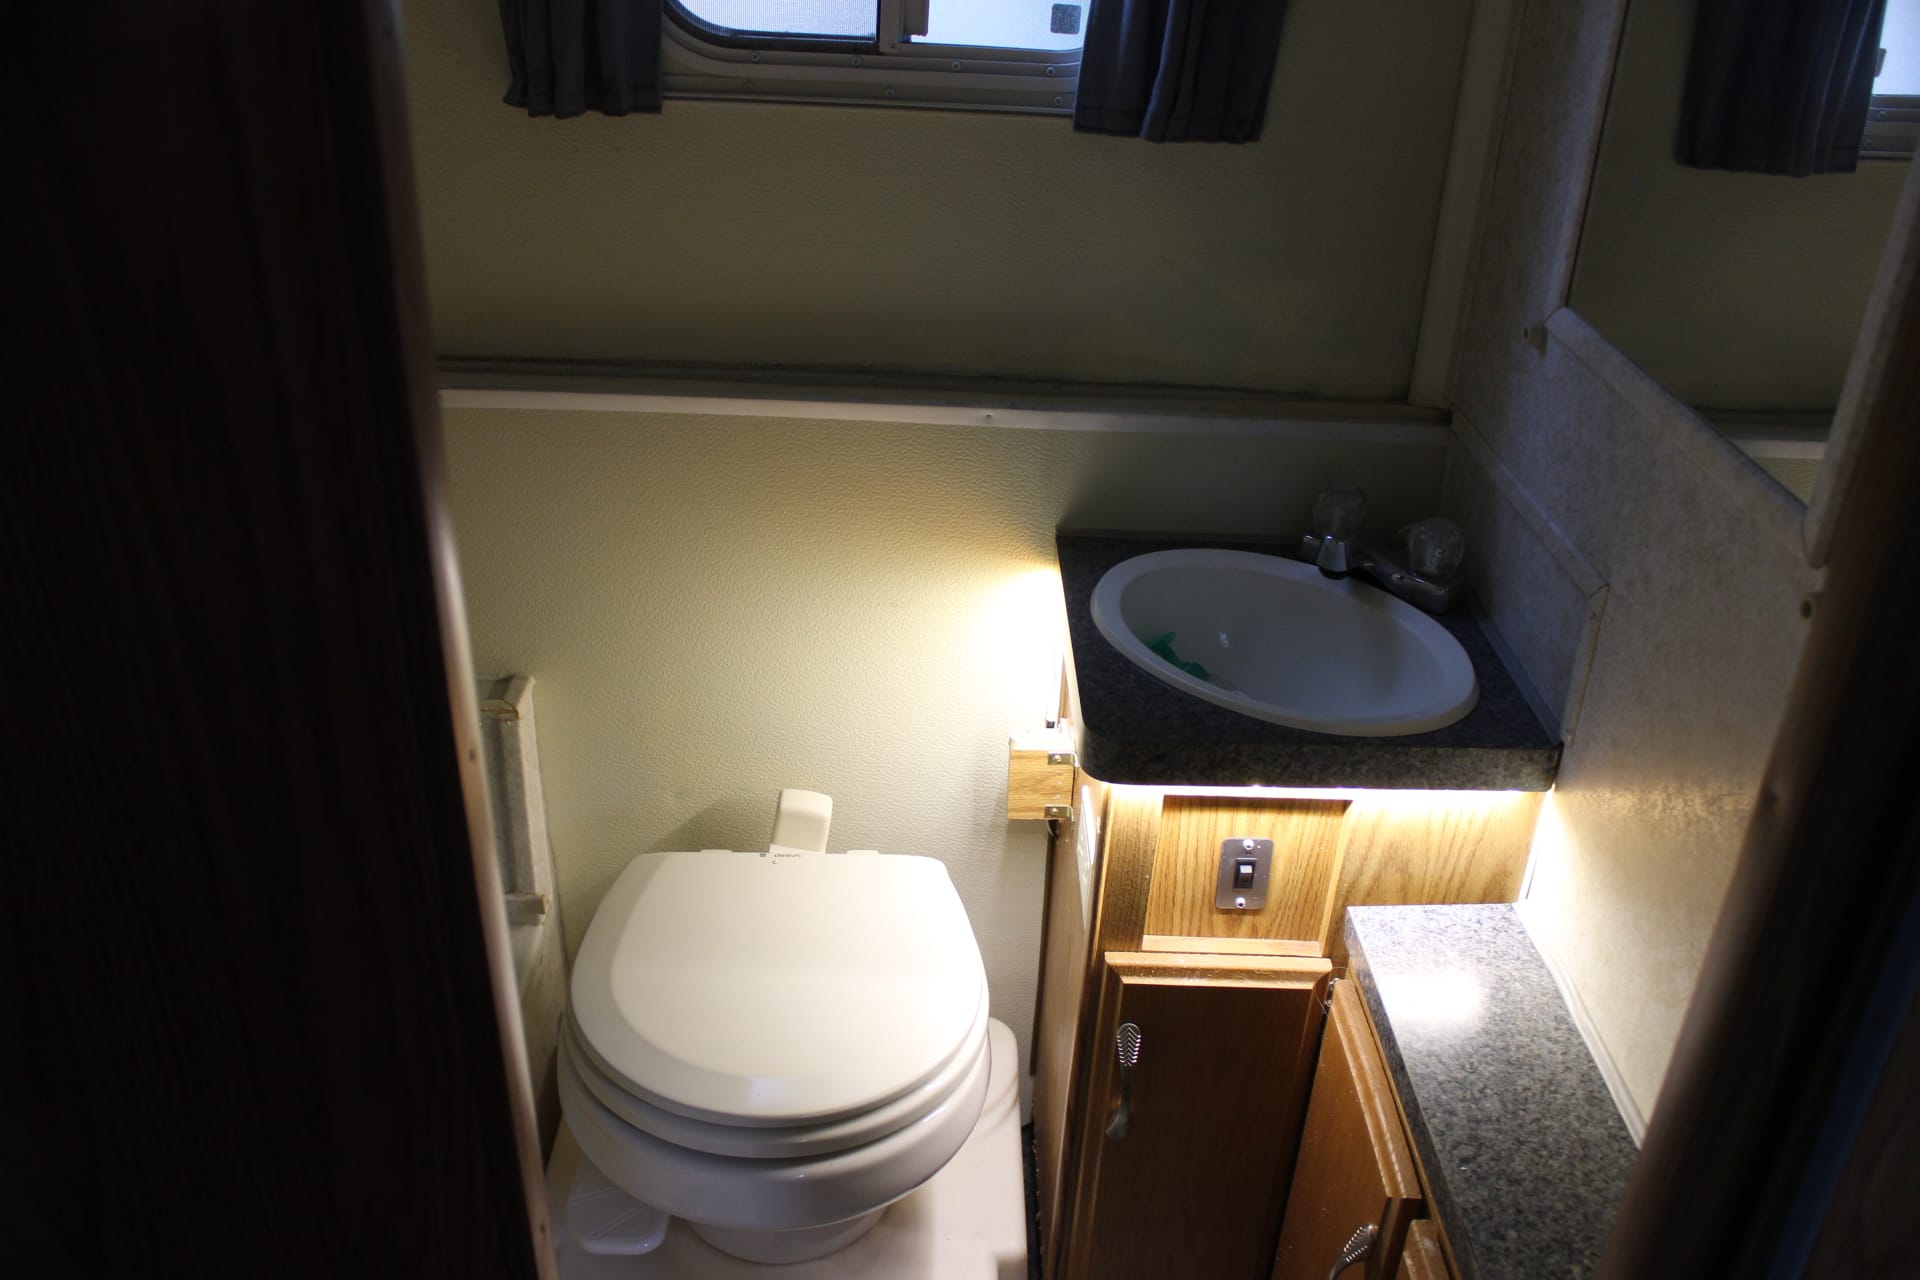
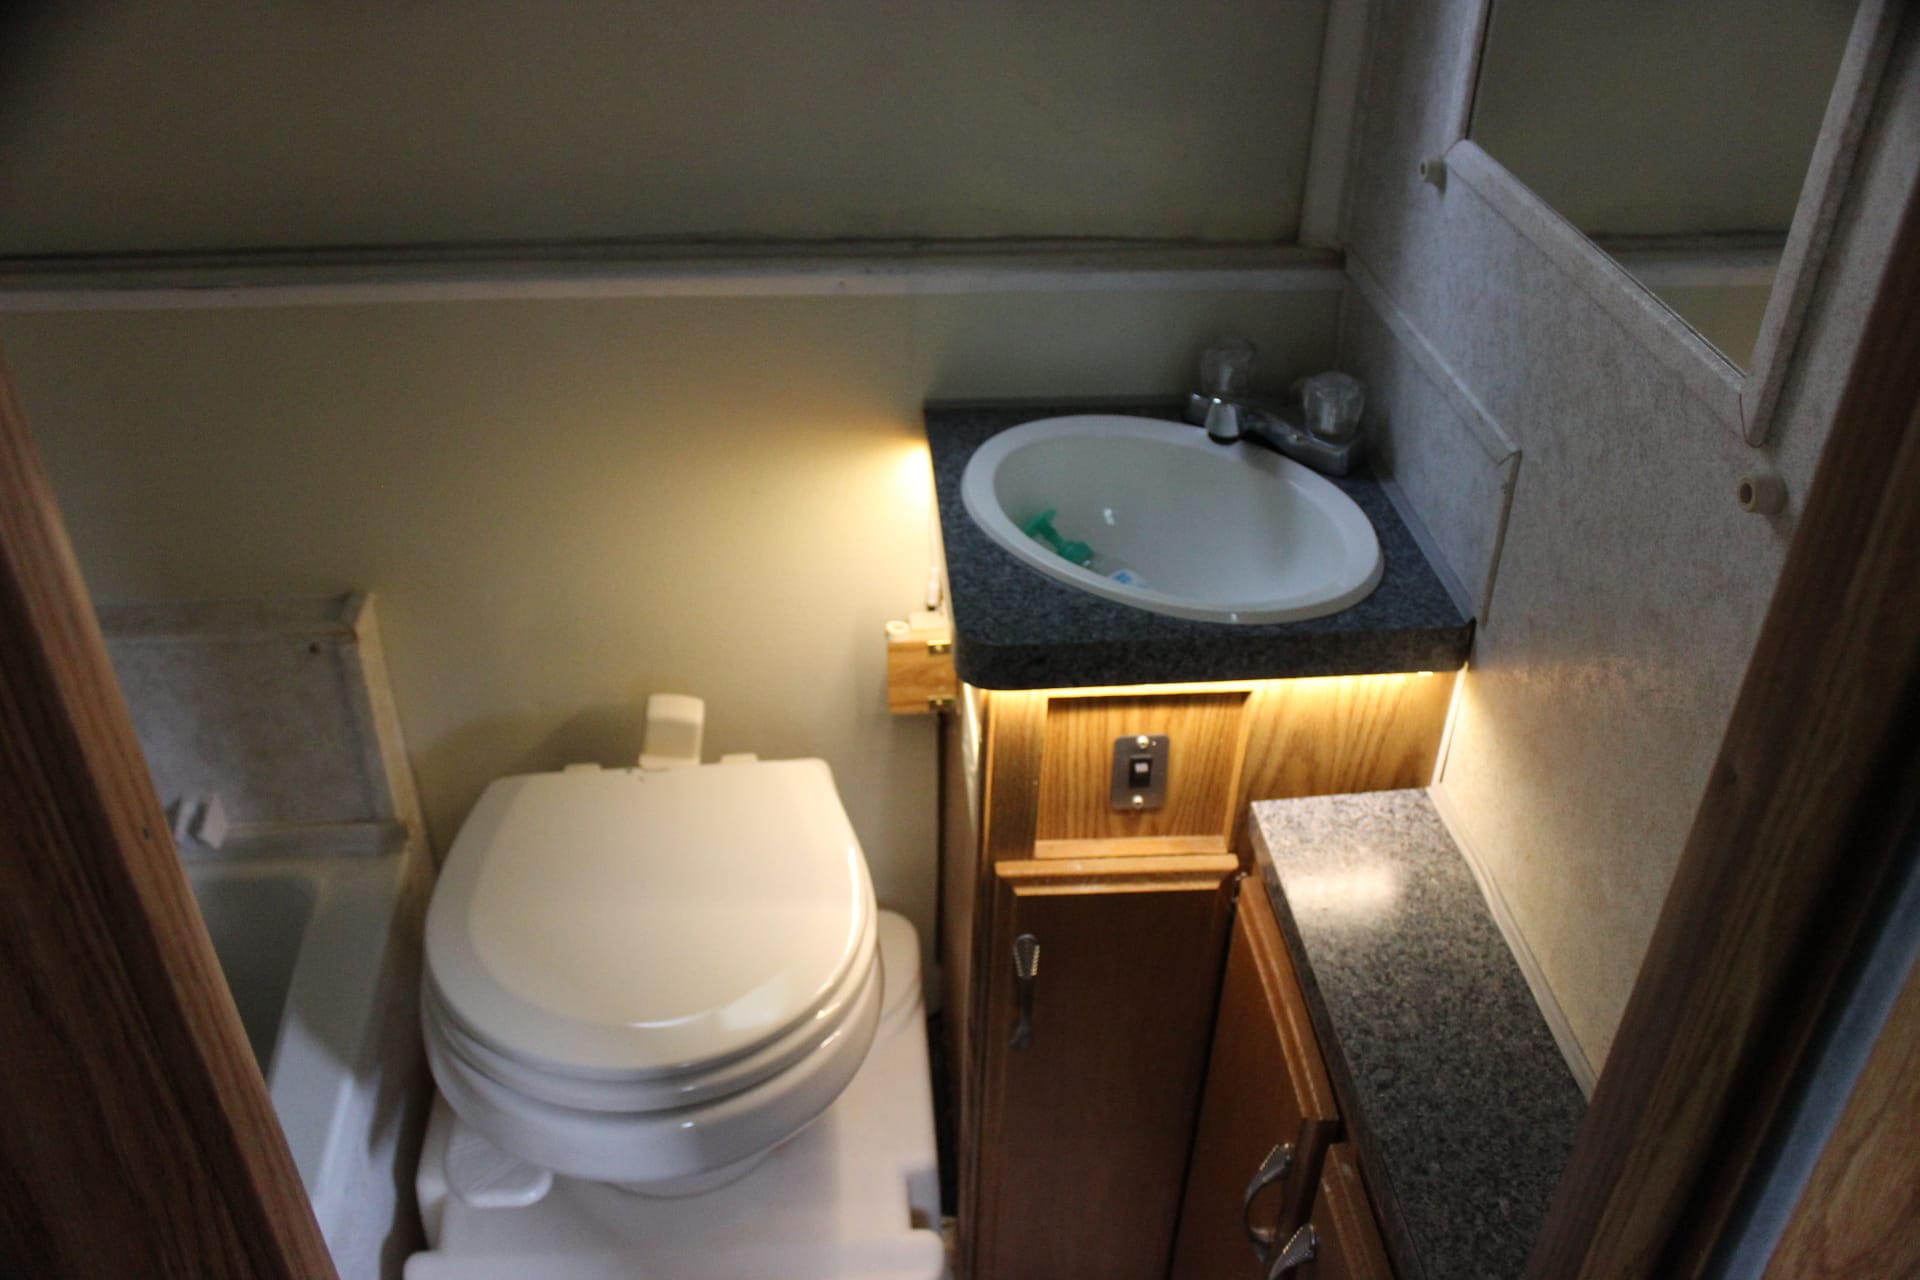
Finally I took an idea from “Jeremie” on the forum who used the circuit from the old toilet to power some waterproof LED strip lights that he put around the bottom of the sink. They looked so cool that I decided to do the same (images 1783, 1784, 1785). You put them on a dimmer (image 1782) and that way you can control the brightness. This will come in handy late at night when one has to use the facilities and not disturb the DW. Found it all on Amazon.
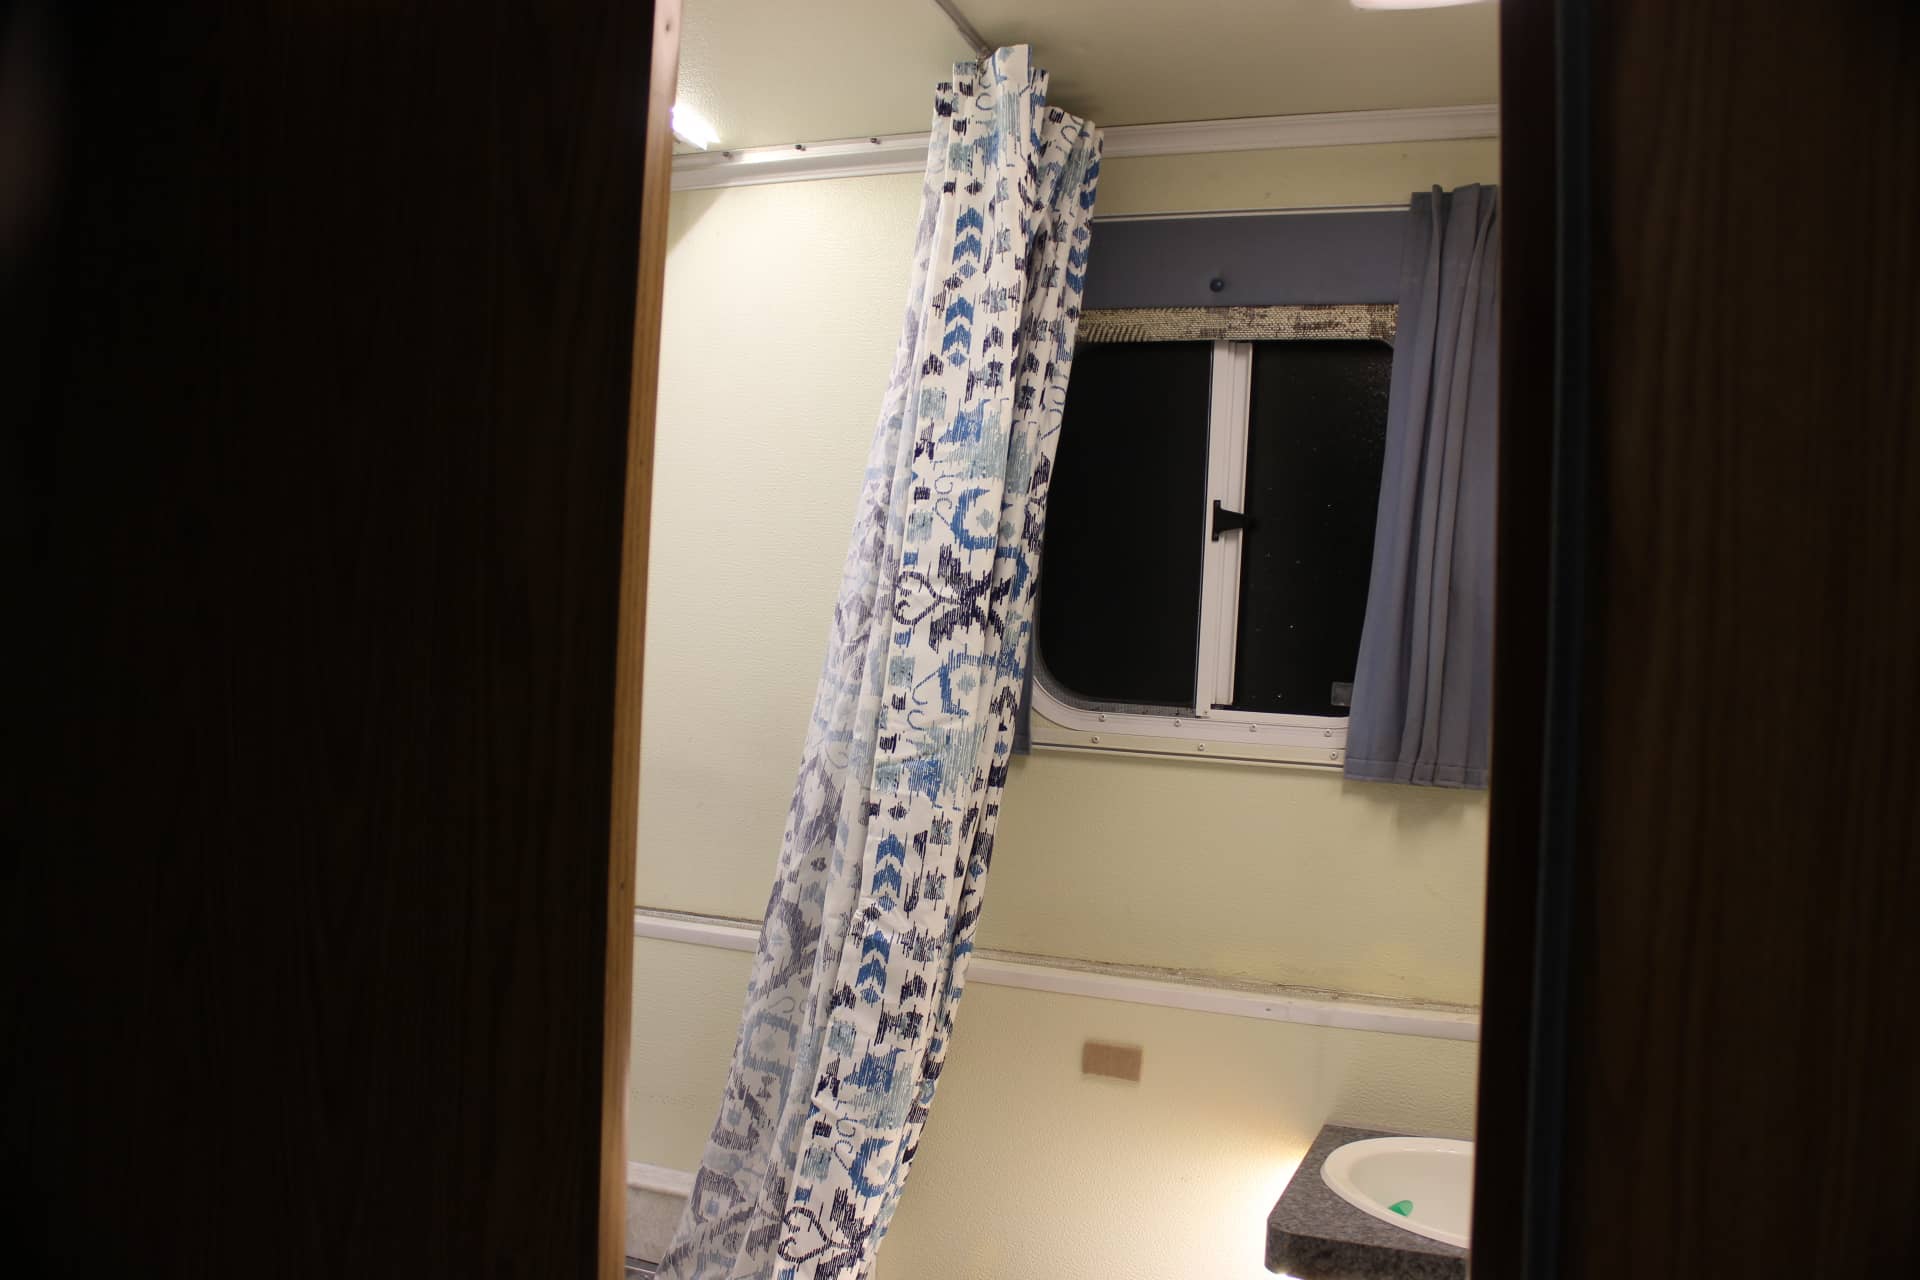
I finally got rid of those old plastic shower curtains for some polyester ones. Well, the old ones were clear but the new ones have a solid blue and white pattern to them and after I installed them I found the shower to be a bit dark in there (I can hear the management complaining already). Then it hit me….AH-HA!…I have these waterproof LED strip lights left over from the “under the rim of the sink” job so I thought I would stick some up in the shower. I had changed out the fluorescent tubes in the bathroom light fixture with LED tubes some time ago, so I used the fixture there to power my shower lights (image 1796). I hooked them into the switch so when you turn on the bathroom lights, the shower lights will come on at the same time. I ran the wire to the angle piece that holds up the skirt around the top of the bathroom wall (image 1795) and then over to the shower and under the shower curtain rail (image 1794). These particular strips have some very aggressive adhesive to them, so they stick very well to a clean surface. I always prep those surfaces with some alcohol to make sure they stick real good. Peel the tape from the back and stick them up and that’s it (image 1793). So with three sets of lights, my bathroom is nice and bright (image 1797)! Why Trailmanor didn’t think of these I don’t know. All the wives can now thank me! Xoxoxo
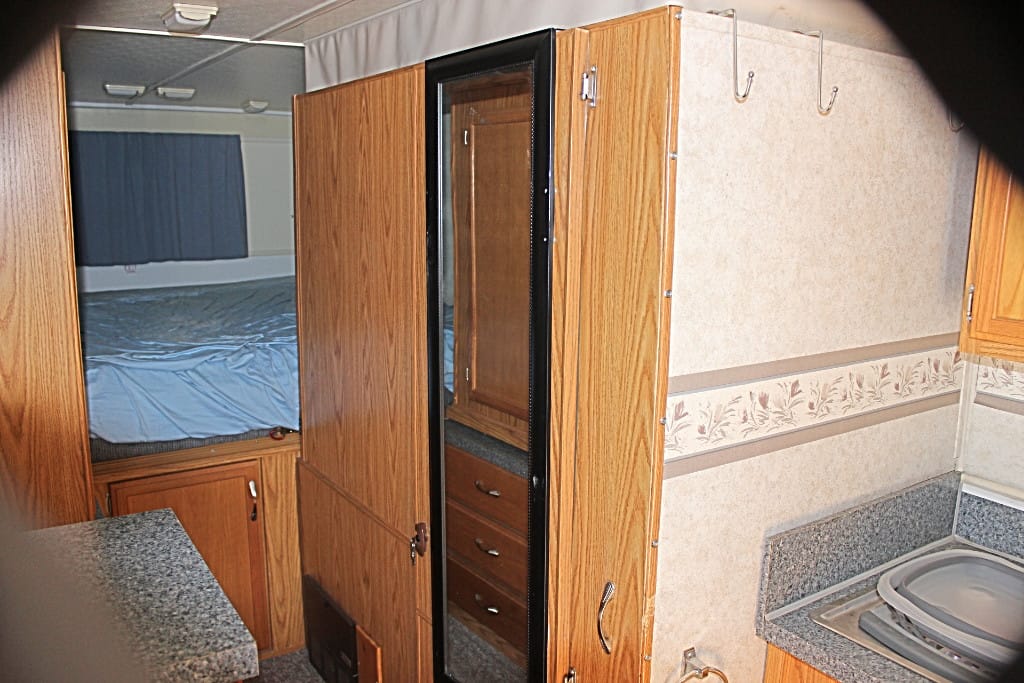
My wife wanted a full length mirror but the problem…where to put it…..the answer: get one that hangs over a door. So I went to a store and got a very light all most full length mirror that hangs over a door and hung it on the bathroom door (image1534) with the hangers that were provided. I also put some stick-on Velcro on the back of the mirror and on the bathroom door respectively so it would not move around any and possibly break (who need seven years bad luck? my Trailmanor and I sure don’t!). If you slide it all the way to the left on the door it tucks up nicely under the door handle latch making it even more secure. I can even leave it attached to the door and lay the door down when I fold up the bathroom walls and it doesn’t move any. I just have to be careful about what I put on the floor next to it when it is folded down. My wife is even happier…..which is good.
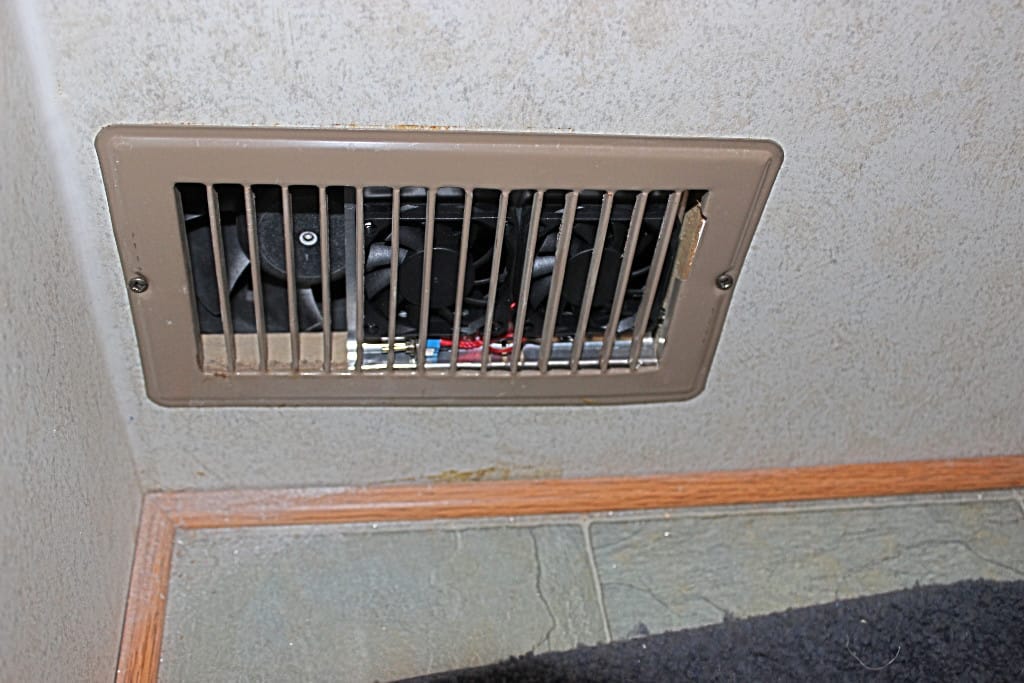
The last improvement in the bathroom that I have made was to add more suction from the exhaust fan. I had bought two of these small compact twin fans made for the small refrigerators to help cool and make the fridge more efficient by moving the air from the cooling coils and blowing it all around inside the fridge. So I installed one in the fridge (more on this in a bit) and I decided to use the other in the bathroom. So when I tried to install my surge protector inside, I had cut out a place next to the electrical breaker panel, but it hummed so loud that I had to relocate it outside of the trailer (see alternate 110 power). Then I had to make a plate to cover up the hole there…but as it turned out this wasn’t so bad. I was able to use that hole (after I unscrewed it from the wall) to access the place under the tub where the fan lives. I took off the grill in the front of the fan (image 1564) and then removed the wood panel that is next to the original fan and wired in my new twin fans to the original fan wires leaving the original fan still hooked up. These twin fans draw so little current that it will not make any difference to the original fan’s performance. As it turned out those little twin fans fit perfectly in that space although they do cover up a little of the original fan. But this doesn’t matter because the twin fans will just be feeding the air to the original fan and make it work even less. The bottom line is, is that the fans really suck now! Which is a good thing! ( the jury is still out on this one, but I’m sure I’ll be acquitted)
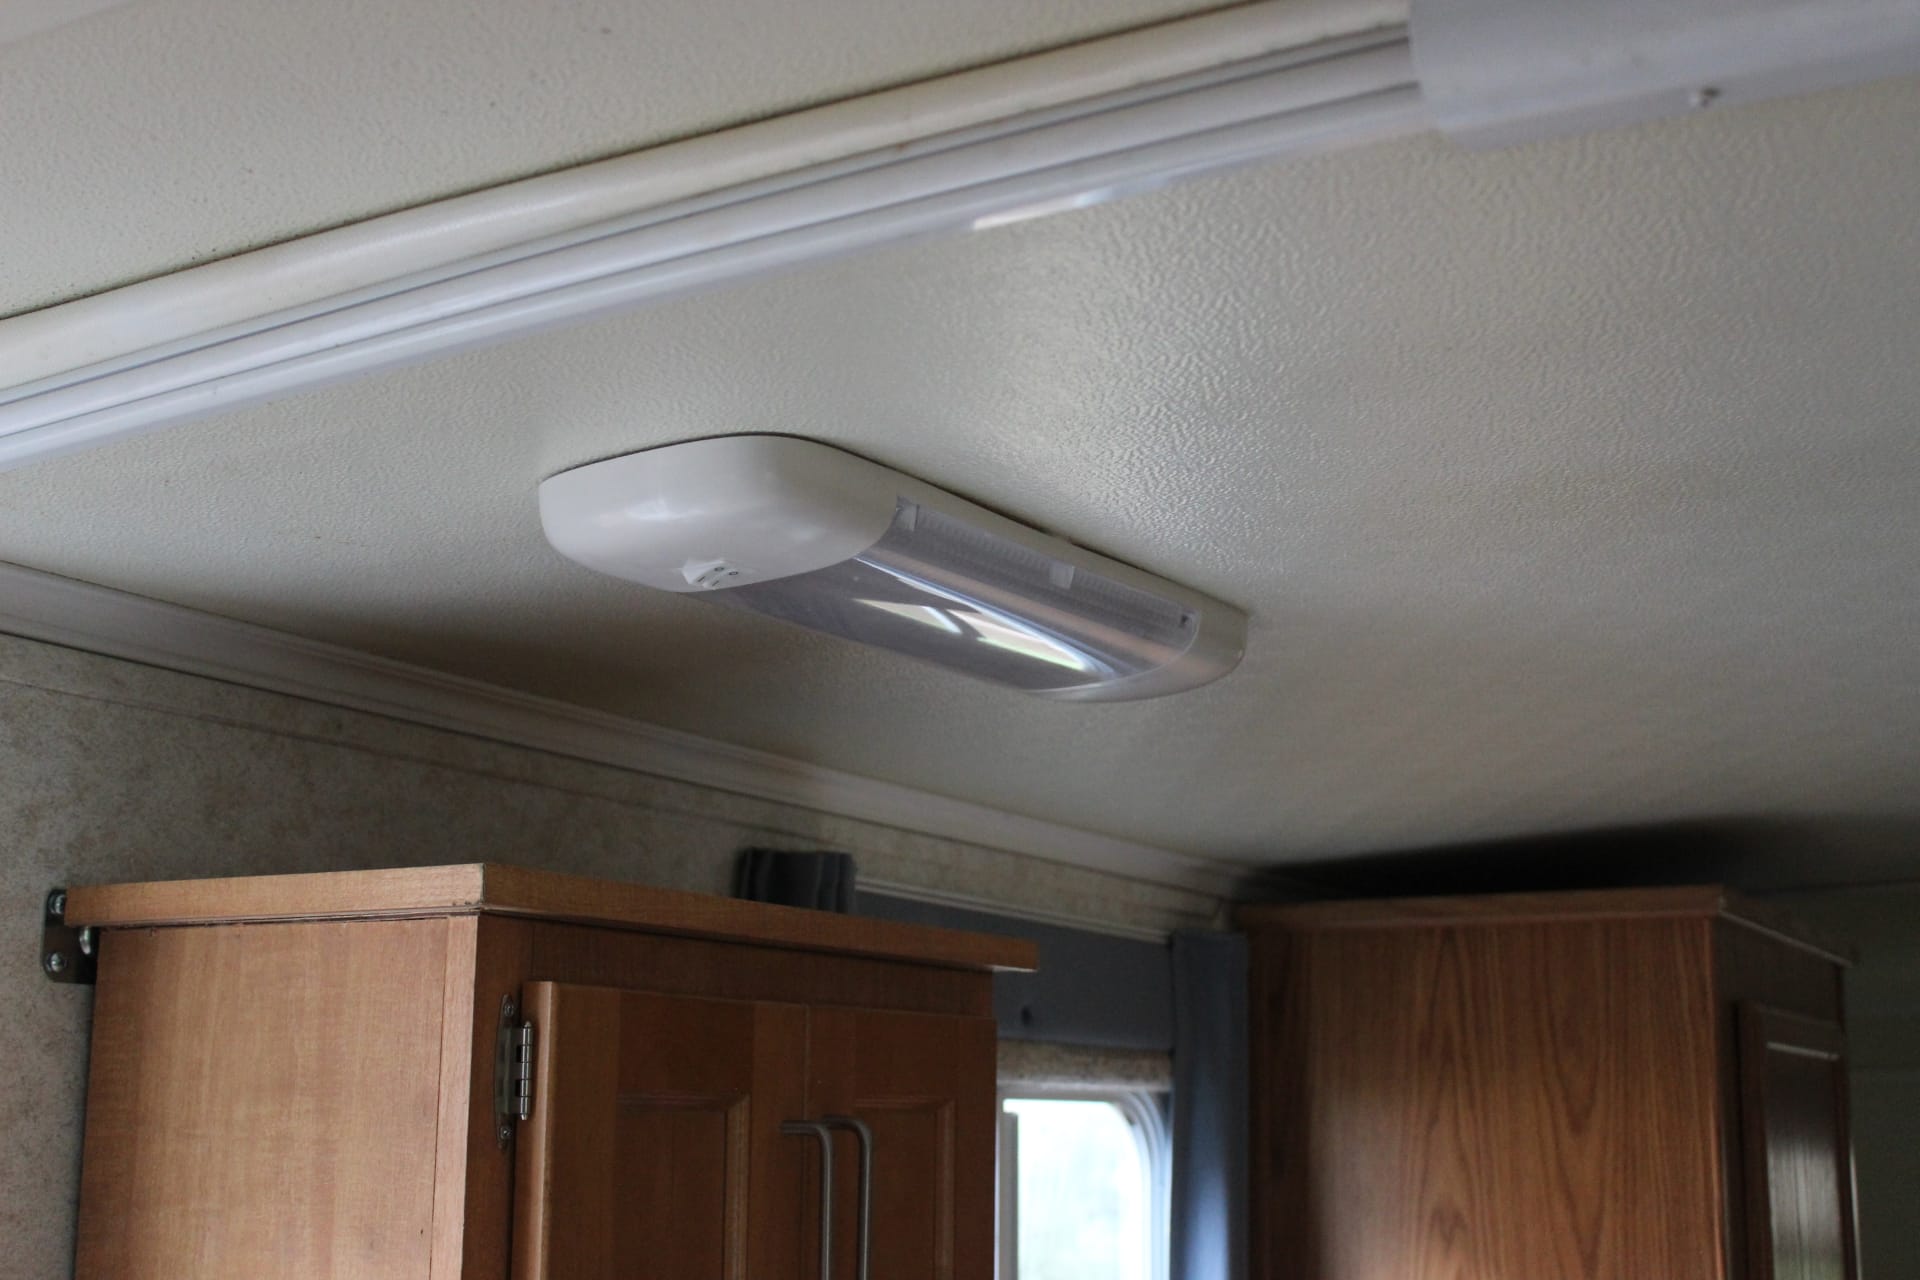
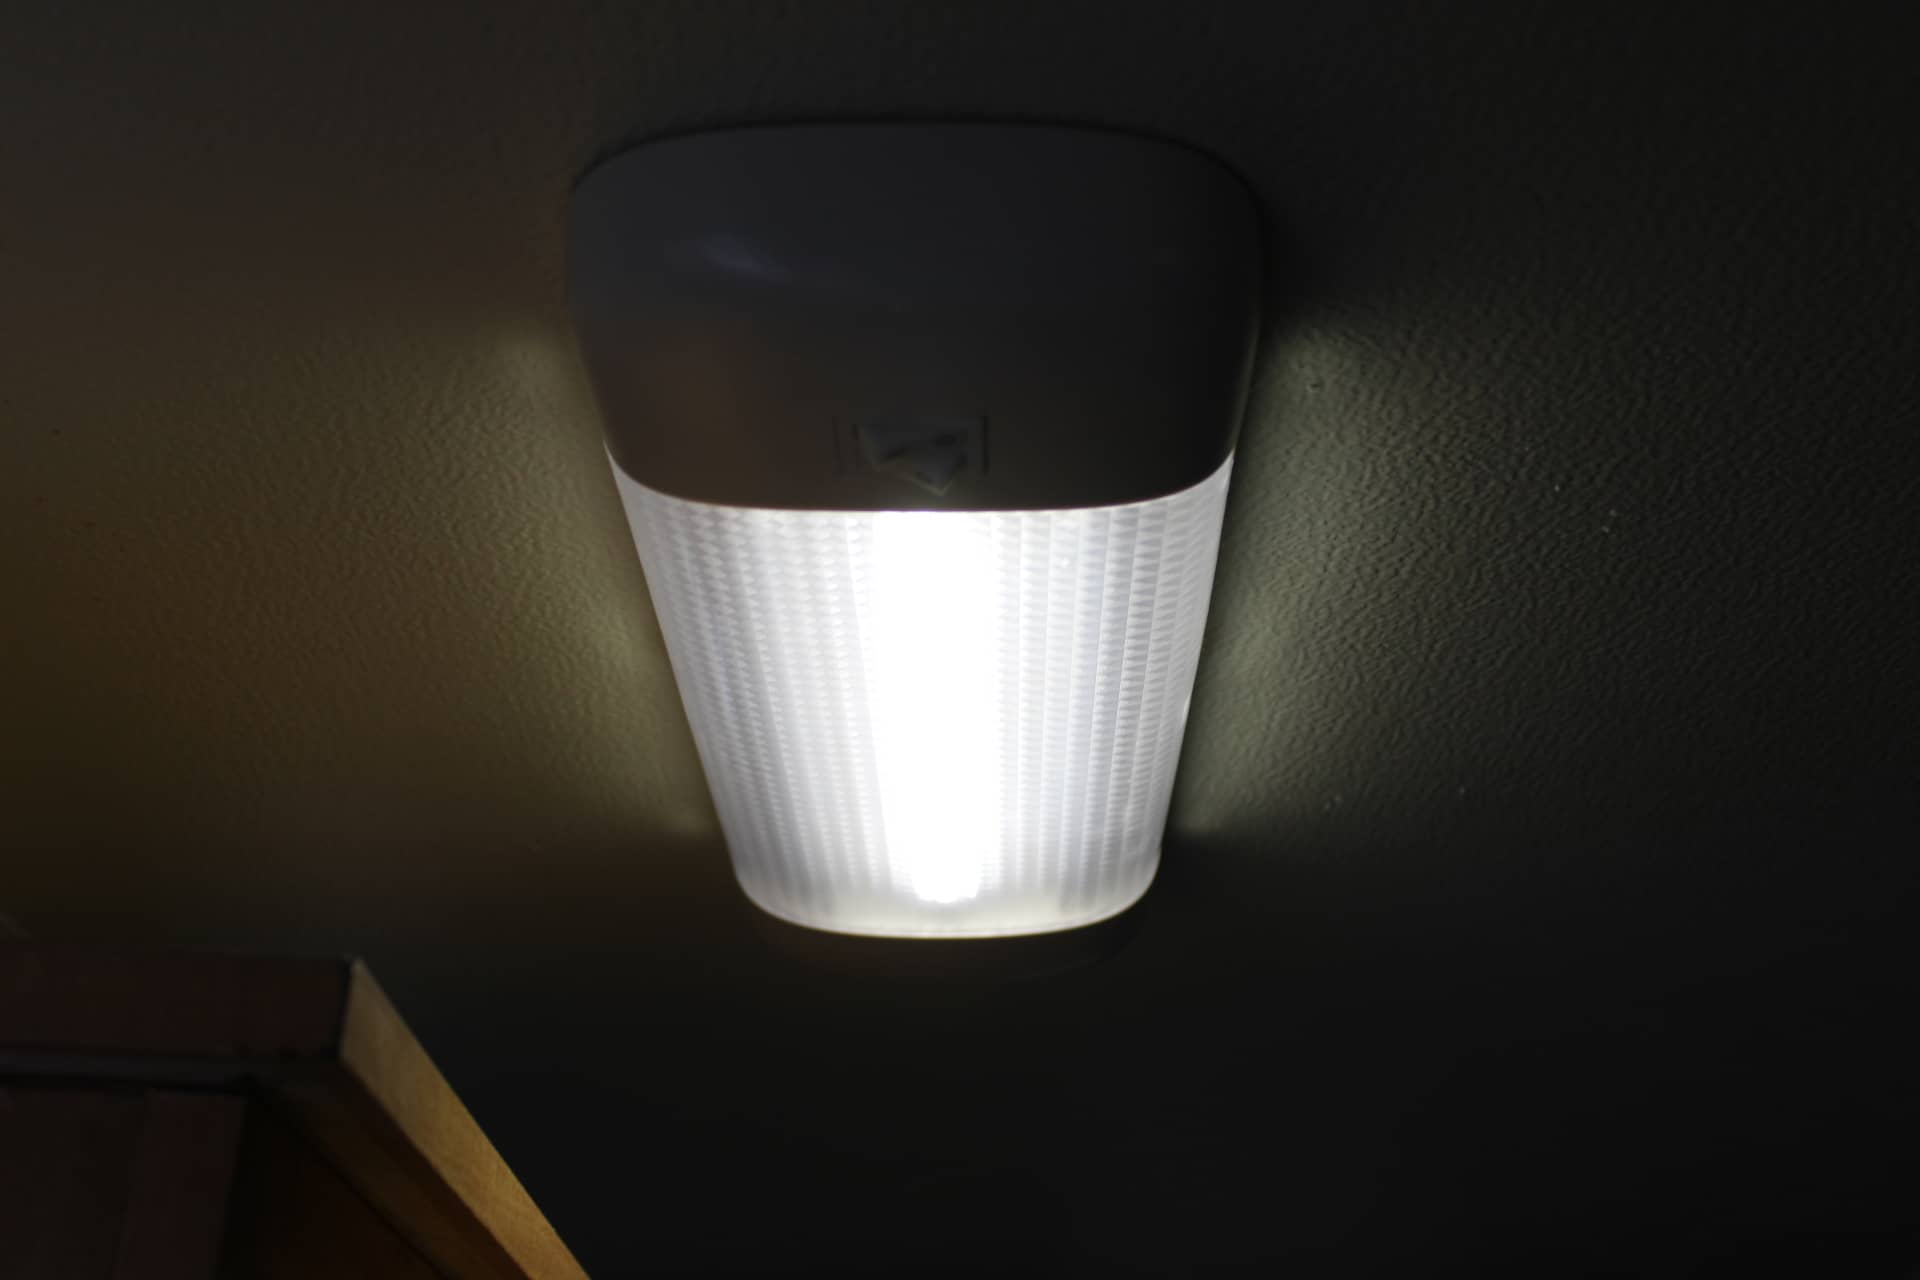
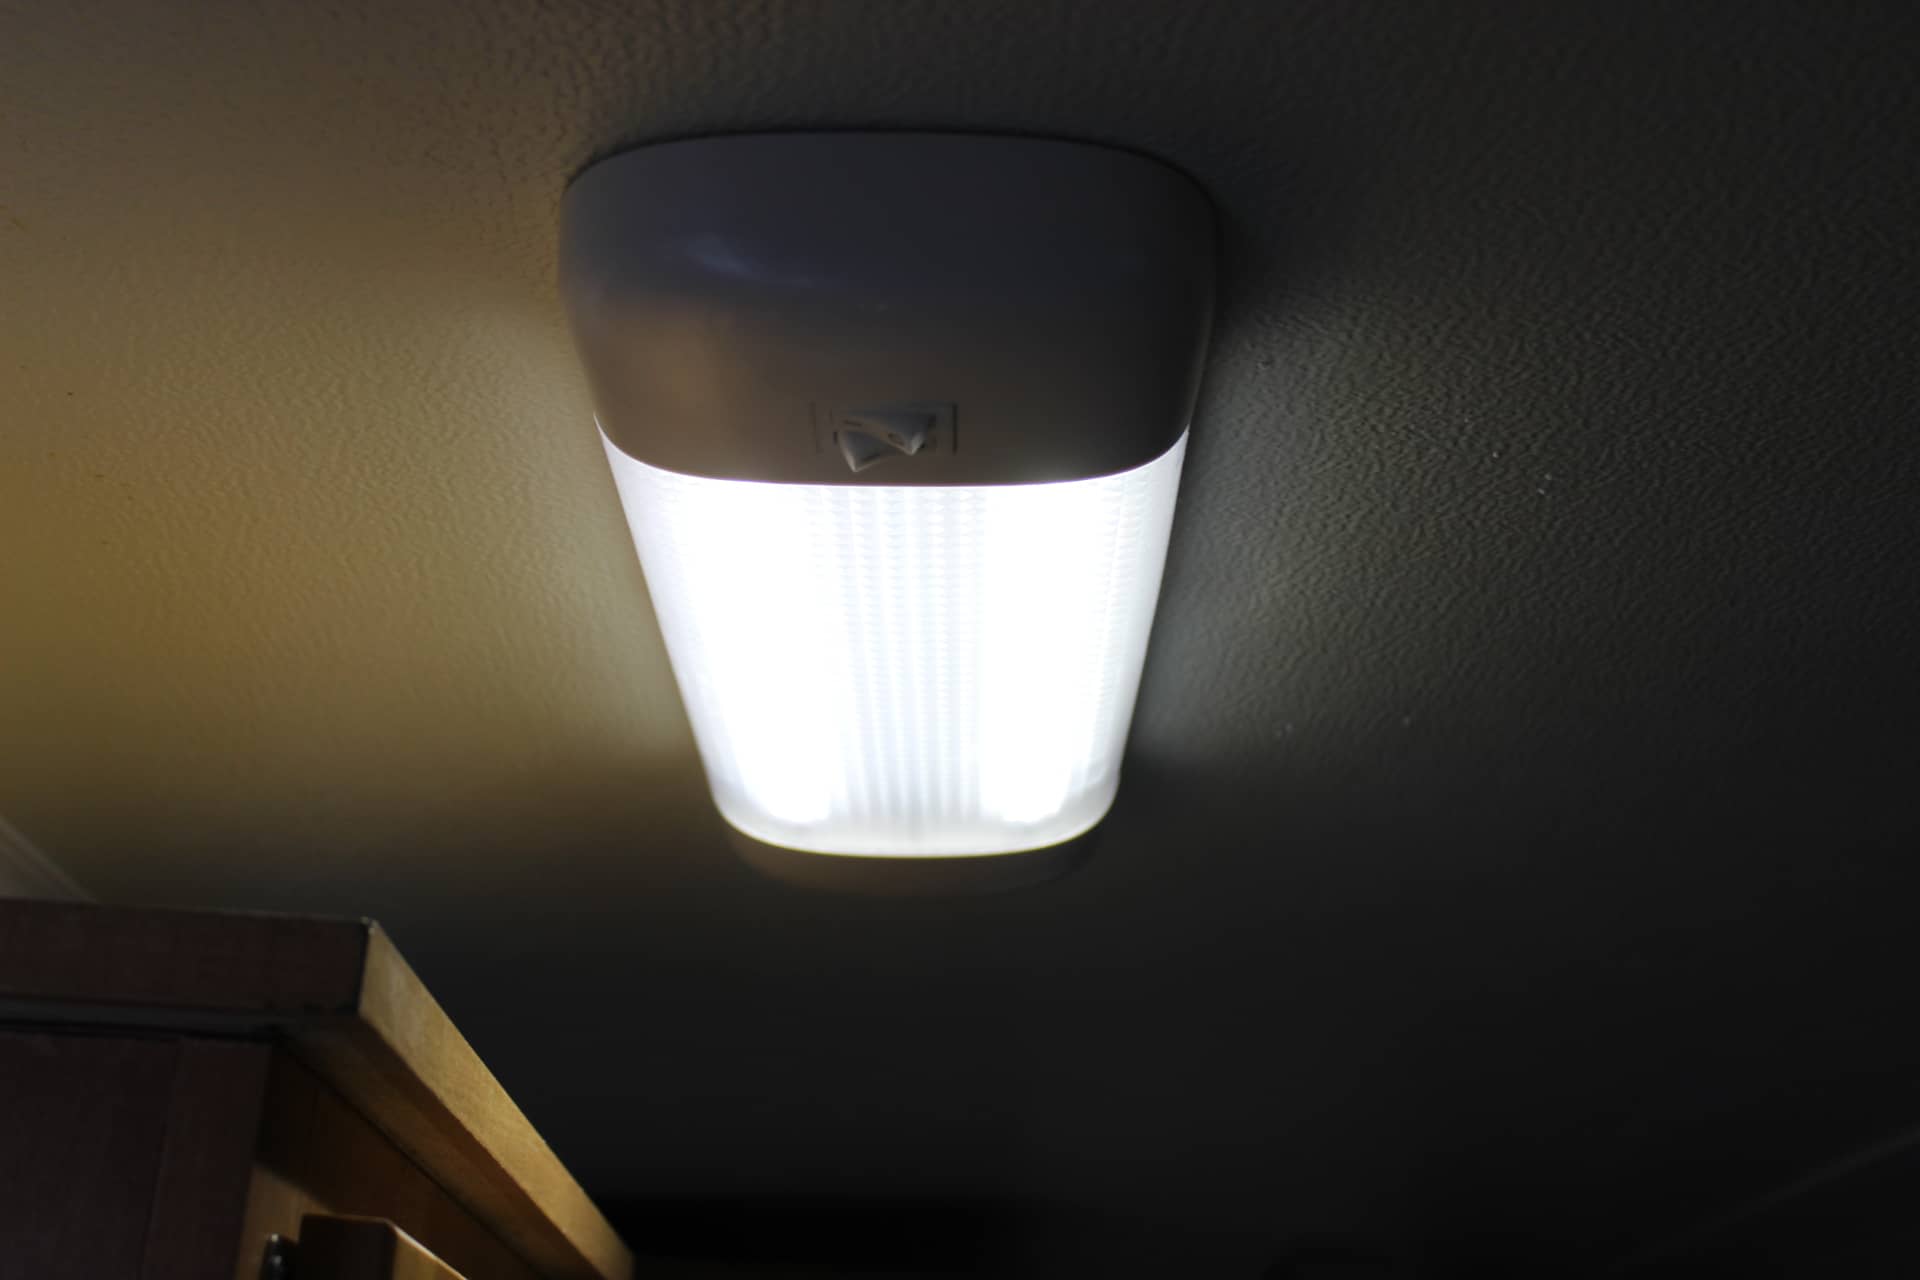
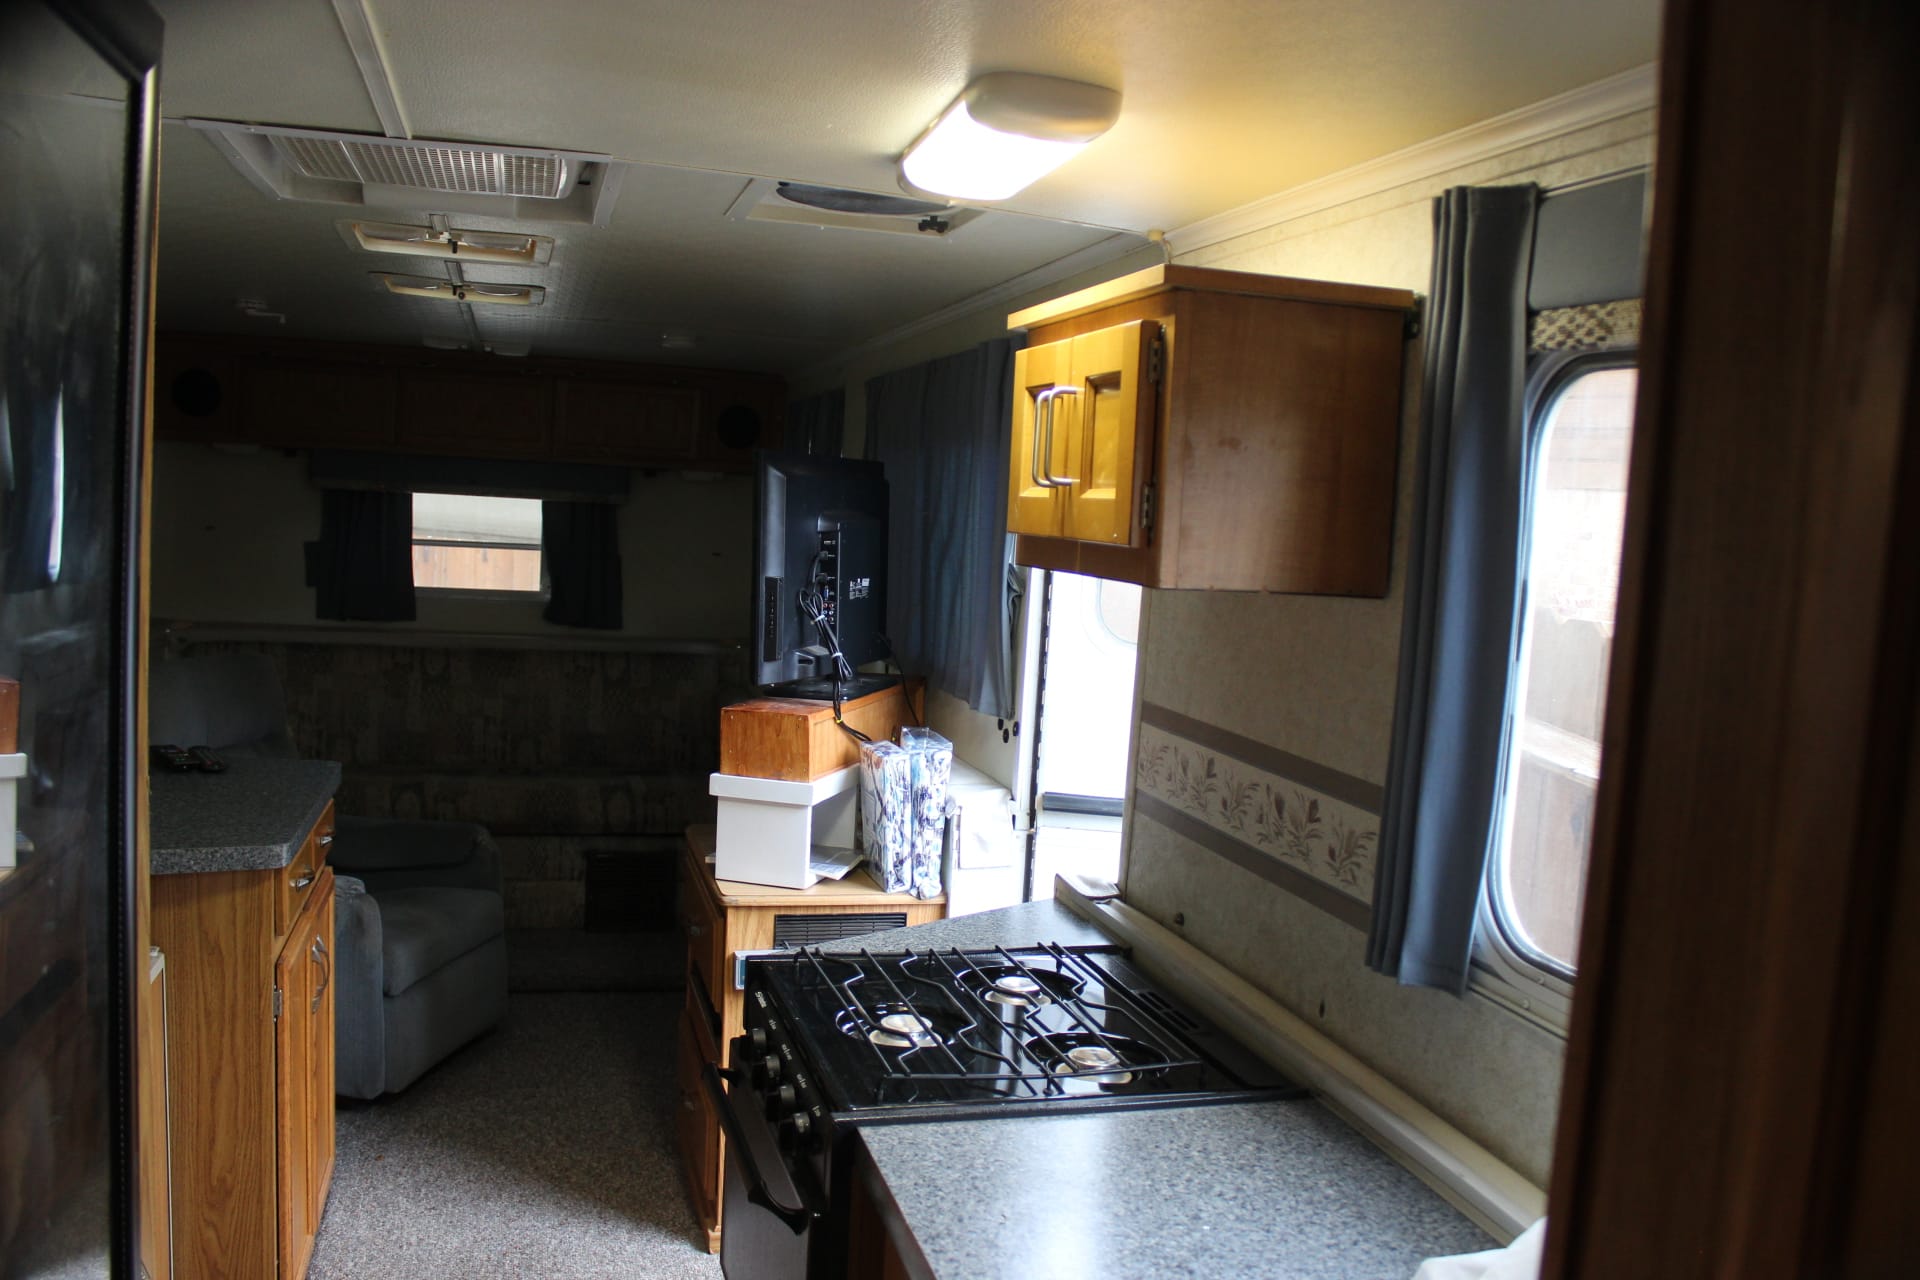
There needed to be more light over the stove so I installed a new LED light fixture that has three LED tube in it (image 1786). The cool thing is that this fixture can run either one, two or all three tubes at once (images 1787 one, 1788 two, 1789 all three). The kitchen is much brighter now too (image 1790).
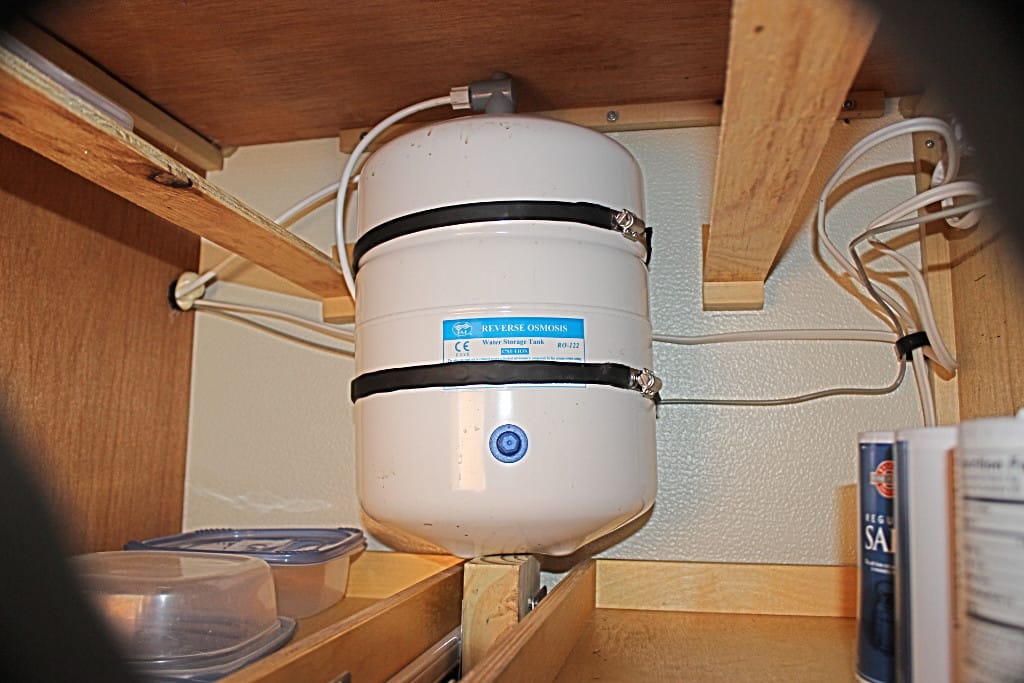
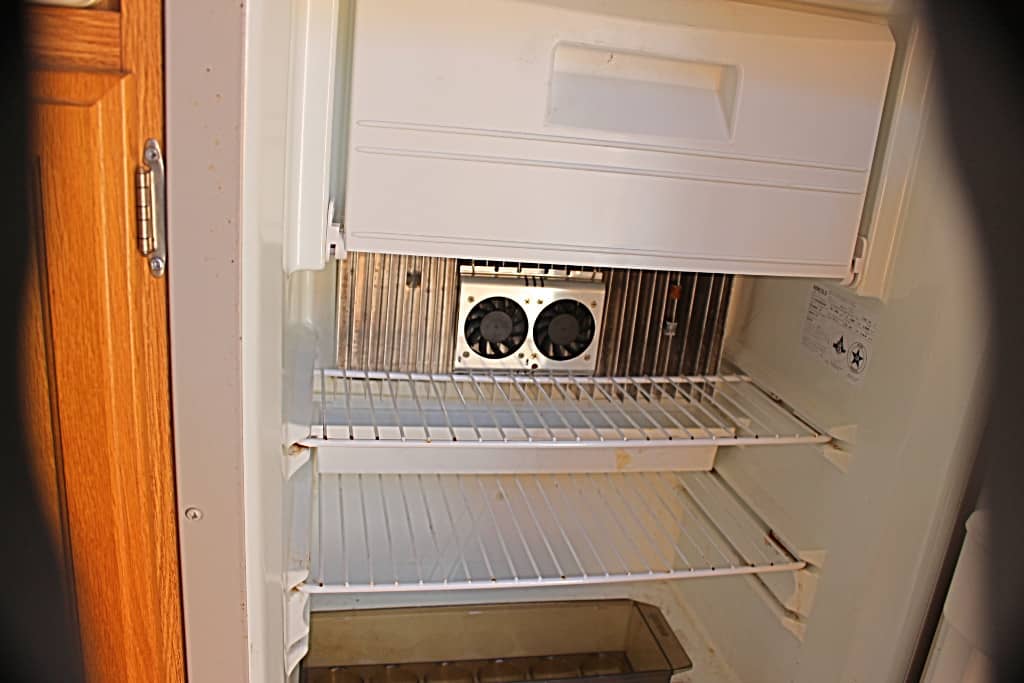
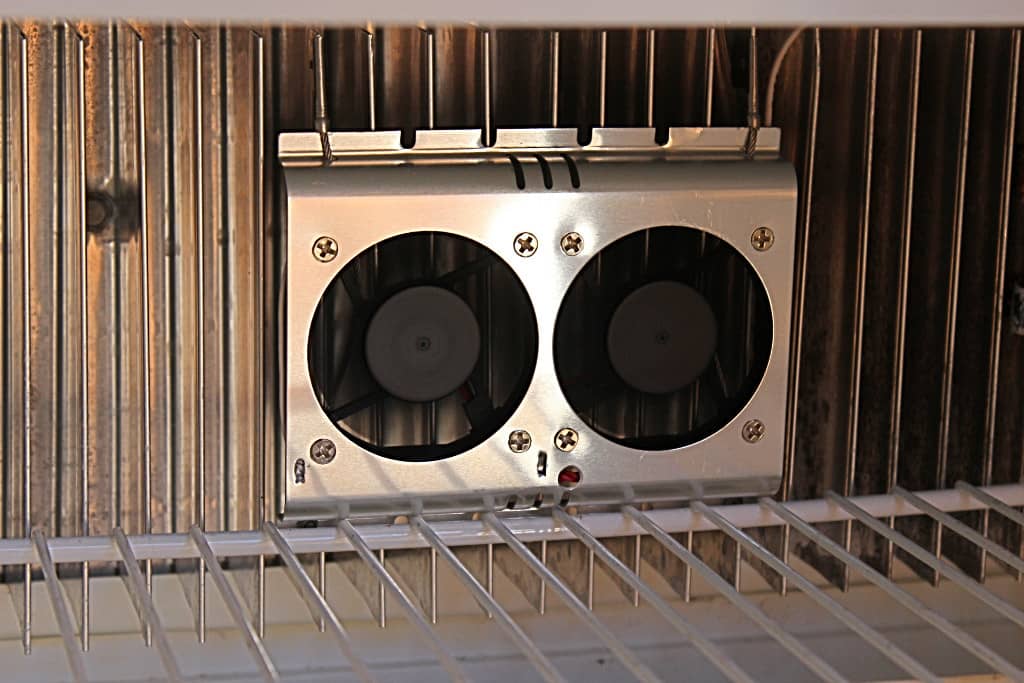
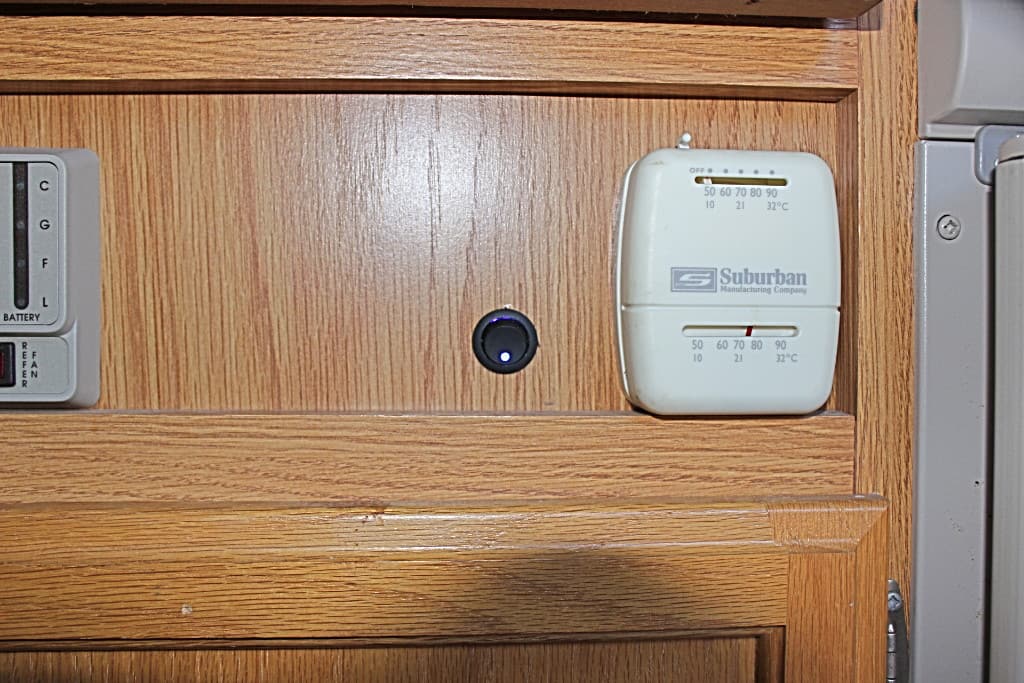
So while we are on the fan subject I’ll tell you about the fridge fans (image 1547). I saw these in an RV magazine and thought these were a good idea. Anything that makes my refrigerator be more efficient is a plus. It makes my fridge cool down faster and use less energy to boot. These fans are made to clamp onto the cooling coil fins located inside the refrigerator. By circulating the air inside the refrigerator you cause the moisture to dissipate so ice doesn’t build up and it cuts back on any mold growth as well. They come with a micro switch right on the fan unit and they are fused as well. I leave the switch on all the time because I had another switch that is fused, located on the panel under the sink counter next to the heater thermostat box (image 1577). When I put in my R/O filter I was not going to install an R/O water storage tank and so I tried to use a 12 volt water pressure pump like the one that pumps the fresh water tank and feeds the whole trailer. That didn’t work and I had to install an R/O water reservoir tank anyway (image 1532). So I had this switch still on the panel that didn’t do anything at all….perfect…just what I needed to hook up my fridge fan. I clamped the fans on the cooling coil fins and ran the power and ground wires thru the same hole inside the refrigerator that the thermocouple run thru into the back of the refrigerator. Then across and into the cabinet under the sink and final to that switch (which has a light on it to tell you when it’s on). These work great!
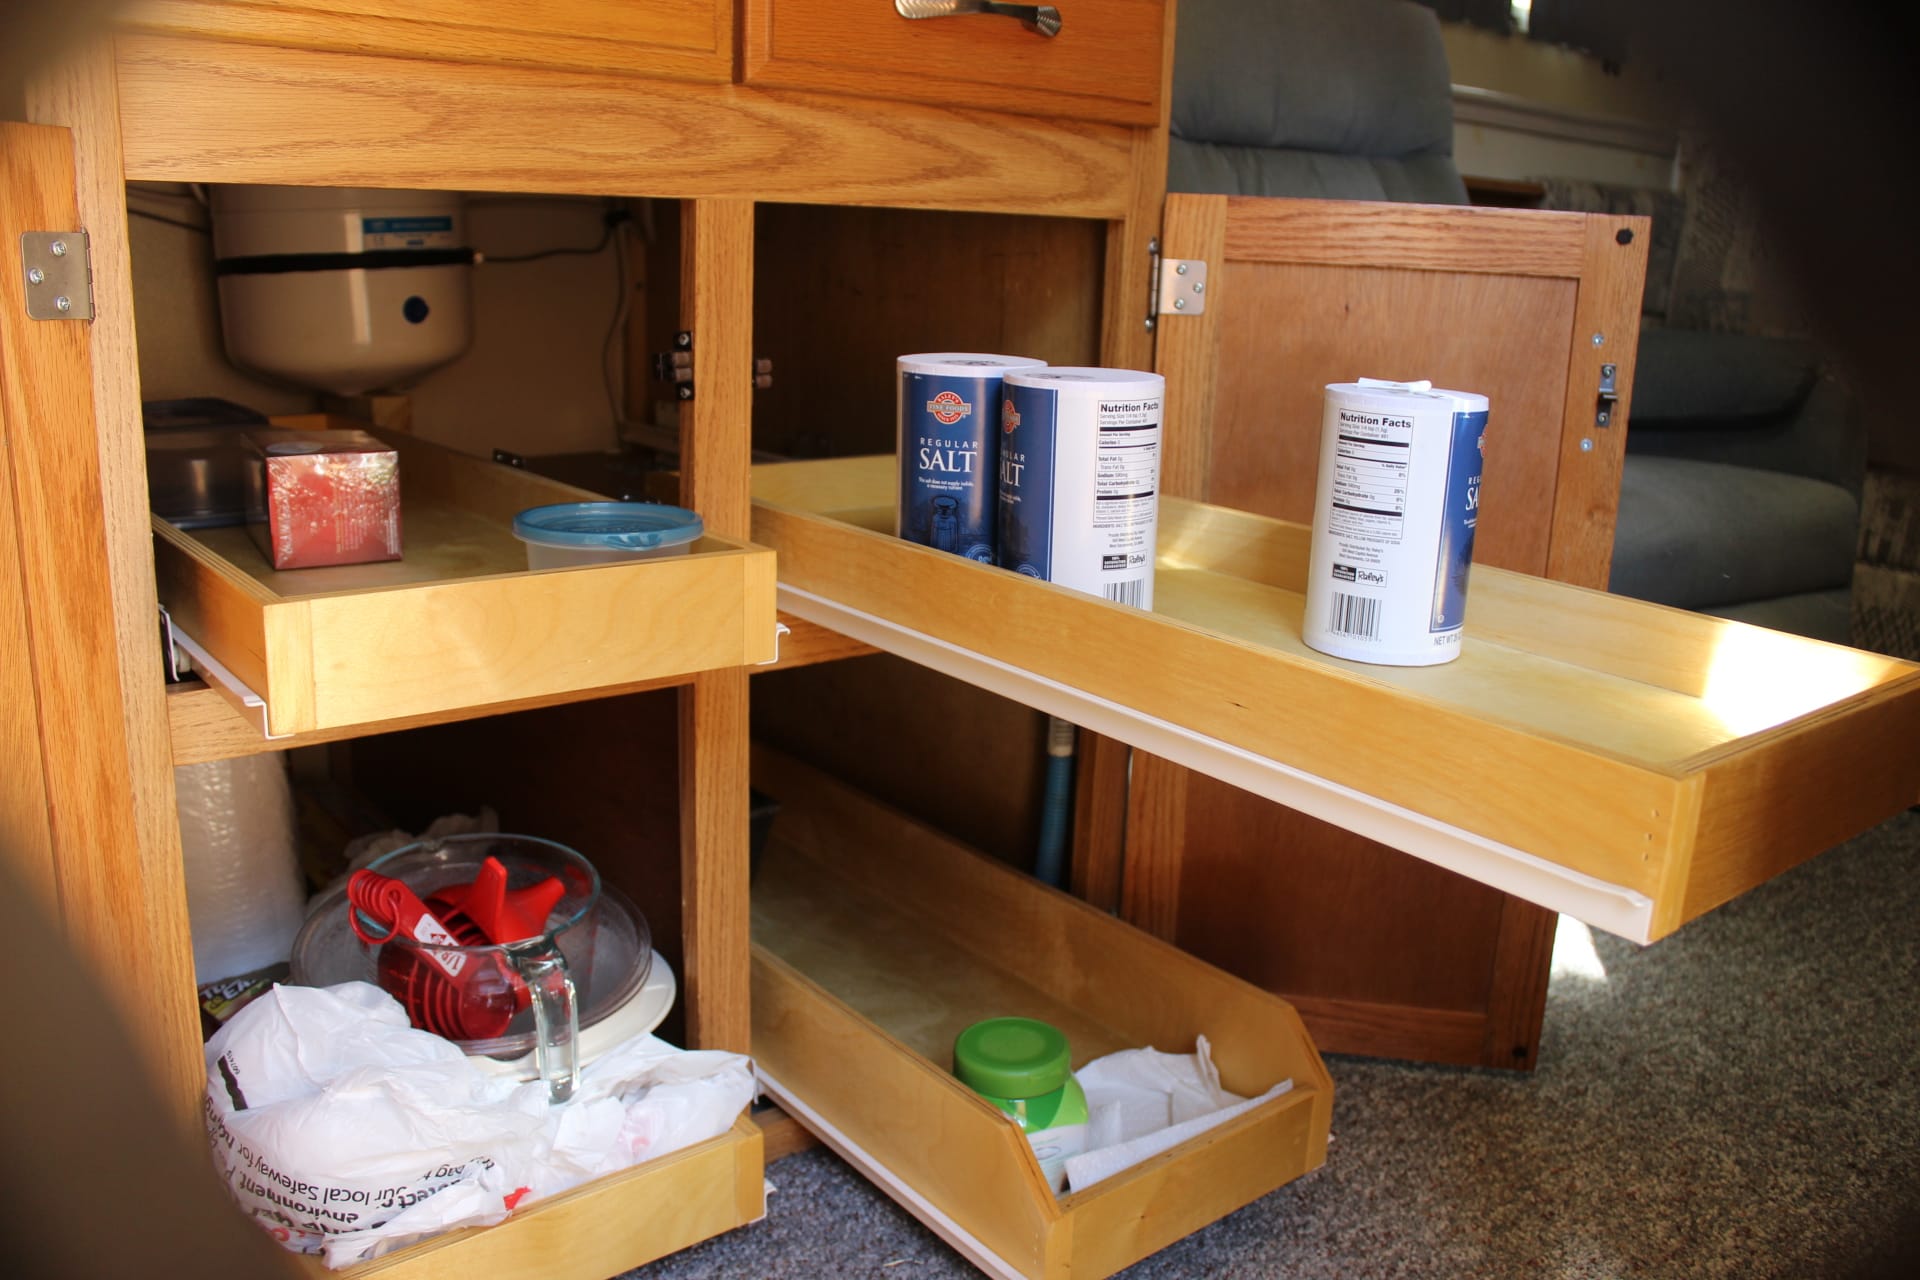
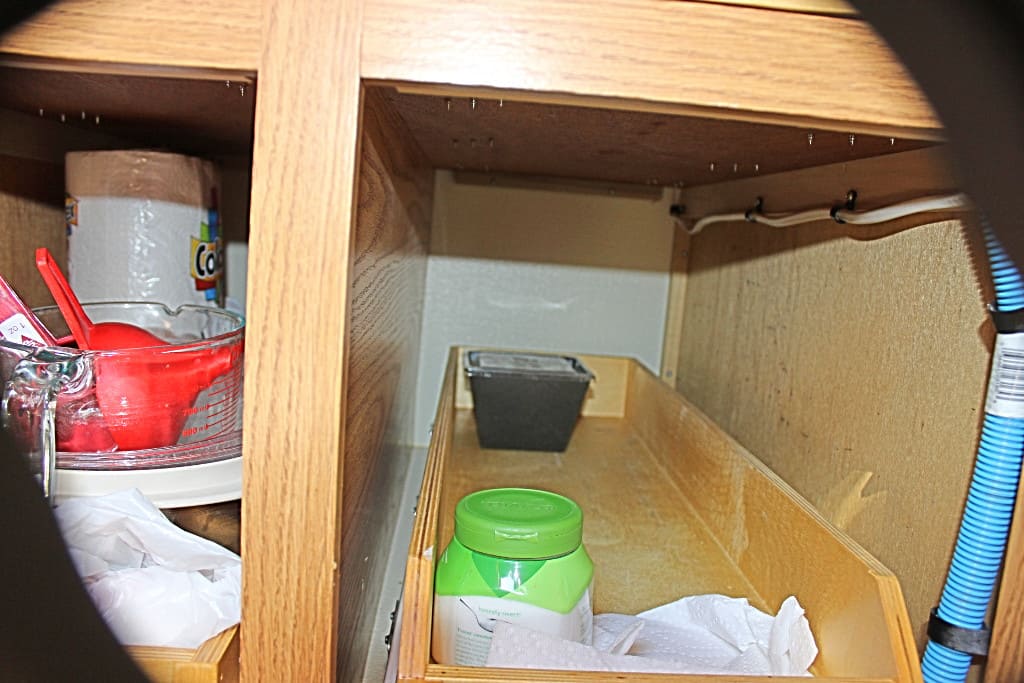
The next thing I did was have made some custom made sliding drawers for the cabinets next to the refrigerator. This is a very deep cabinet with lots of room in it. The problem is getting to the stuff in the back. You have to crawl on your knees to reach in there. No Good-o! Sliding drawers is the answer. I had these custom made because I don’t think that I could have done as nice a job on them as this local guy did (images 1530, 1531). They work perfectly and were not too much trouble to install….but most of all, they make it so much easier to store stuff and were well worth the cost. The other cabinets are easy to access so it wasn’t necessary to put them in those.