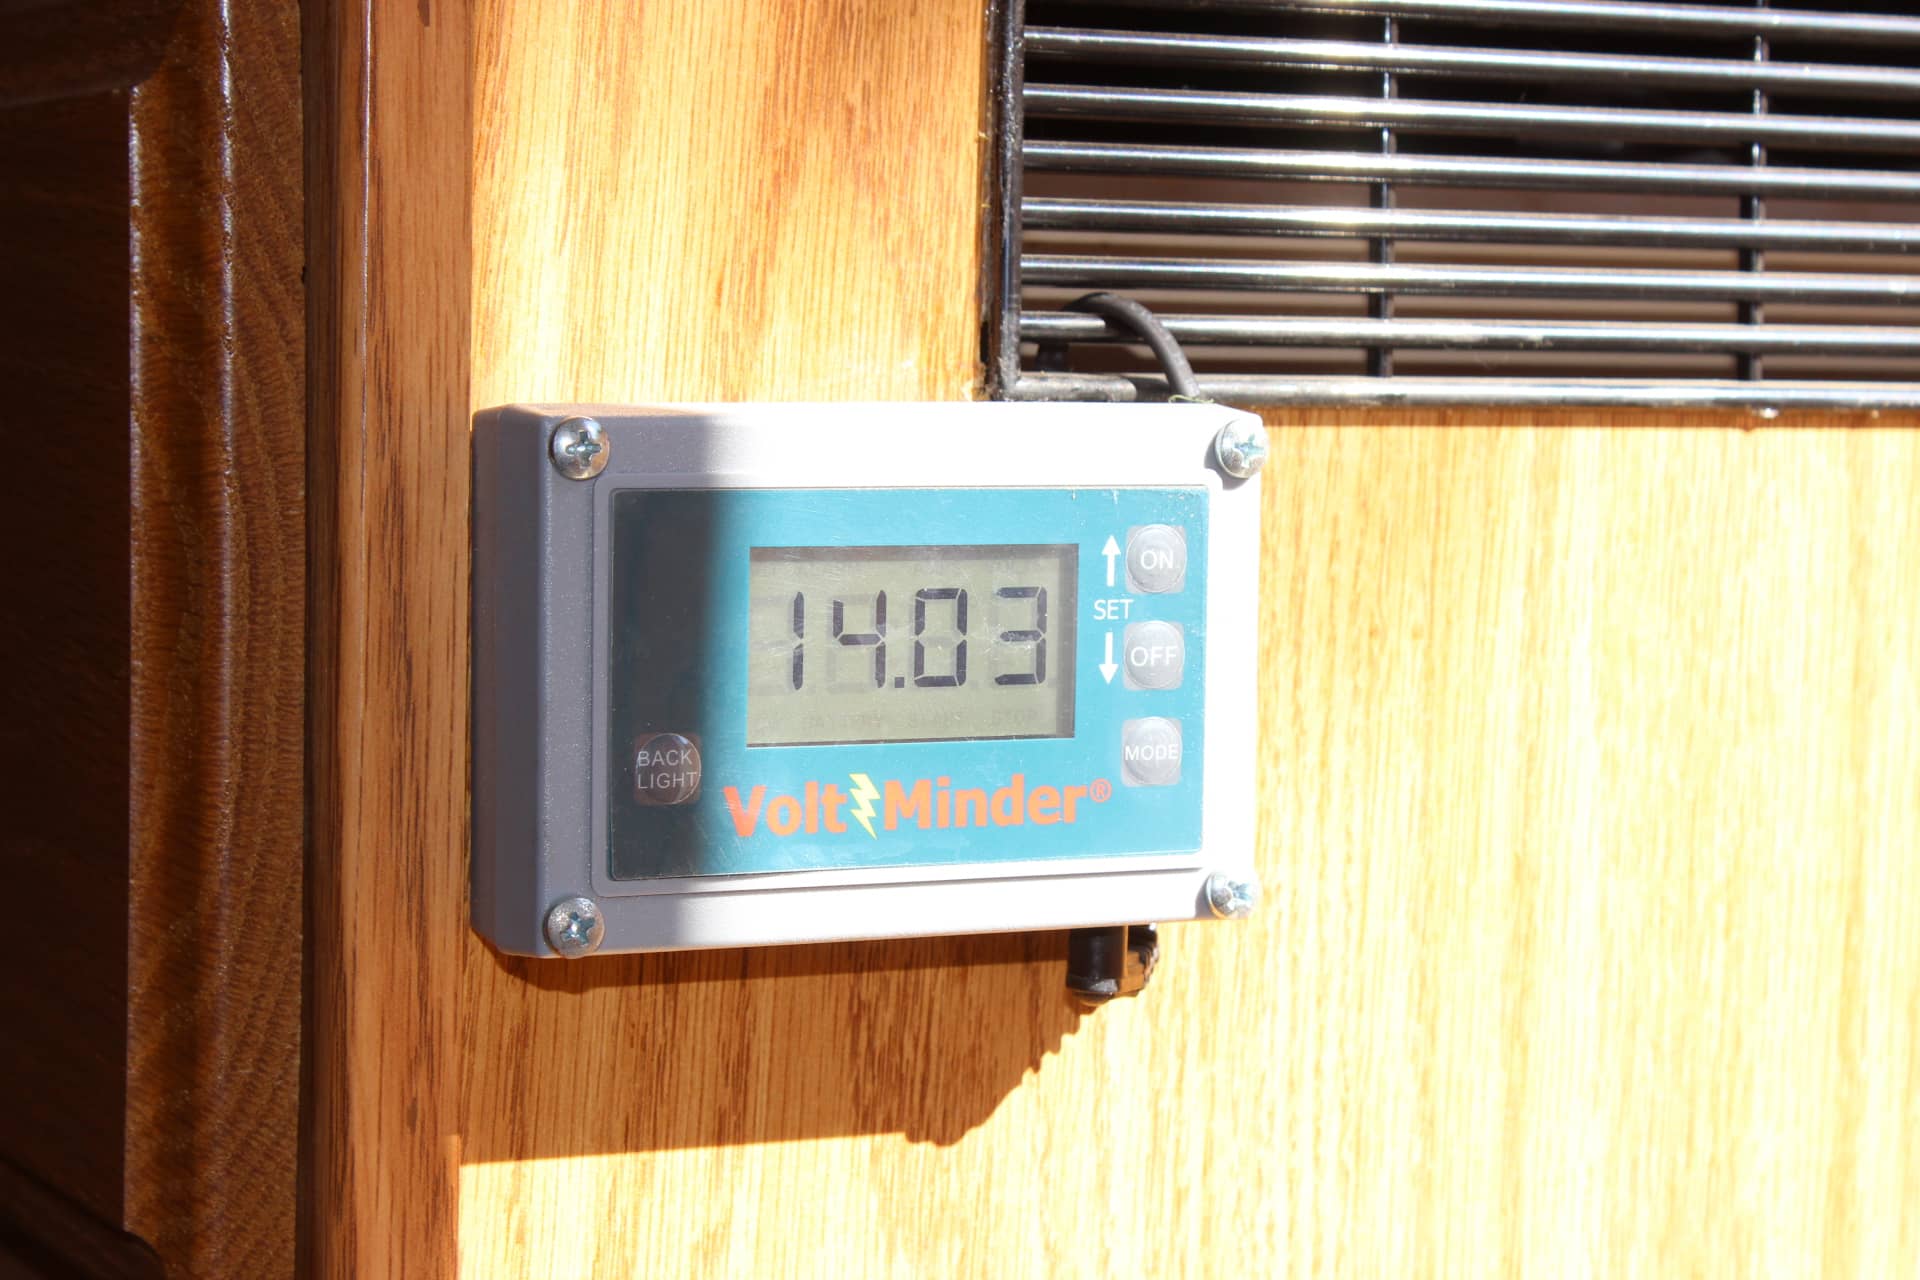
When I was attempting to install my wifi booster I made the discovery that my converter/charger was on the fritz and was putting out 19 volts DC instead of the usual 12 or so. YIKES! So I think that in the process it also fried my little battery monitor (The Volt Minder…image 1529). That’s NO GOOD-O in my books. Now a replacement was in order…I guess it’s off to the web.
There I found a whole array of volt meters/monitors ranging from over $100 to $10 and the more they cost the more bells and whistles they had. Then I stumbled onto this one on Amazon….
“bayite DC 6.5-100V 0-100A LCD Display Digital Current Voltage Power Energy Meter Multimeter Ammeter Voltmeter with 100A Current Shunt” for $14.99!
It cost about half of what I paid for the Volt Minder and did 3X’s more. Not only does it give the voltage status of your battery(s), but also tells you the amperage usage as well as the watts being put out and the watt hours that have been used. Plus, the whole thing has a back light that can be turned on or off and also a reset button to clear out the watt hours if you want it to start over keeping track of your usage. The only problem is that this is a bit more involved to hook up. You just can’t simply attach it to any 12 volt source like the Volt Minder. This has a 100 amp shunt that has to hooked in-line with the ground return wire to your battery as well as other wires that will go to the multi meter itself.
So with the hookup that is required, kind of limited my location for the unit itself. I realized that it needs to be close to the source (my battery box in the back compartment), yet be on the inside so I can read what’s going on. The answer was by the front of the bed next to the bathroom wall (image 2111).
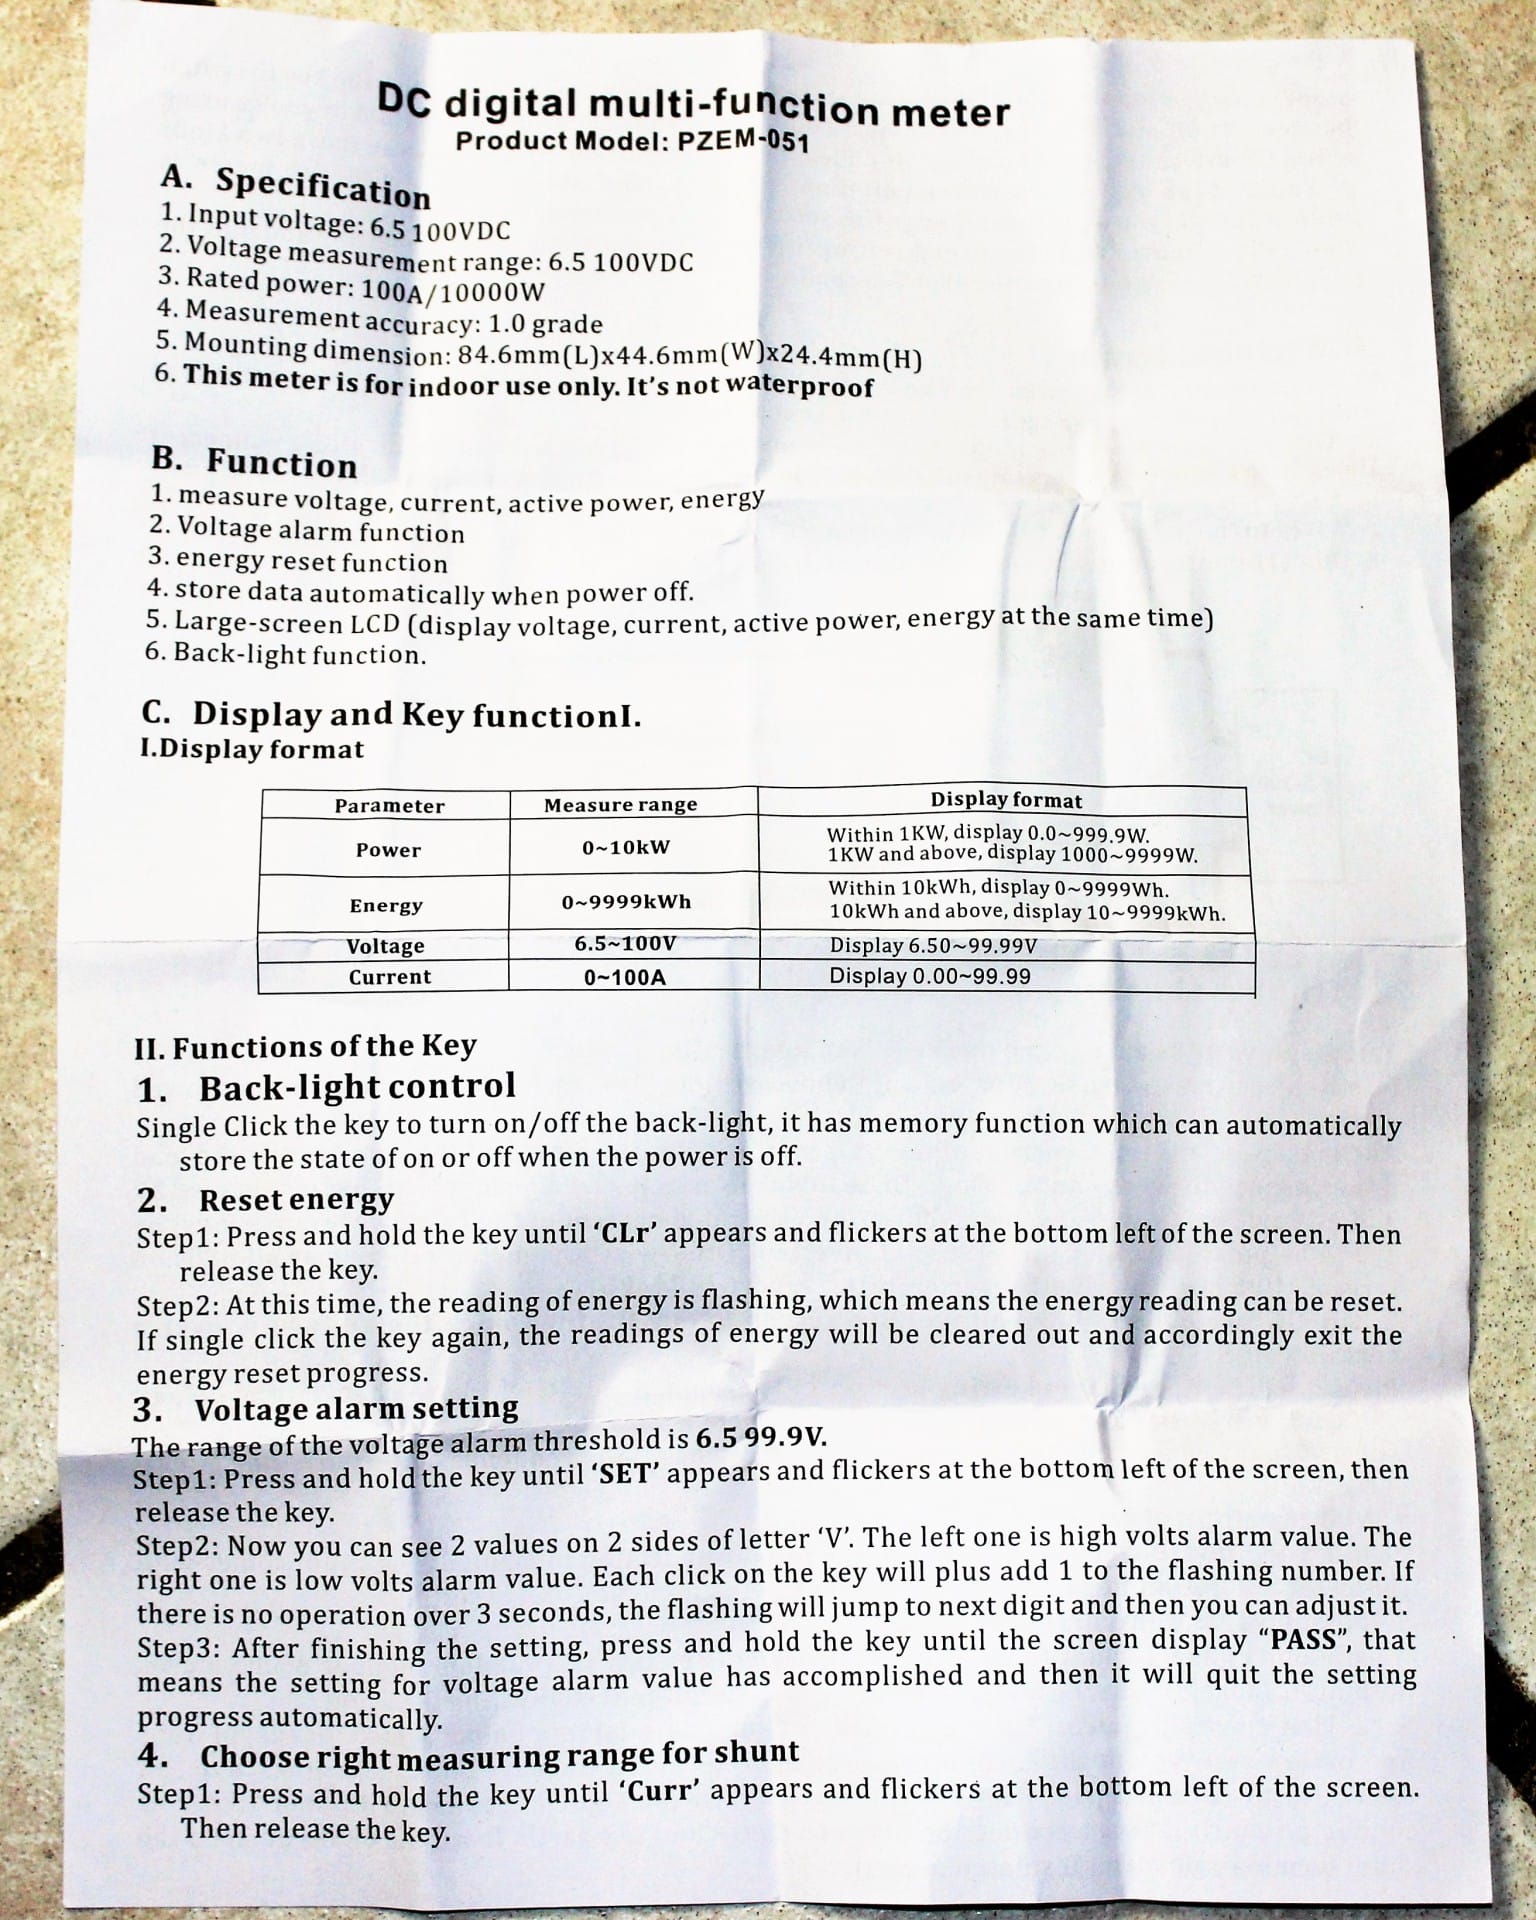
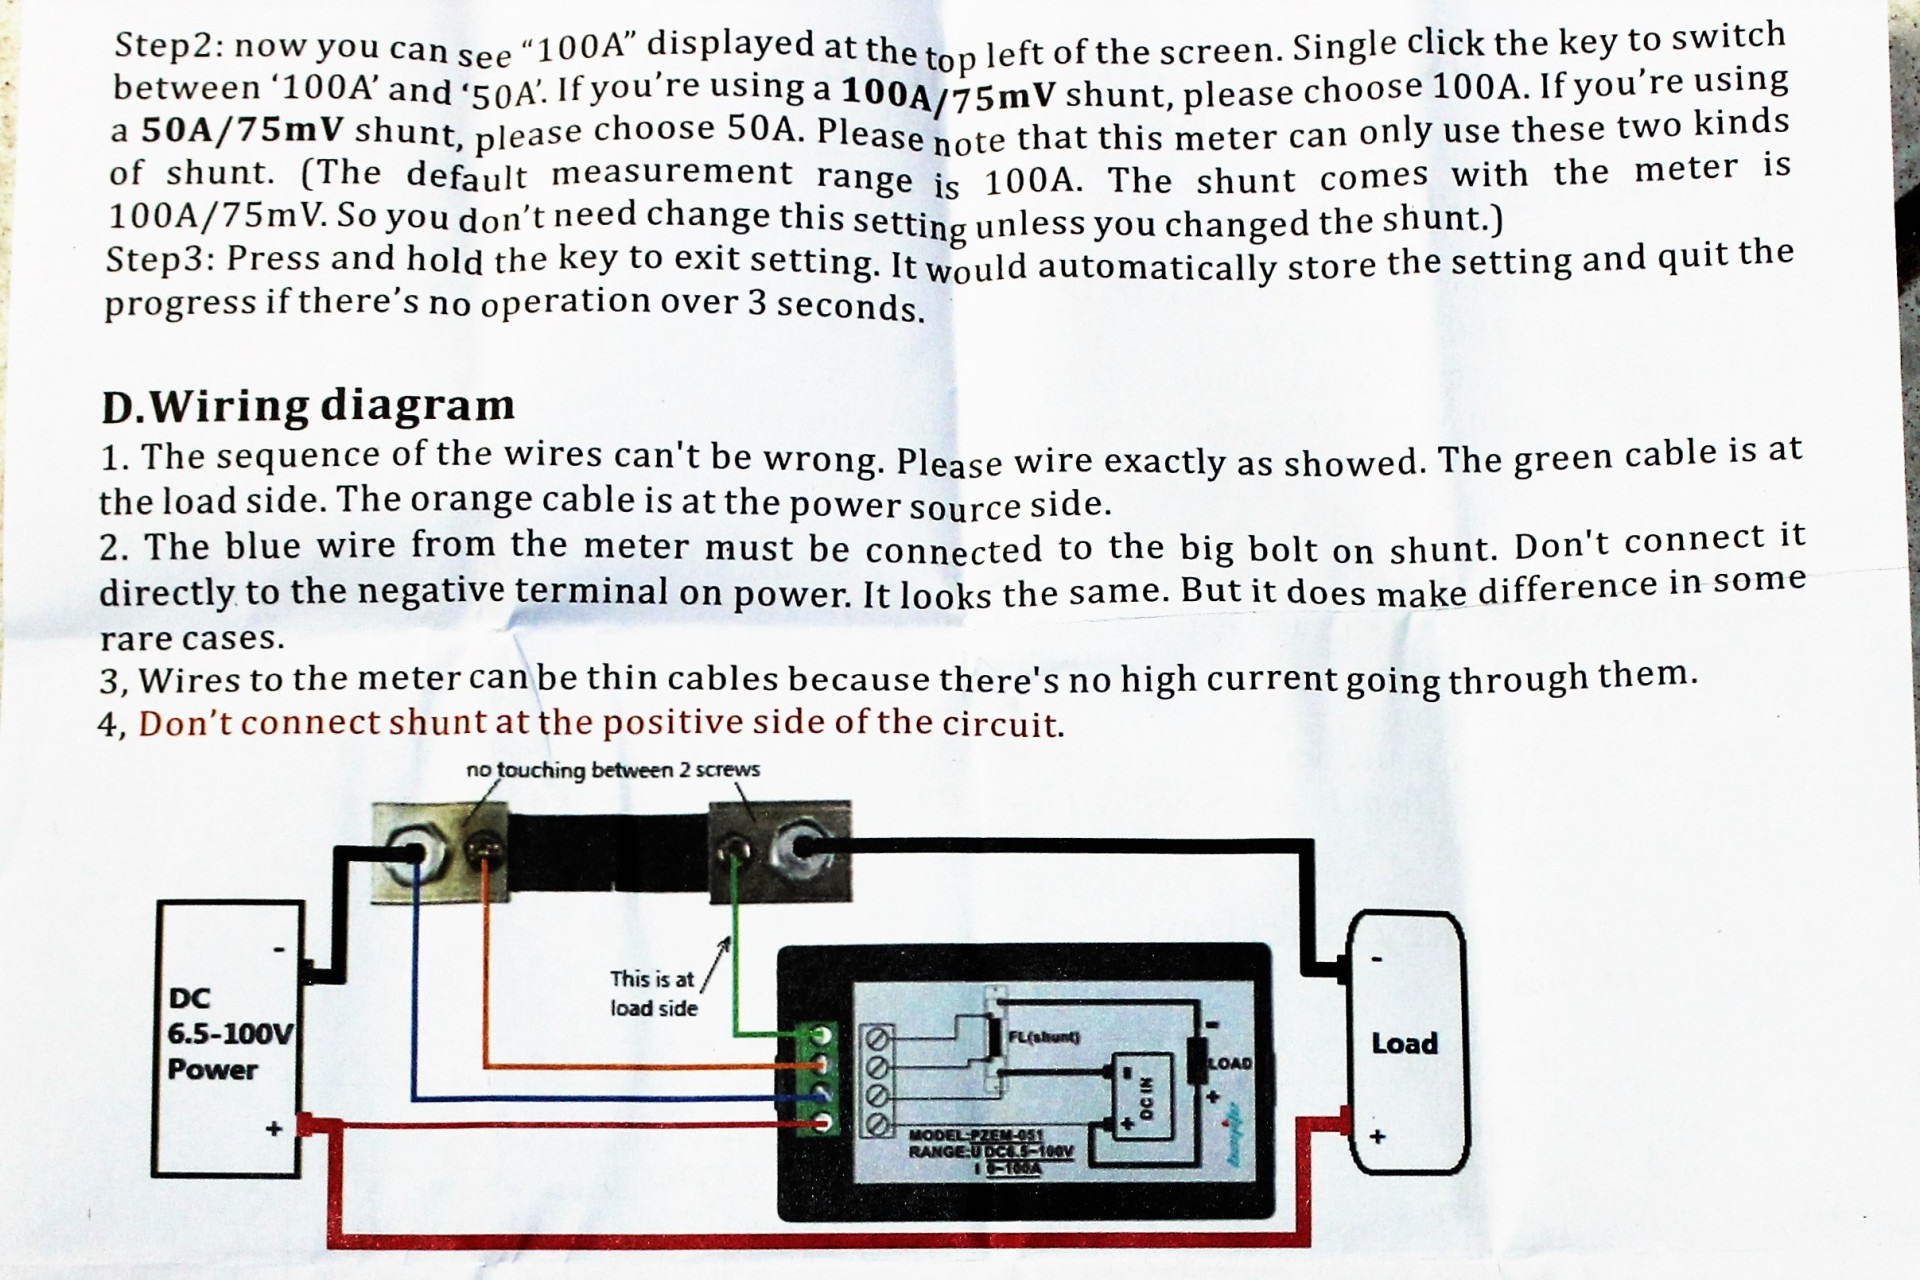
Looking at the instructions and the wiring diagram (images 2126, 2127) I was able to determine that I needed four wires. I went to Harbor Freight Tools and bought some 14 gage trailer light hook up wire as it comes in four colors. That will make the identification easier to work with, it’s cheap, and now I have a bunch left over too.
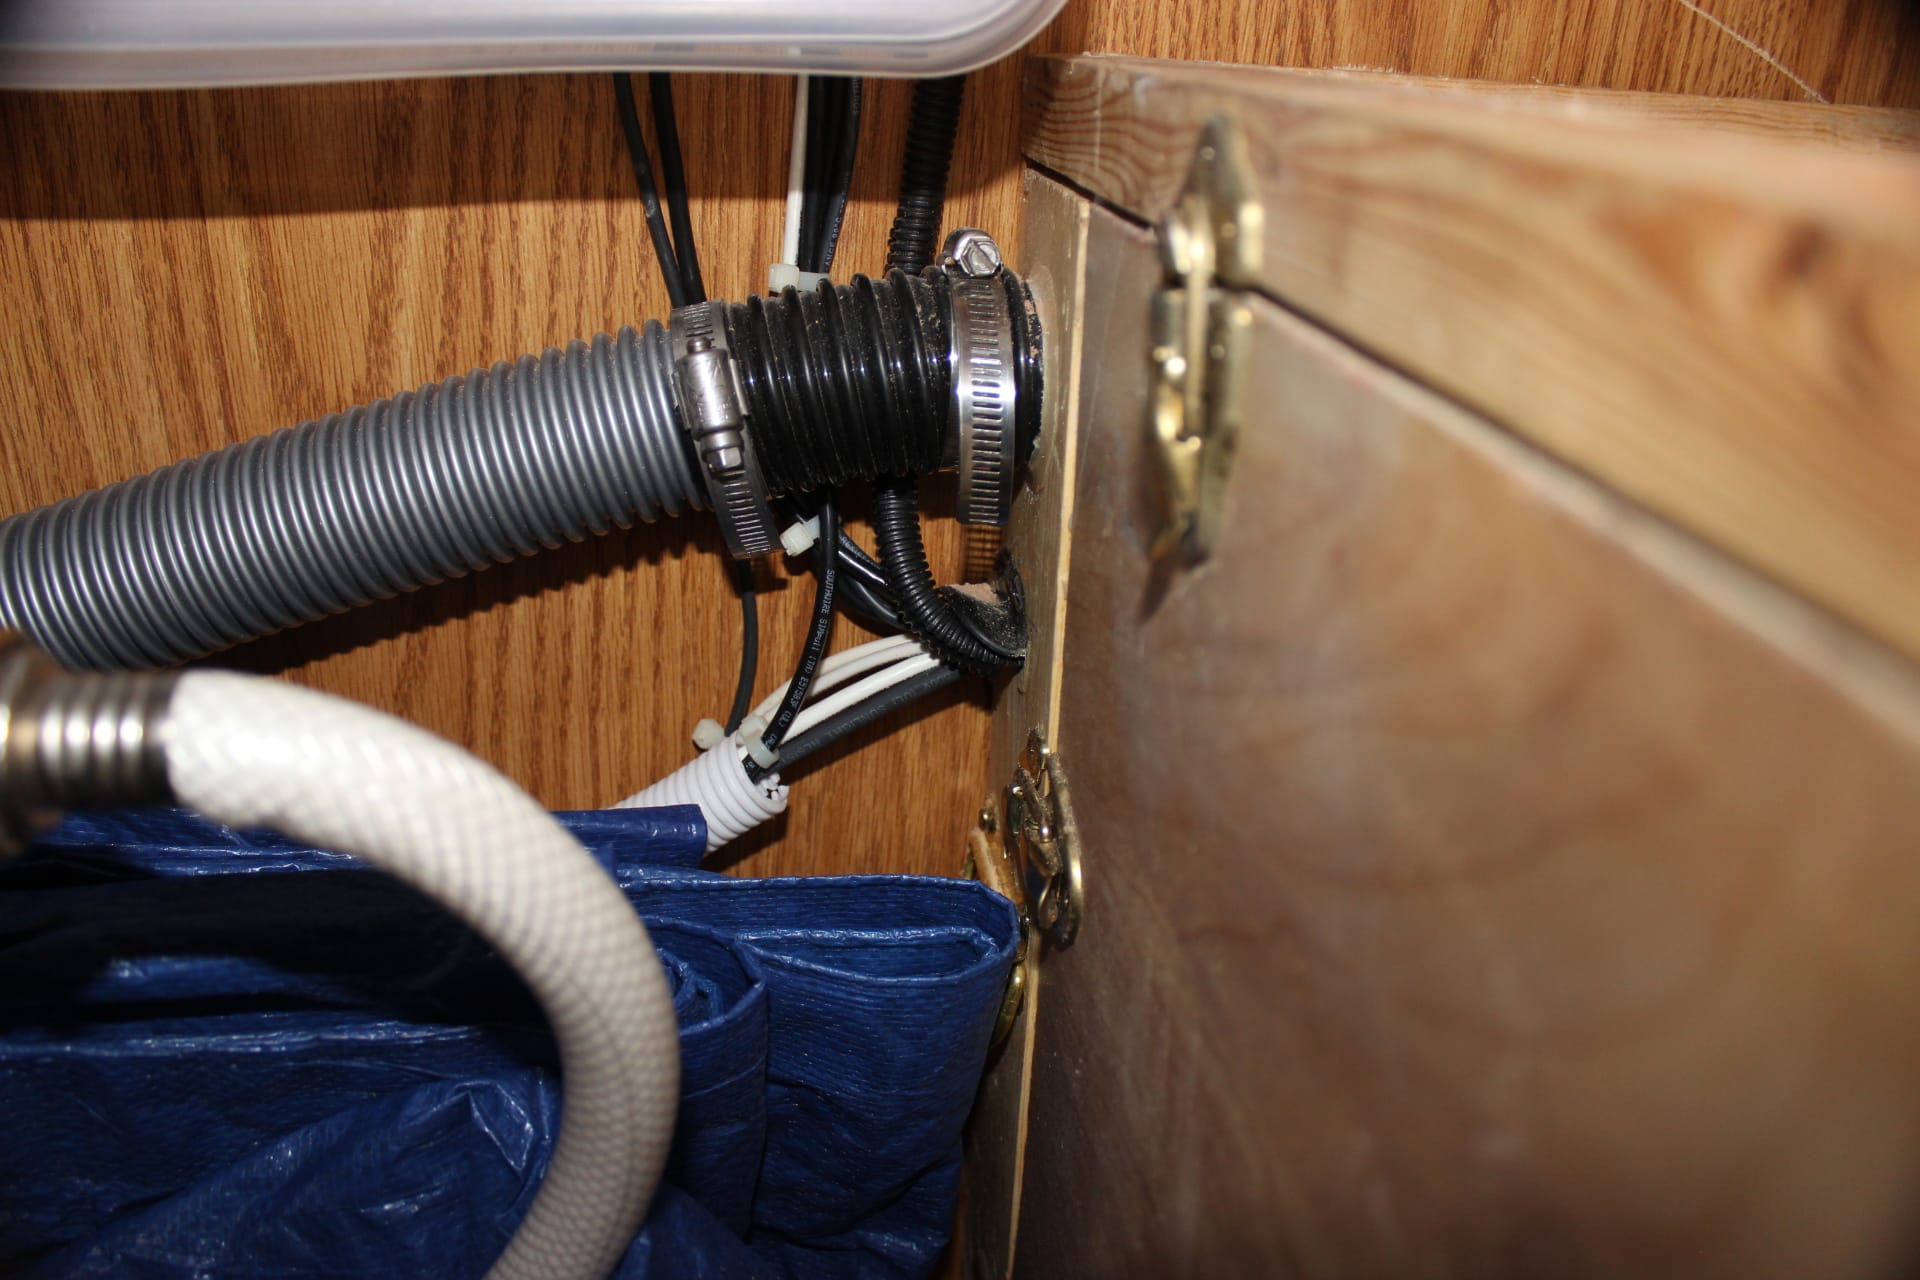
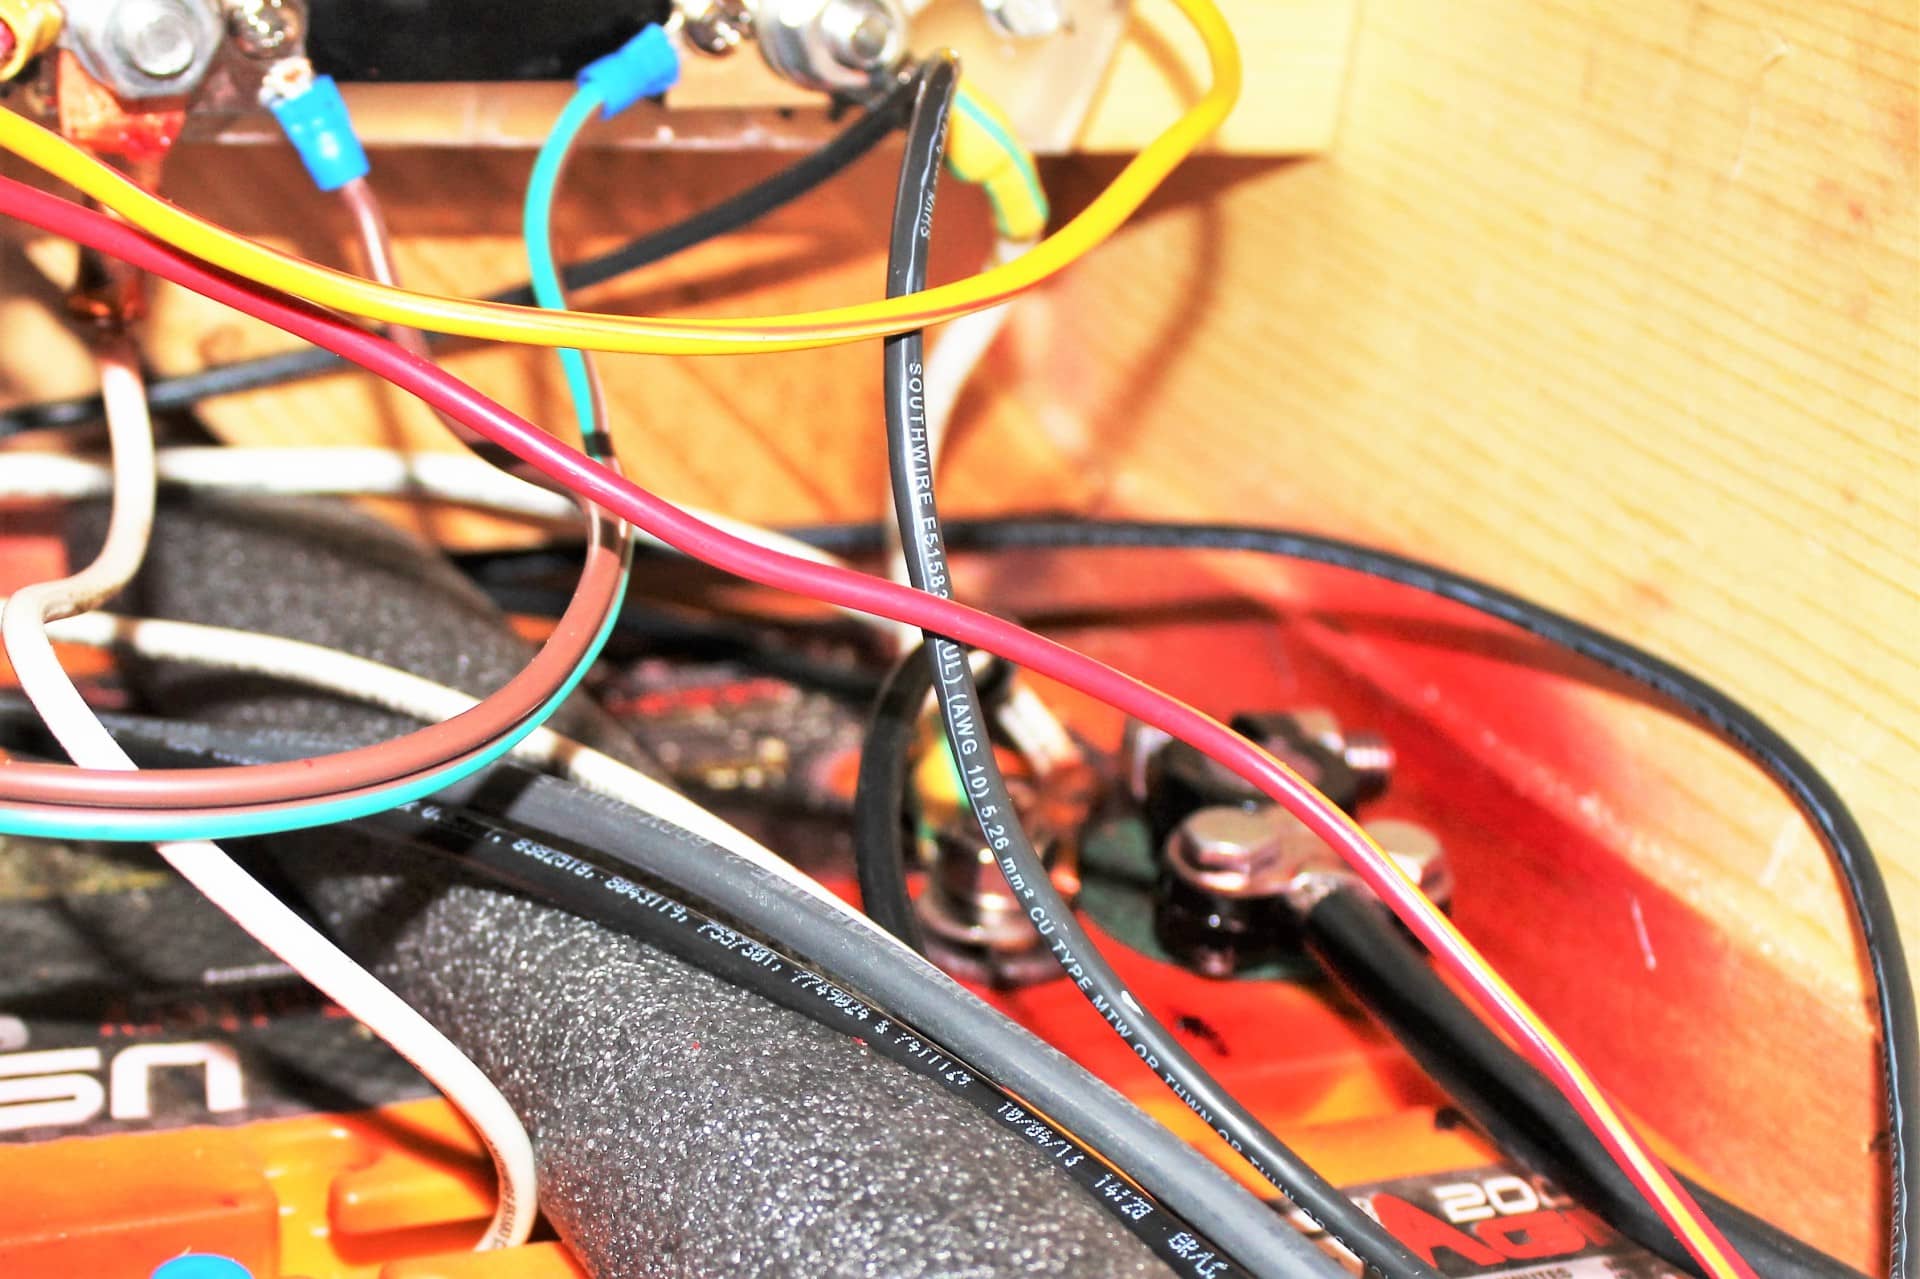
Next I had to fabricate a mount for the shunt. I used a piece of thermal plastic from an old cover off of an electrical service meter used to cove the hole where the house meter goes. It’s pretty tough and doesn’t conduct any electricity, so I bolted the shunt to that and then the whole thing screwed to the inside of my battery box (image 2119). I hooked up the wires to each appropriate terminal and ran the main wires (the negative ground wires for the whole trailer) to the shunt and then to the smaller negative terminal on the battery (image 2120 …it’s the white one from the shunt). Then the wires go out the battery box thru a port in the side below the vent hose (image 2114) shrouded in wire loom, and up the wall by the breaker box enclosure (image 2117).
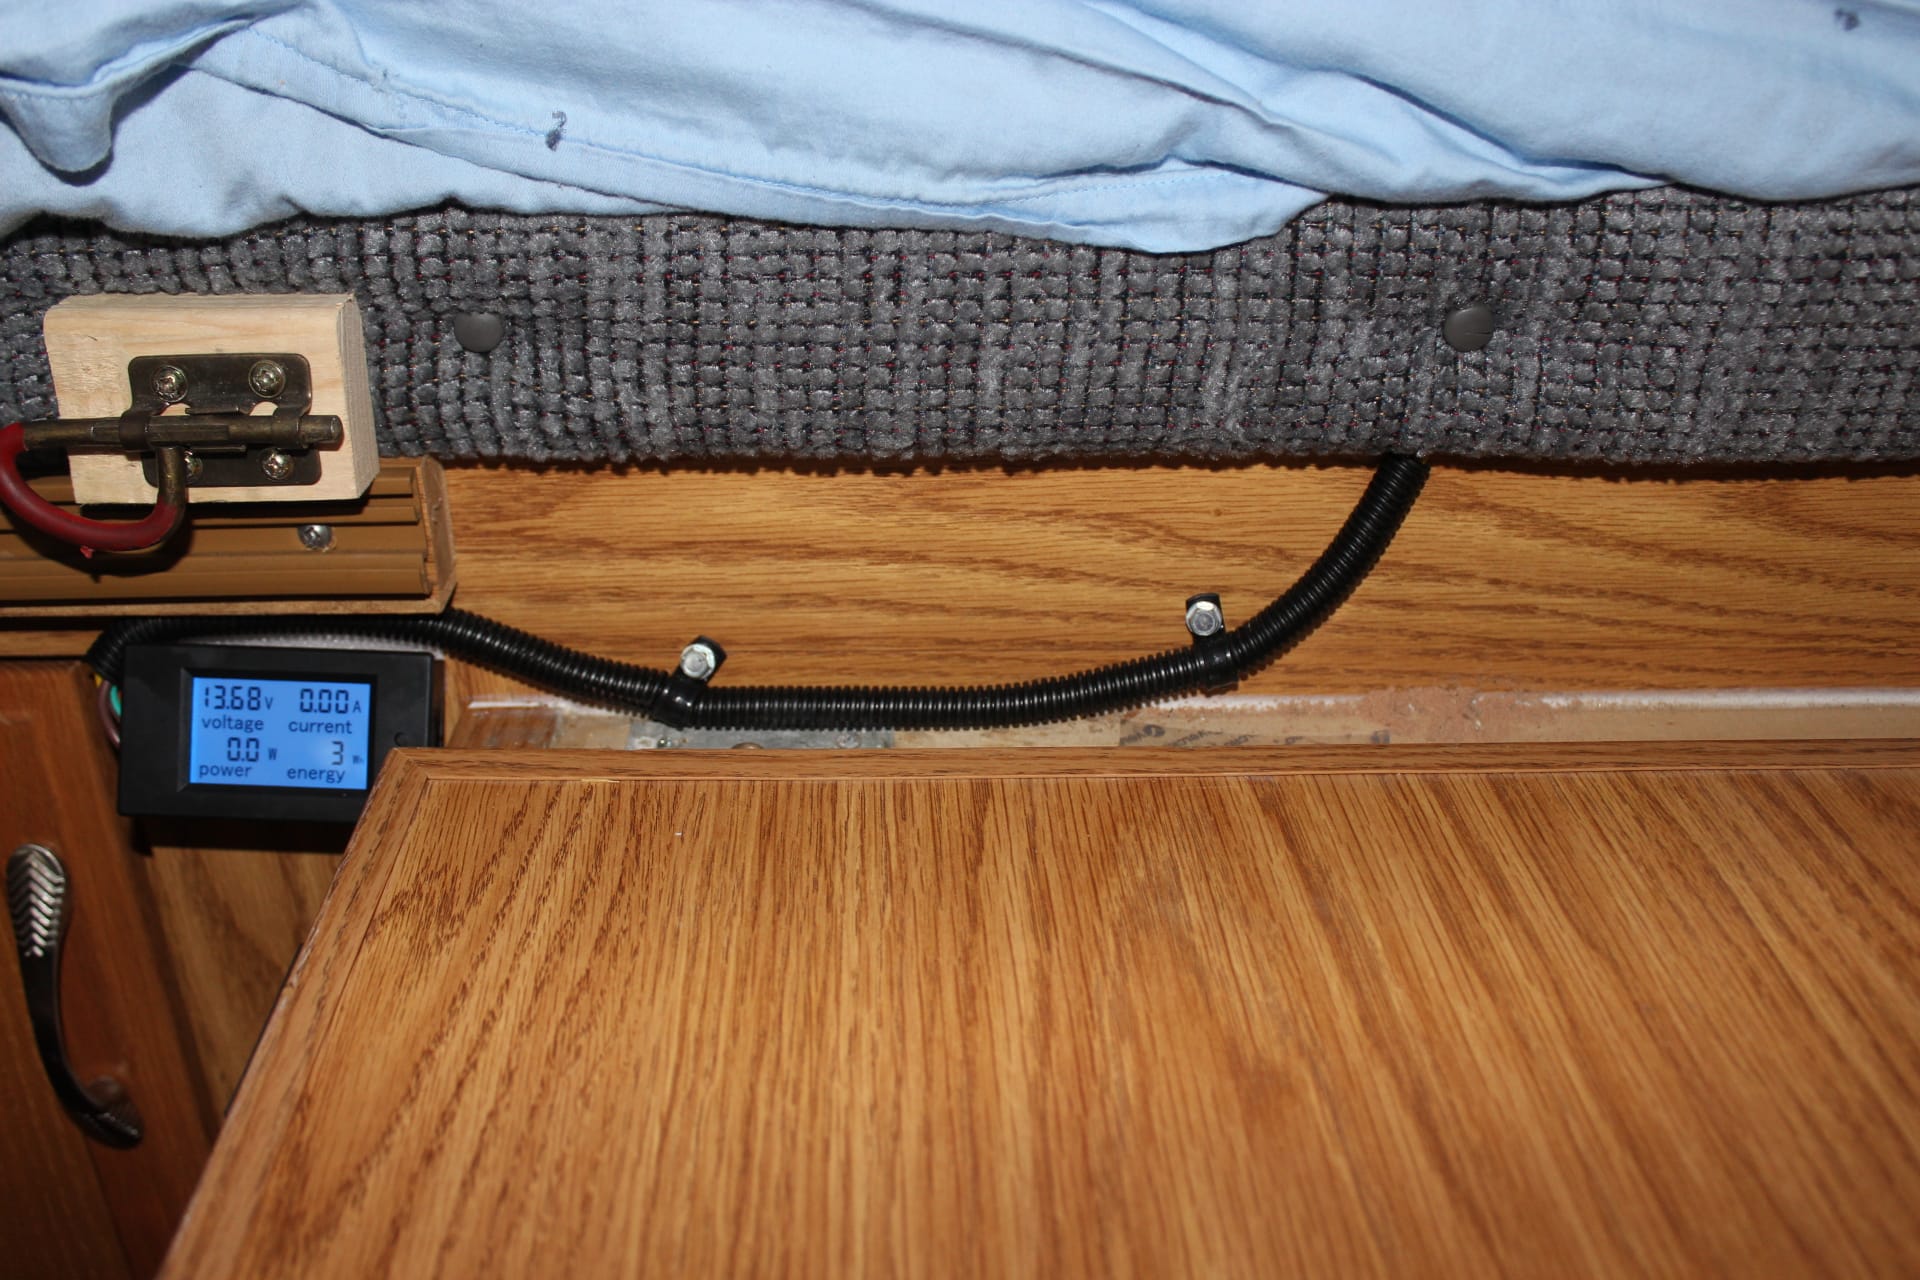
By lifting up the bed and creating a groove in the wood frame (that the bed sits on) and about a foot towards the shell wall, behind where the bathroom wall folds, I was able to gain access to the rear compartment where my battery box sits. This is where I ran my wires from the shunt and across to the meter (image 2112).
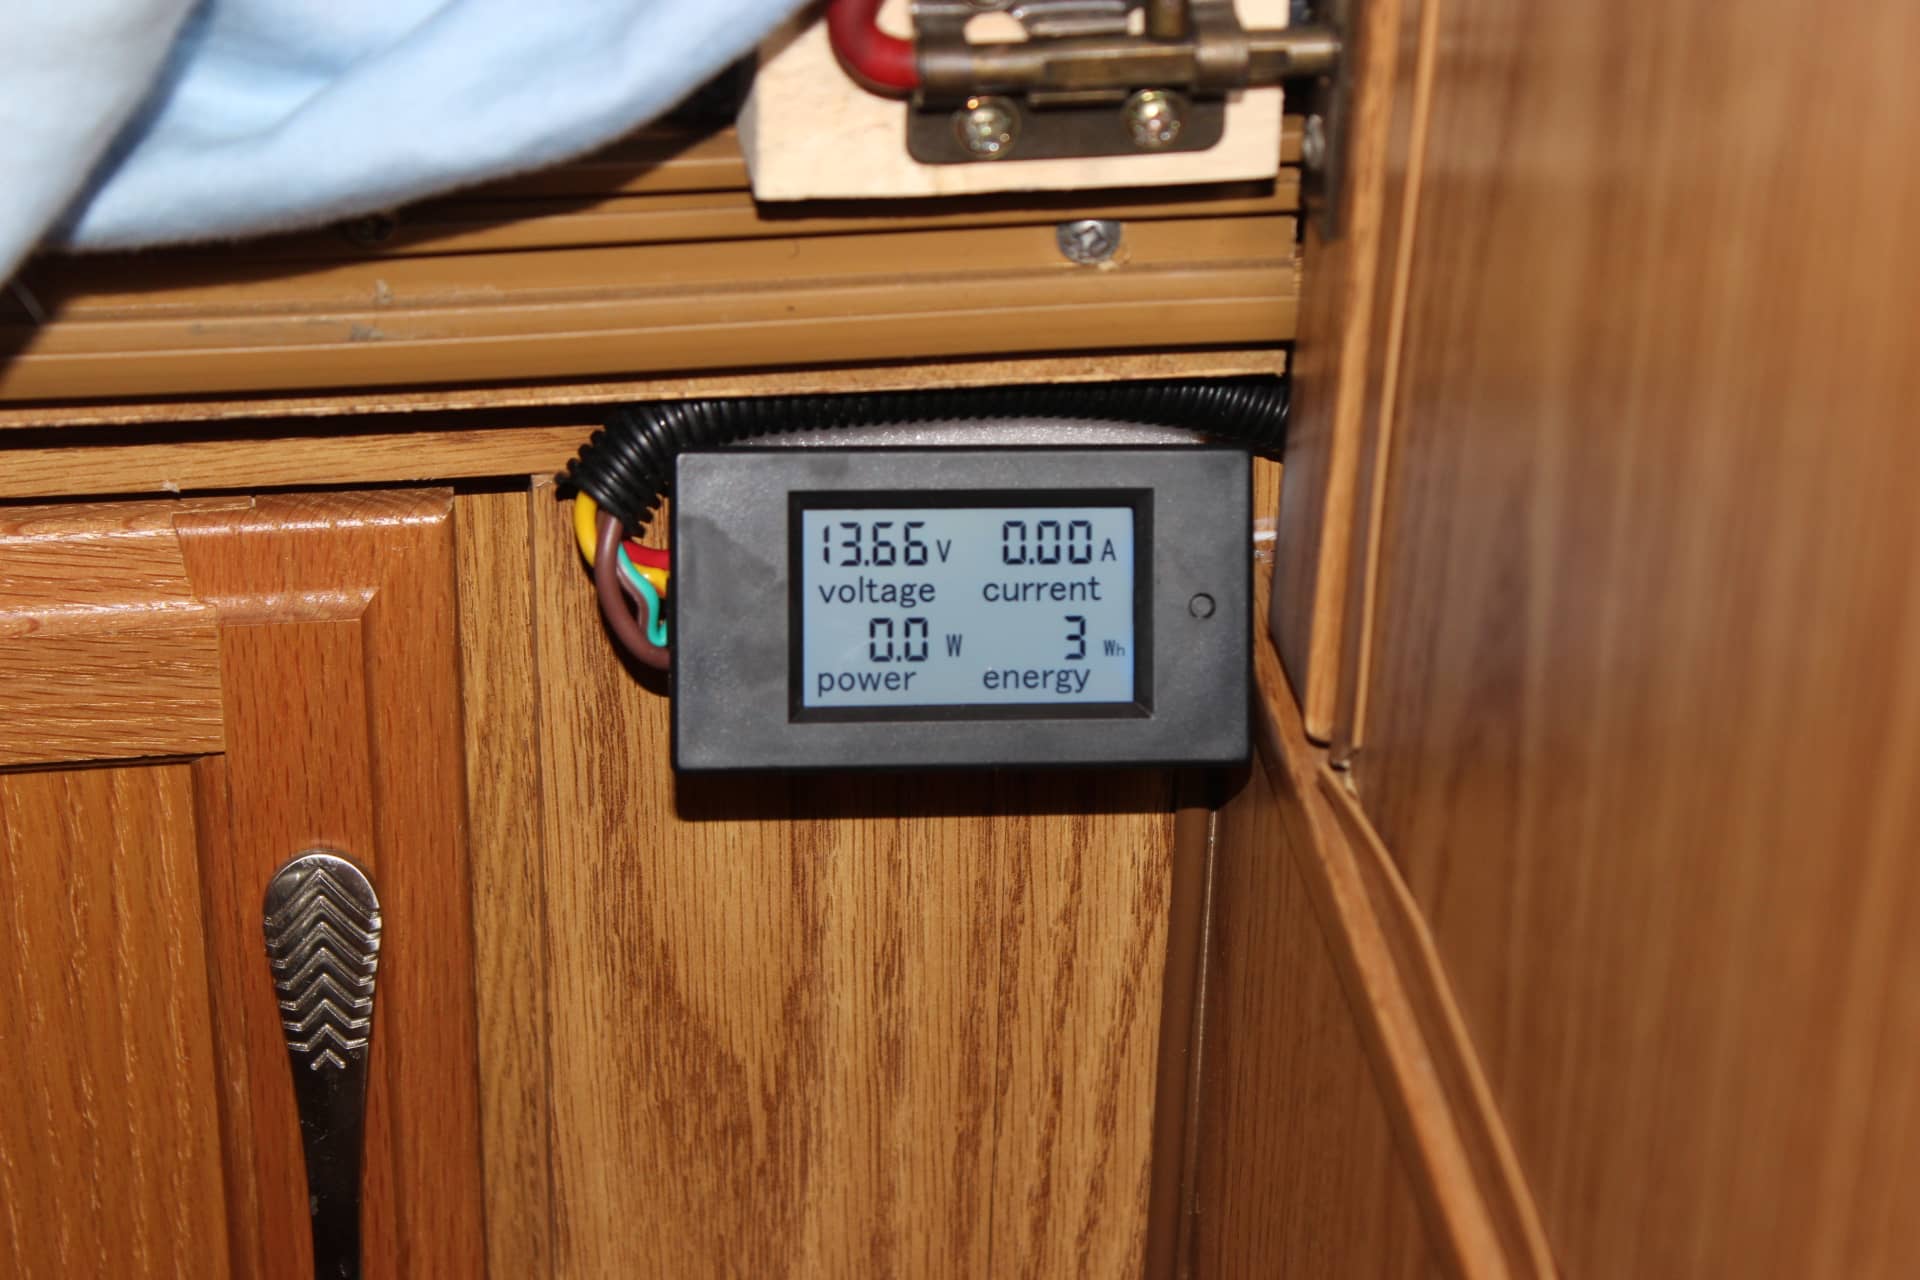
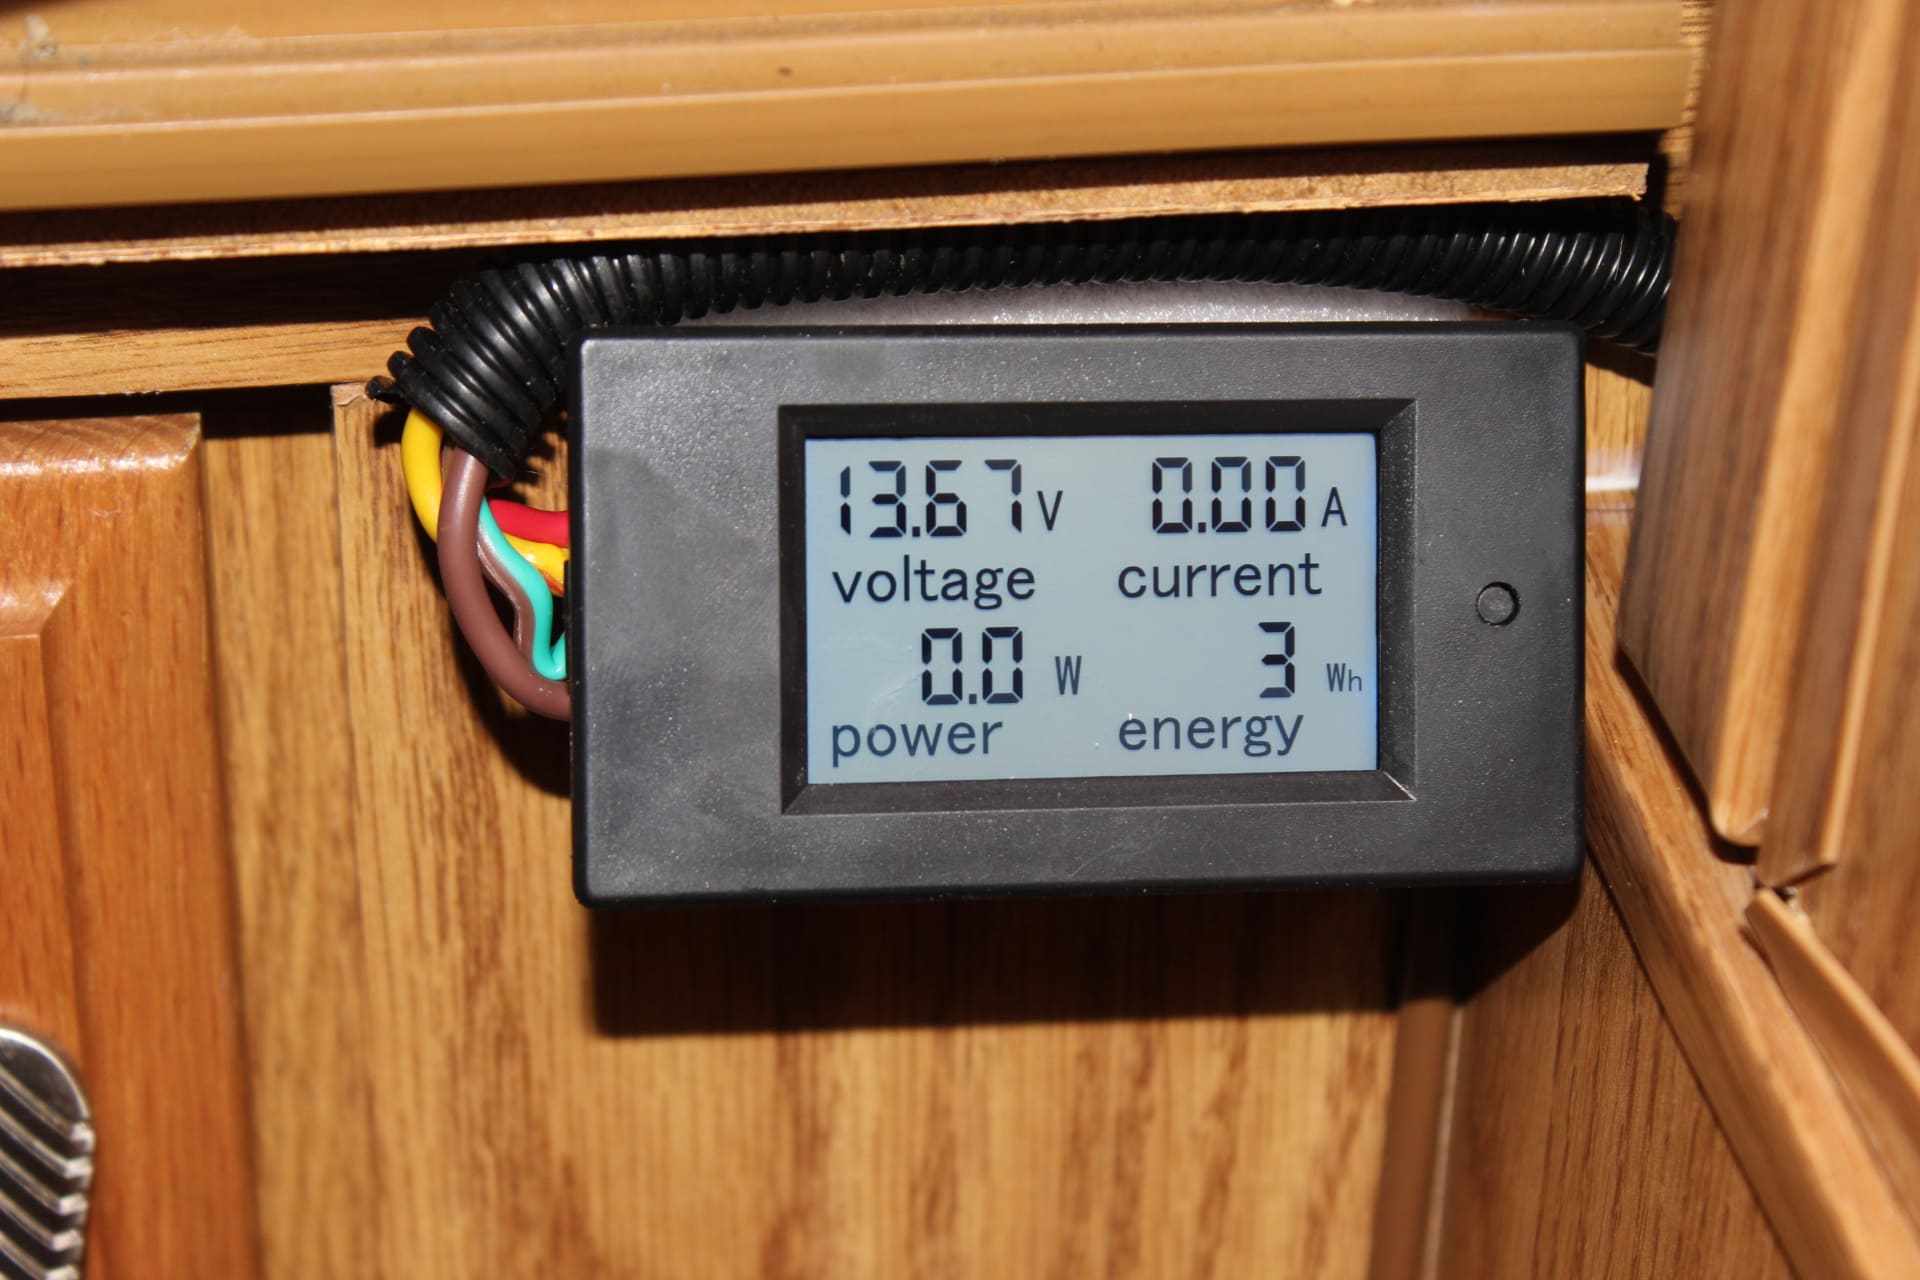
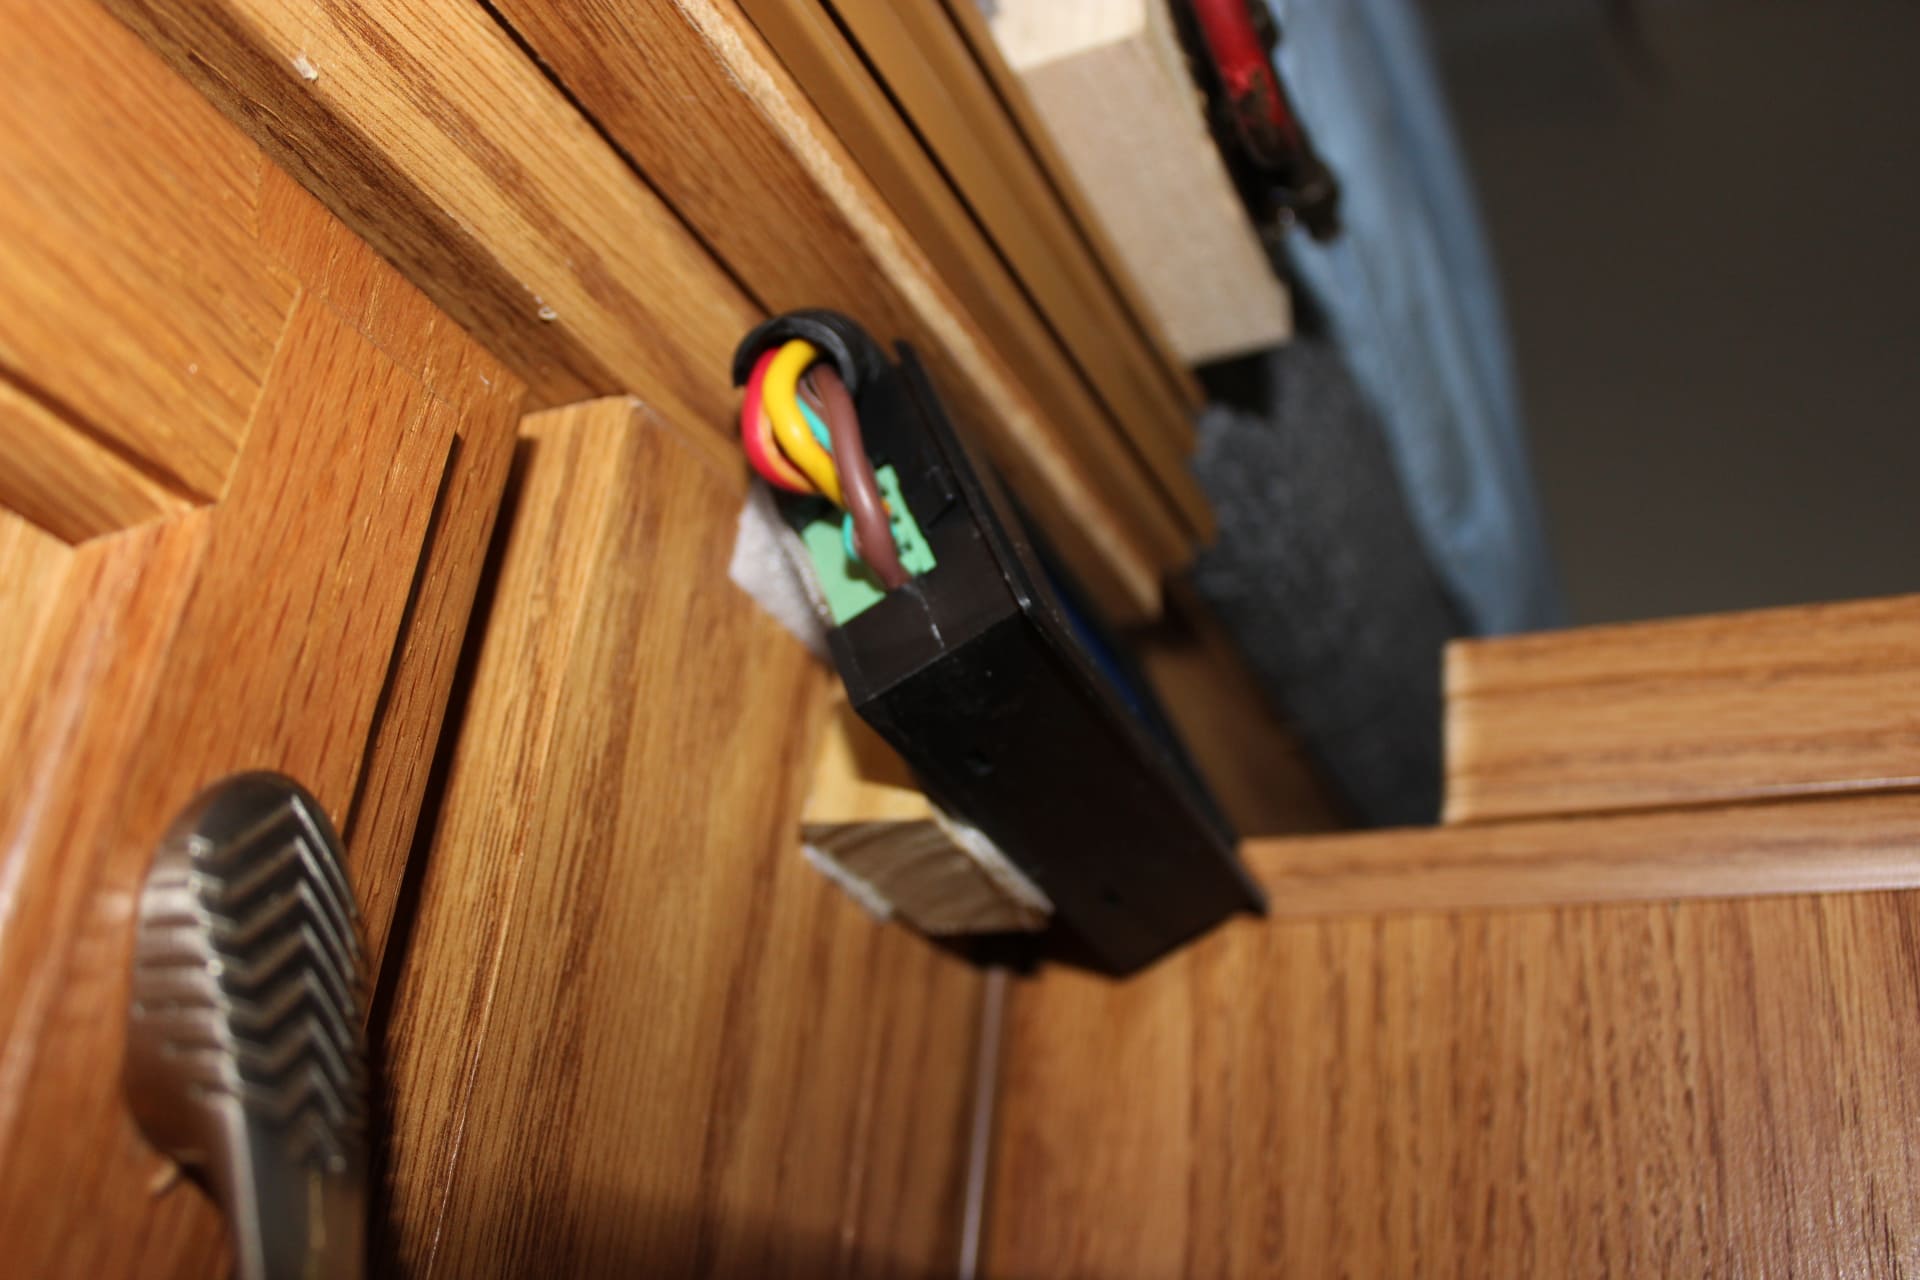
Now this meter is hard to read unless you are looking right at it in a straight line…which is a problem if you’re standing up and looking down at it…which is the case here. So by mounting with Velcro, a small wedge behind it (image 2113) to give it an angle upward, your able to see it very clearly (image 2110).
For the money this is a very cool item that gives you a good idea what you are using, what you have used already and what’s left. It’s good to know where you stand with your batteries!