Ok, now that I have expanded the space inside my shower it only stands to reason that I can now expand the water flow pattern from the shower head..…er….uh….well maybe not from the one that is currently in there. So I think I would like one like I have in our shower at home. That would be what they call a rain shower, which is a very wide spread water pattern that comes from many little nozzles in the shower head. The only problem is that I need one that I can adjust in multiple directions. After searching on Ebay I found the perfect one that I thought would fit.
It’s the….
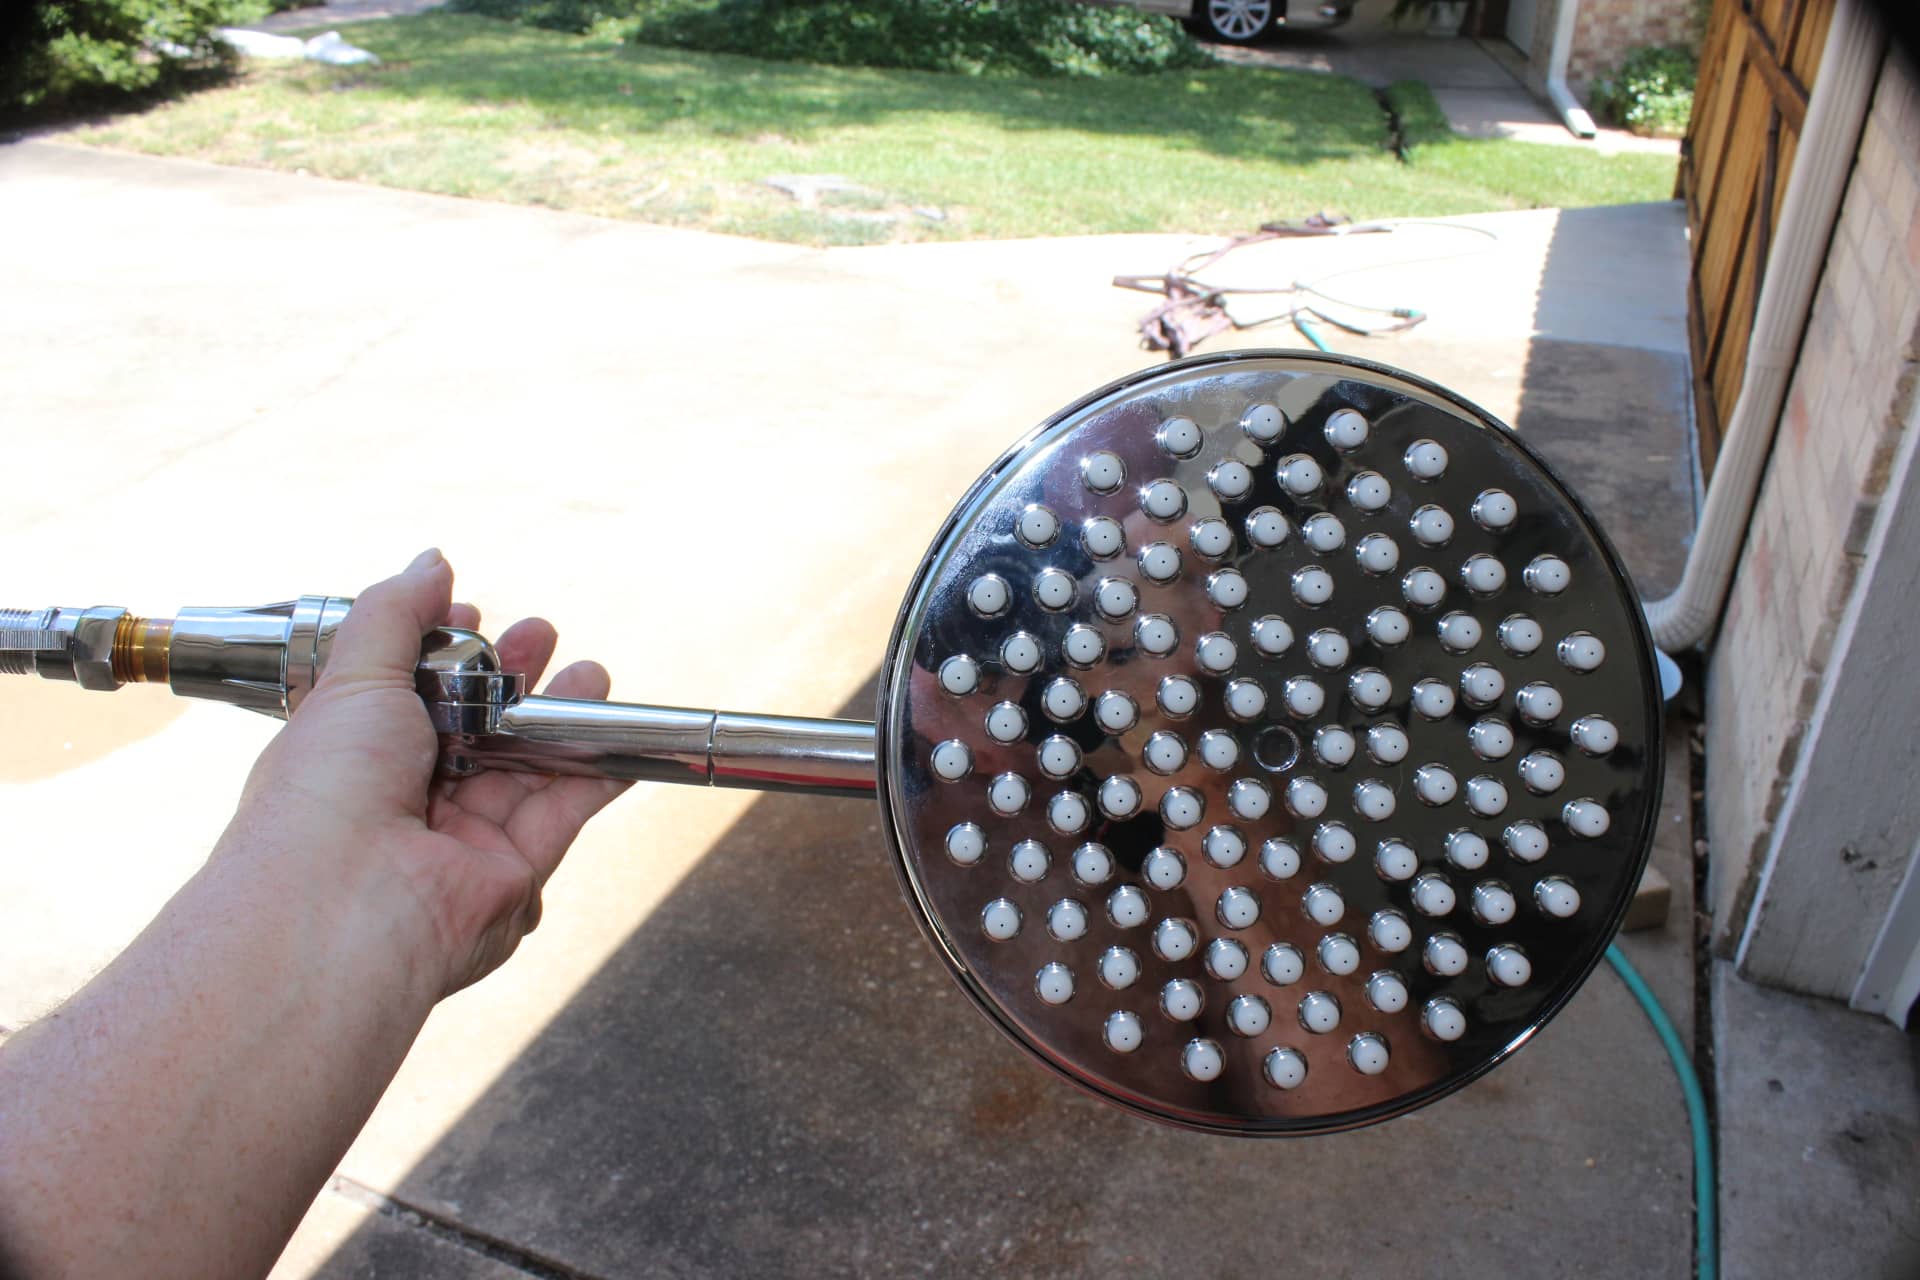
HotelSpa® 4-way High-Pressure 9.5 inch Rainfall Shower Head w/ 109 Jets Chrome
For $30! It’s very cool and will do exactly what I need it to do…mainly give me a nice big wide shower. I purchased it and it arrived in a matter of a few days and I swung into action.
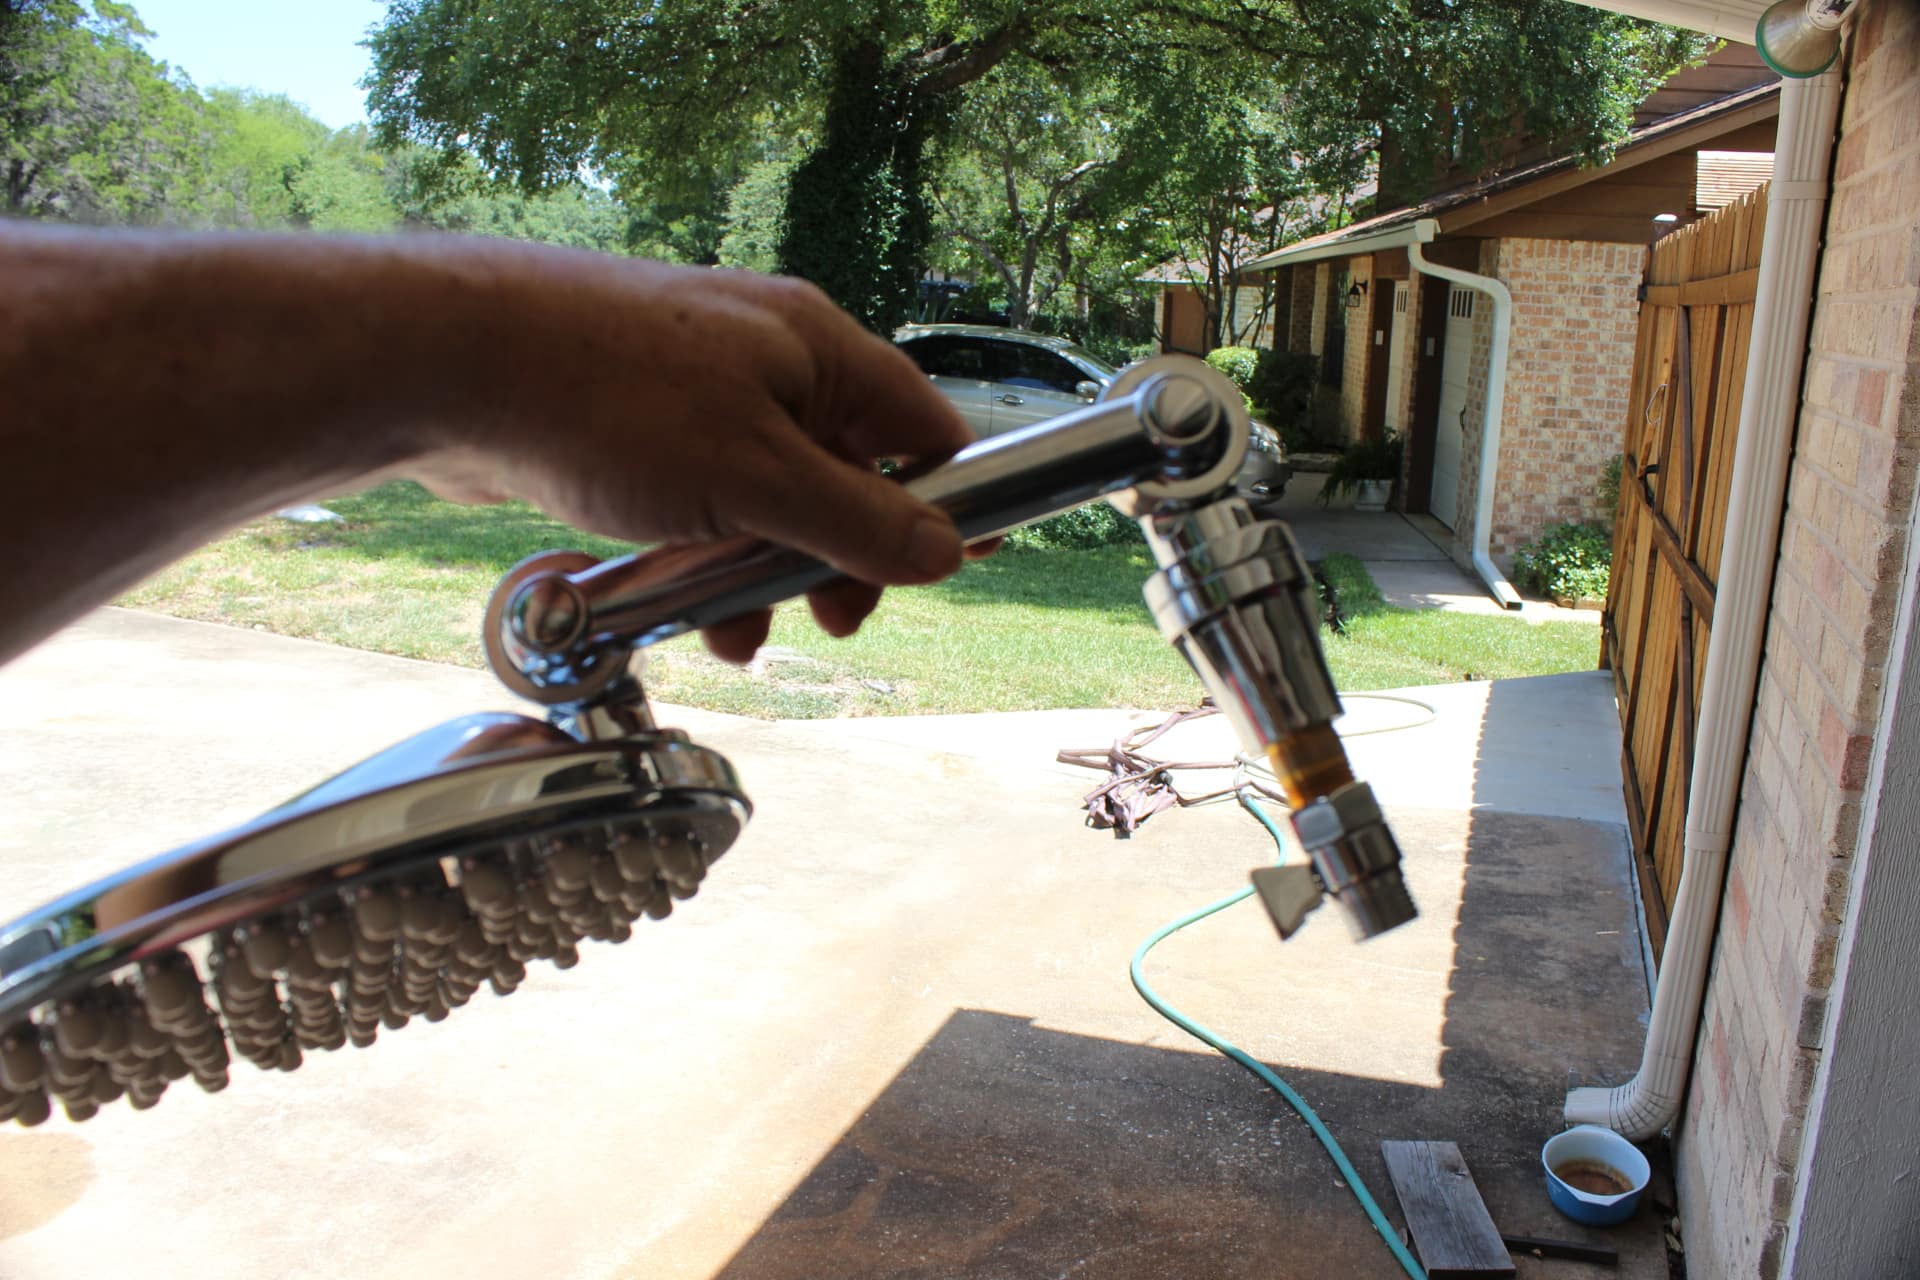
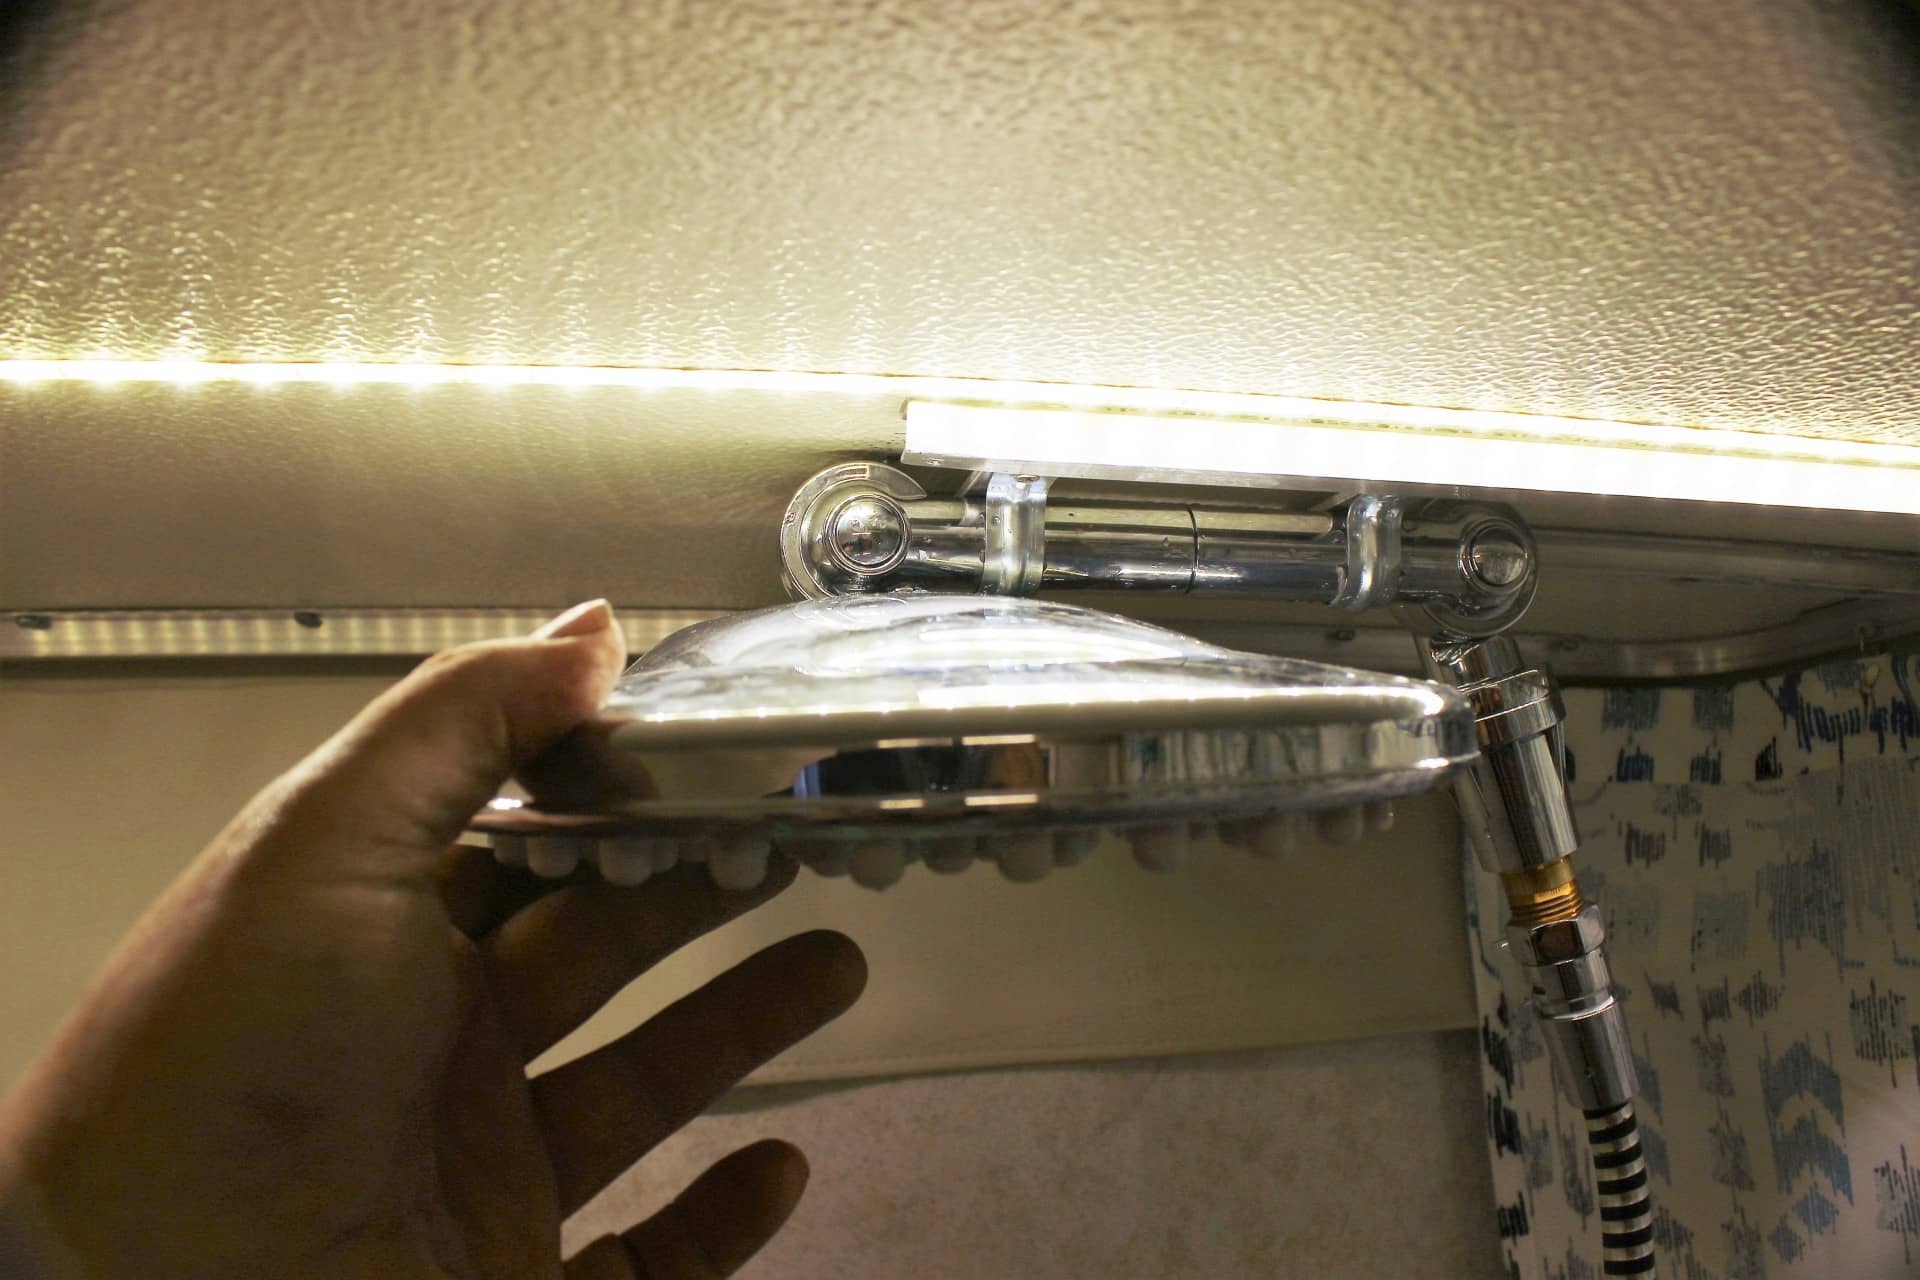
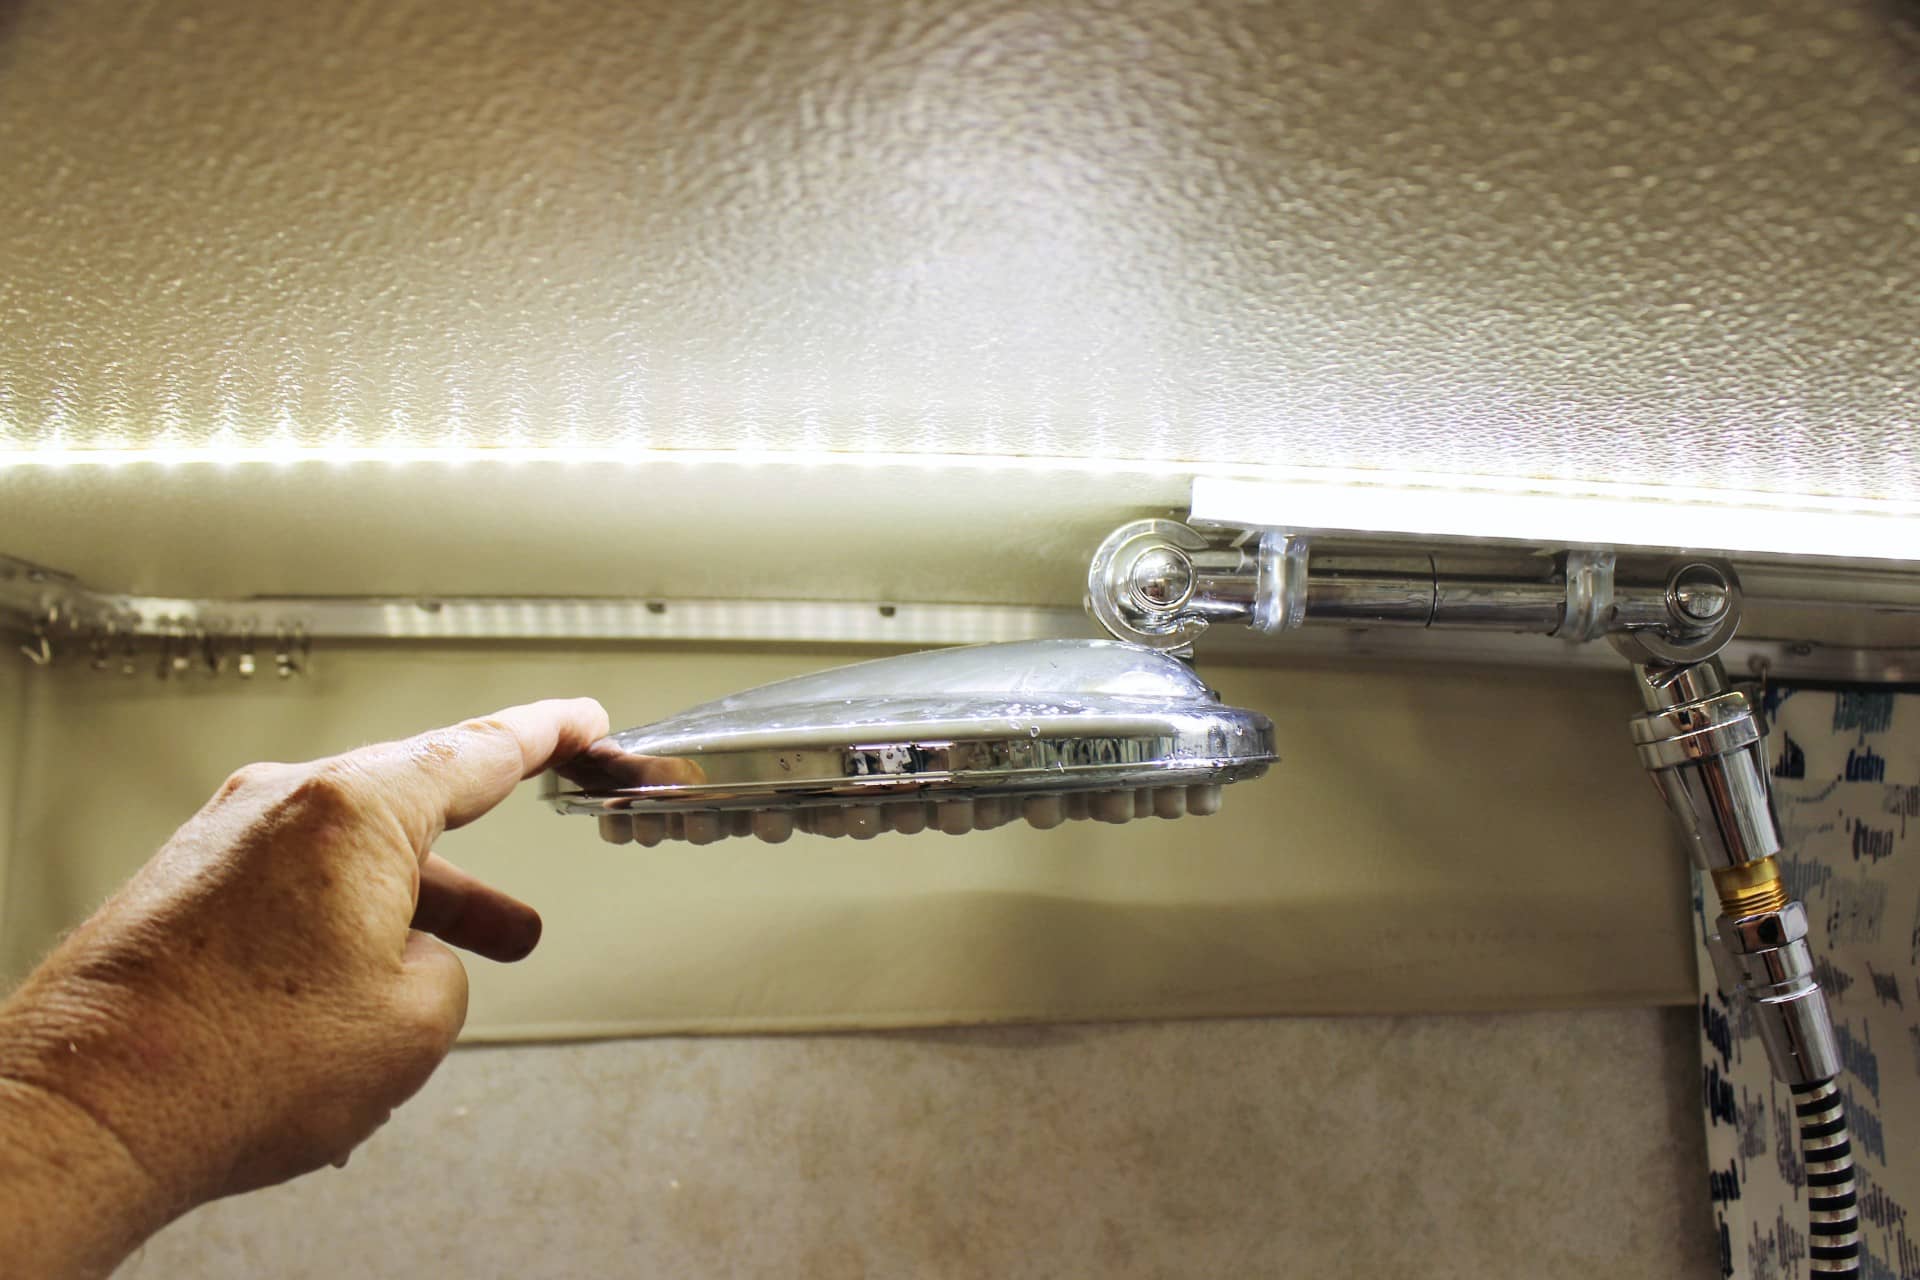
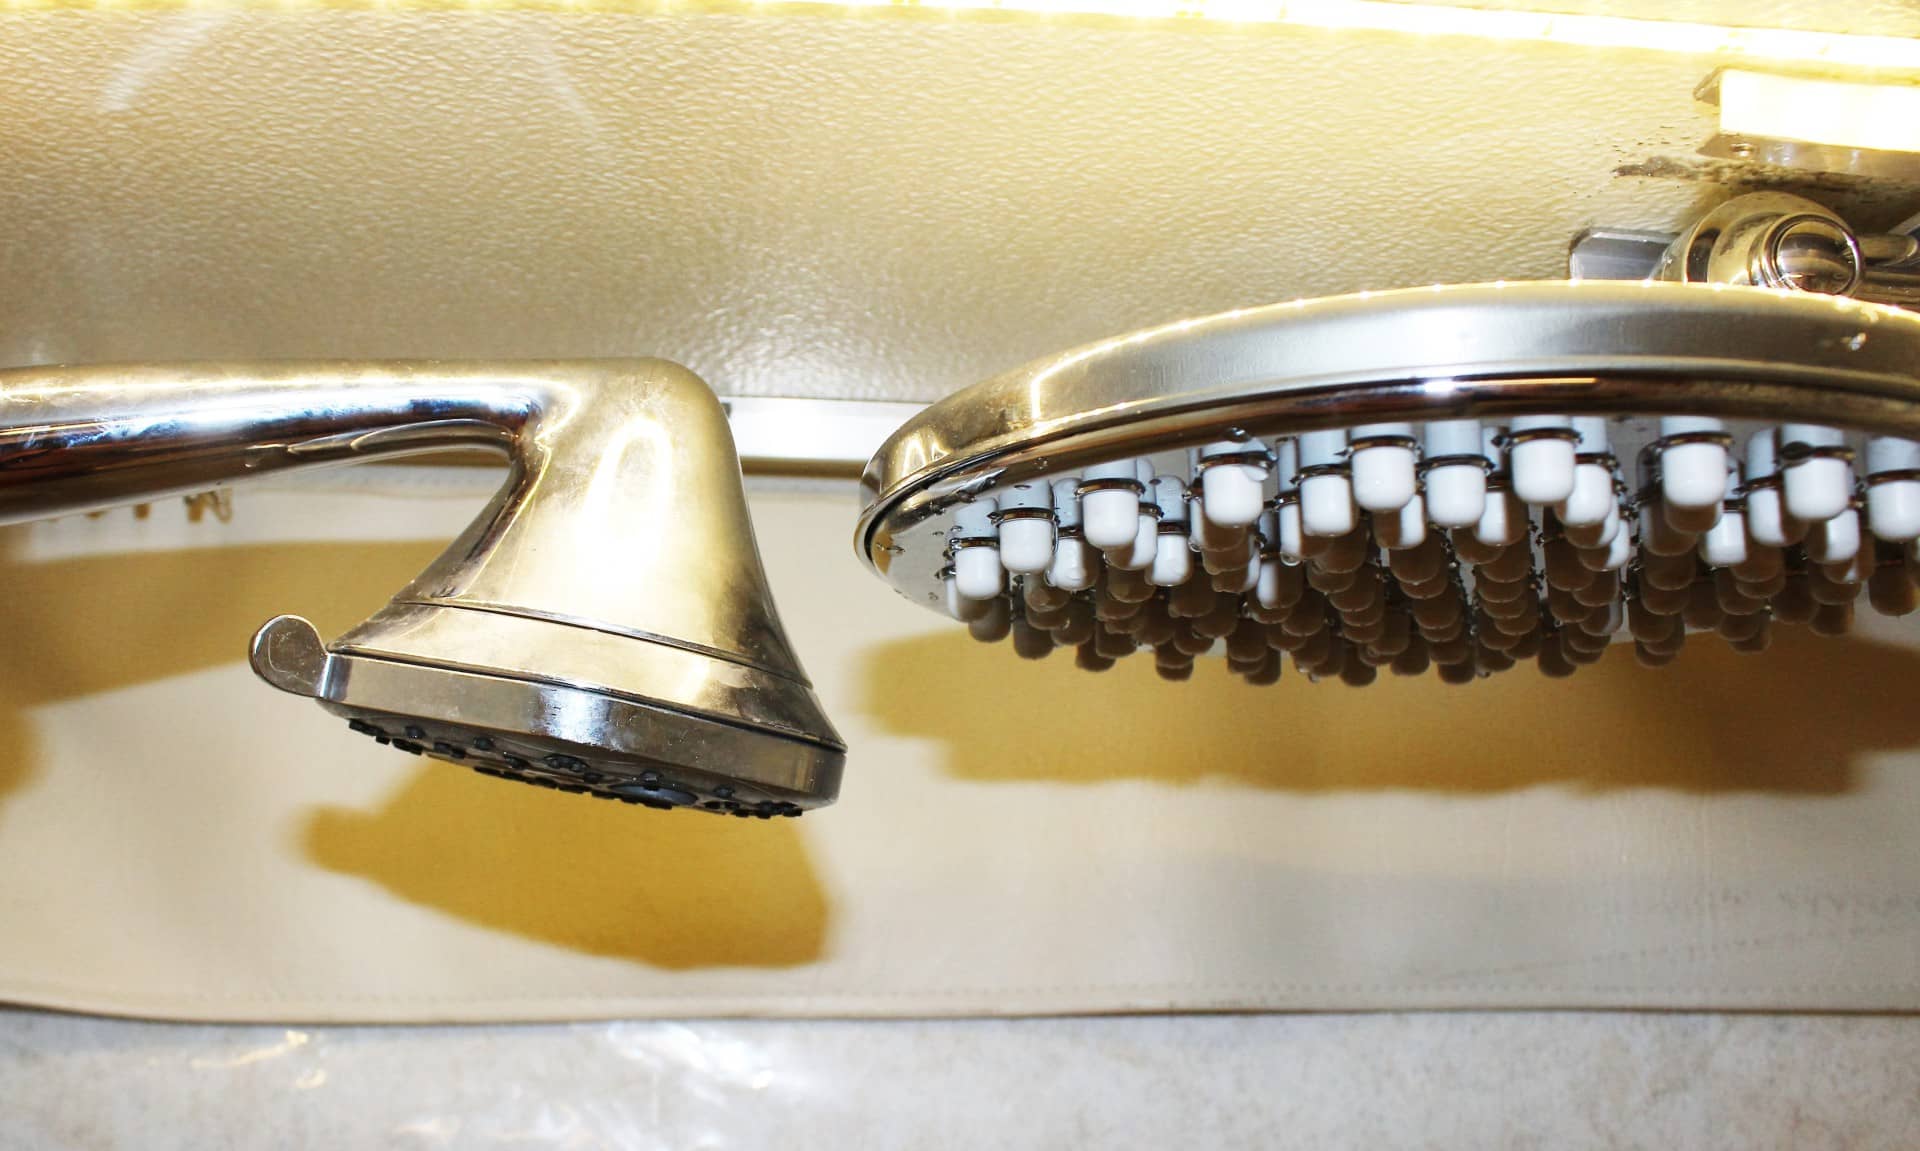
I really like the way it looked (image 2128) with its 109 rubber nozzles and the fact that it could get flat was good too (image 2129). With head room being at a premium in the TM shower every inch counts. In fact it was several inches flatter than my old shower head (image 2162) which would hang down several inches from the track mounted on the ceiling. Then having the ability to adjust in many directions gave it the flexibility I needed to make it as close to the ceiling as possible (image 2130).
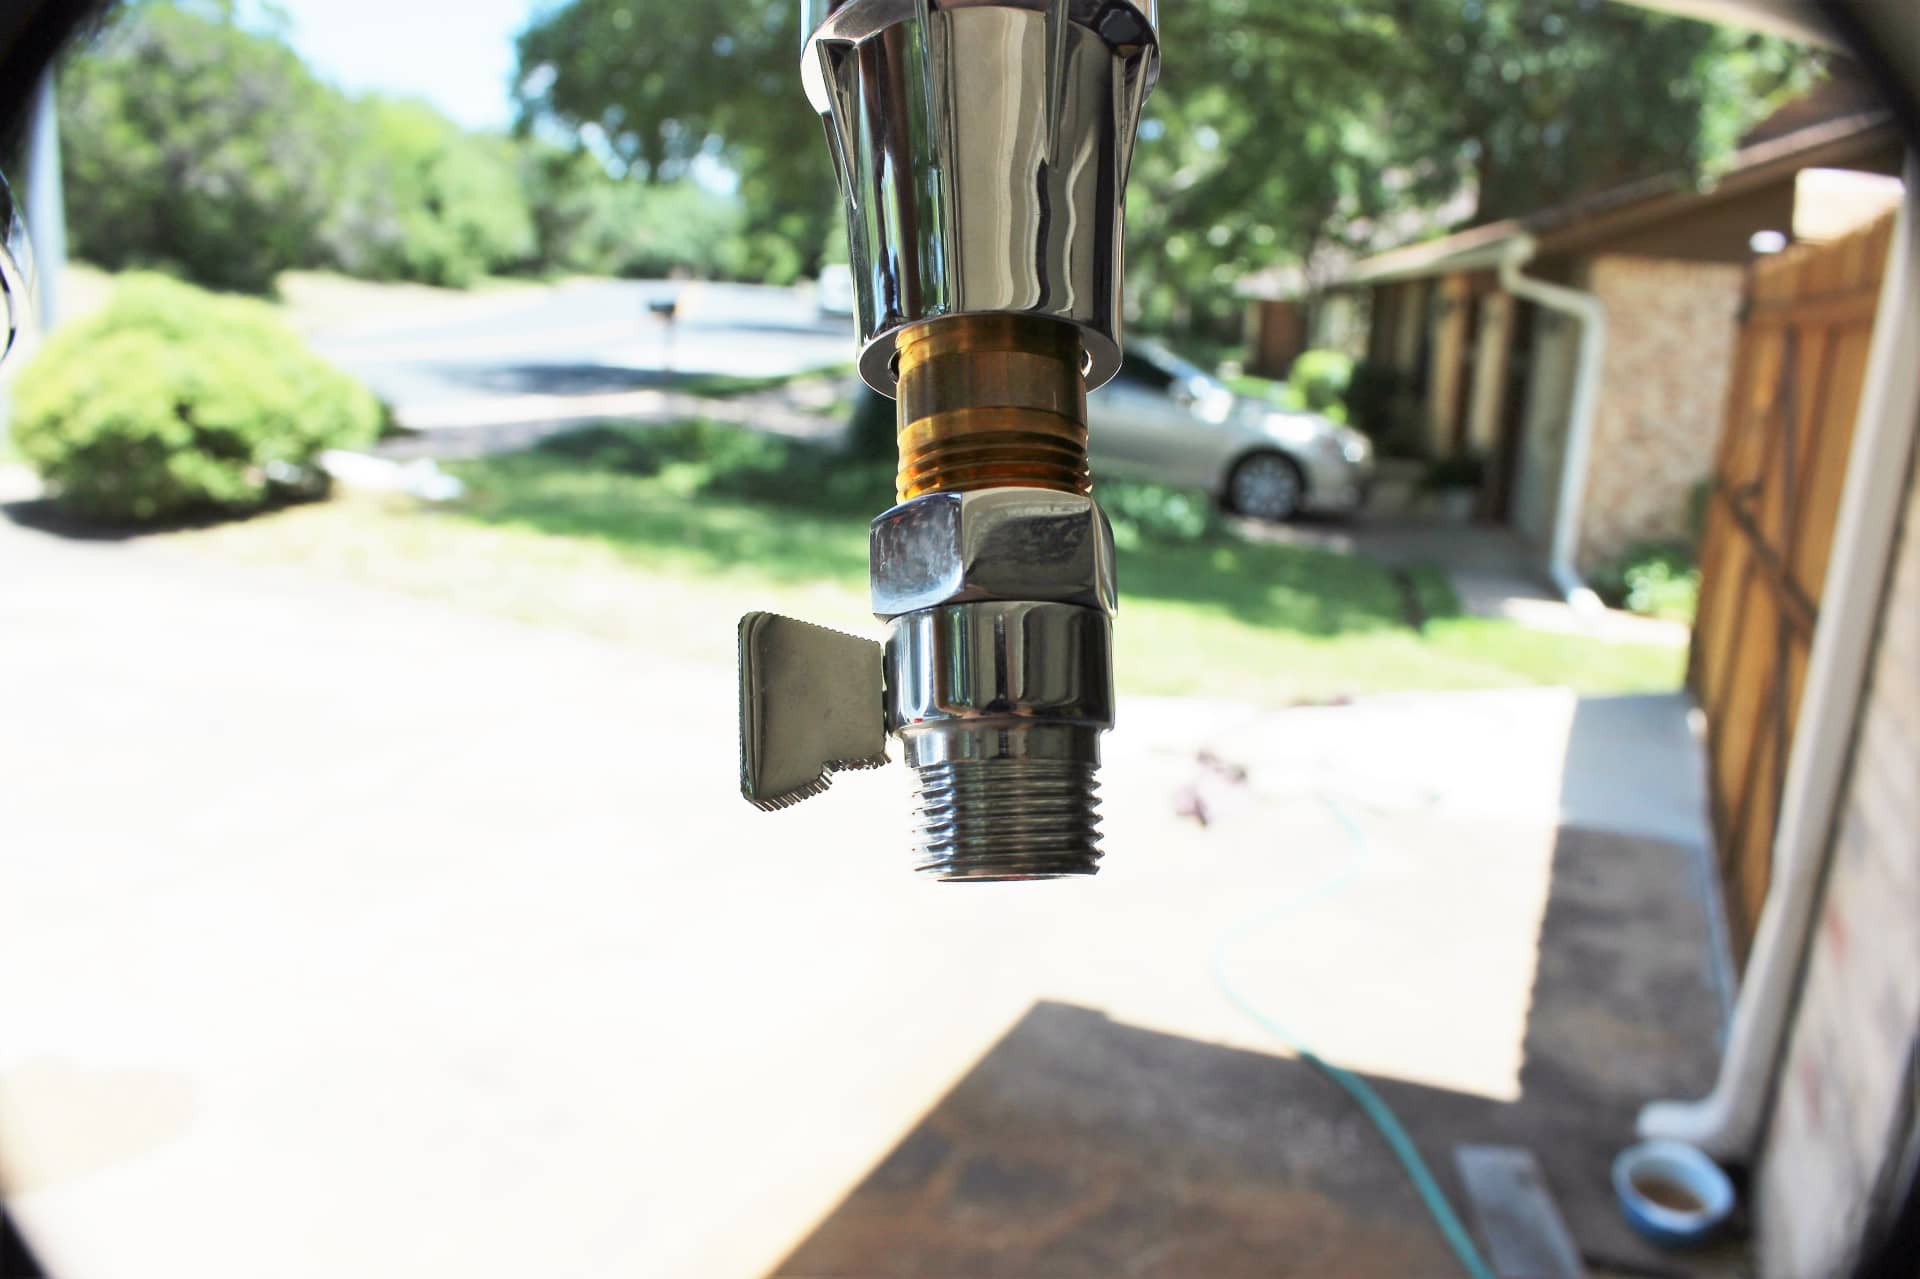
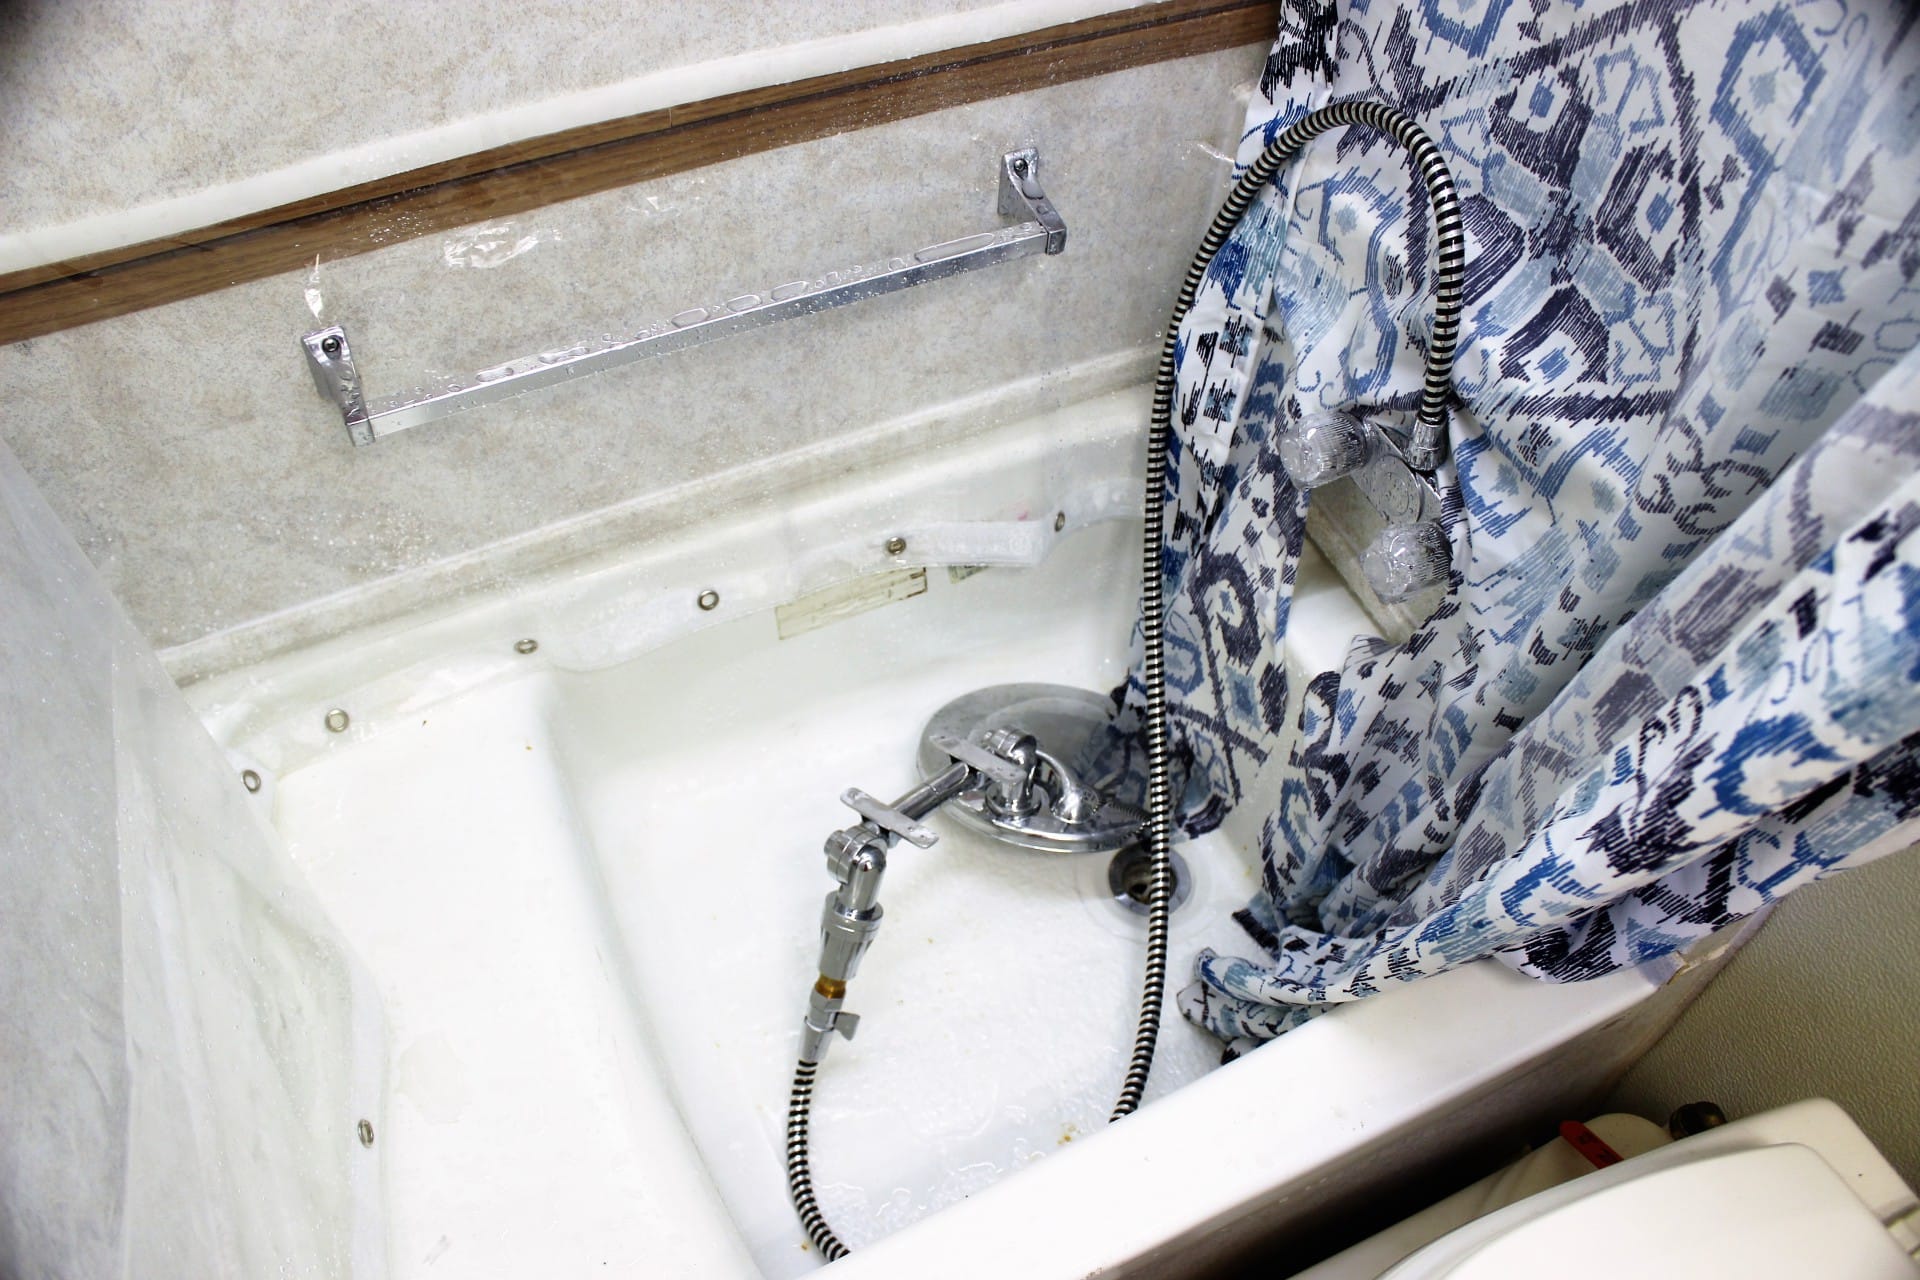
I got out the directions (images 2163, 2164…be sure and click on them to open these up) and read thru them to make sure I didn’t ruin anything in the installation process. Before I did anything else I installed a flow/shut off valve onto the stem of the shower head (by request of The Management) in-line with the hose. That way one can control the flow of water to conserve if dry camping and to stem the remarks like ….“won’t it use too much water when dry camping”? NO…it won’t now! It’s a stainless steel, simple device with a ceramic slide valve that is effortless to operate and will shut the water completely off without a single drop oozing out. When I went to show the final installation to Linda I had forgot and left the water on in the shower…but the valve was in the off position and you couldn’t tell because absolutely zero water was coming out. Then I slid the valve to the left and water issued from the shower head. FANTASTICO!…ok back to the install….
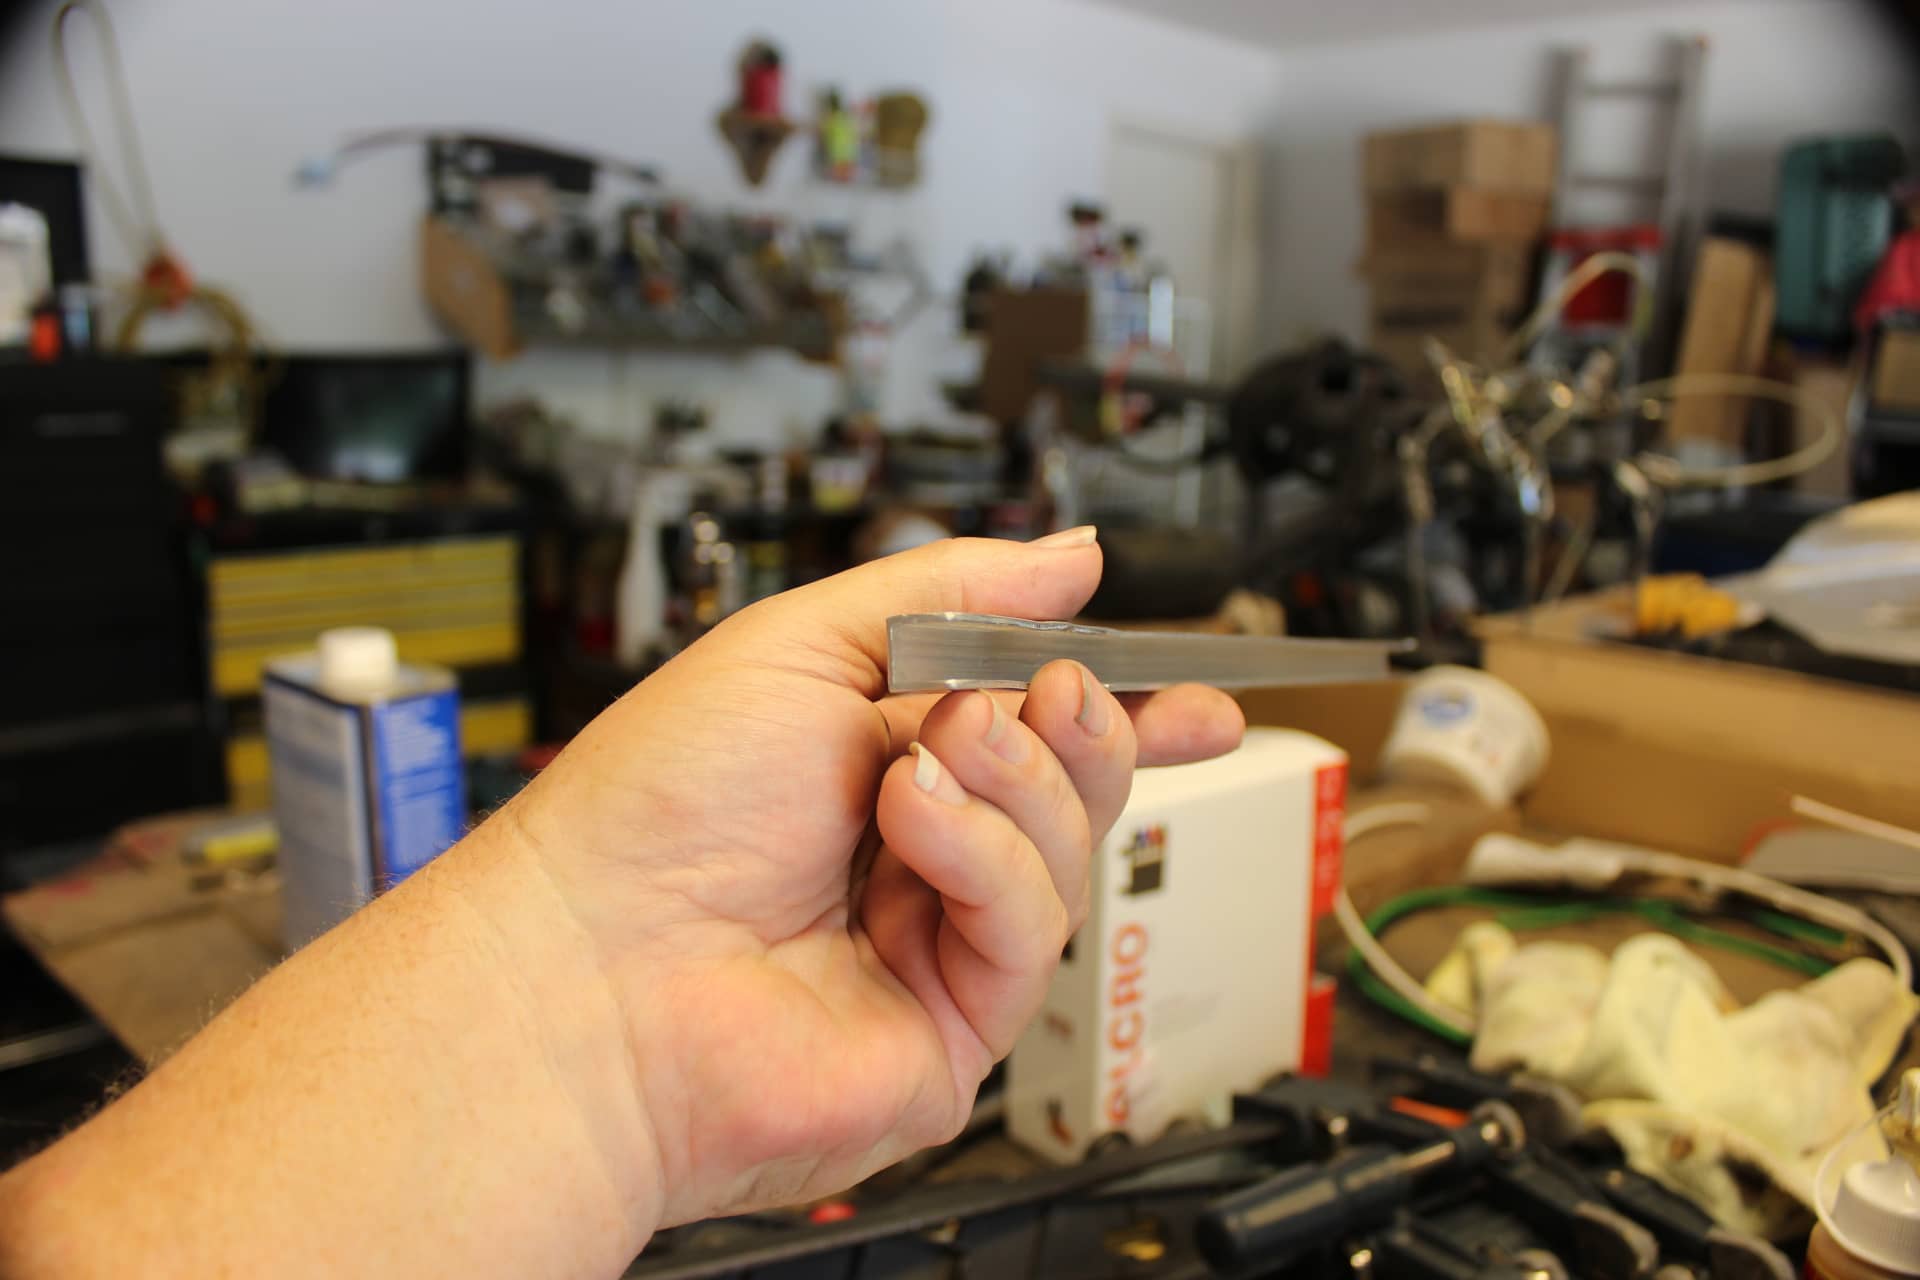
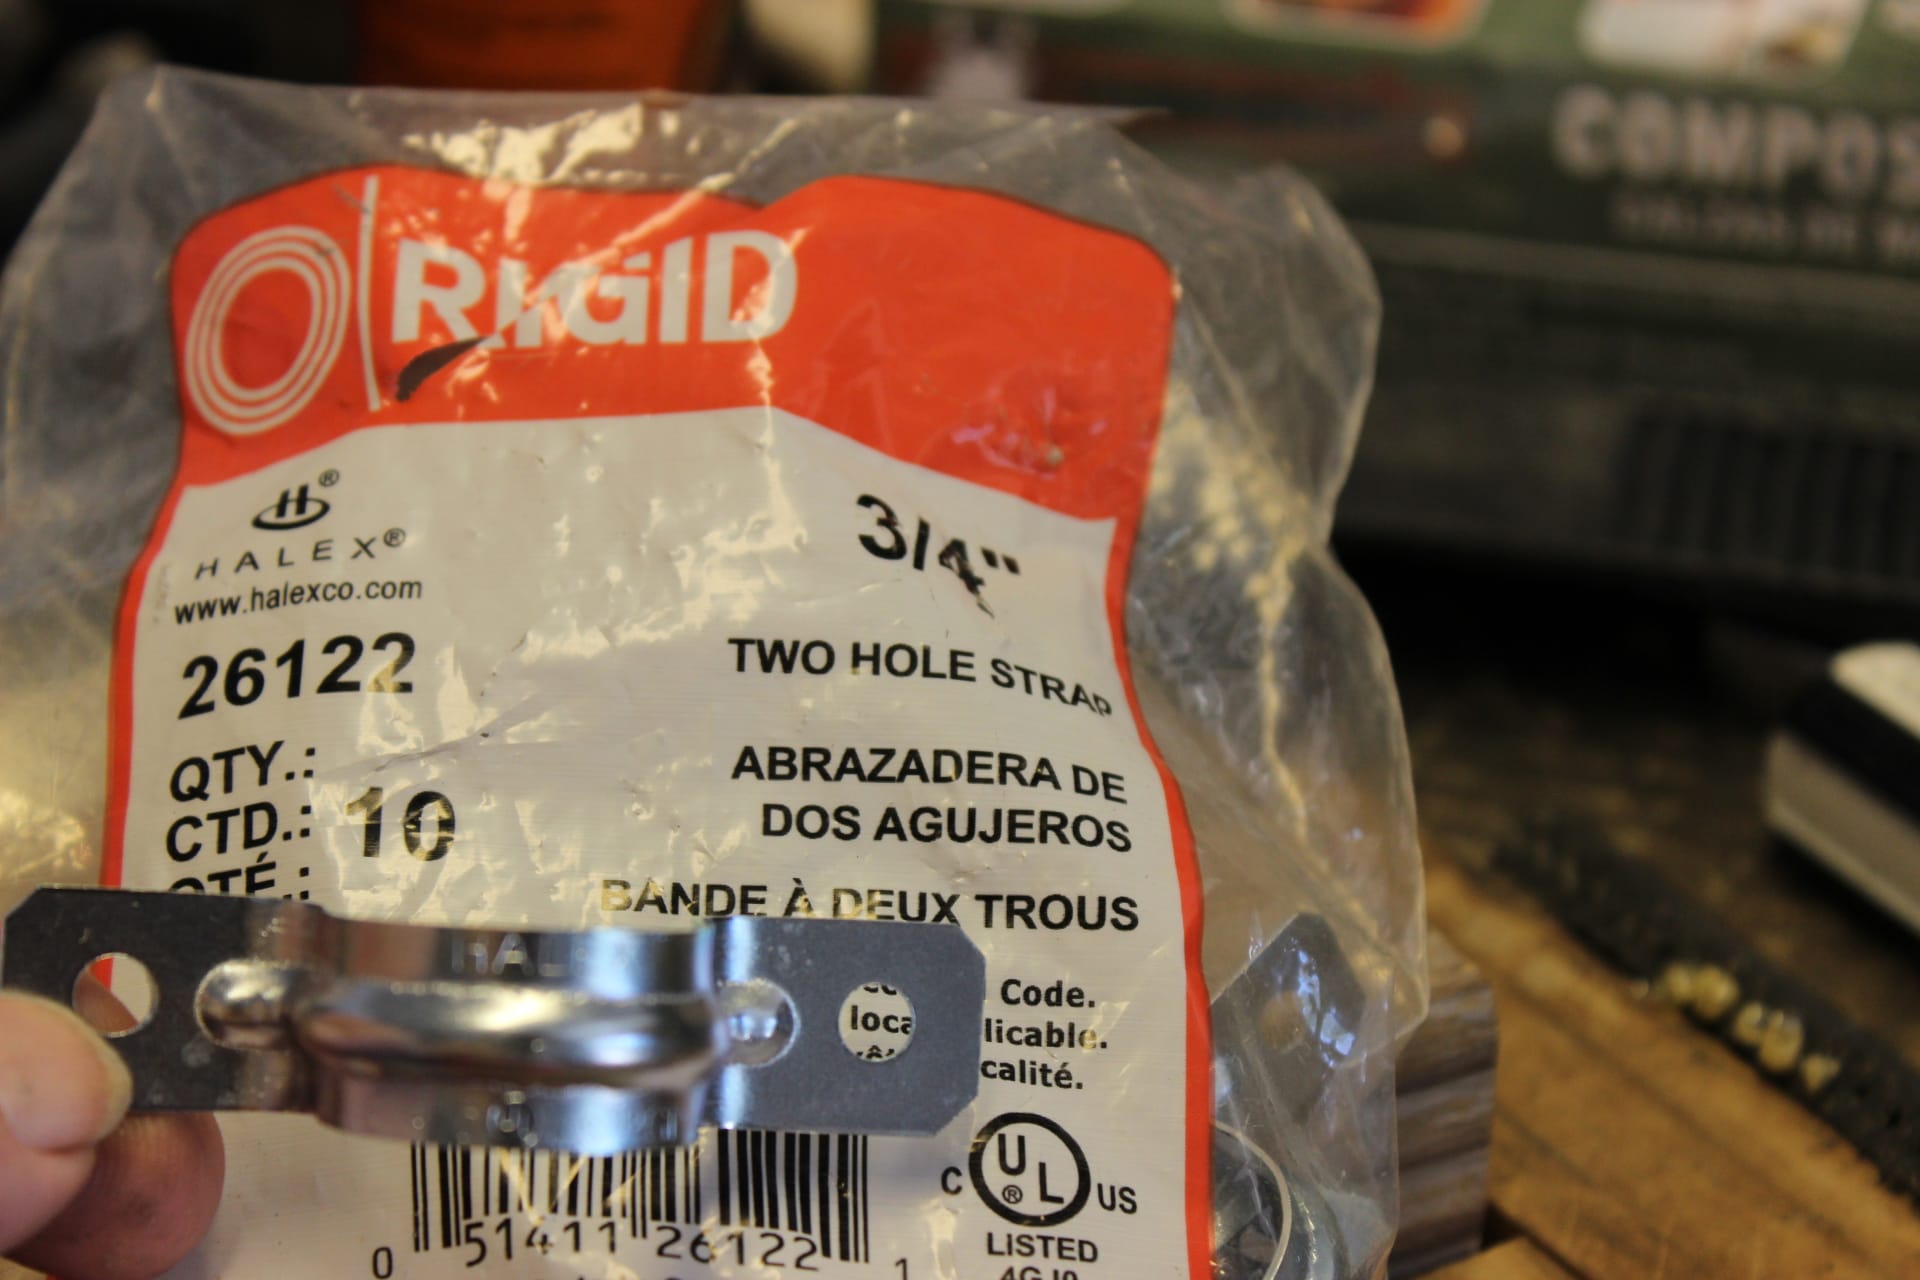
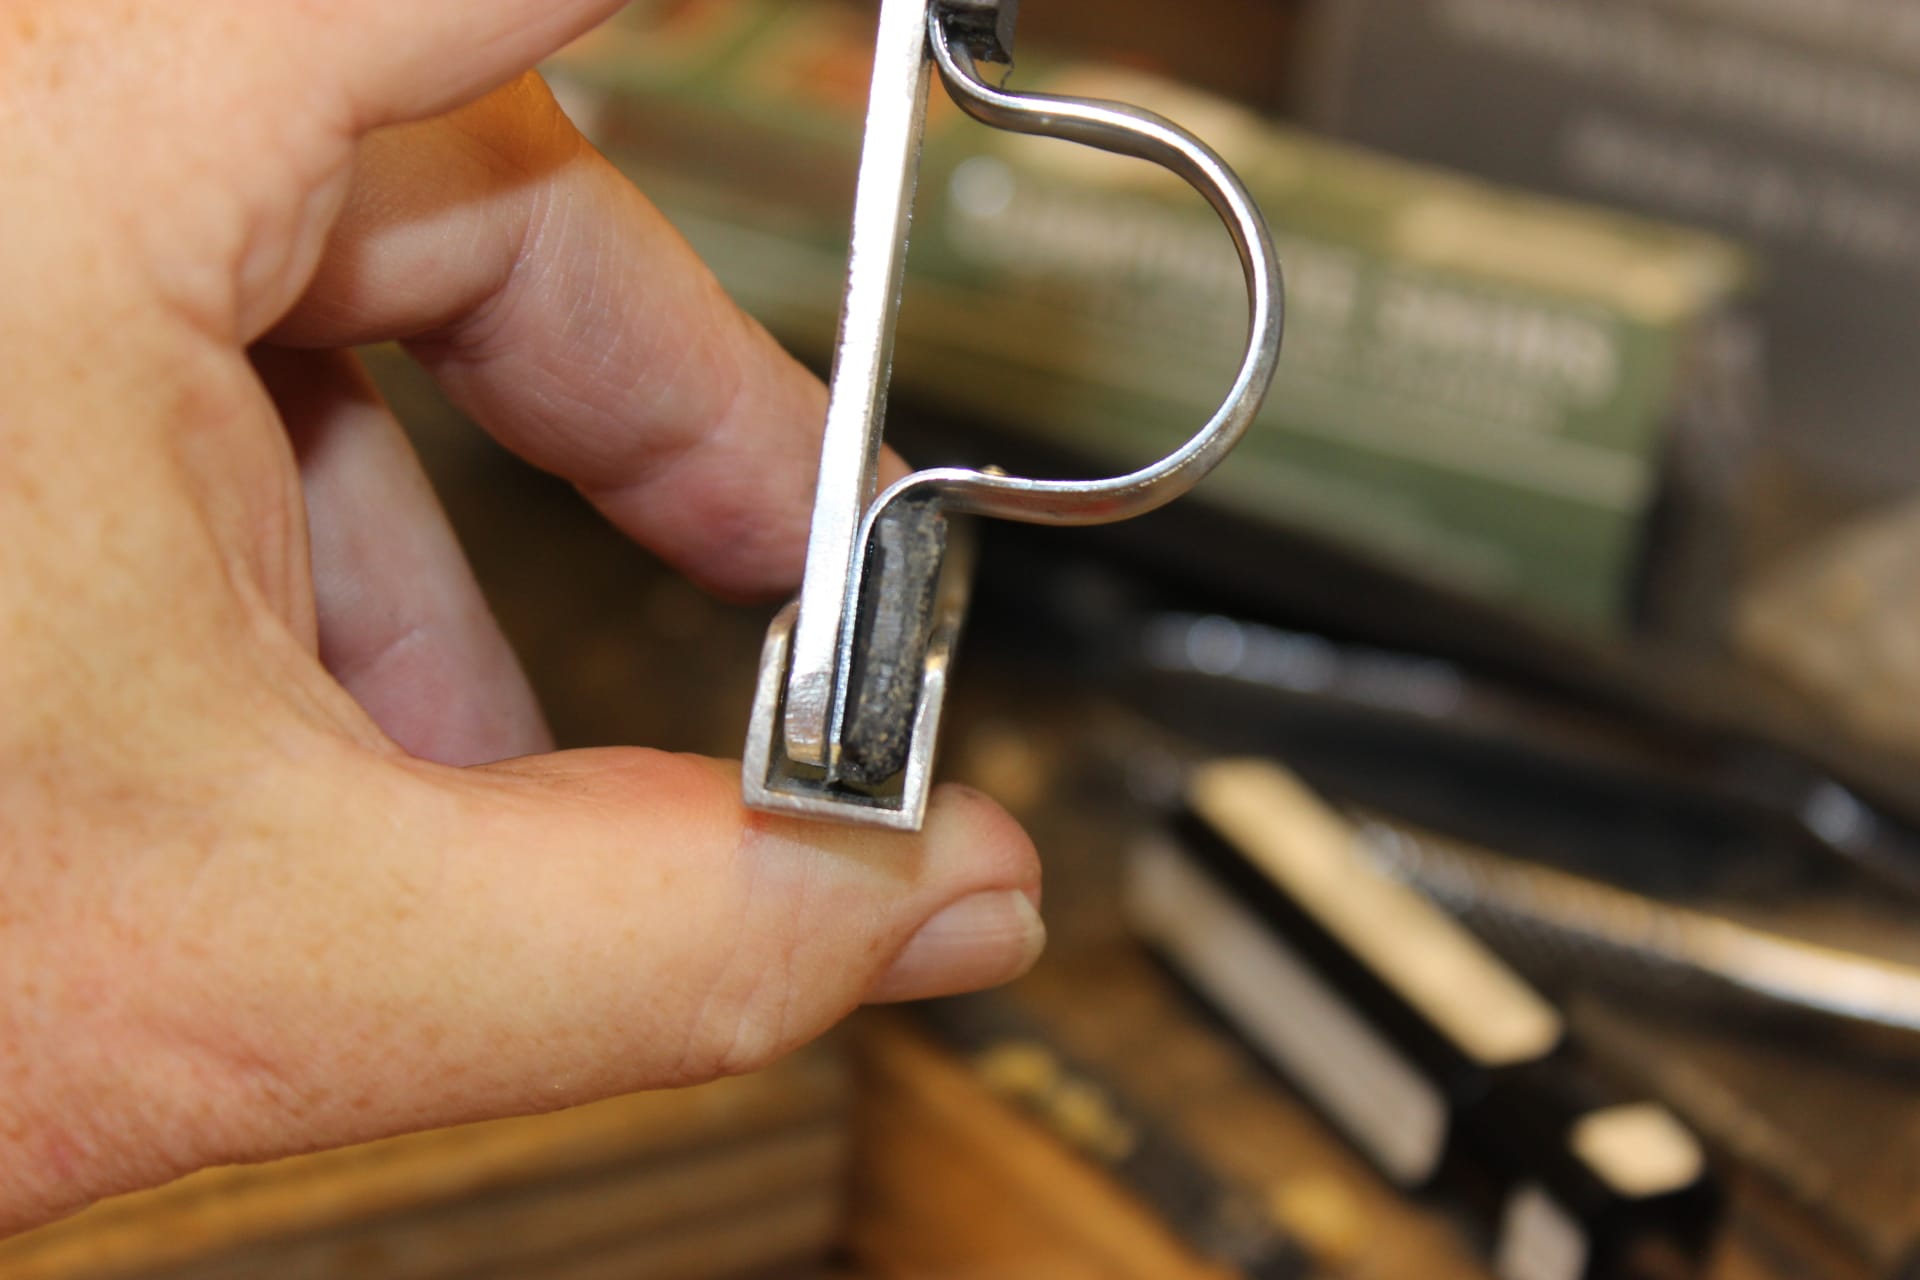
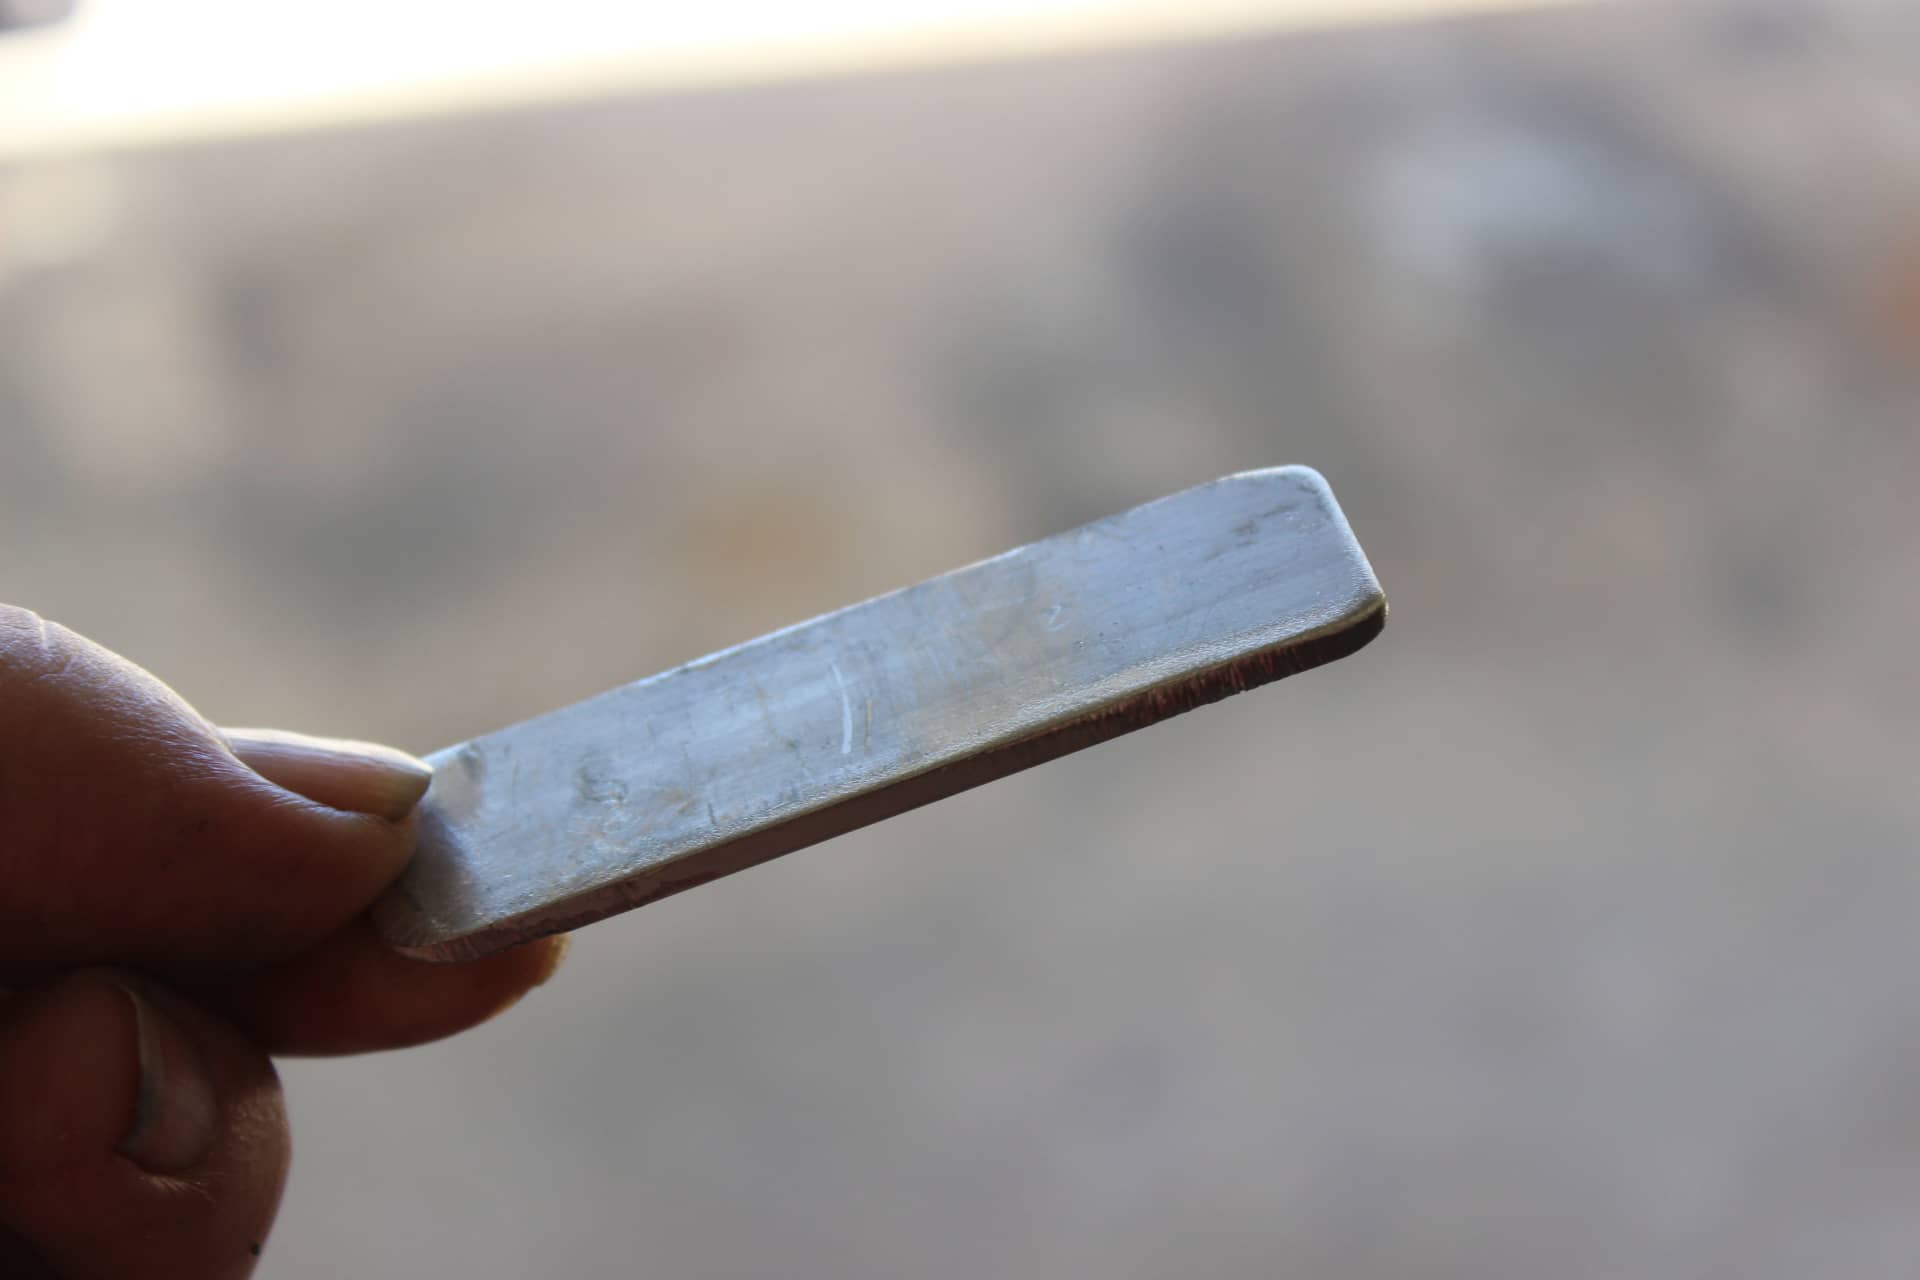
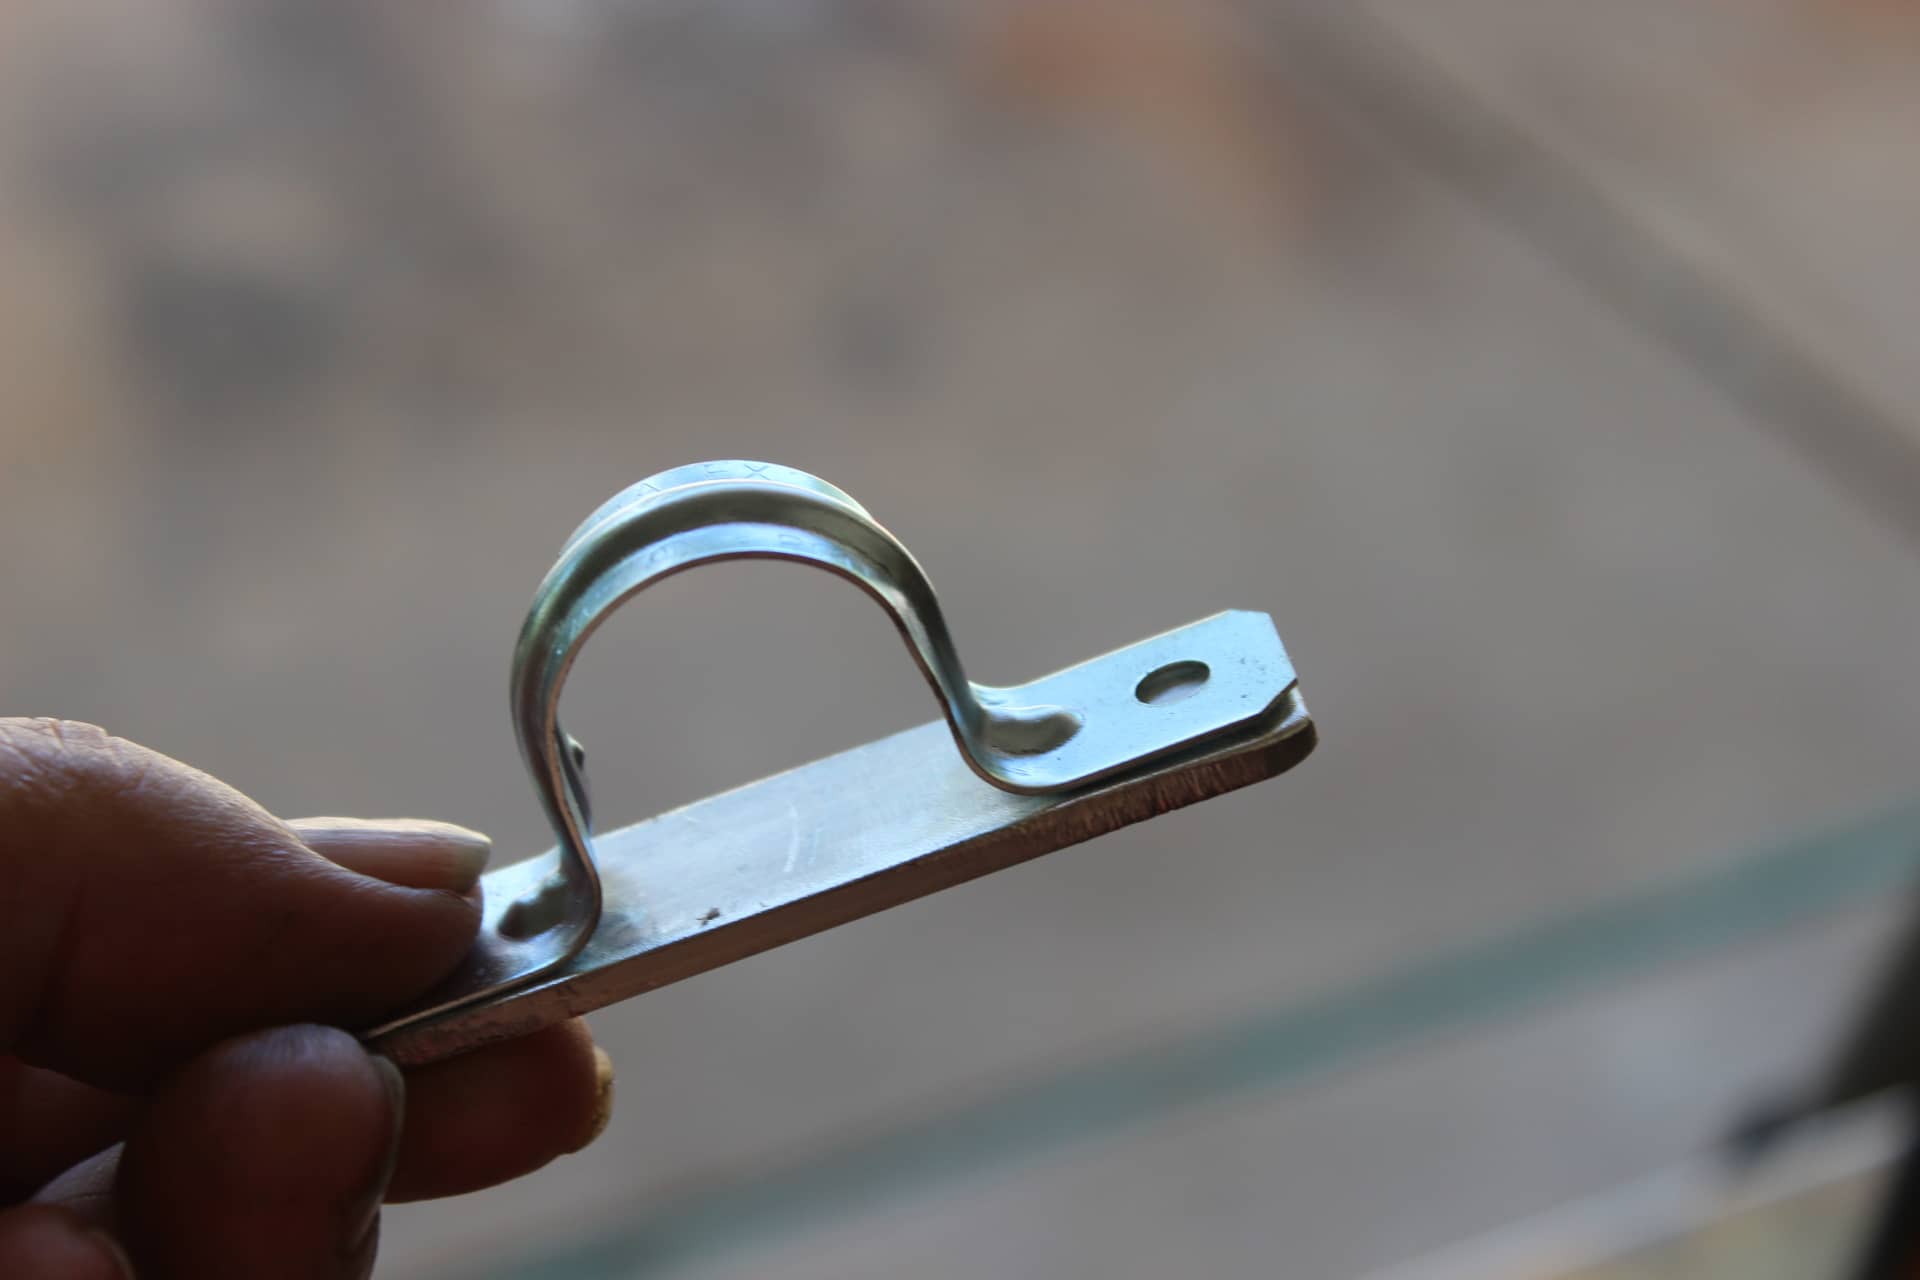
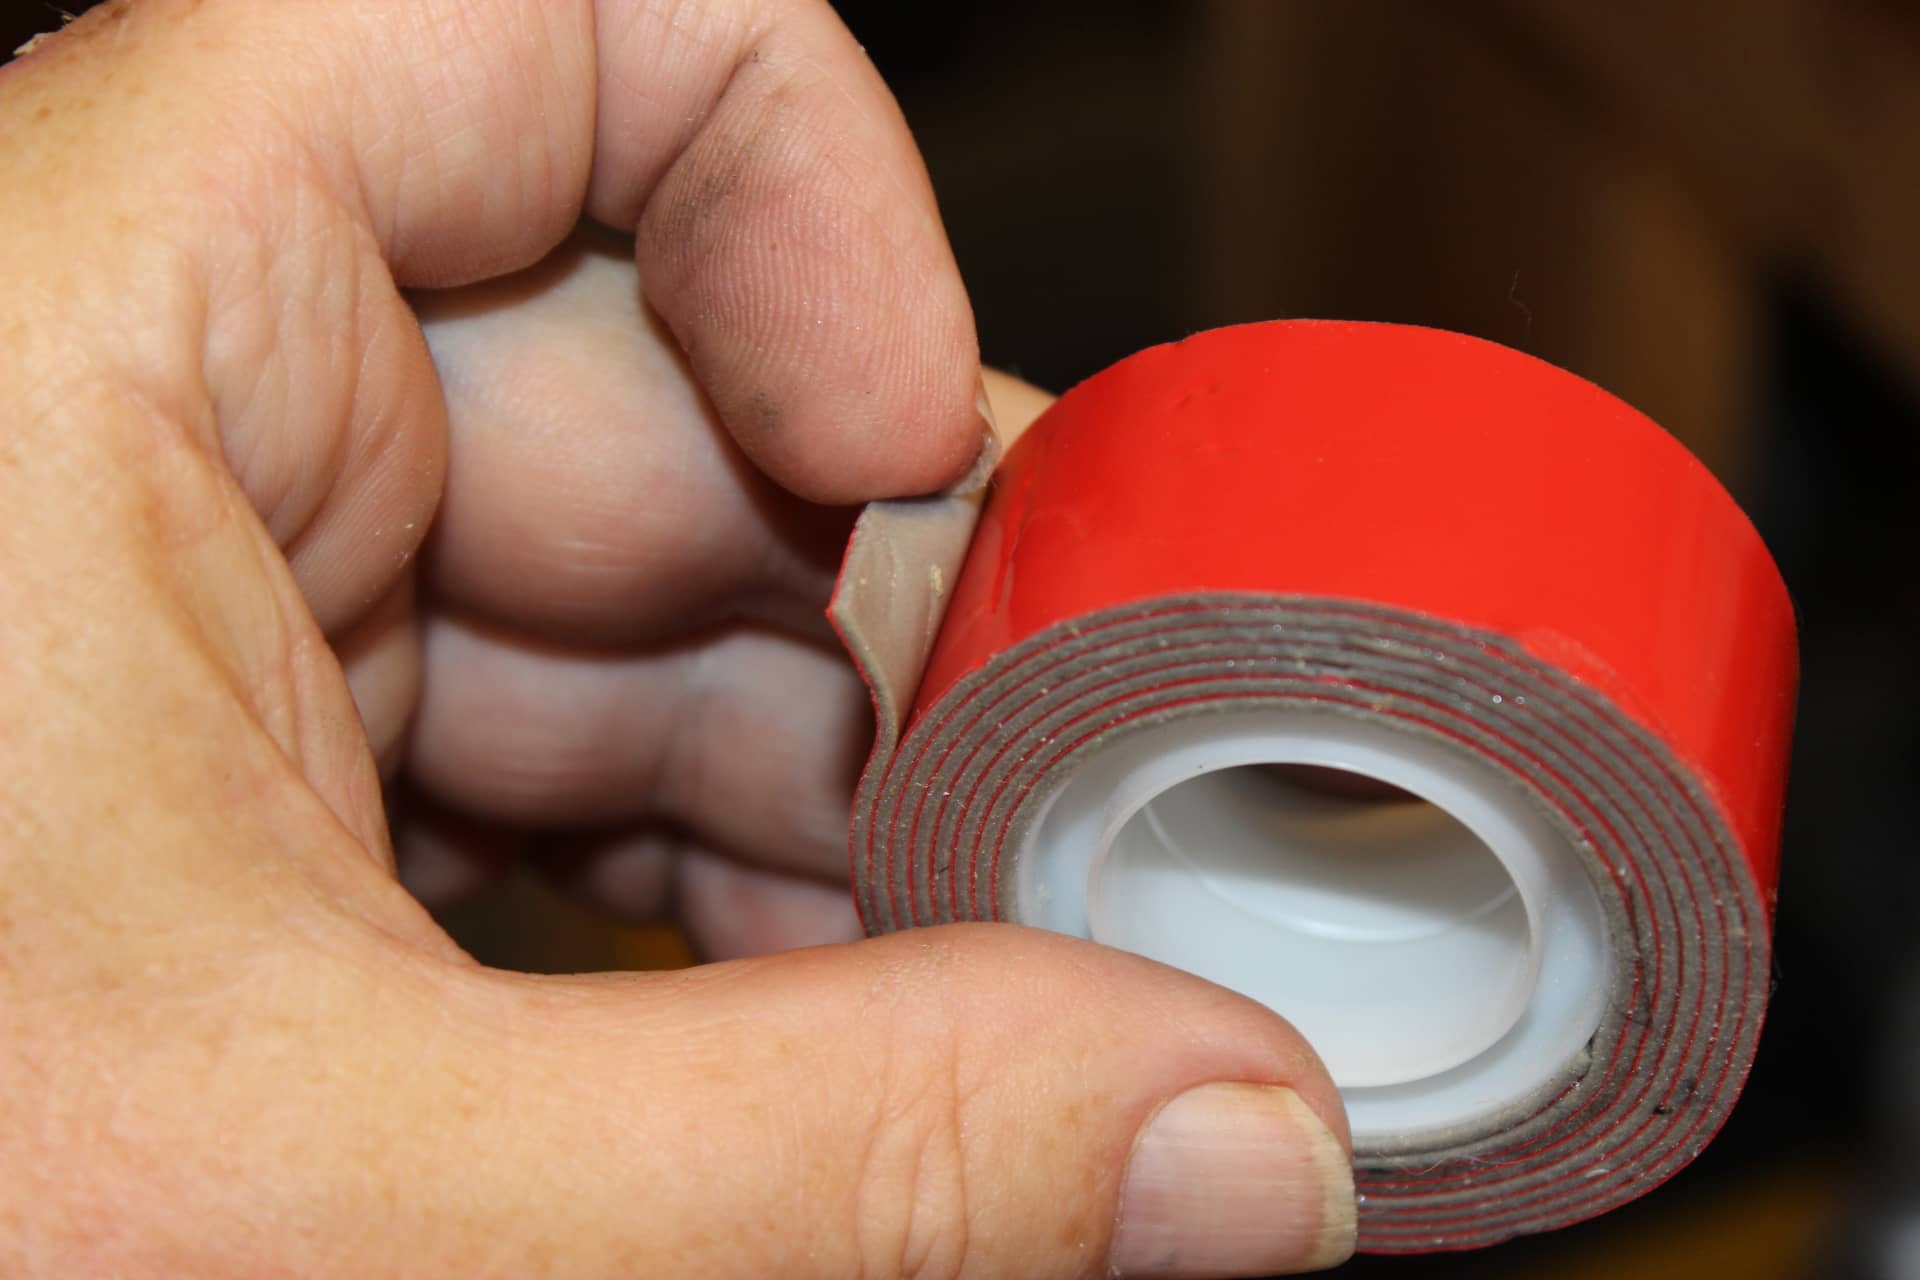
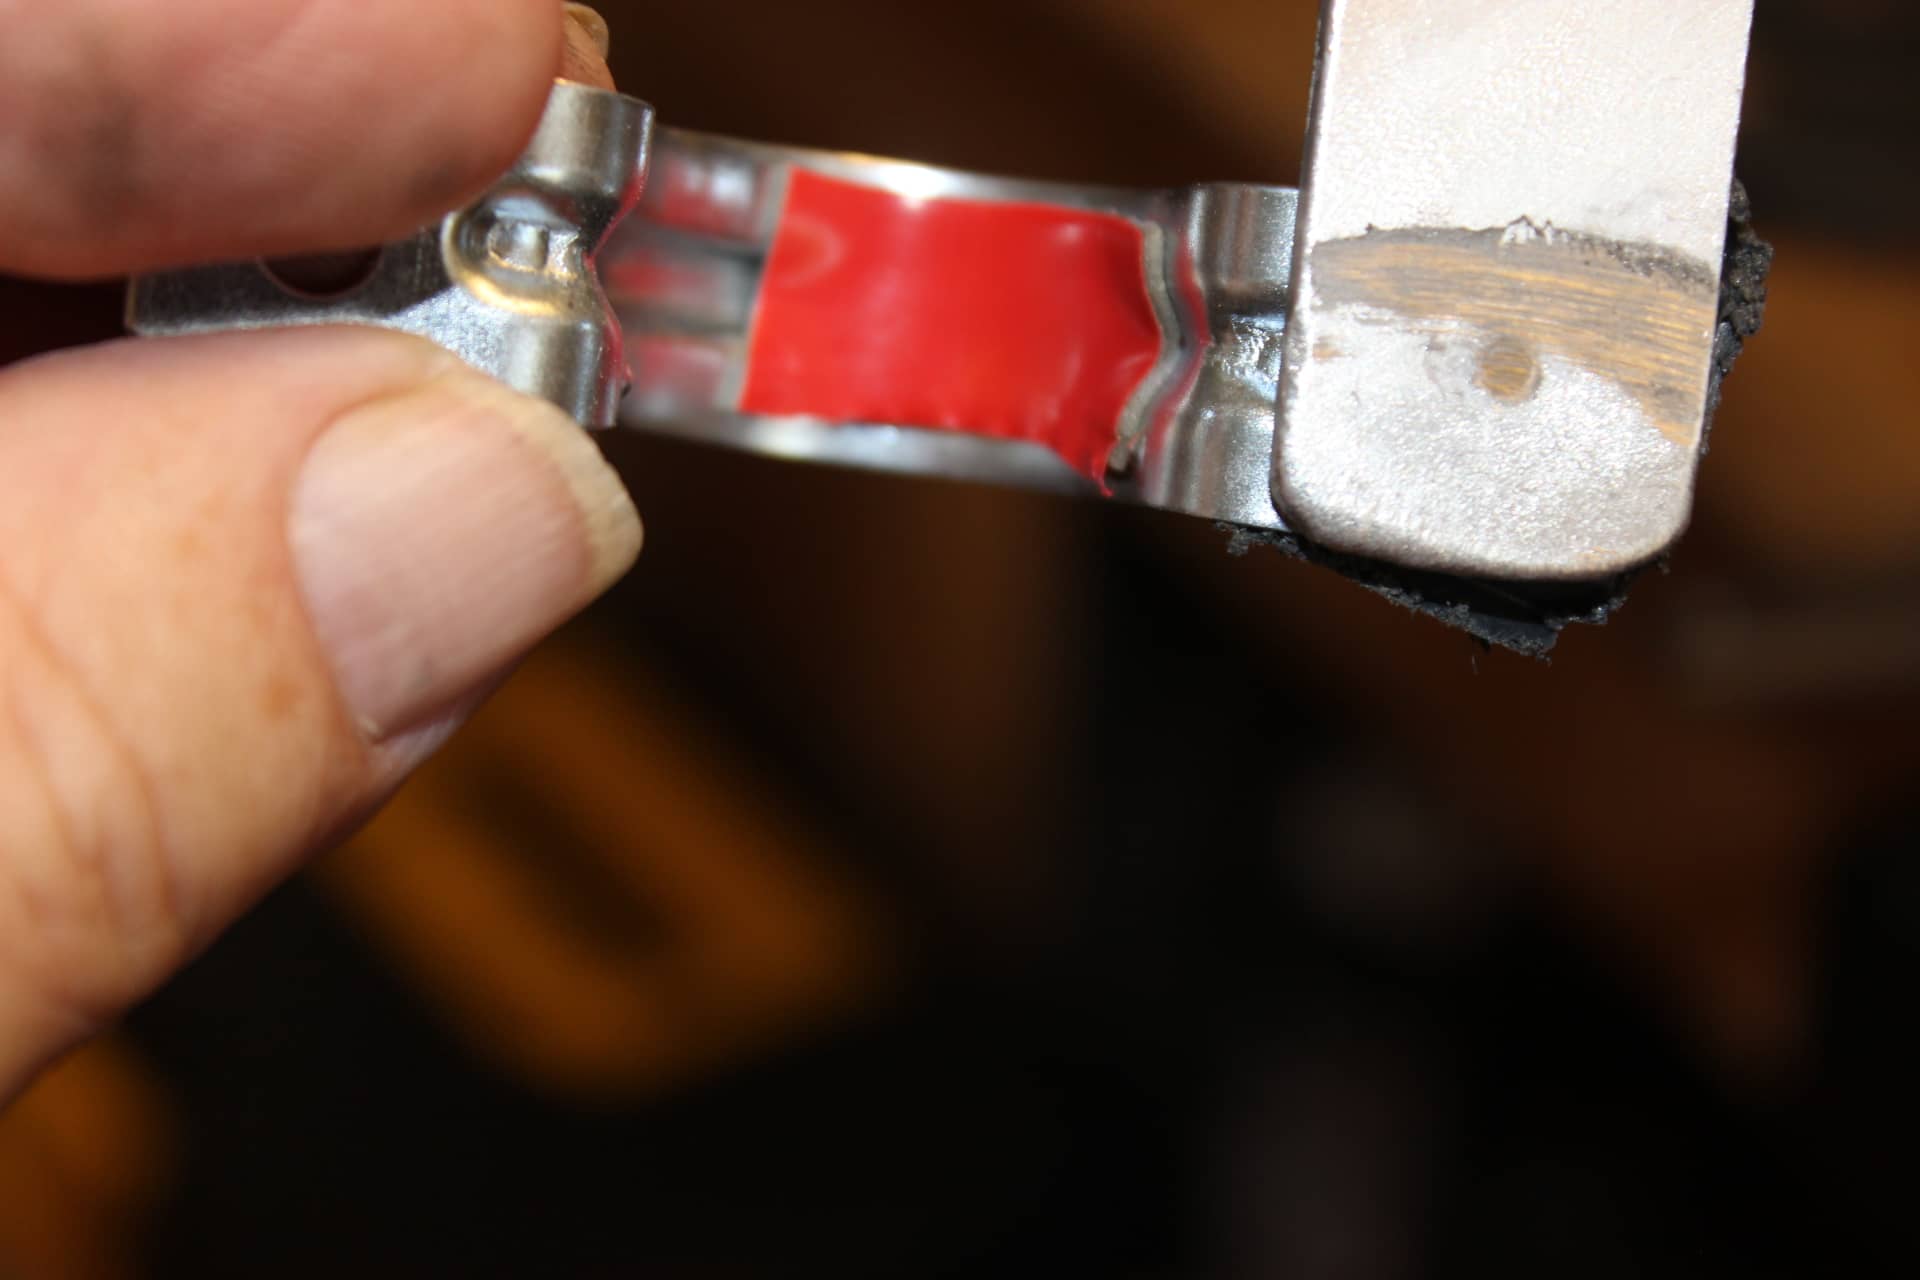
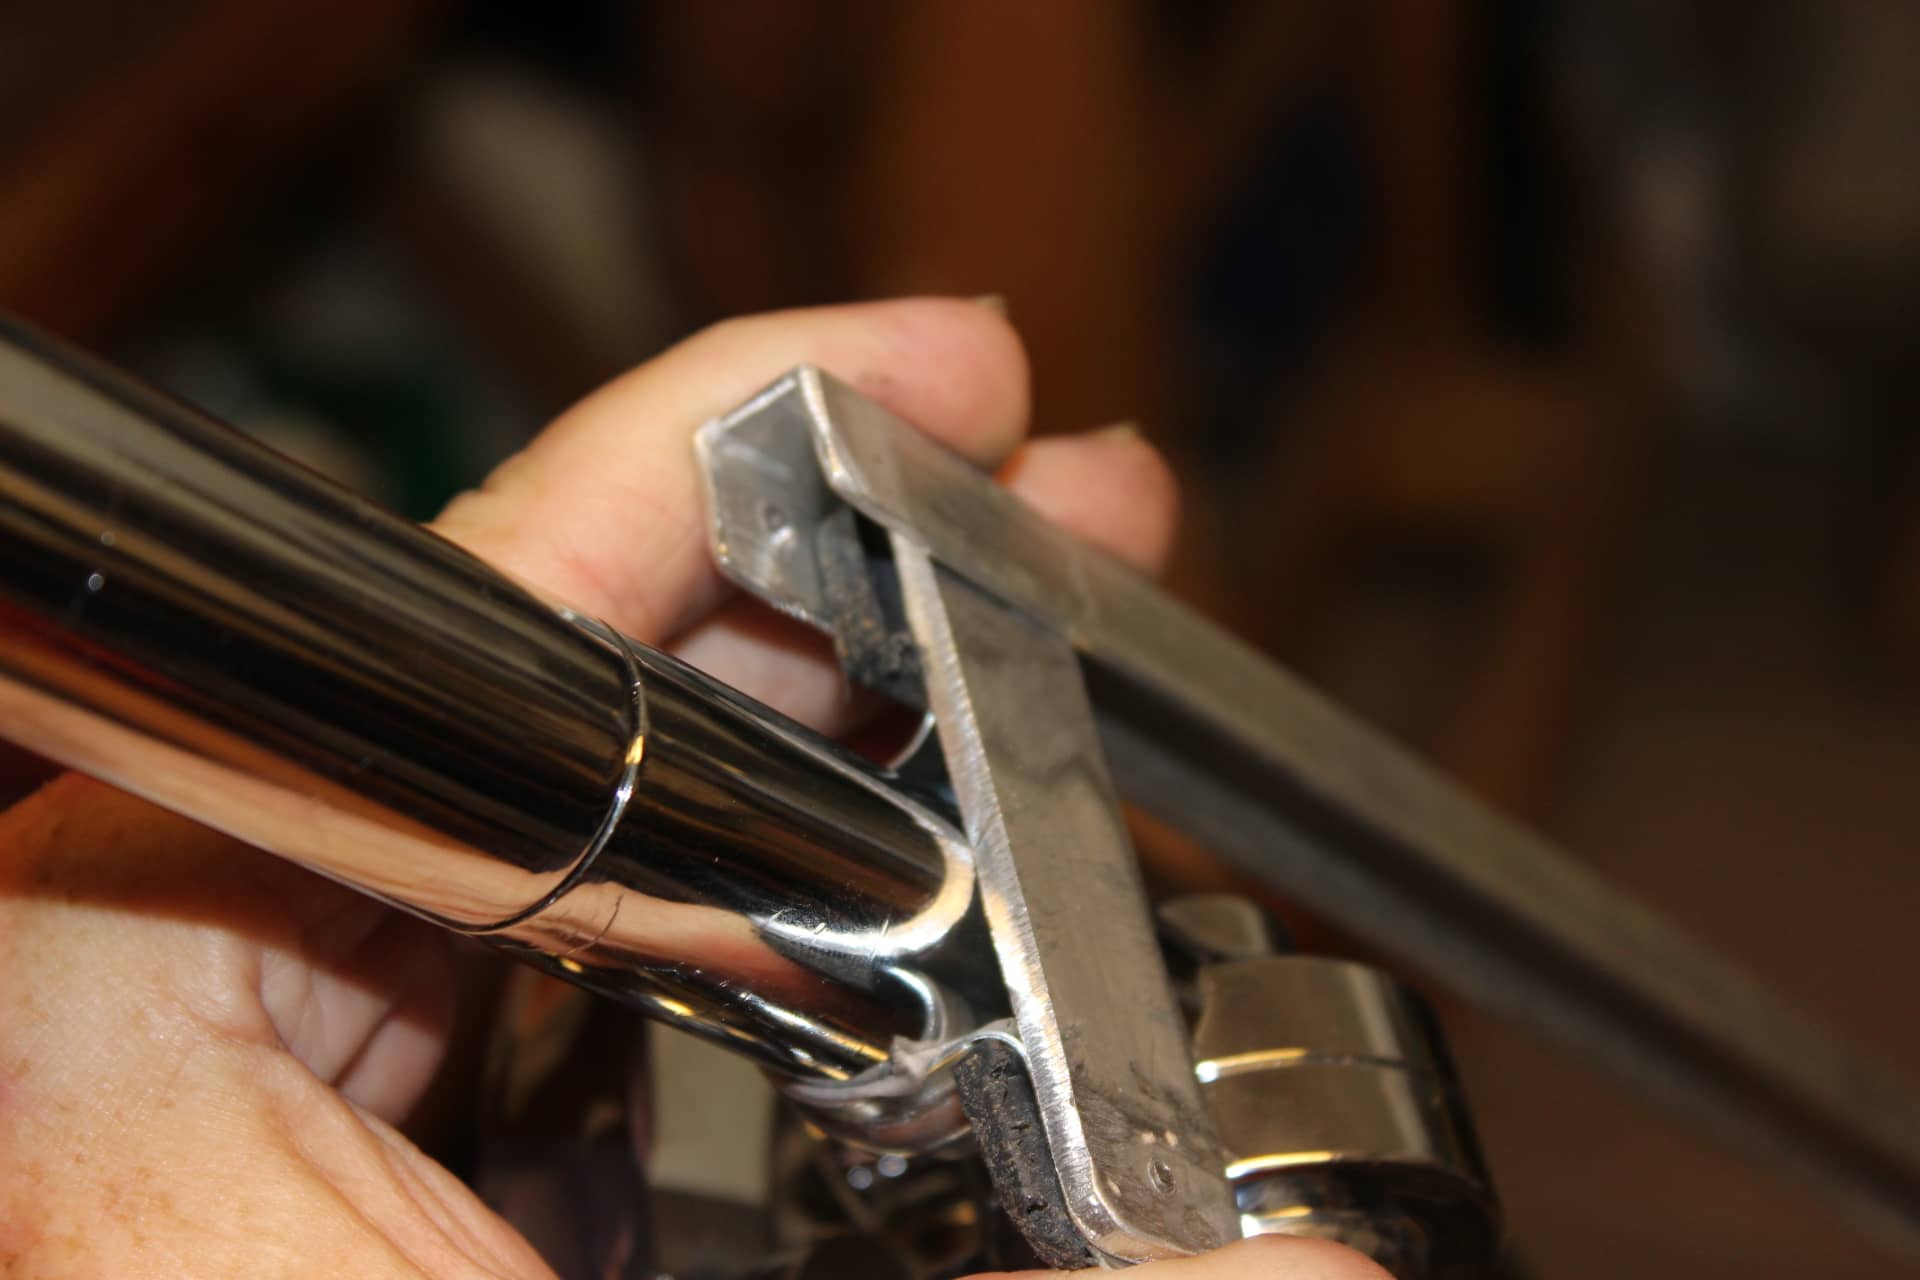
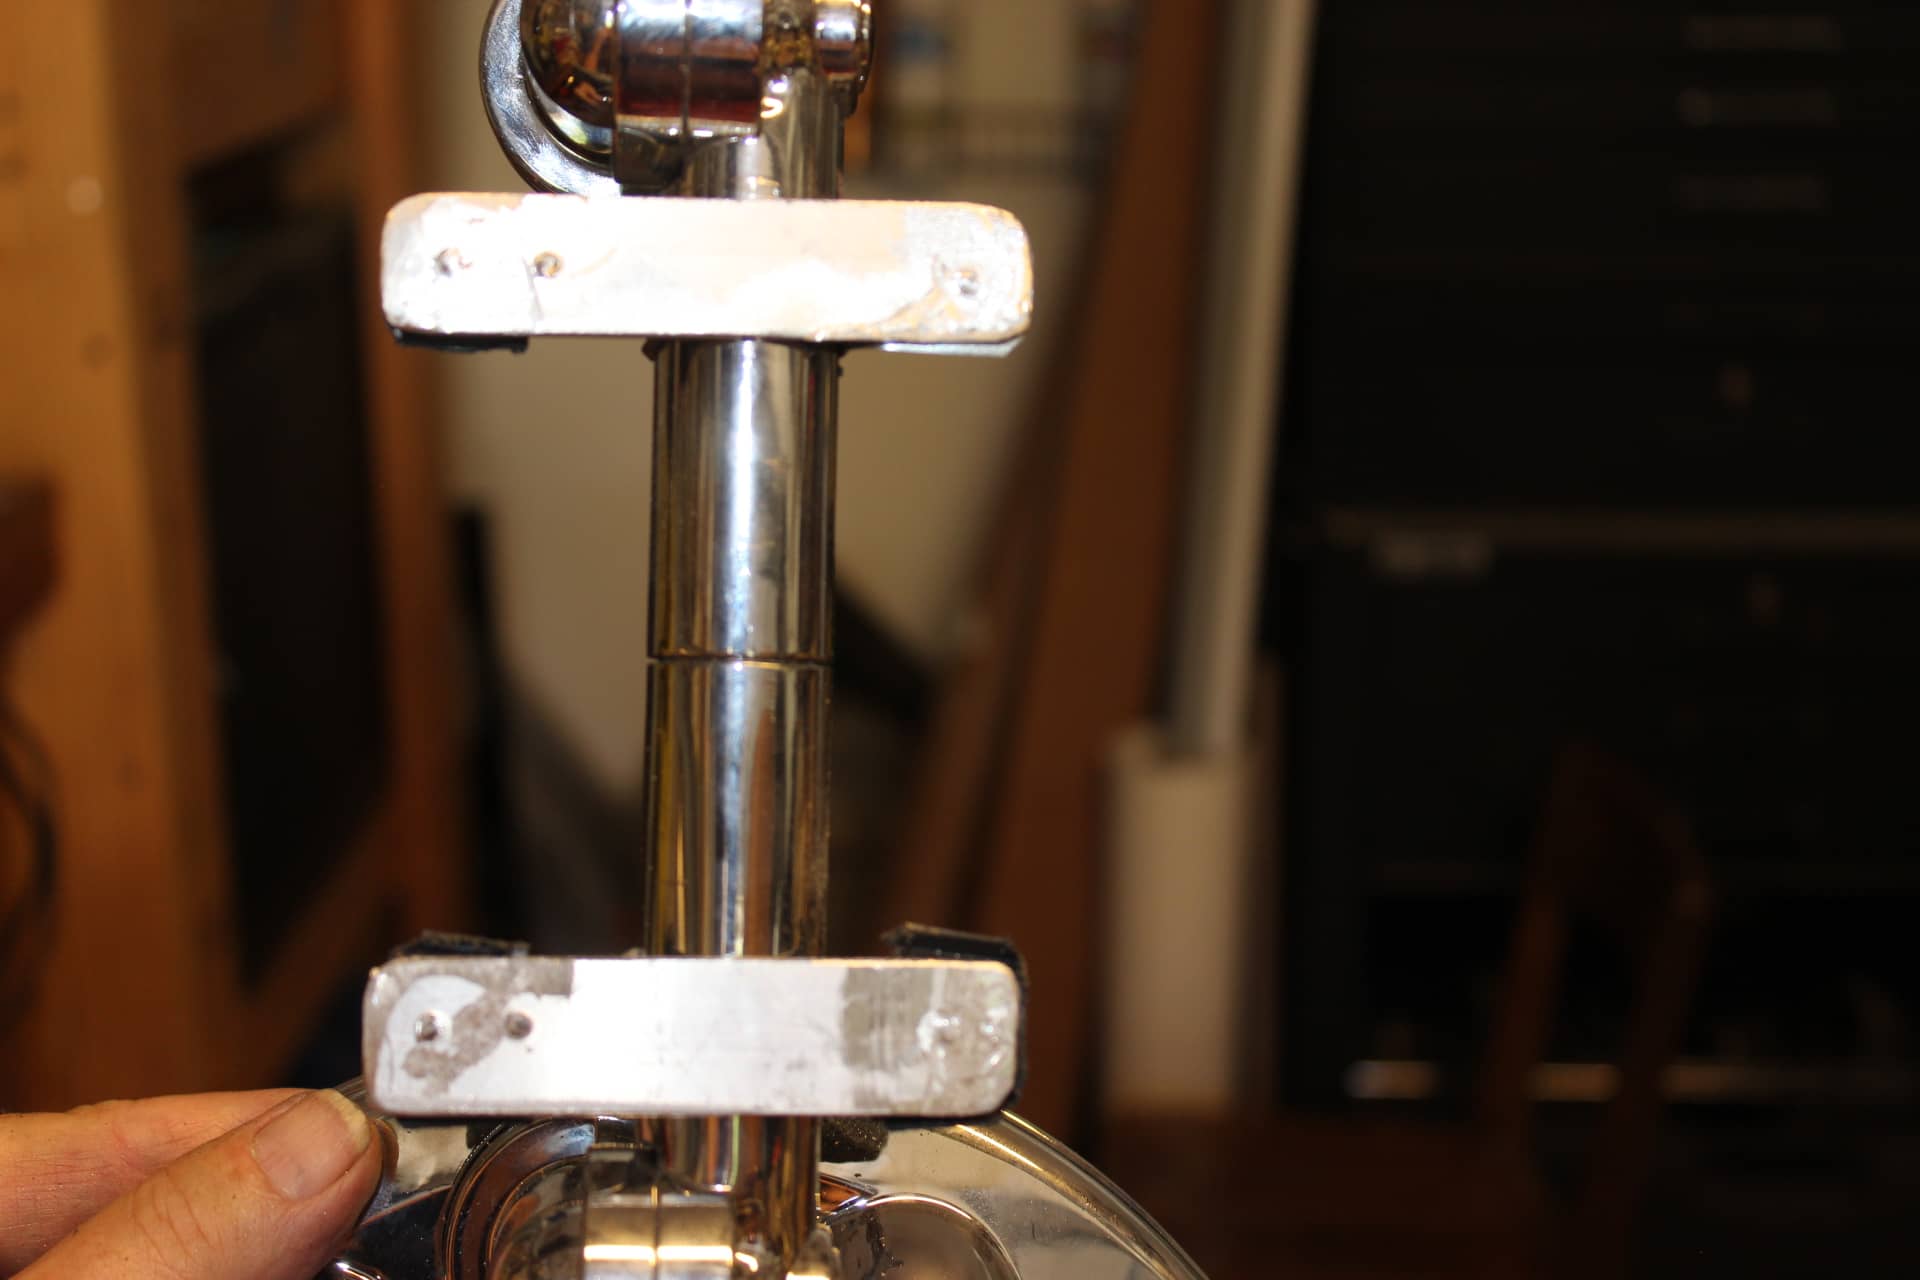
The next step is to figure out how to get the thing up on the ceiling tracks. Well needless to say it would not fit in the tracks as they were because they were too close together for this wider shower head configuration. The tracks are simply ½ “ aluminum channel placed on the ceiling with 3M VHB double sided tape (image 2132). So in order to make this work, I had to pry off the rear track (the one closest to the rear of the trailer) from the ceiling and remove the tape from the aluminum channel. That was easy as you could just take your thumb and roll it off. The ceiling was a different story. That was hard to get off and I did manage to remove most of it. However, some would not come off…so I just sprayed painted over it with Rust-Oleum Antique White 7794 (it’s a great match for TM interiors). With the main arm of the shower head being round and about ¾” in diameter made it easy to come up with a plan. I decided to use some ¾” two hole conduit straps (image 2135) and screw them into a piece of flat aluminum stock (image 2139) that was about an inch and a half longer than the strap itself (image 2149). The first ones I made were exactly a match for the strap but then I found out that they wouldn’t work because of the width of the rotating connection fittings on the shower head made them not long enough to reach the track. Also another mistake I made was that I thought I would have to take up the slack in the channel by having a little plastic spacer mounted on top of the strap (image 2137). WRONG-O! That only made the rotating fittings on the shower head too close to the ceiling (image 2146… you can see where the rotating fitting is sticking up above the track) and the straps with the shower head attached would not reach up into the tracks. But after removing the little plastic spacers the shower head slid perfectly into the tracks and was flush to the ceiling. So before I screwed down the straps onto the aluminum flat stock and around the stem of the shower head, I placed a small piece of 3M VBH tape (image 2143) inside the strap to keep the shower head from rotating form side to side (image 2144). I screwed on the straps around the stem (images 2145, 2150, 2151 ….notice these still have the plastic spacers attached…I removed all of these). I measure and replaced the rear track to the ceiling and pressed it good and tight against the ceiling. Then I was able to slide the whole shower head/fixture into its tracks (image 2152).
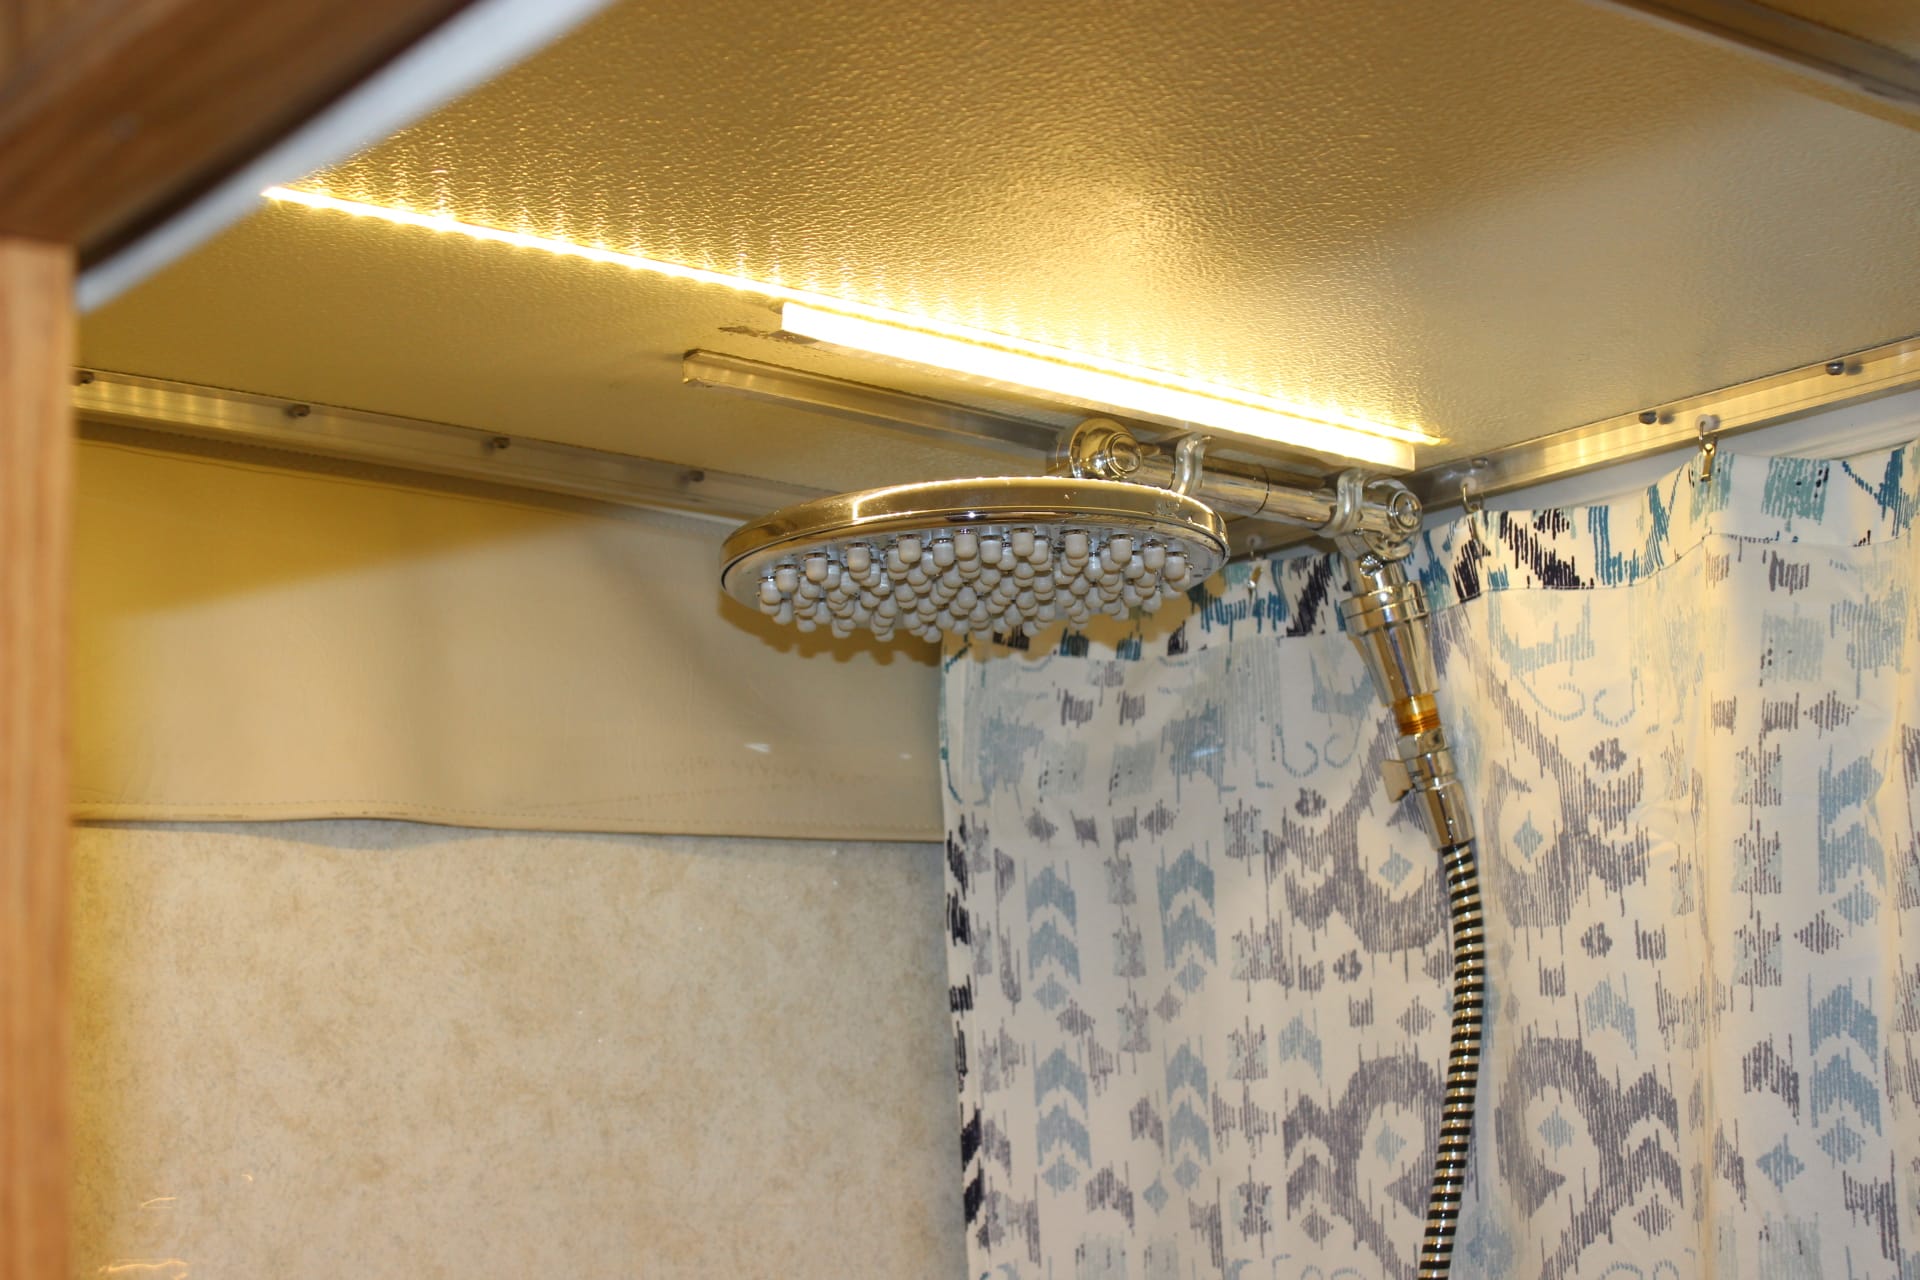
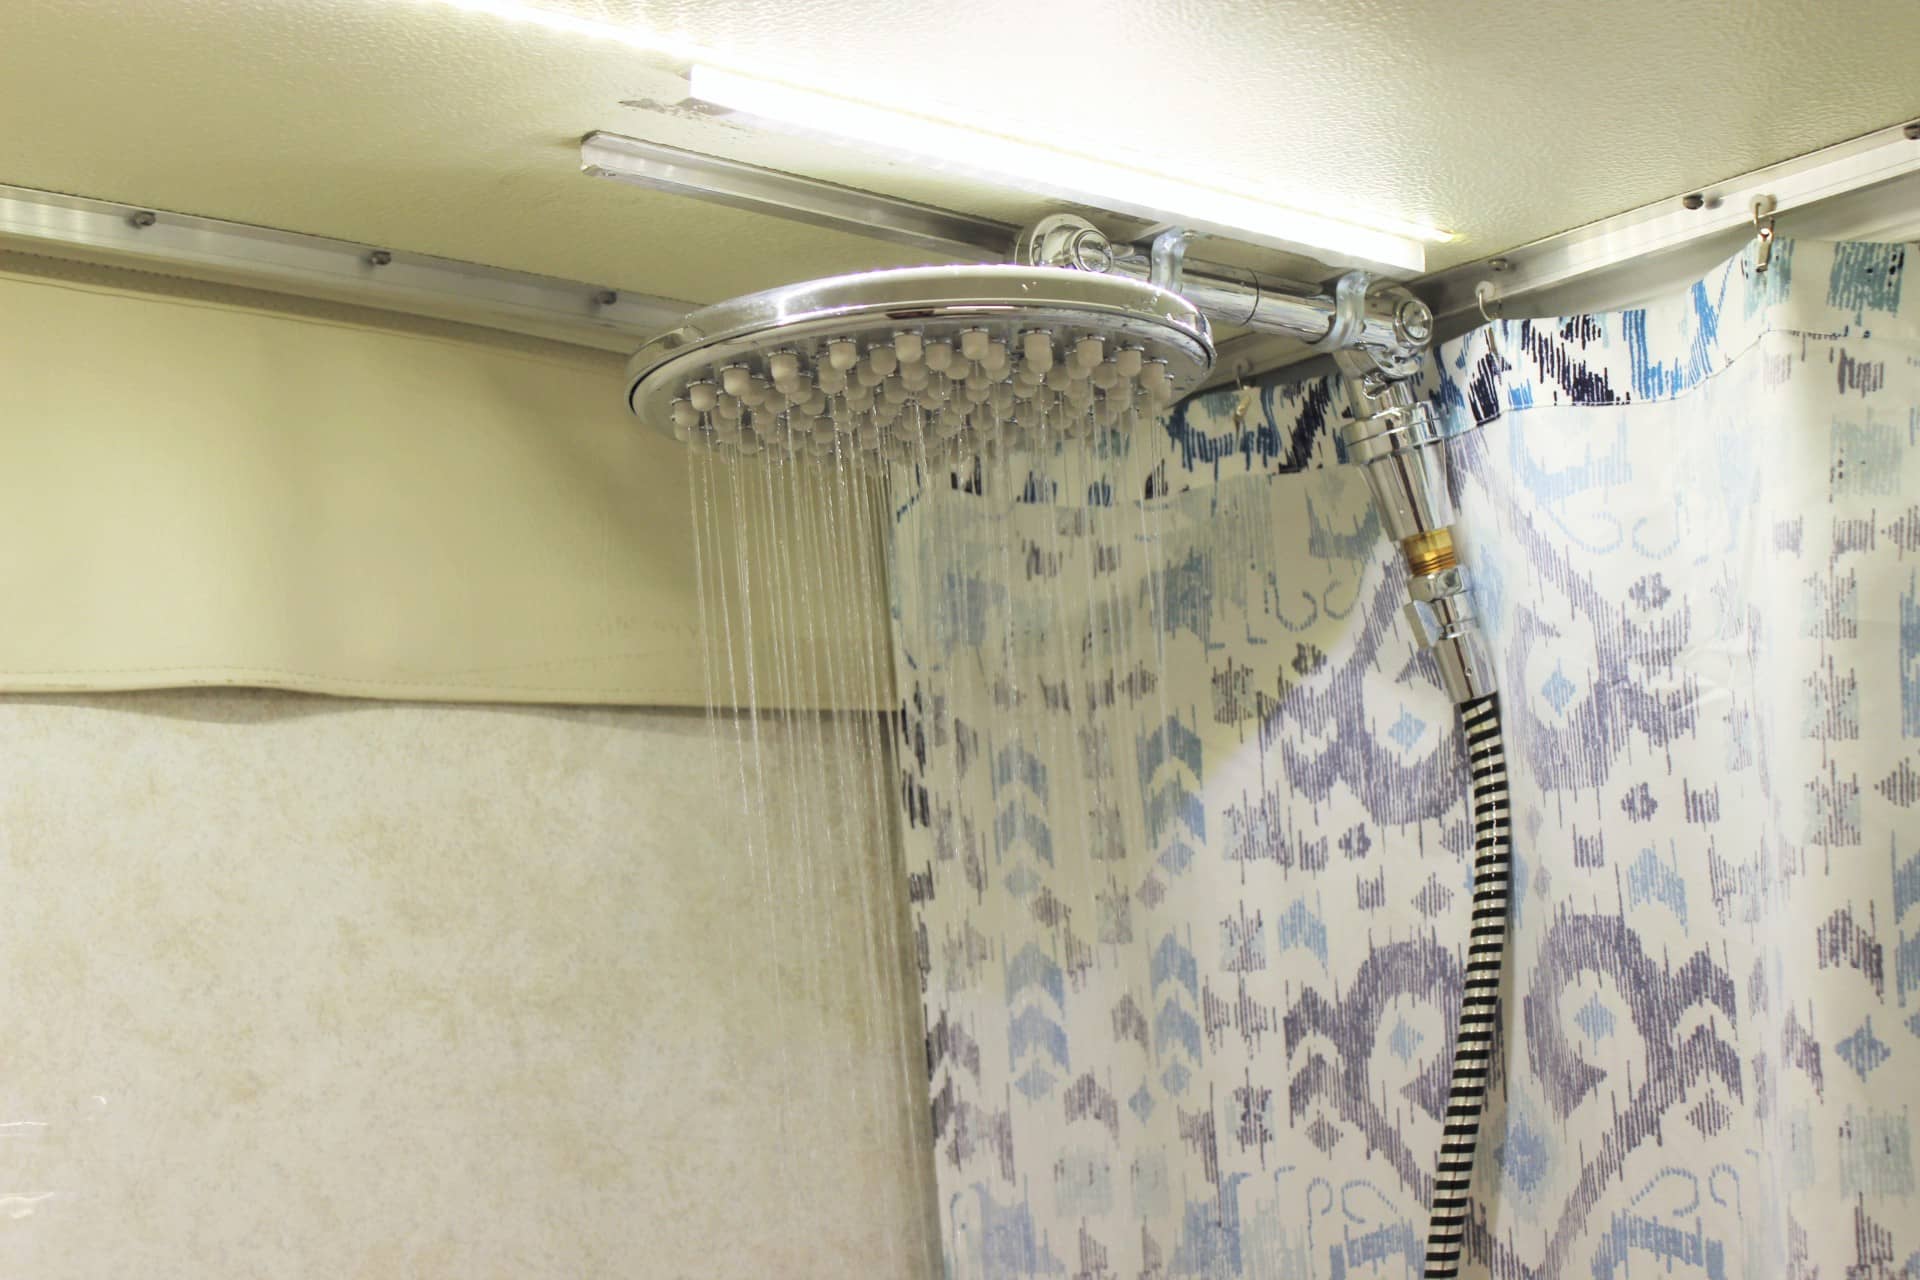
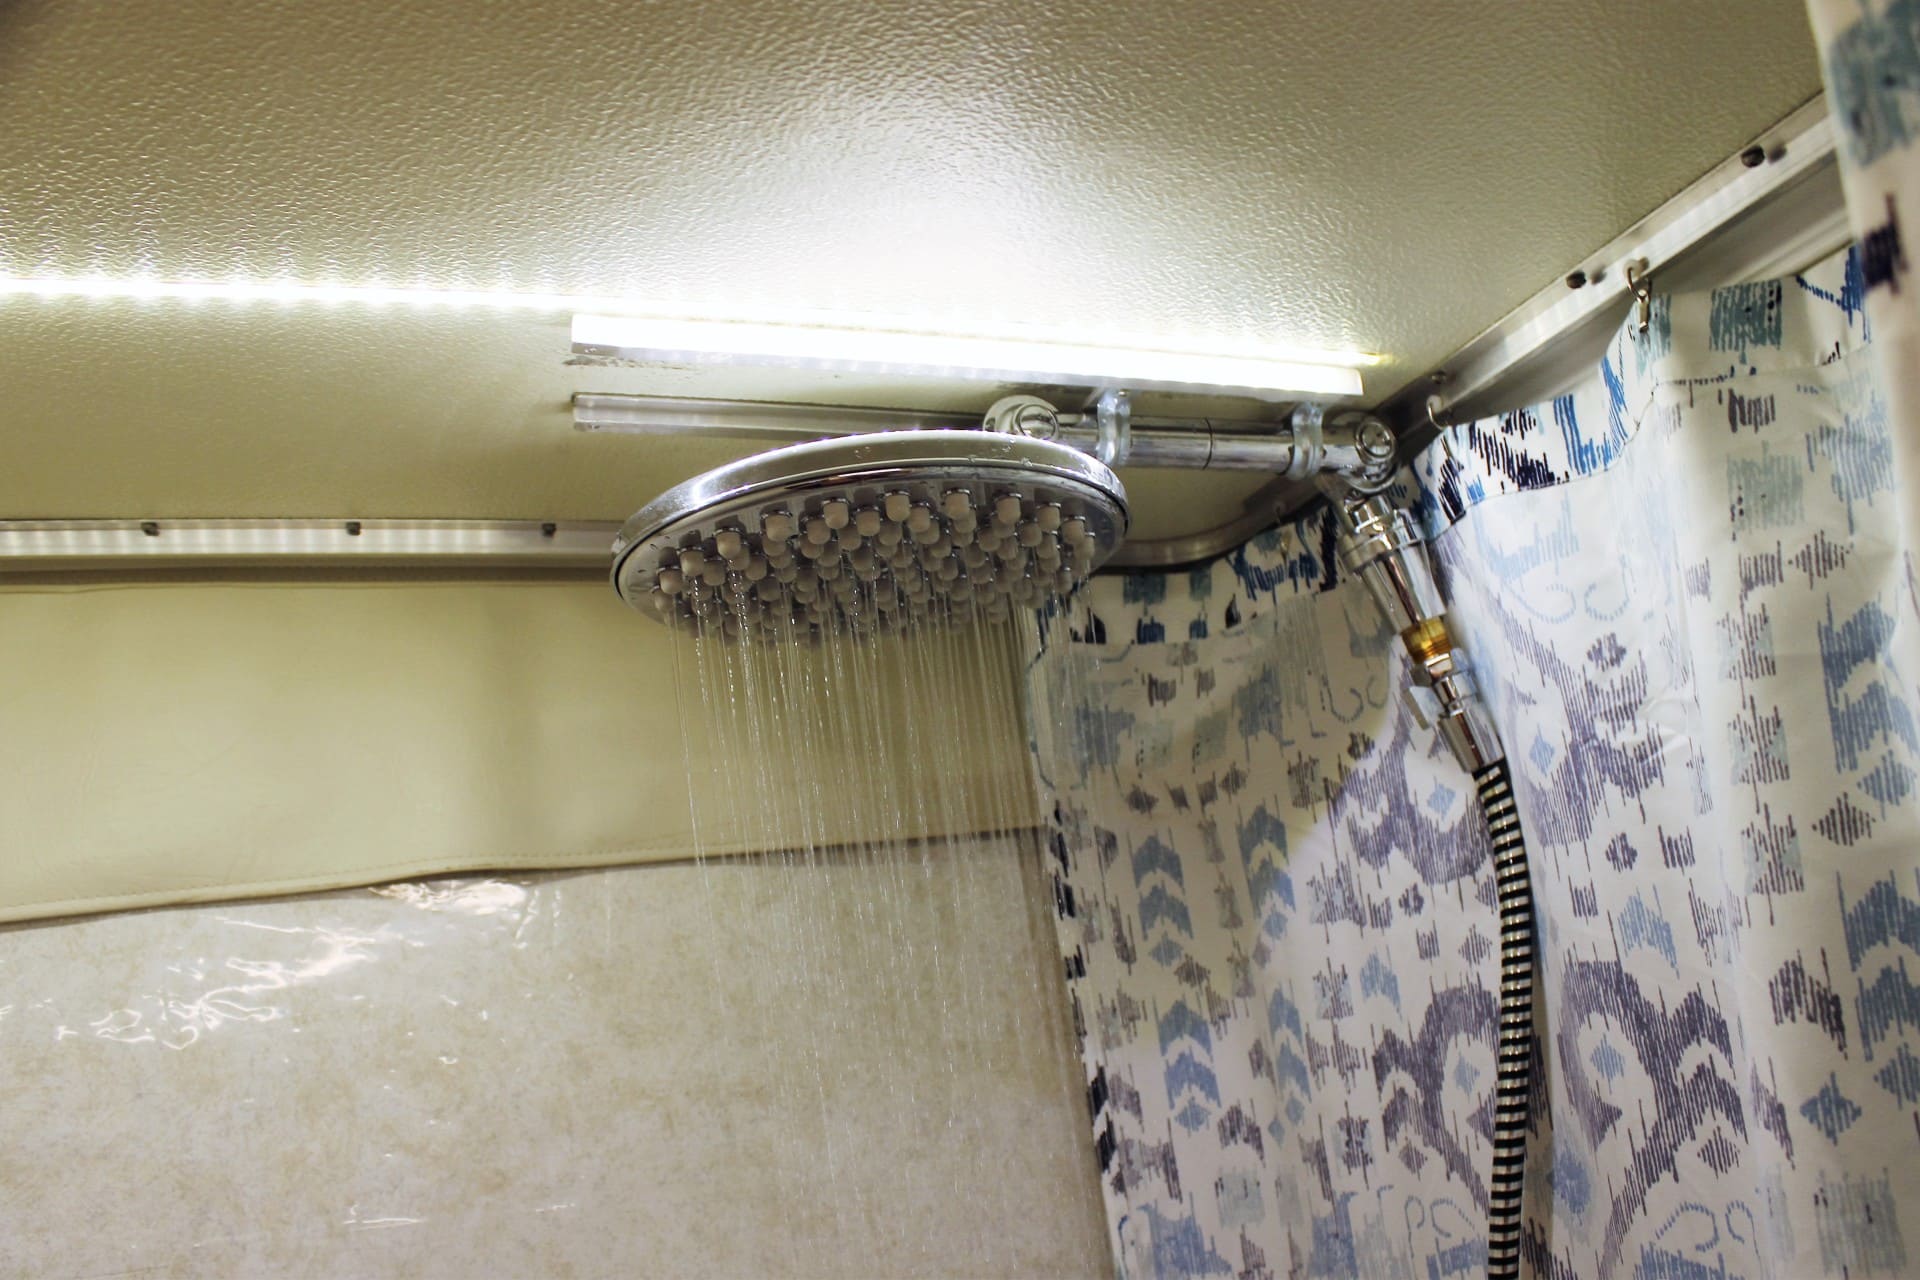
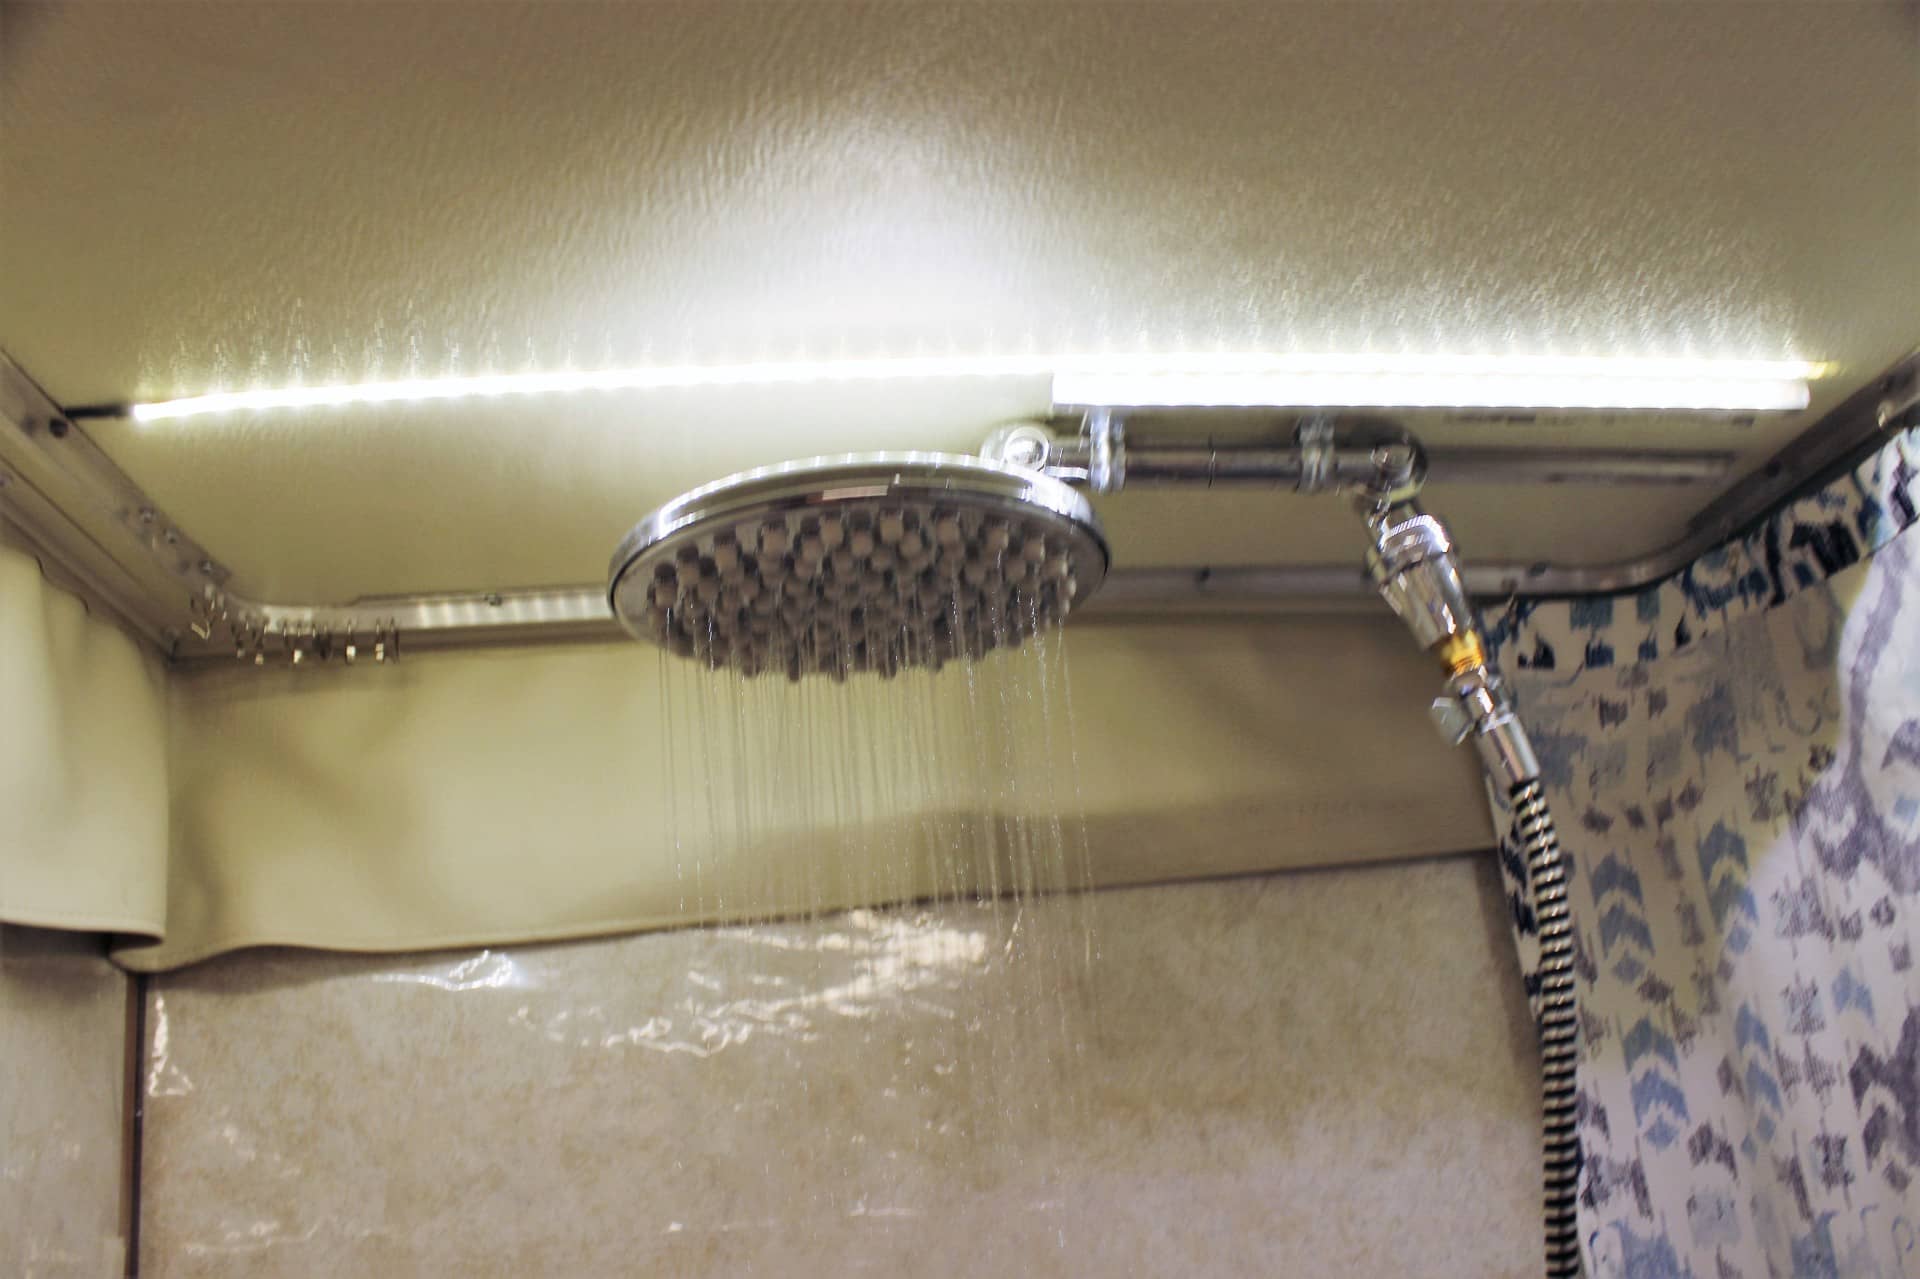
After re-hooking the hose back up to the shower flow valve, it was time for the moment of truth! I turned on the water and HOOORAY! It works (image 2153). The nice thing about the tracks is the fact that you can push it all the way to the wall (image 2154), or bring it out more into the middle of the tub (image 2155). Plus with this shower head you can also rotate it from side to side…from the straight on position (image 2157)…to any position to either side (image 2156) or even 180° from the frontal position!
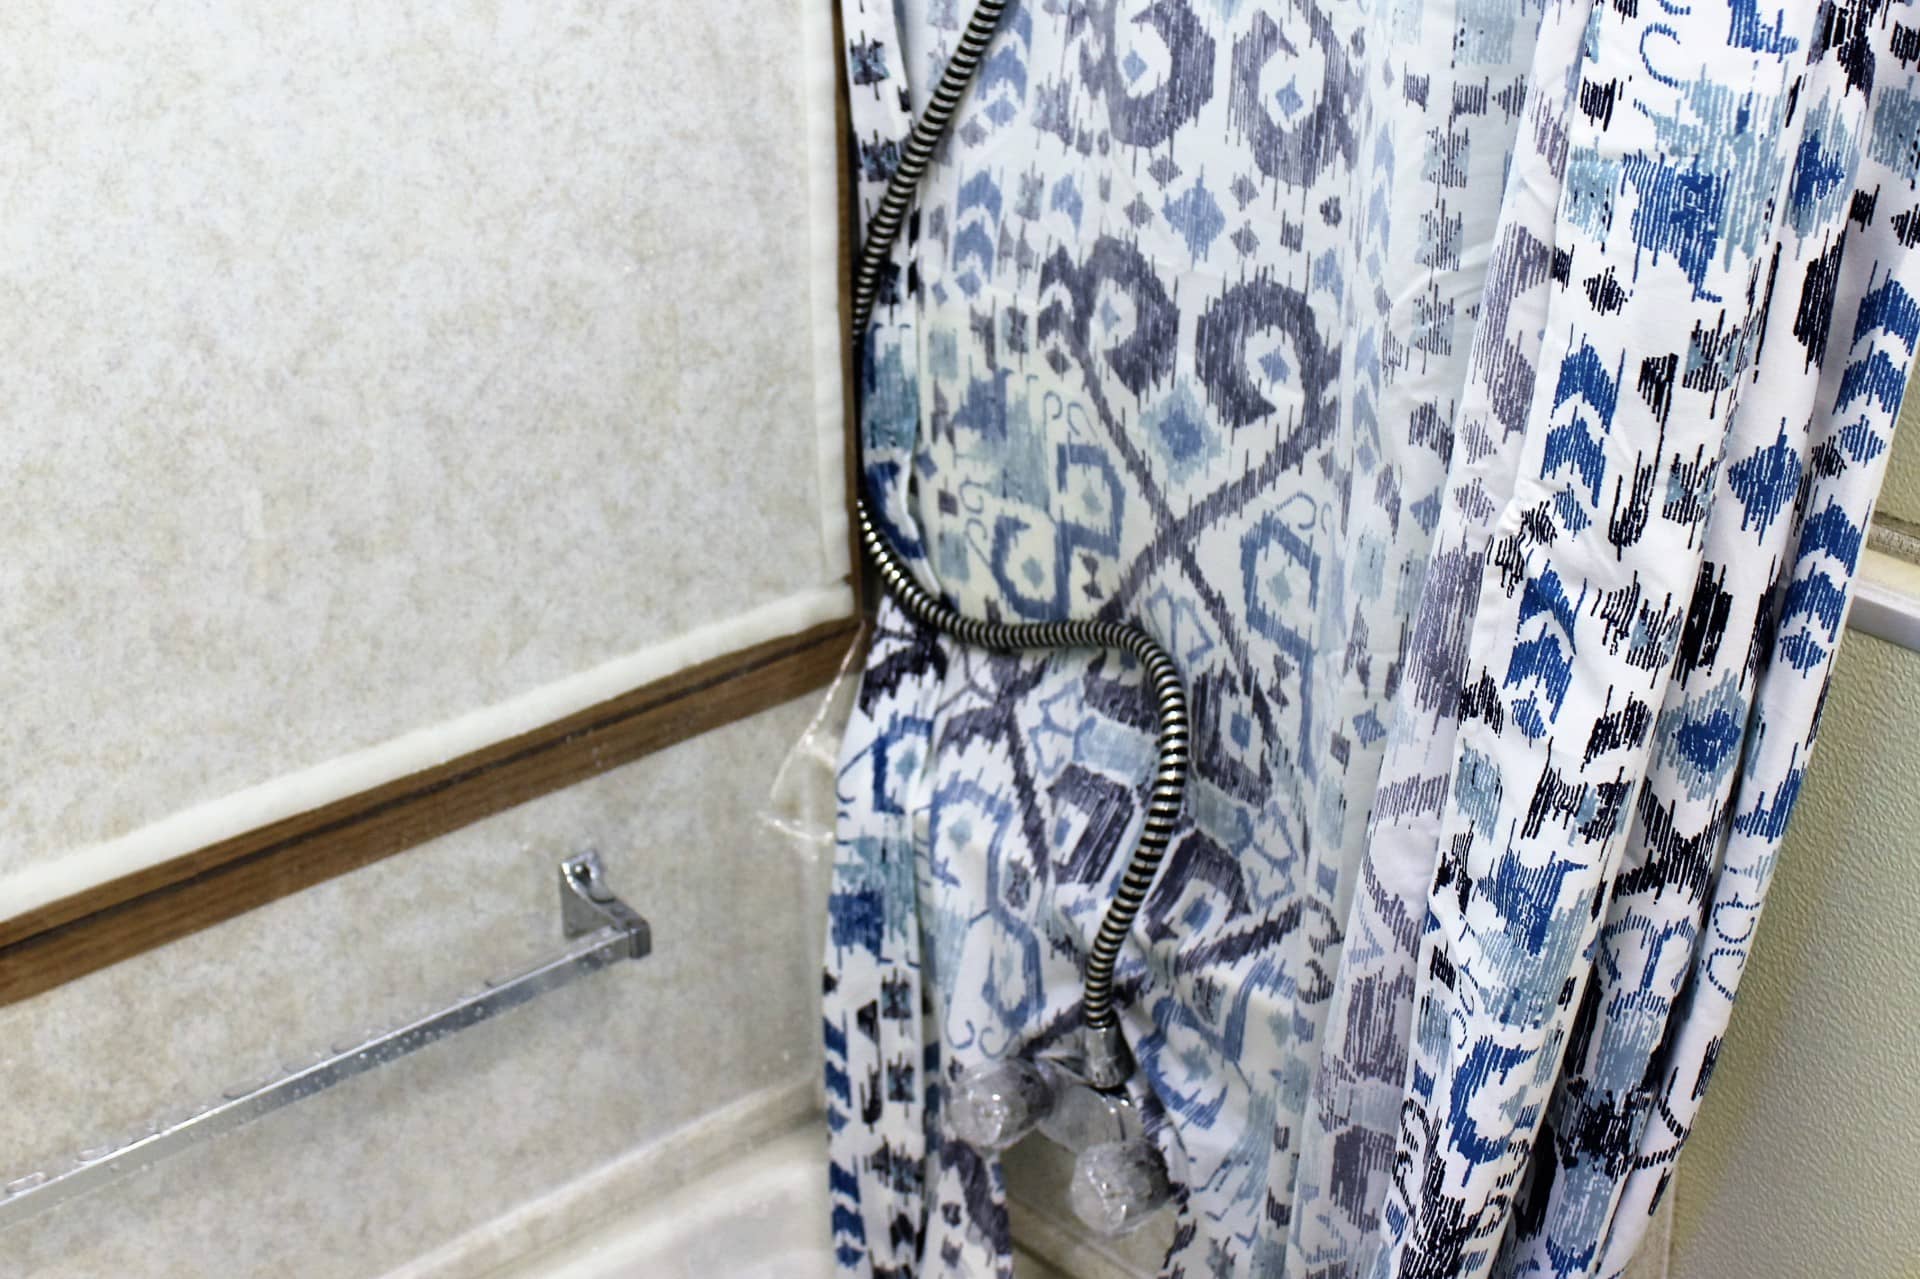
The hose tucks nicely in the gap of the rear folding wall and the shell wall to keep it out of the way while showering (image 2158) and it still fits nicely in the tub for storage (image 2159). Just don’t forget to take it down after each use or you could mash it!
I love my new rain shower head and coupled with my hot water on demand water heater plus the extra room in the shower should make for the most pleasant shower experience of ANY TrailManor out there! Now getting clean will truly be nice and The Management will like me that much more!