For quite a while now I have been pondering the idea of converting my Trailmanor’s braking system from the electric drum type to the hardier electric over hydraulic disc brake system. Almost every trailer that has brakes comes with the electric drum brake system because it’s much cheaper to install. They do work pretty well too, however there are some drawbacks with them. I get into this in a minute, but for now let me explain what made me jump into disc brakes.
Early July 2016 I was surfing the web exploring the idea of getting me some disc brakes for my Trailmanor travel trailer. I was researching the cost and JEEEEZZS, they aint cheap! I figured that it would be a minimum of $1000 to get into disc brakes. This was a major factor of my procrastination. And I didn’t have a problem with that at all….that is, until while researching the web I stumbled onto an article by Emily and Mark Fagan who writes an RV blog about their fifth wheel and the places they go. Their blog, “ http://roadslesstraveled.us/ “ and is a cool site to visit but their article “Trailer Brake Conversion” really caught my eye. So I read it and it was all about the install, which was very informative. Then the clincher happened. It was at the very end of the article when the Fagans had already left the installers and were almost in an accident. I say almost because those disc brakes saved them for a bad time. You’ll have to read it for yourself. Then you will understand.
Some of the drawbacks with electric brakes are this. Unless you have the self-adjusting type (which few do) you have to keep trying to adjust them so they are even with each other. Unless you take the whole wheel off, you can’t see the wear on the brake shoes. Electric brakes are either “on” or “off” with no in-between. The brake controller try’s to do this but does a poor job so there is no “proportional” braking. Because of the magnet that rides on the side wall of the brake drum, that wall has to make almost perfect contact with that wall. This is what makes the electric brakes work…that magnet! You cannot just go and have the drums turned like on a car because you would have to resurface the side wall as well and that would take a machining shop with a special lathe. That would be expensive so you might as well buy new drums…what a waste! The grease zerk….if you over grease your bearings with that grease zerk you’ll end up greasing your brakes because the grease will flow out of your grease seals and coat the inside of your shoes, drum, and that most important magnet.
With disc brakes you have NONE of these potential problems. They use GM pads and are very simple to change. Nuff Said!
So that did it! Safety first, and that translates to disc brakes. One cannot put a price of safety and that’s that! Bye bye all my piggy banks for you’re getting the hammer for the sake of better brakes!
The Fagans have been RV-ing for many years and have a ton of experience about places, Rvs, and equipment, so naturally I knew that they probably had a good handle on this disc brake thing. I trusted their choices, however I did some asking around about the products that they acquired for their disc brakes and found out that they had made top quality choices. So I decided to copy-cat them in this respect and get the exact same stuff.
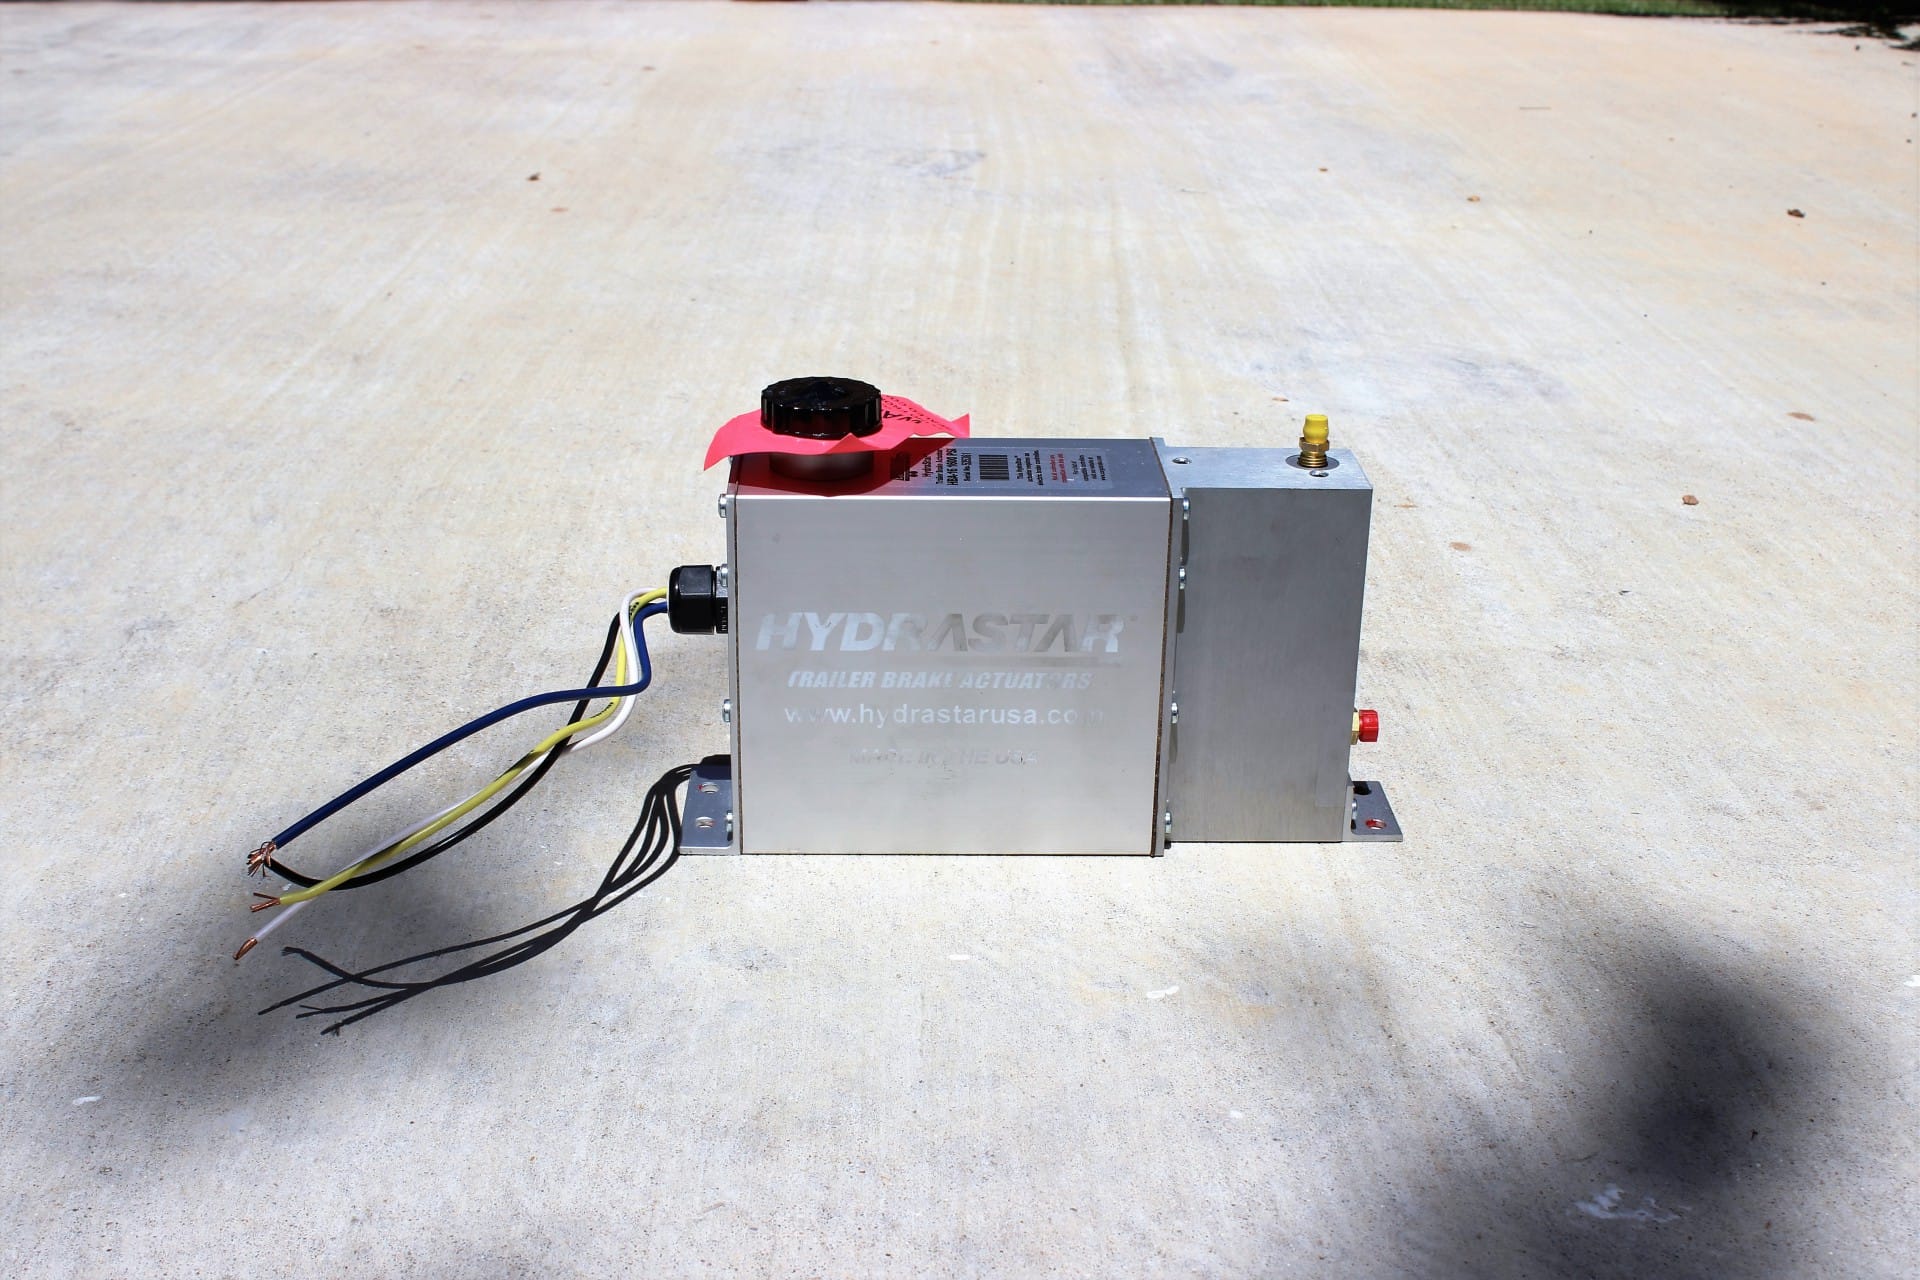
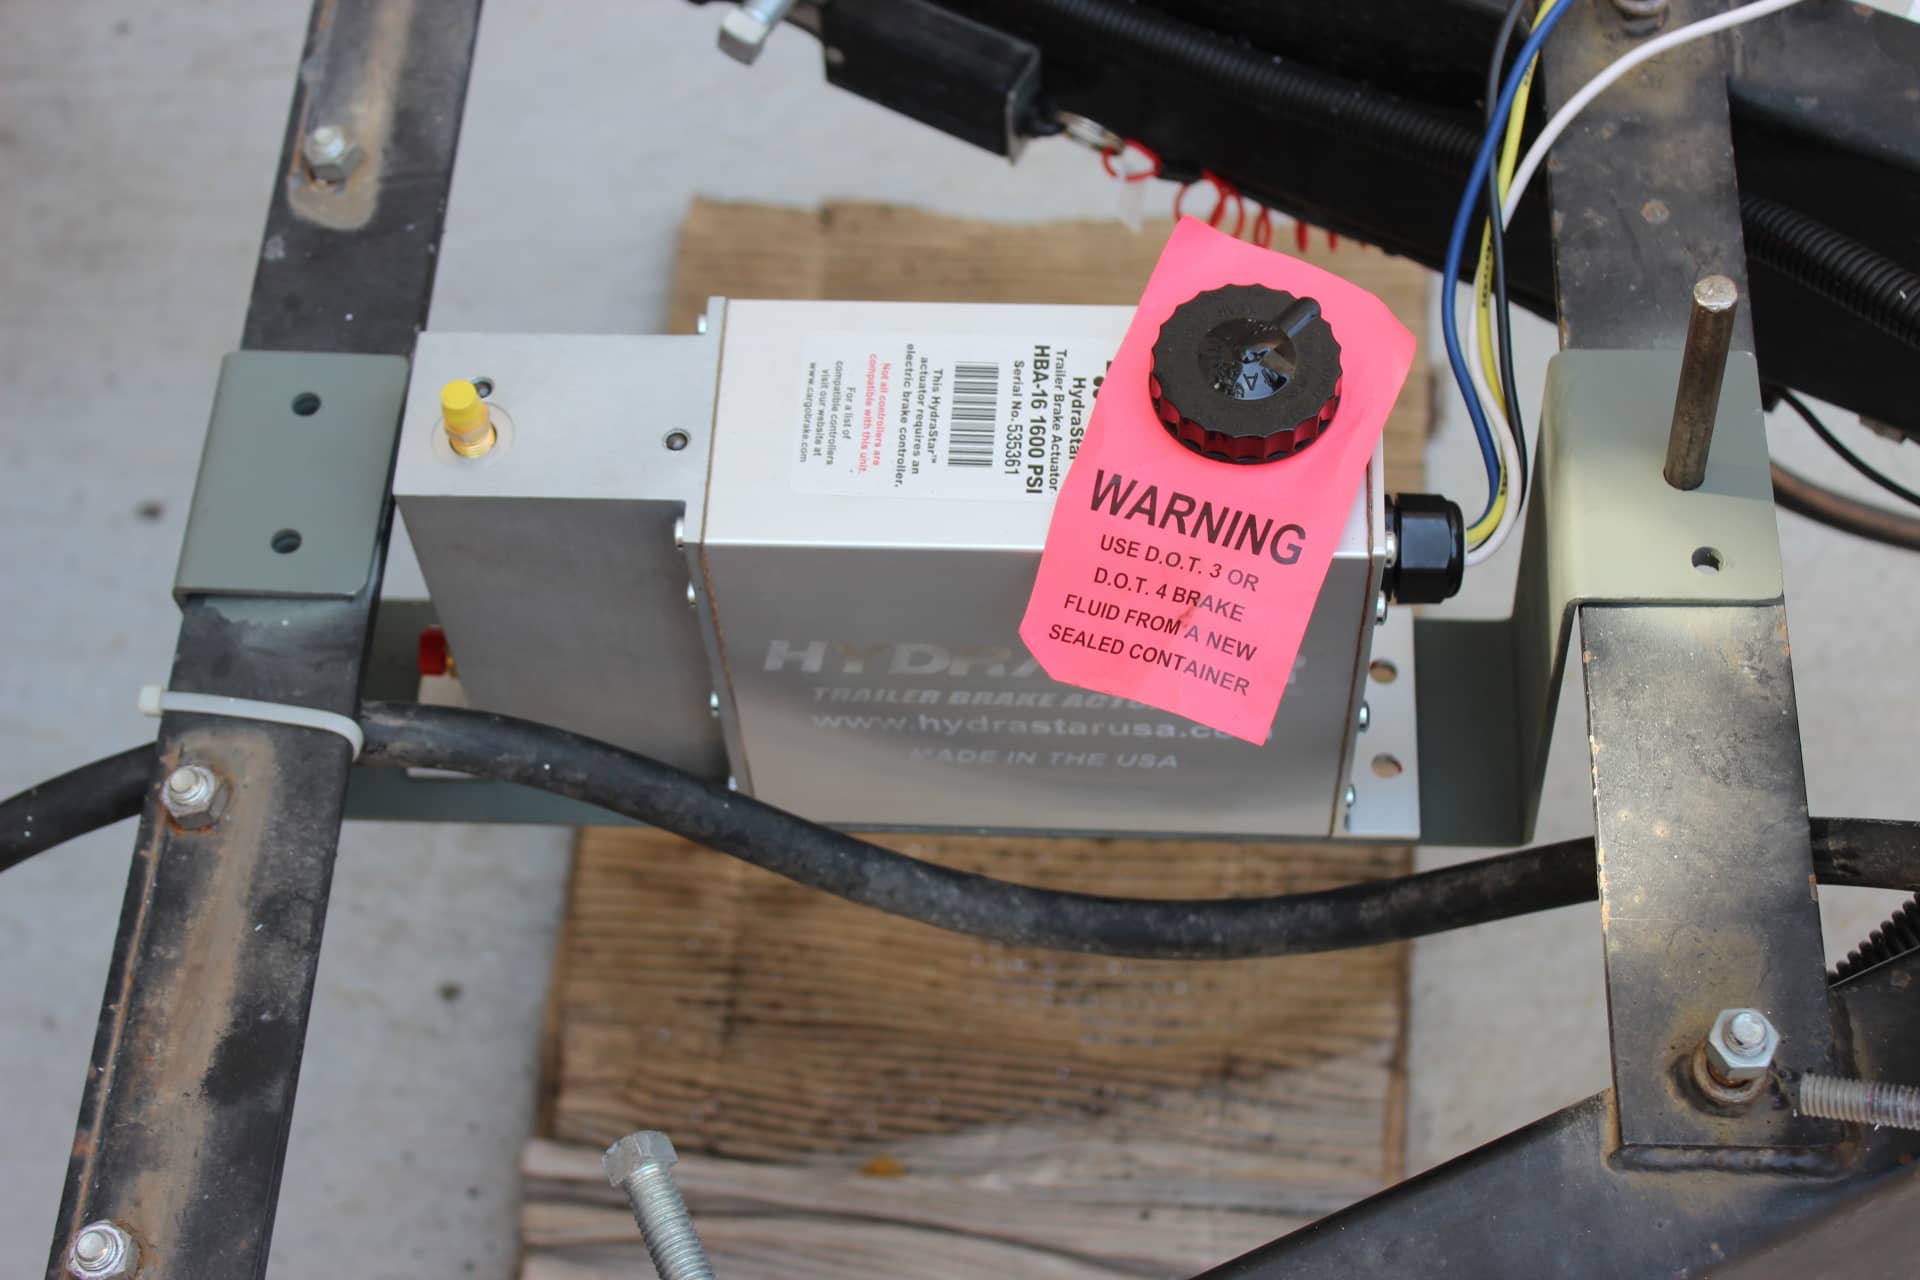
Now with electric over hydraulic disc brakes you have several components. The heart of the system is the actuator. This translates the signal from your brake controller (located in you cab) to the hydraulic electric master cylinder that works the brakes. Next you have the hydraulic lines to the brakes and finally there is the brakes calipers and rotors that do the actual stopping.
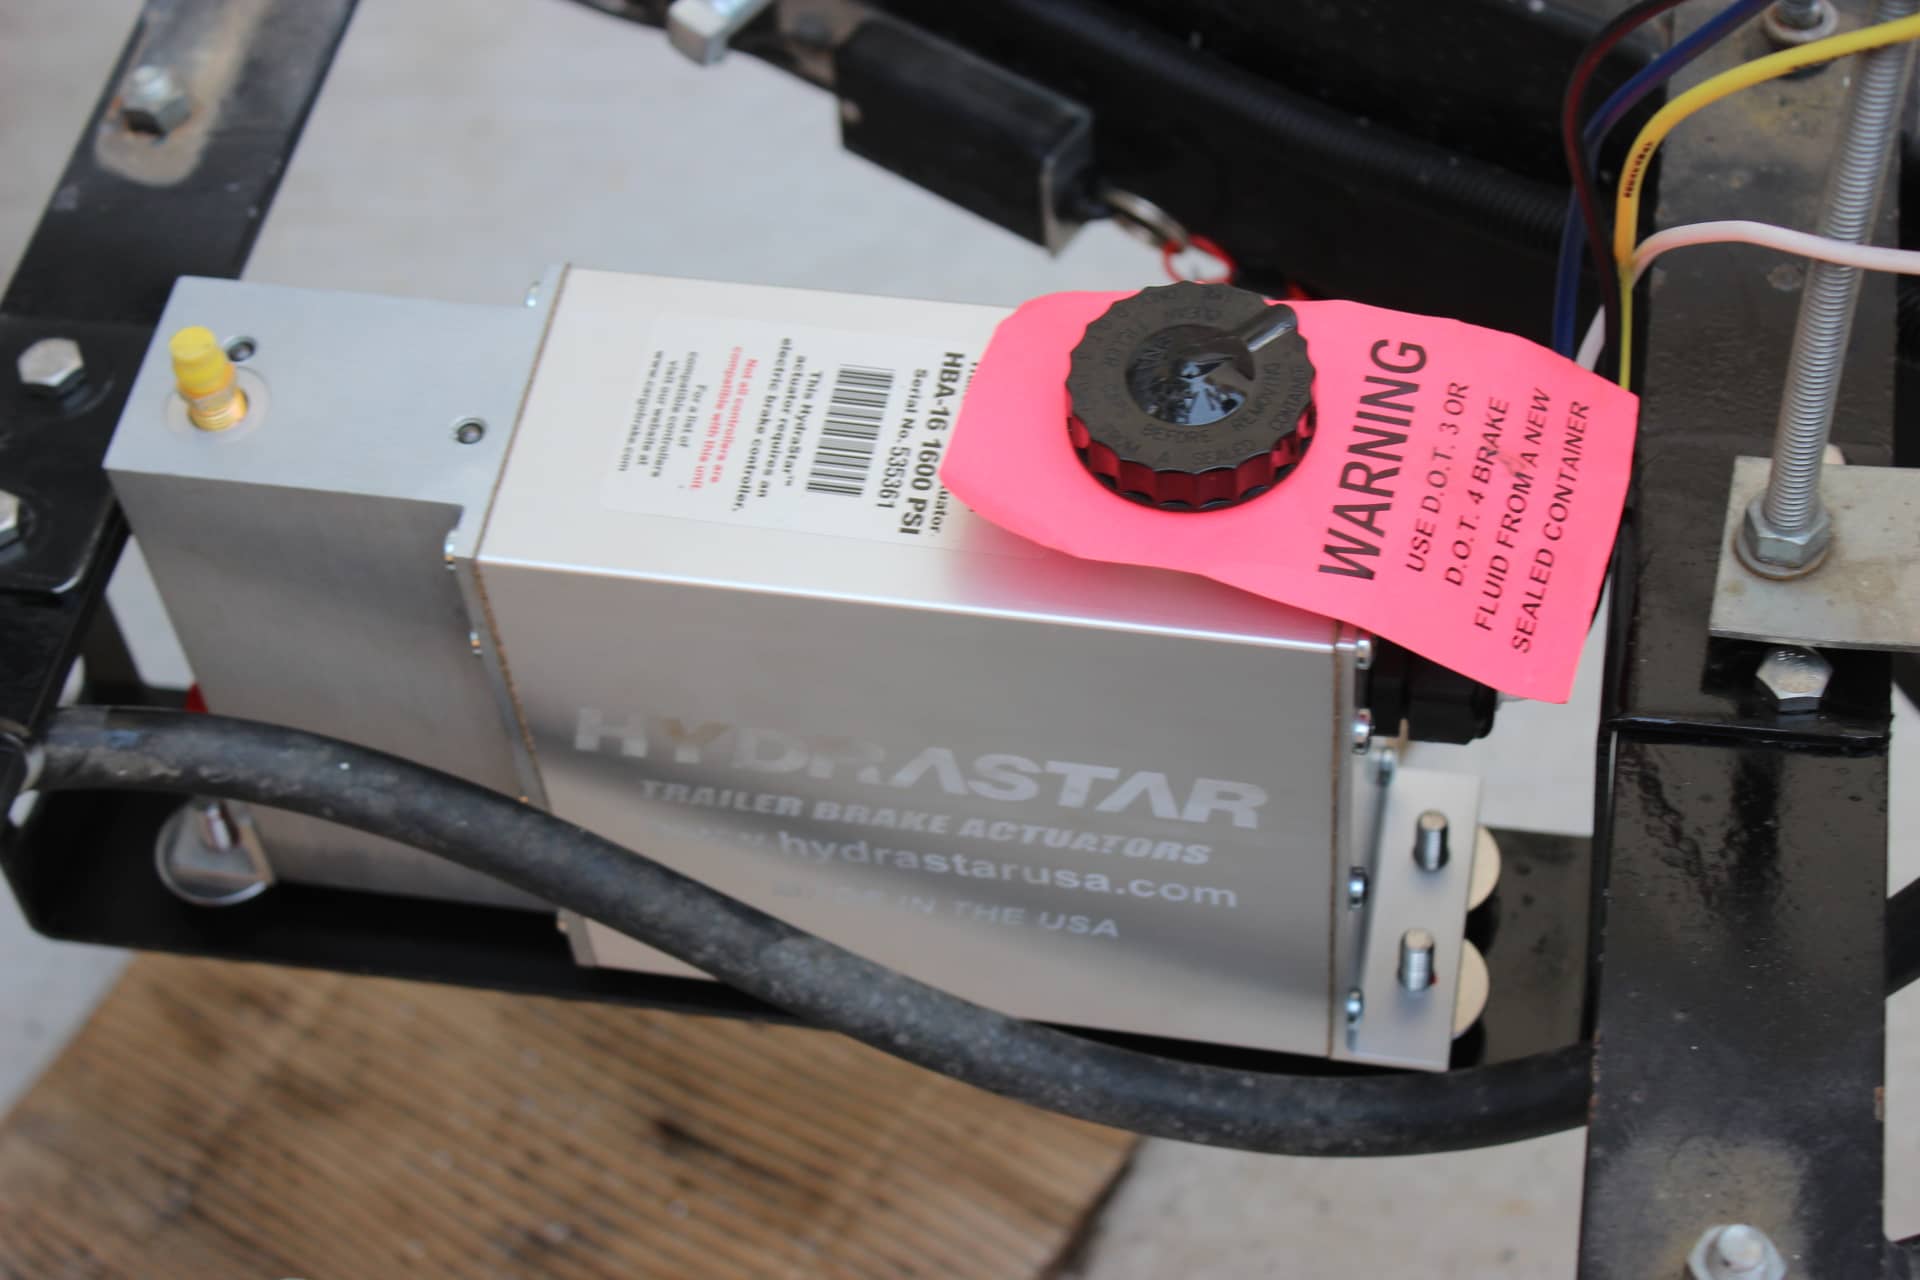
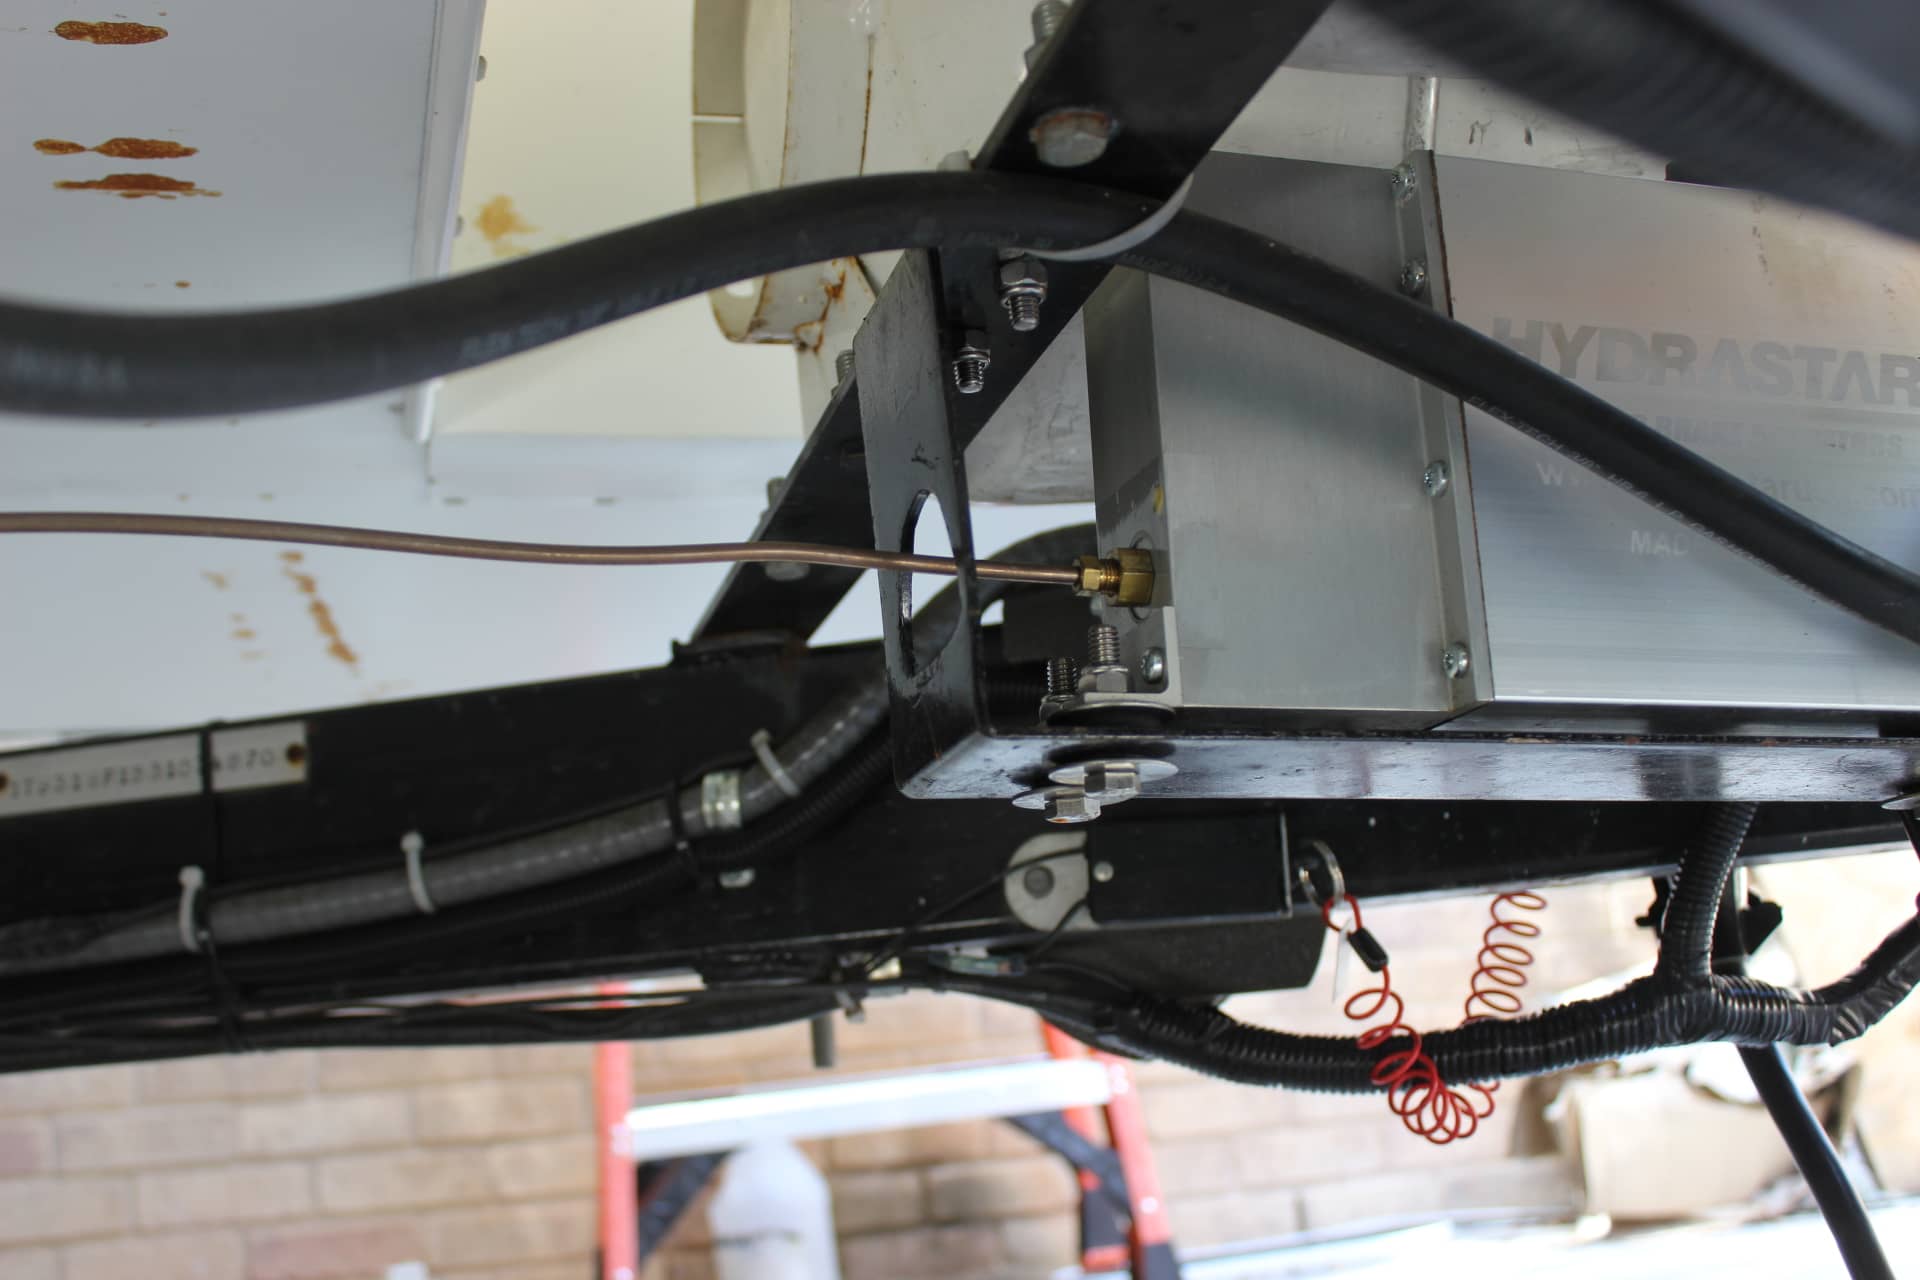
So here’s what I got….. I bought the Hydrastar actuator (images 2165, 2183) and the 15’ hydraulic brake lines kit, the Kodiak Disc Brake Kit # K2HR712D (image 2190), and finally new bearings, races, and grease seals. Everything accept the Kodiak kit I got from etrailer.com . The Kodiak I got from a guy in (Sarasota?)Florida…can’t remember his name or place but if you call up Kodiak they will tell you. He was a nice and funny guy and thru him I got a better price…about $60 savings! The reason I went thru him is because etrailer didn’t have the Kodiad in stock and they told me it would be a month before they would get an order in. I ask them to just have them drop ship my kit from Kodiak but they said they haven’t reach an agreement about the drop shipping thing yet….so I called Kodiak direct and they can’t sell to the general public so they gave me this guy in Florida to call. I’m glad they did…paid for my brake lines it did!
I called around Austin to see who could put on the brakes, hookup the actuator’s electric wiring, and run the hydraulic lines. The answer was “we’re at least 3 weeks behind and I don’t know when I could get to it”…or…”it’ll be about$500 to do the job”….$500! YIKES!! I was disappointed to say the least. But then the light went on… we had been planning to take a short shakedown trip to check out all my new modifications I had done to the trailer, and we wanted to check out Lake Possum Kingdom (NW of FT Worth). Now the folks who did the installation for the Fagans was a trailer repair shop called Zannettis, and they are located in Weathford Texas (NW of Ft Worth). In the article Zannettis did their conversion in a little over 3 hours! And that’s a fifth wheel with tandem axles too (so four wheels=’s four brakes). I gave Zannettis a call, set up and appointment with them for 2:00pm (it would take us 3 hours at least to get there from Austin) on August 24. They said they could do mine a lot quicker since I had only 1 axle. The deal was made. Zannettis has done hundreds of these brake conversions and I knew they would do a top rate job and in record time too as they have done sooo many of these that they are a well-oiled machine. You can see and contact Zannettis at…http://zanettitrailerrepair.com/
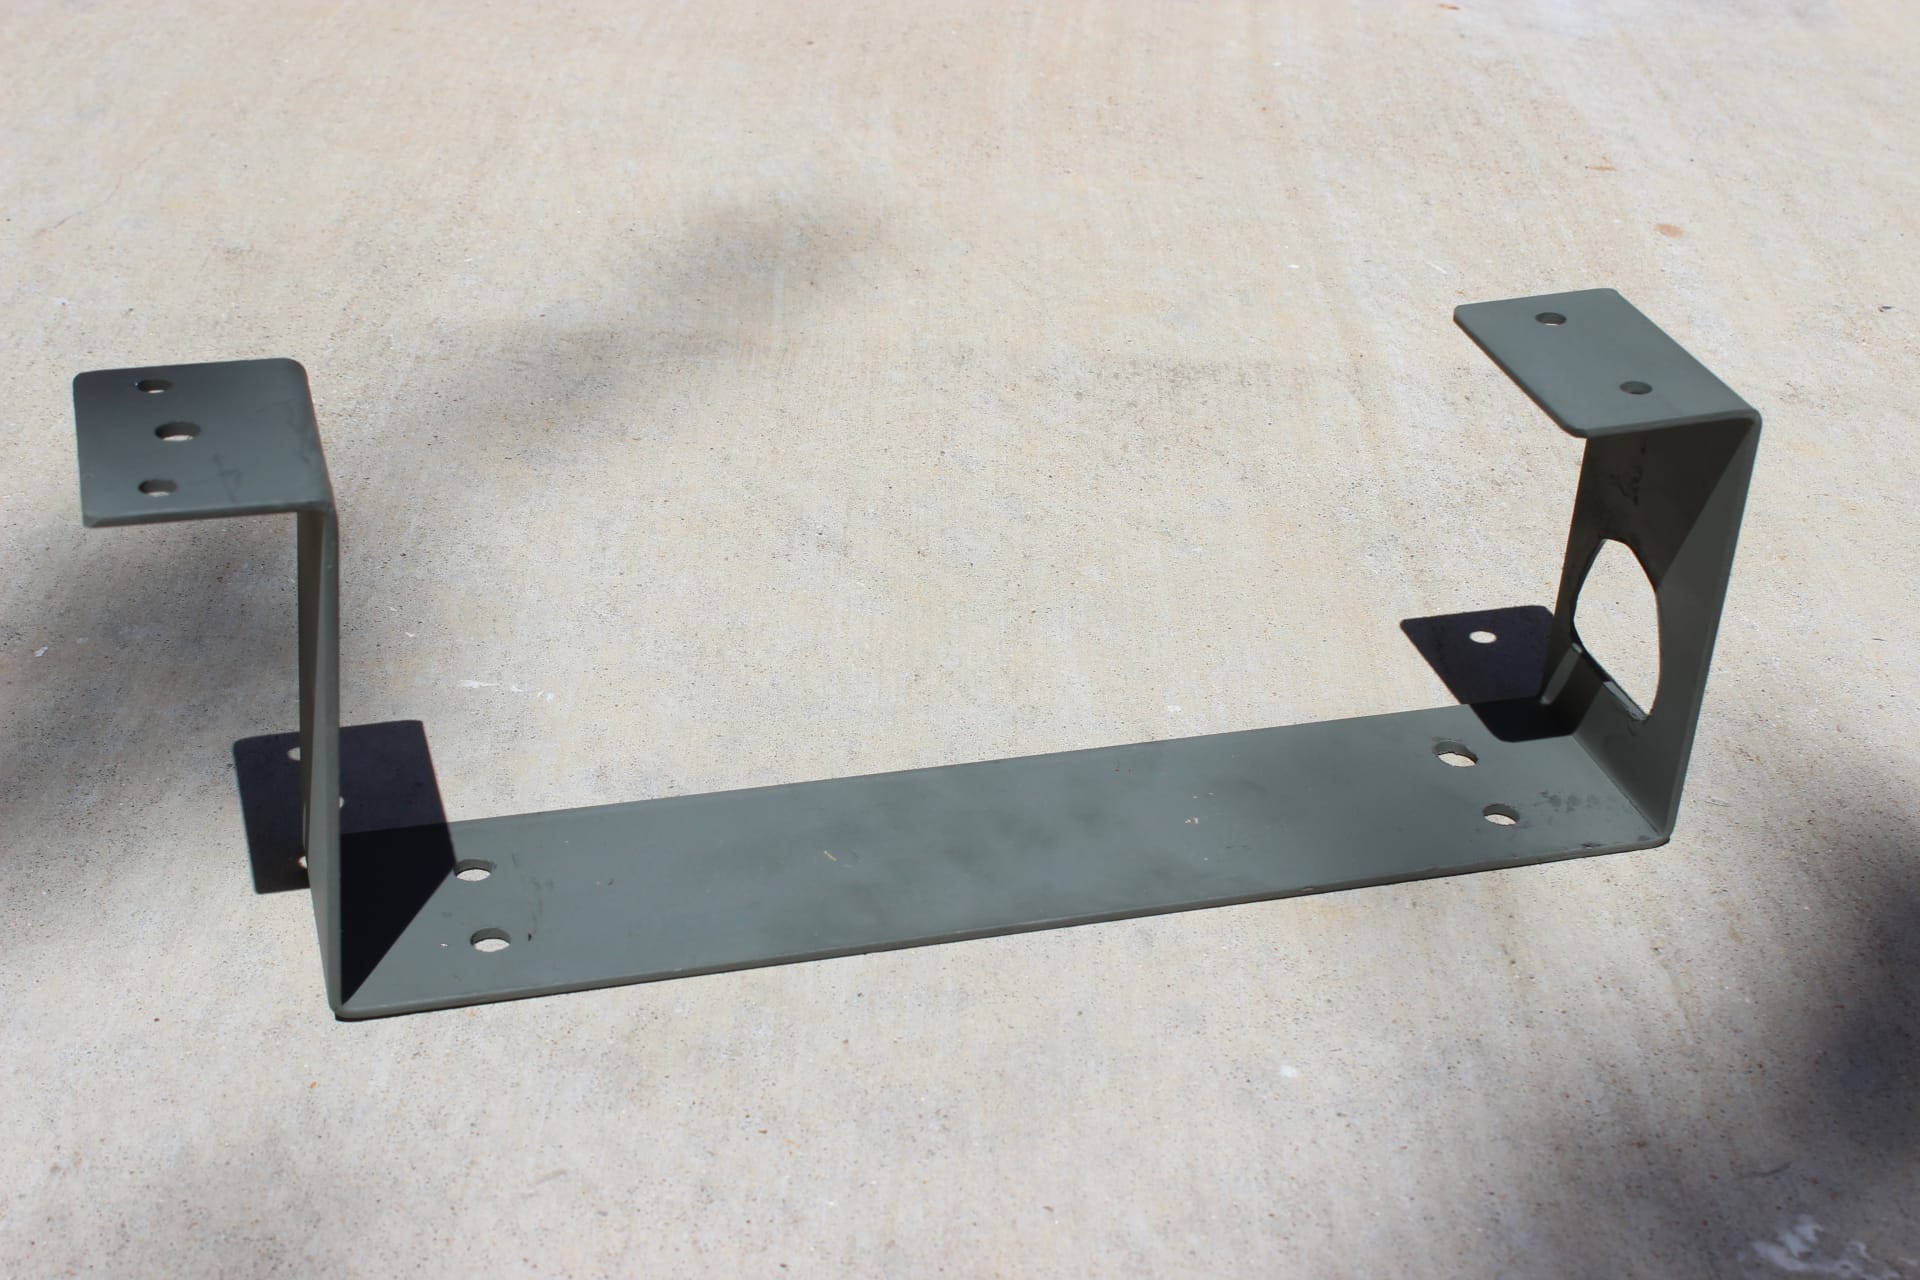
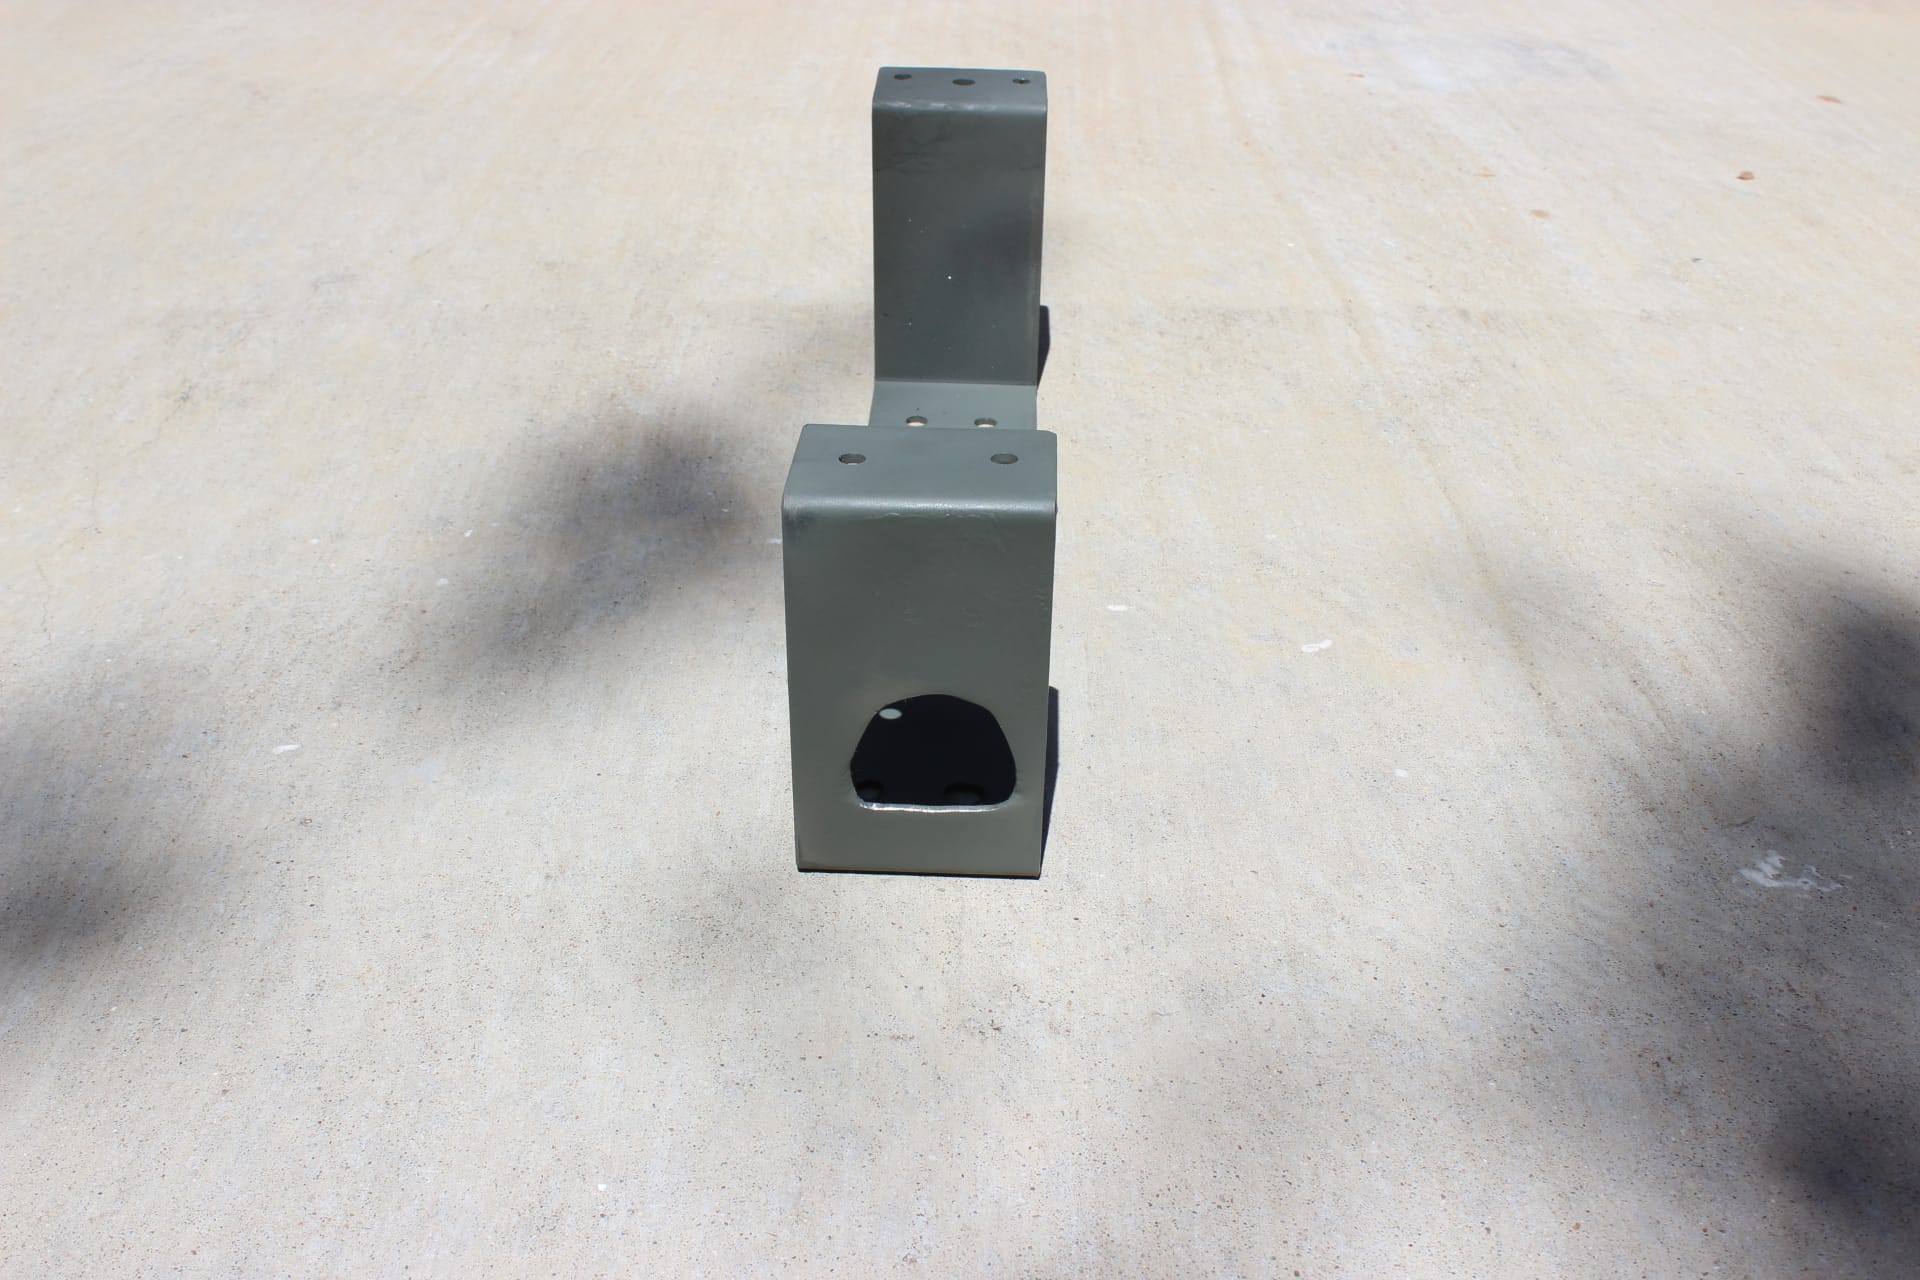
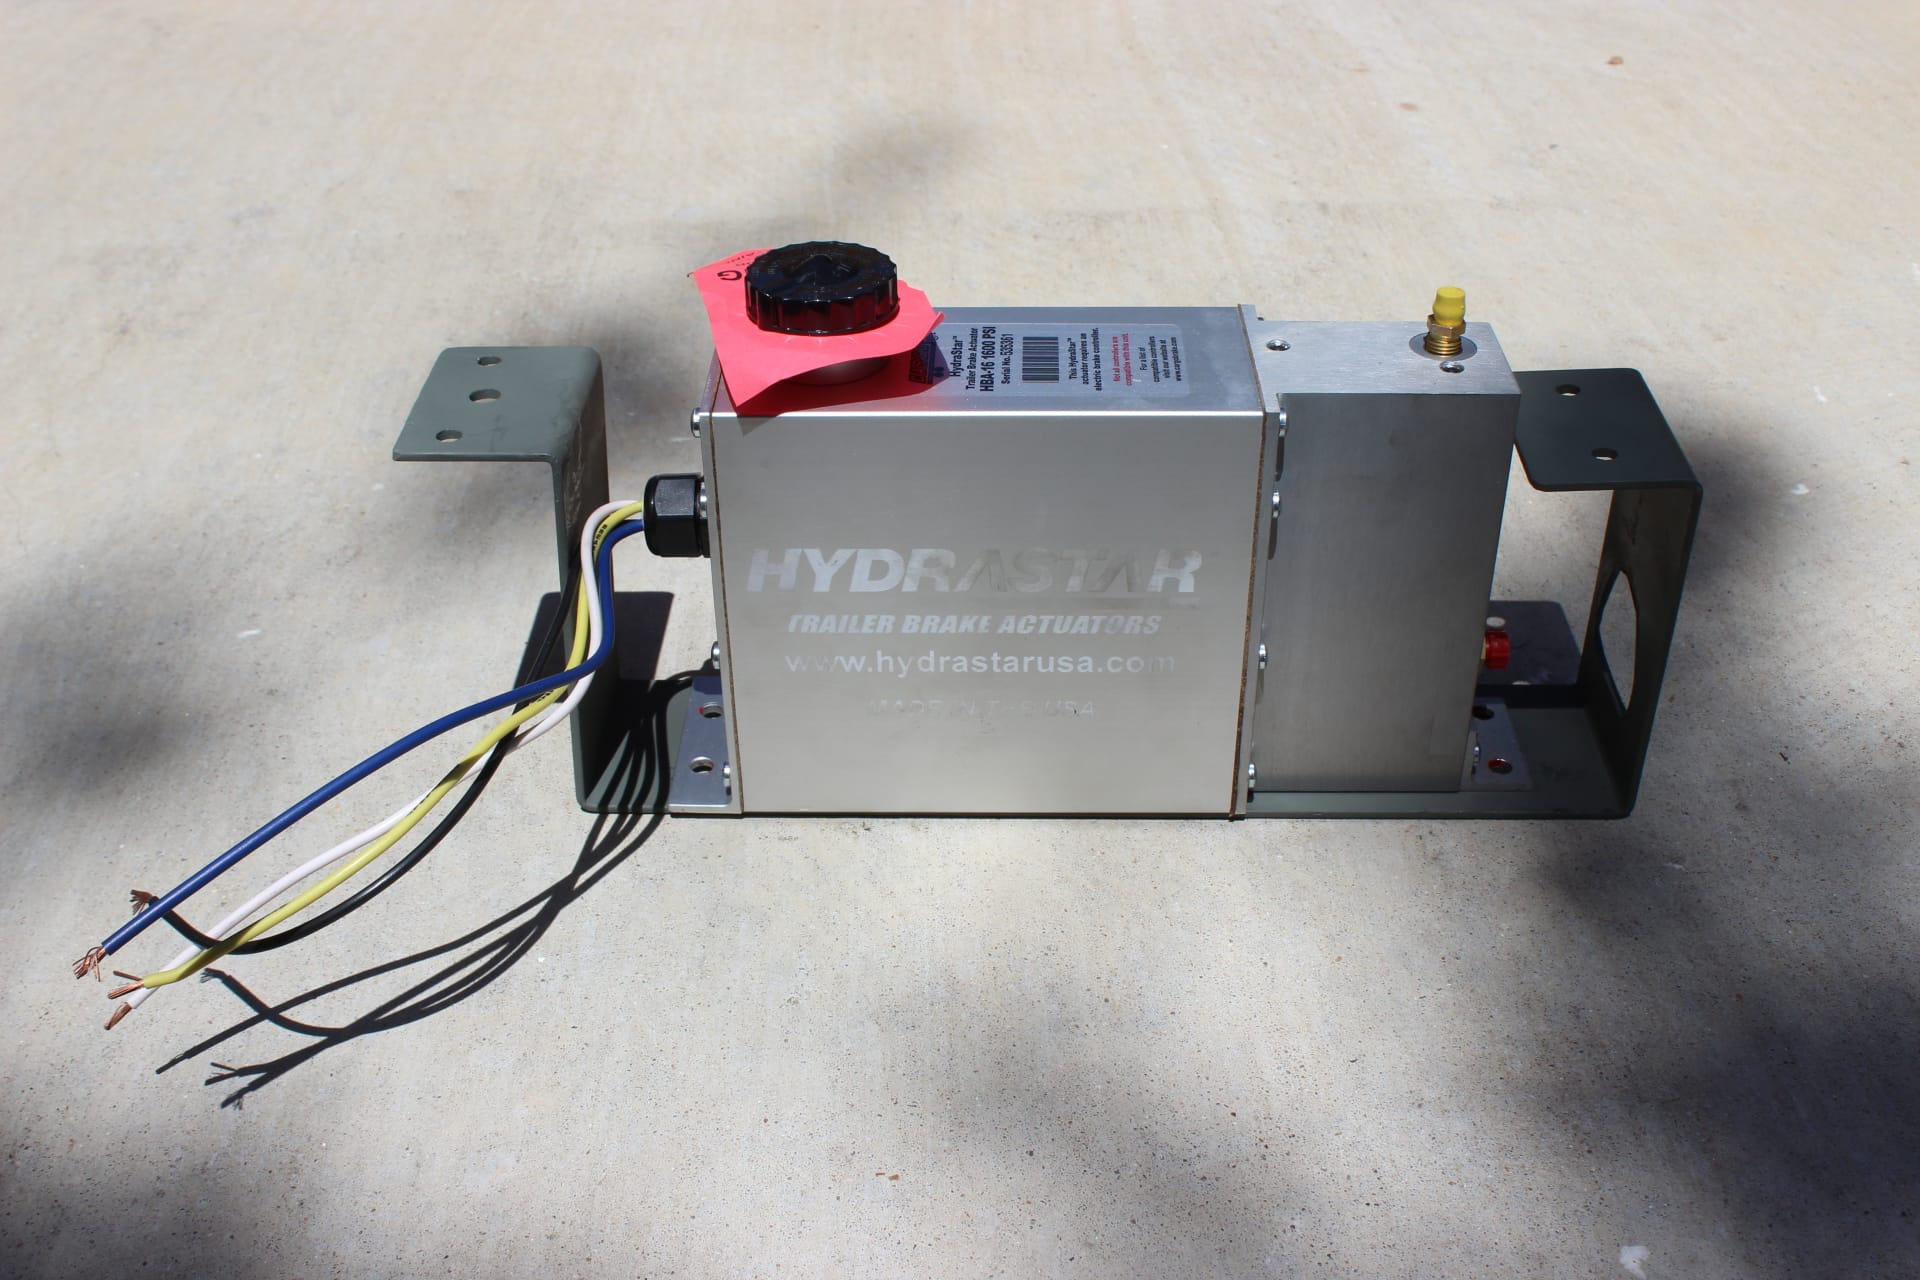
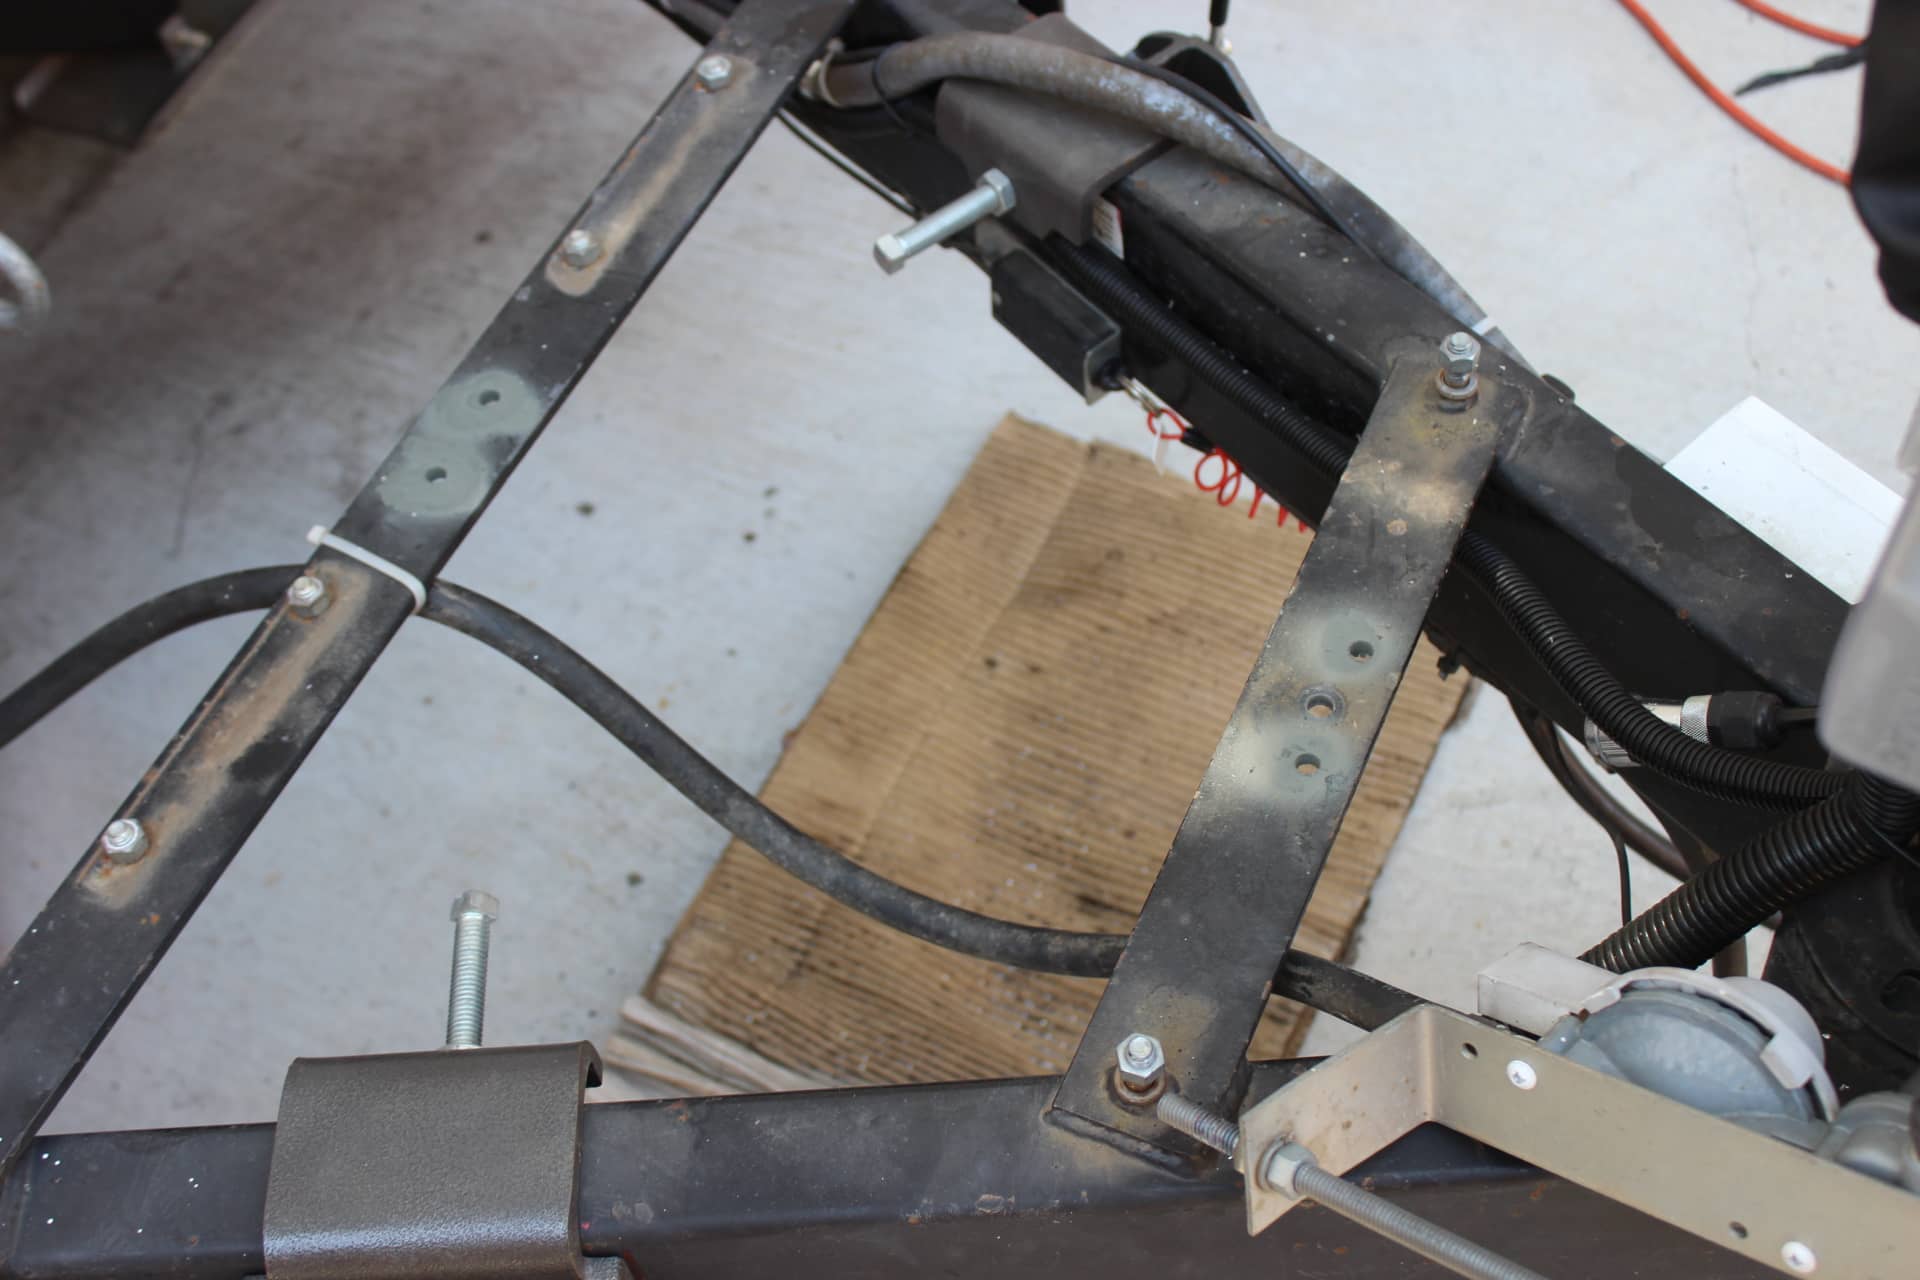
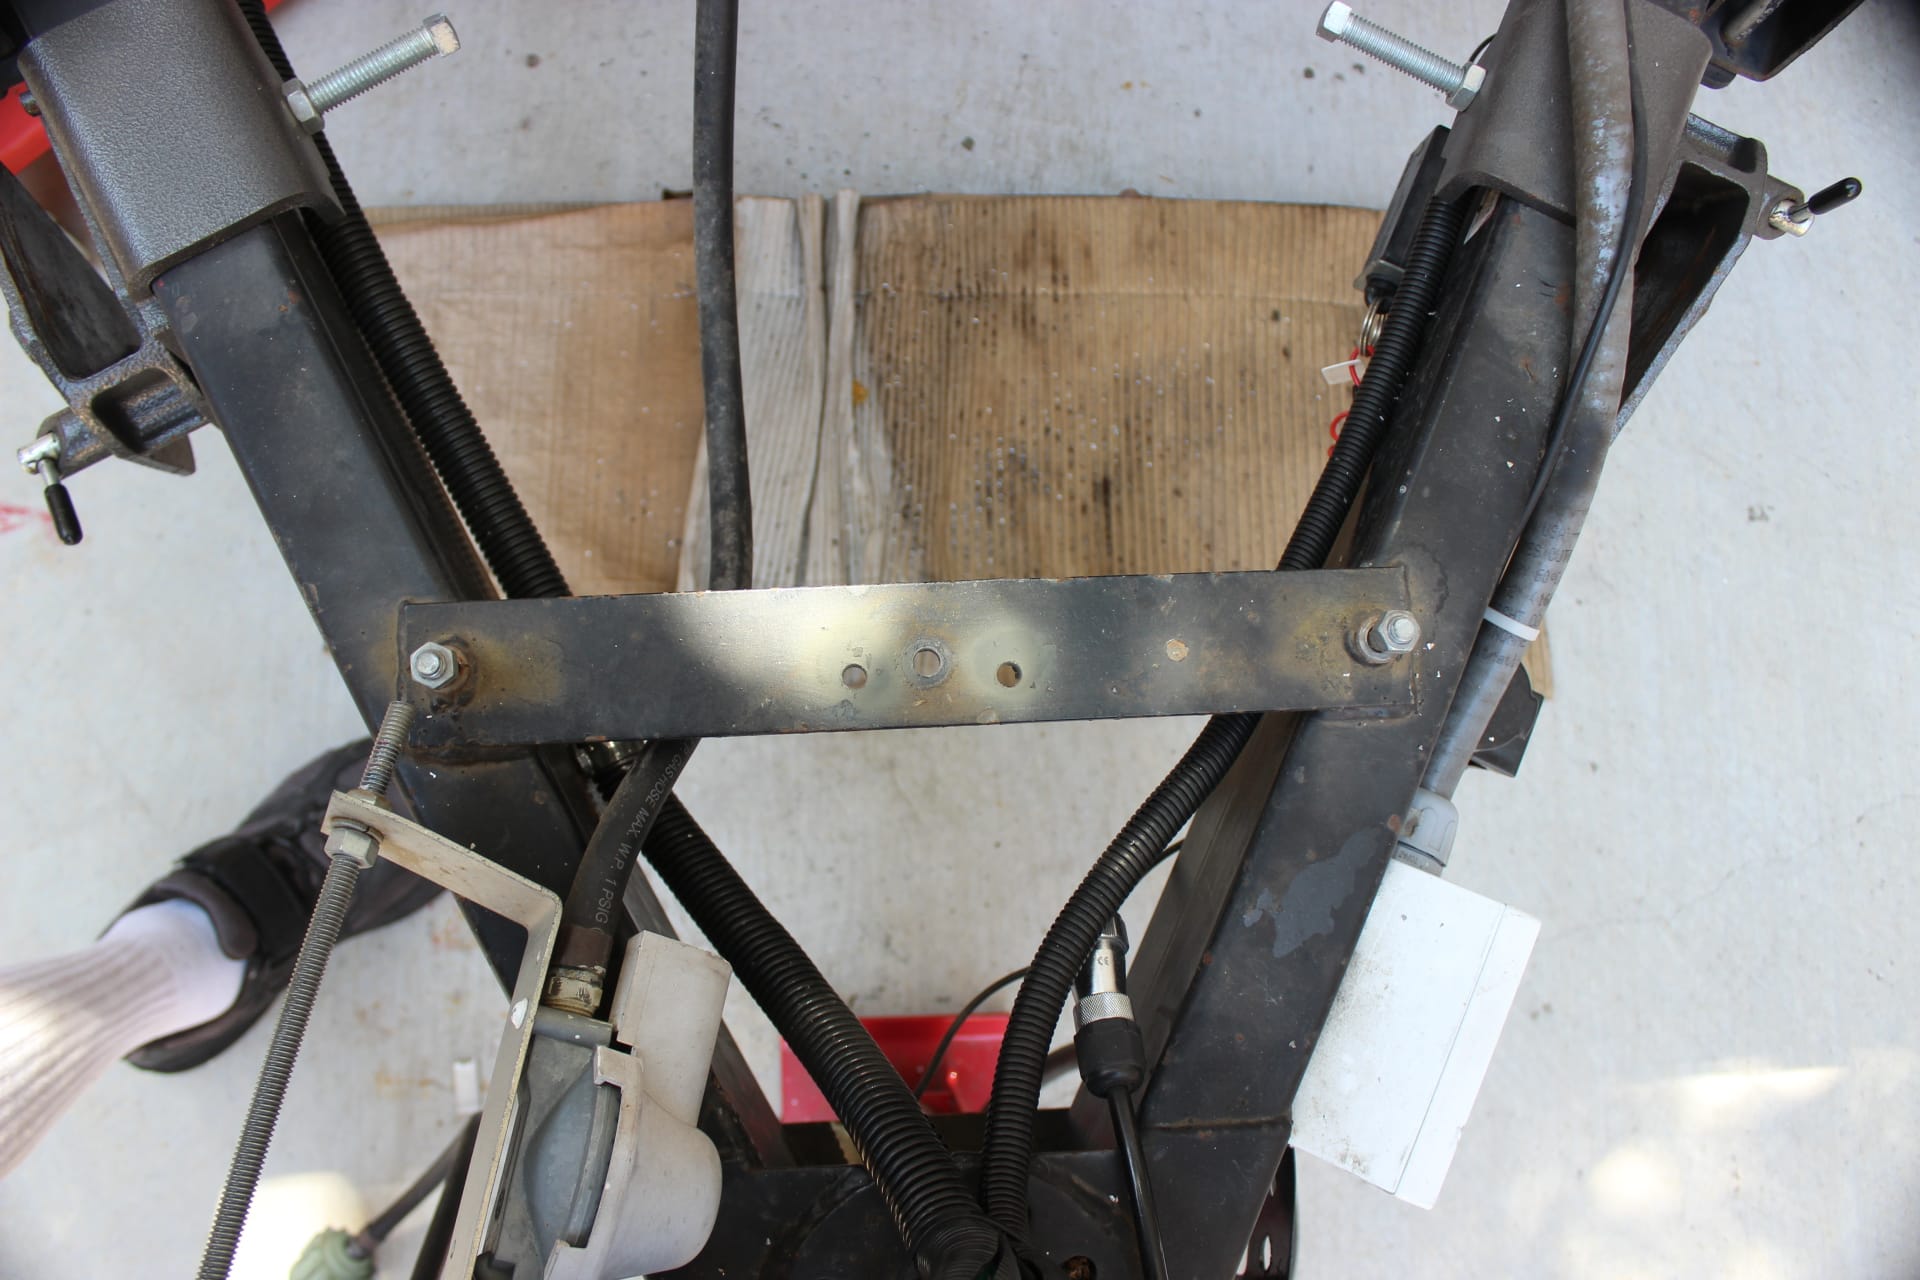
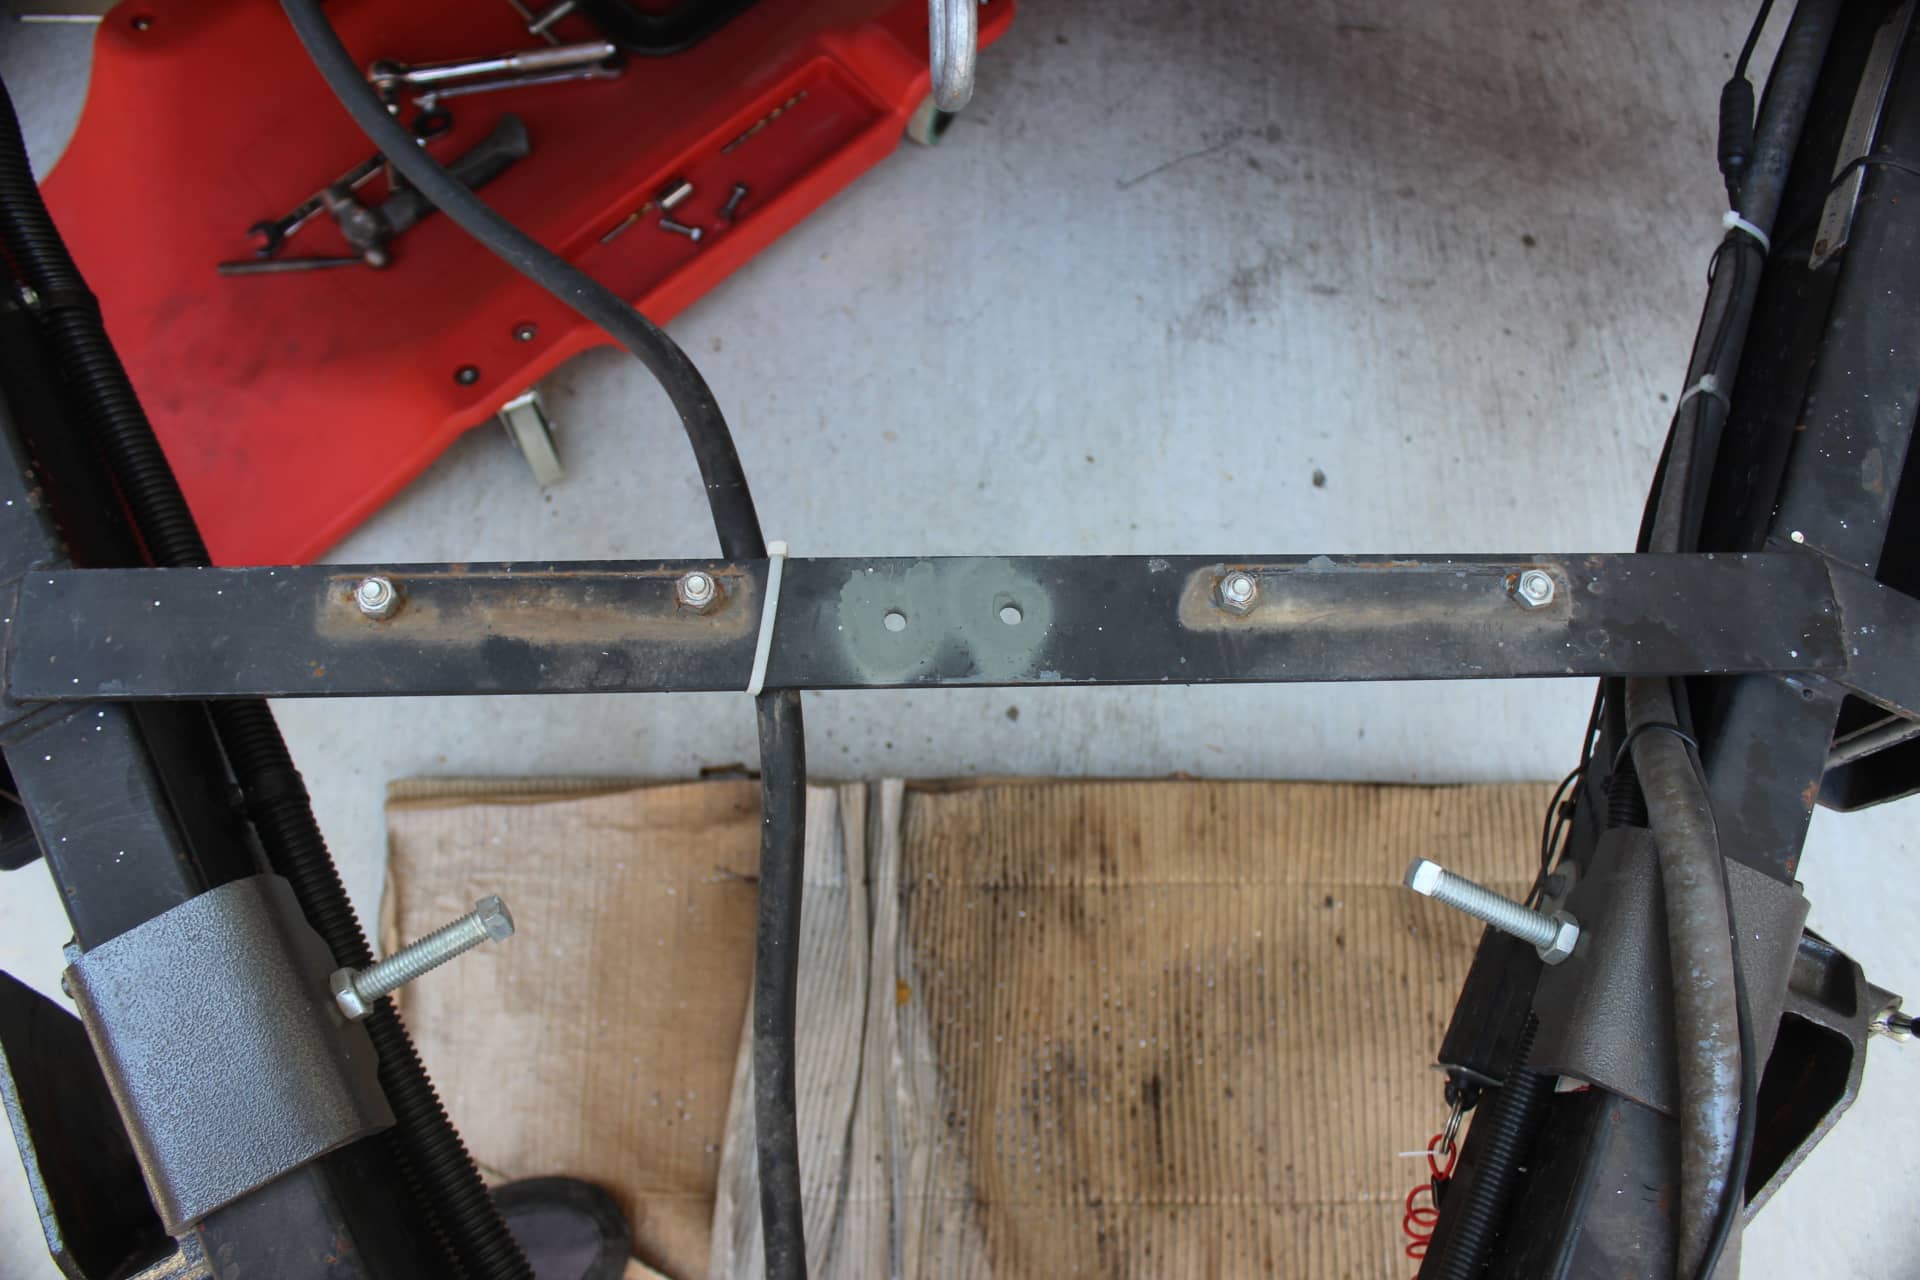
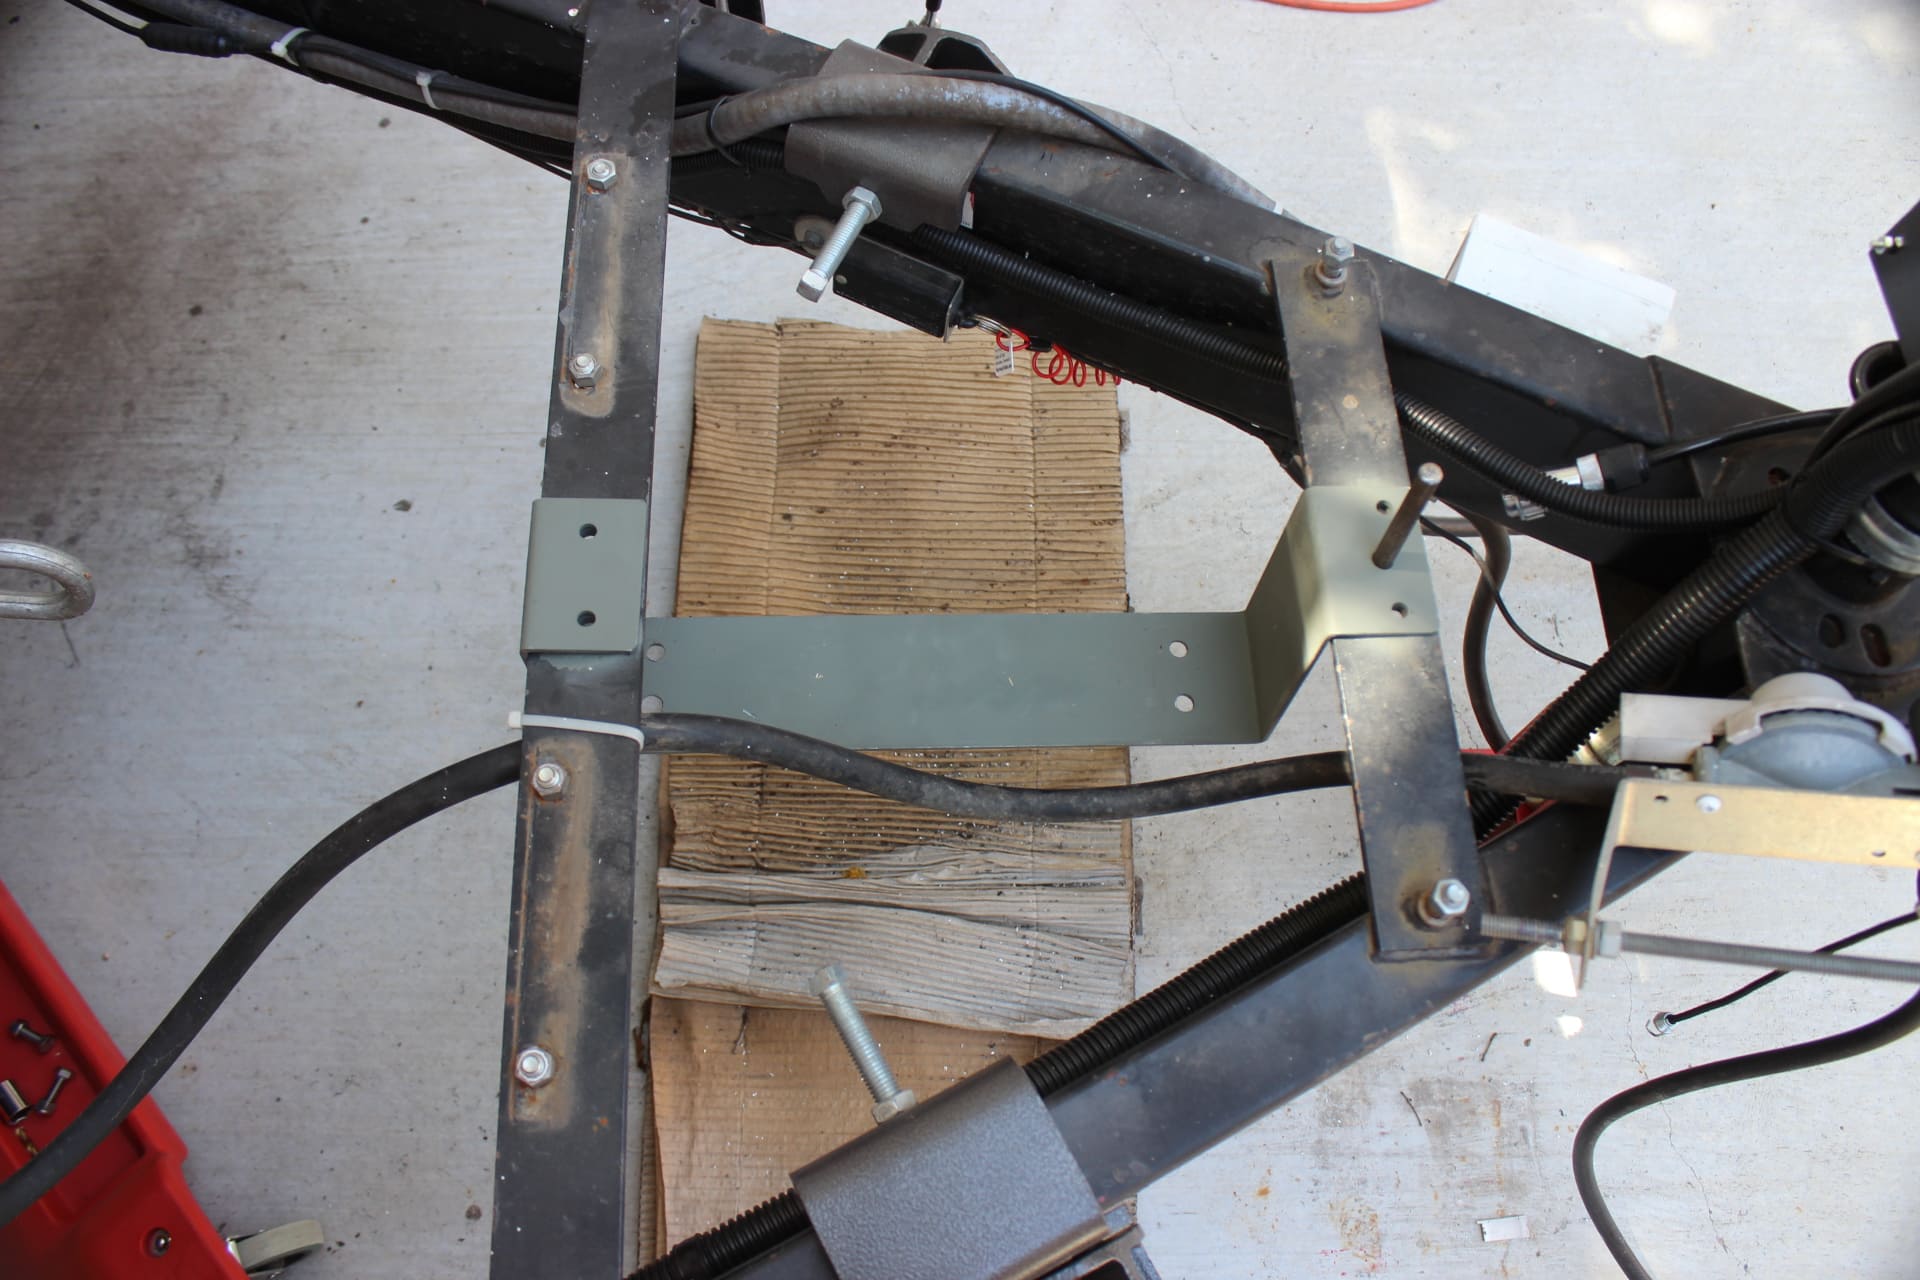
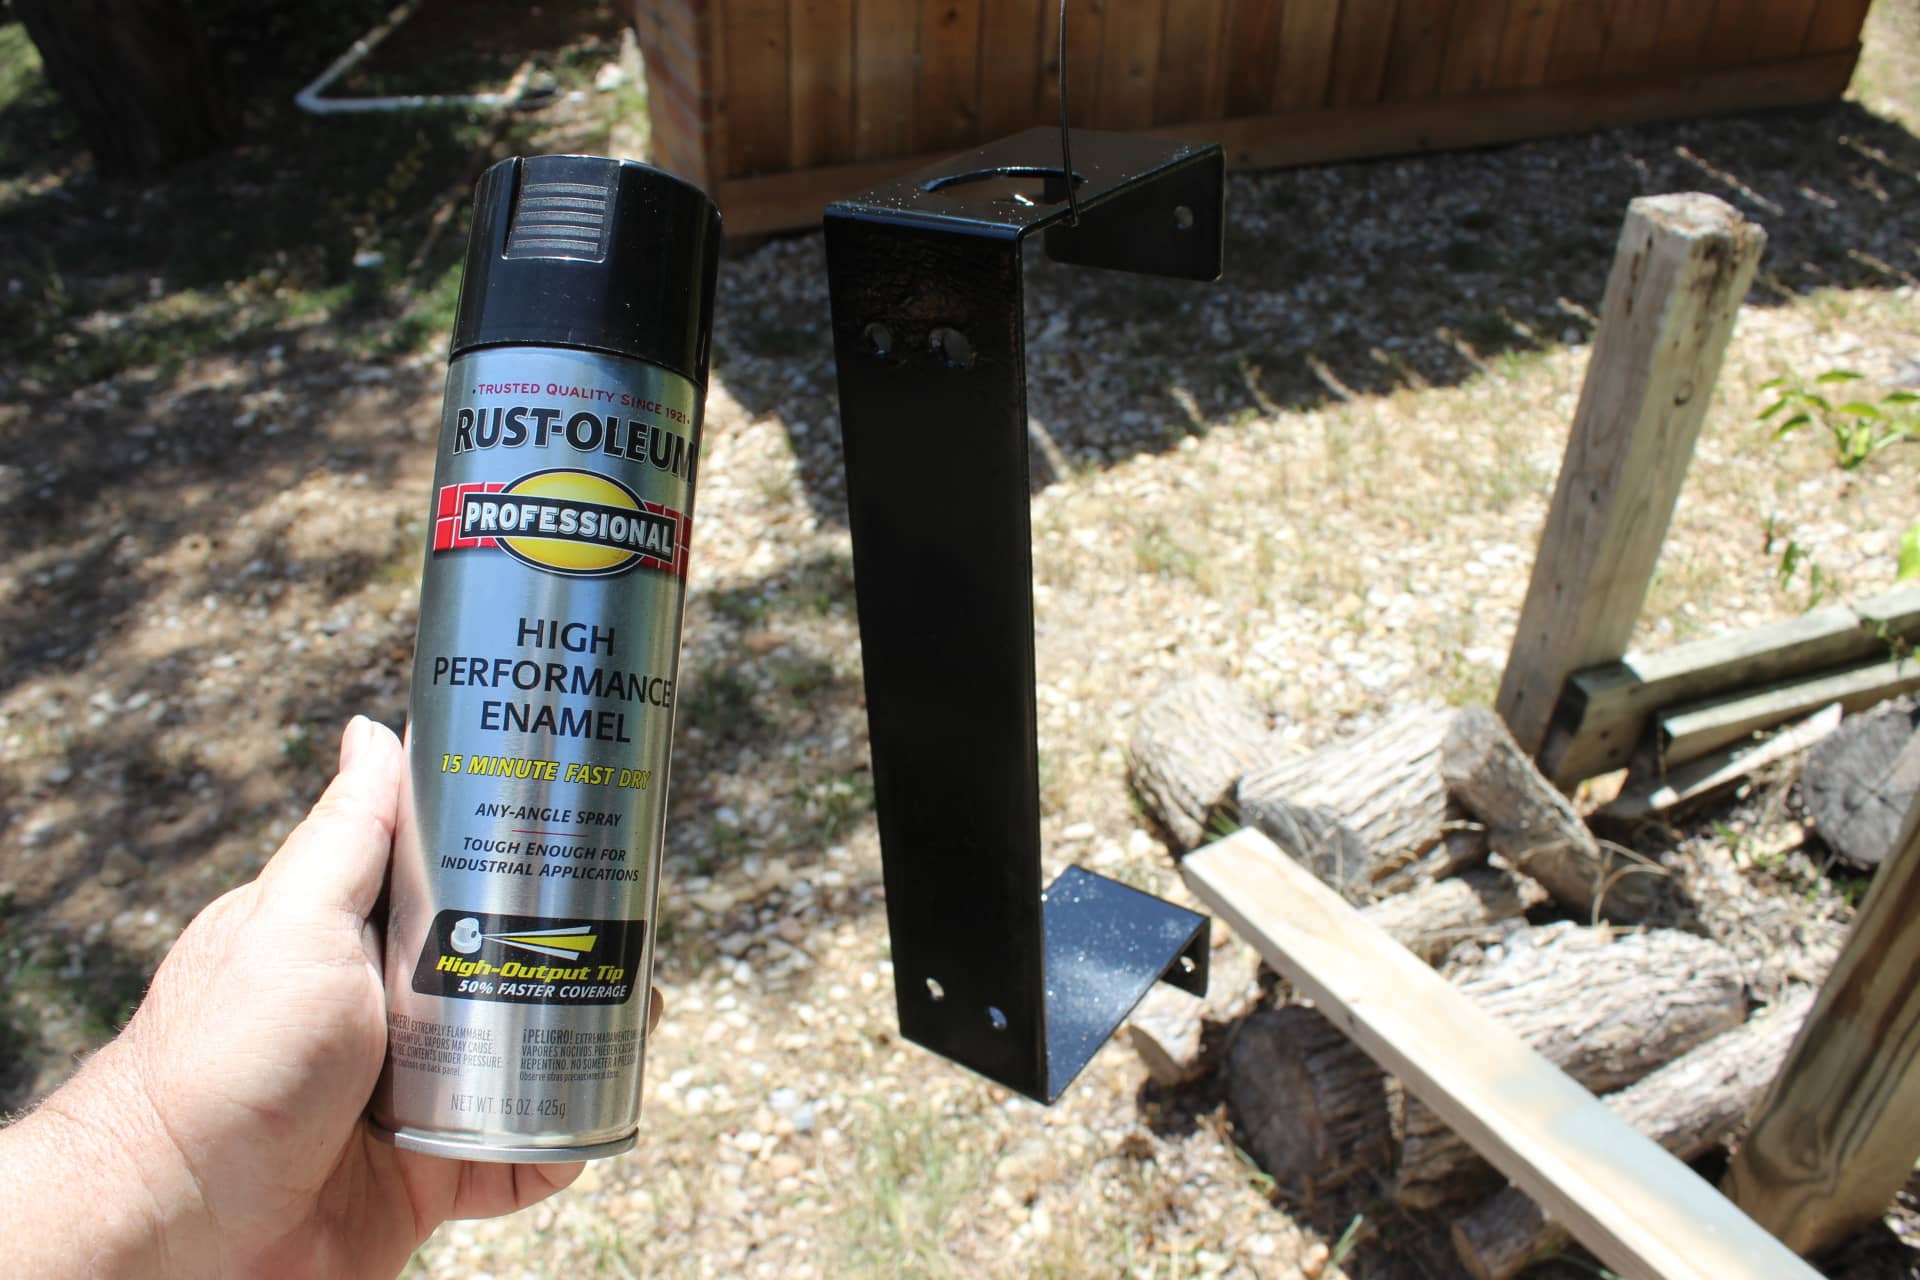
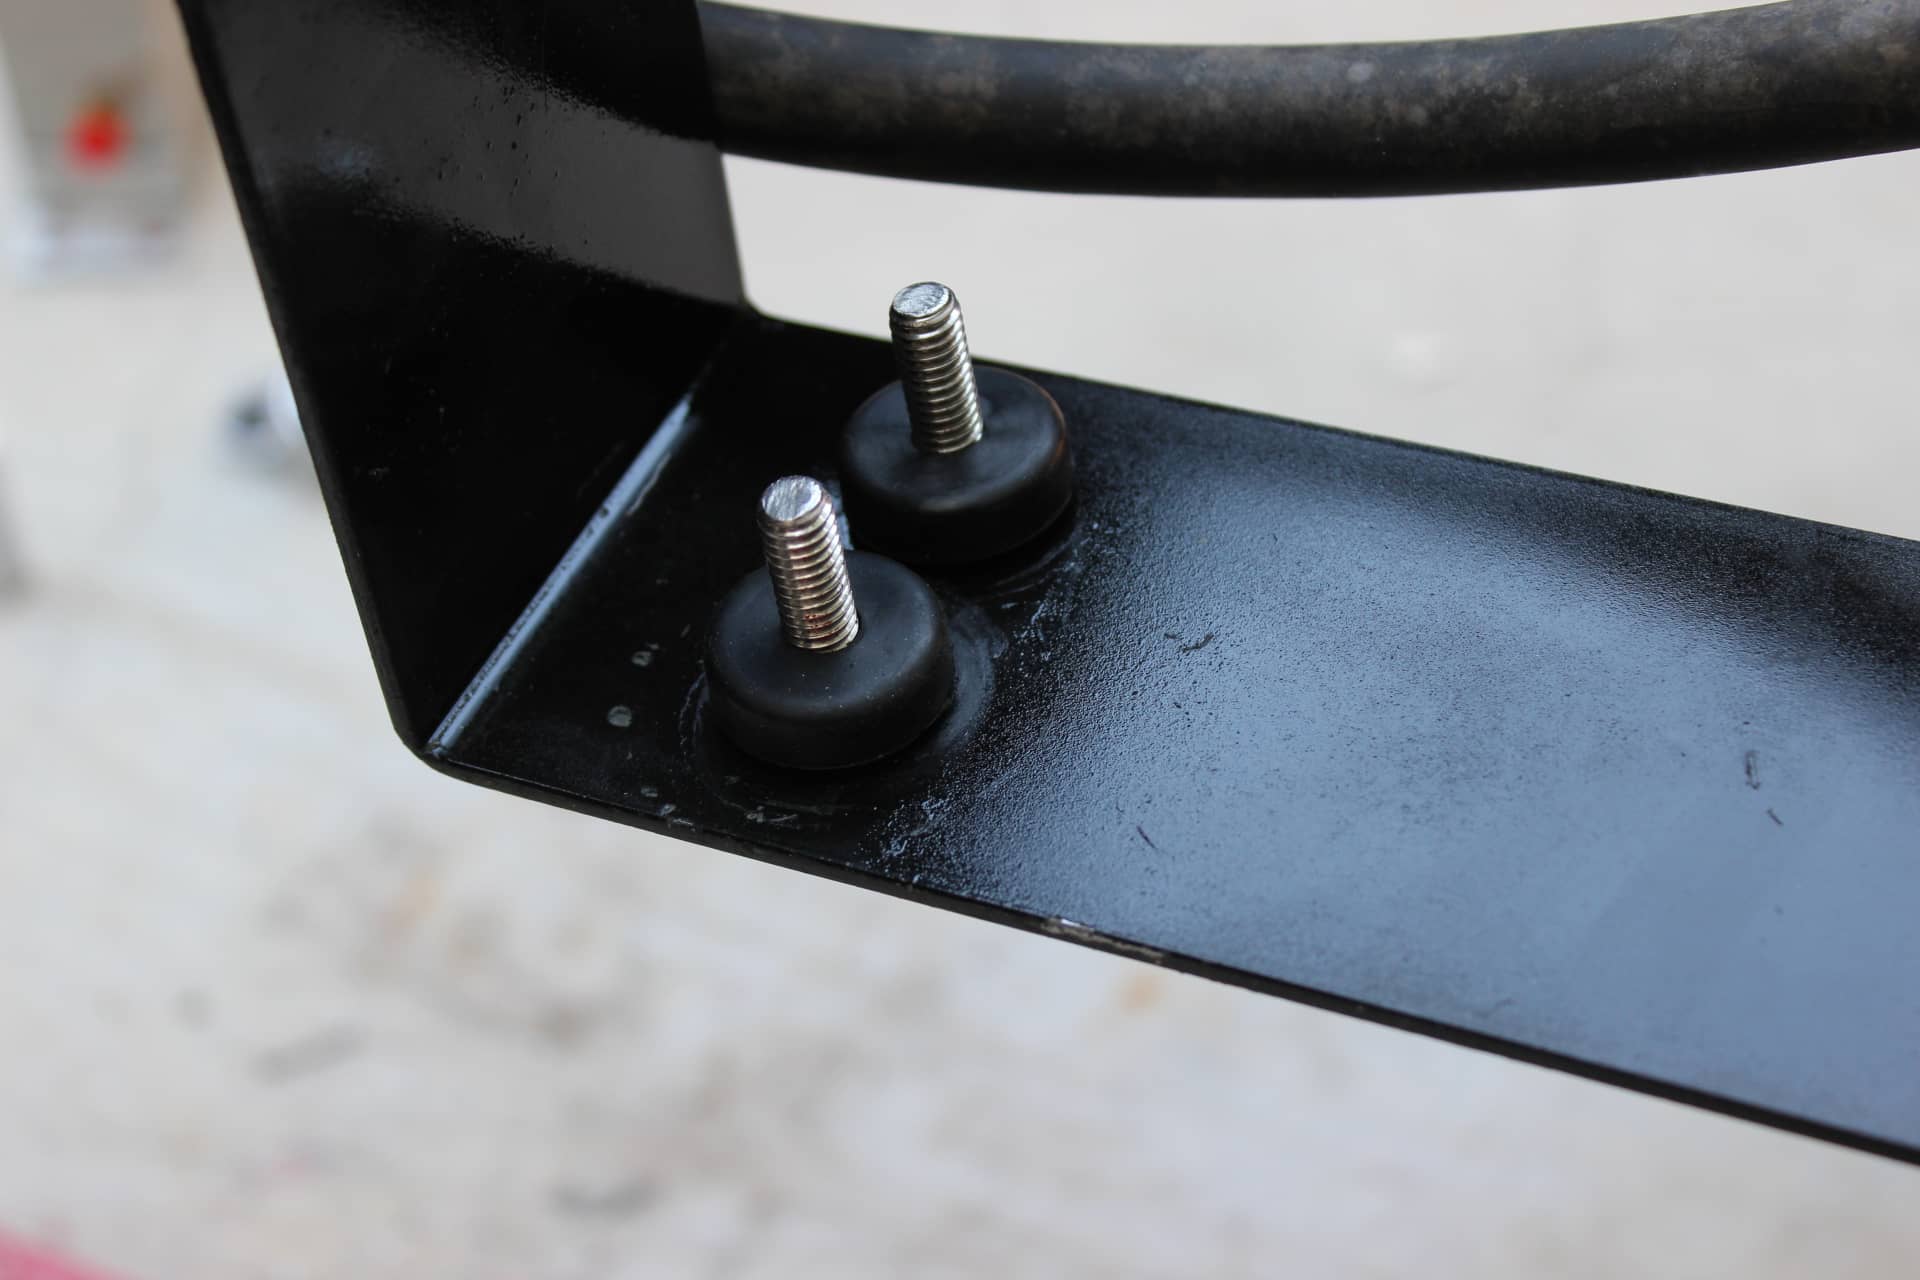
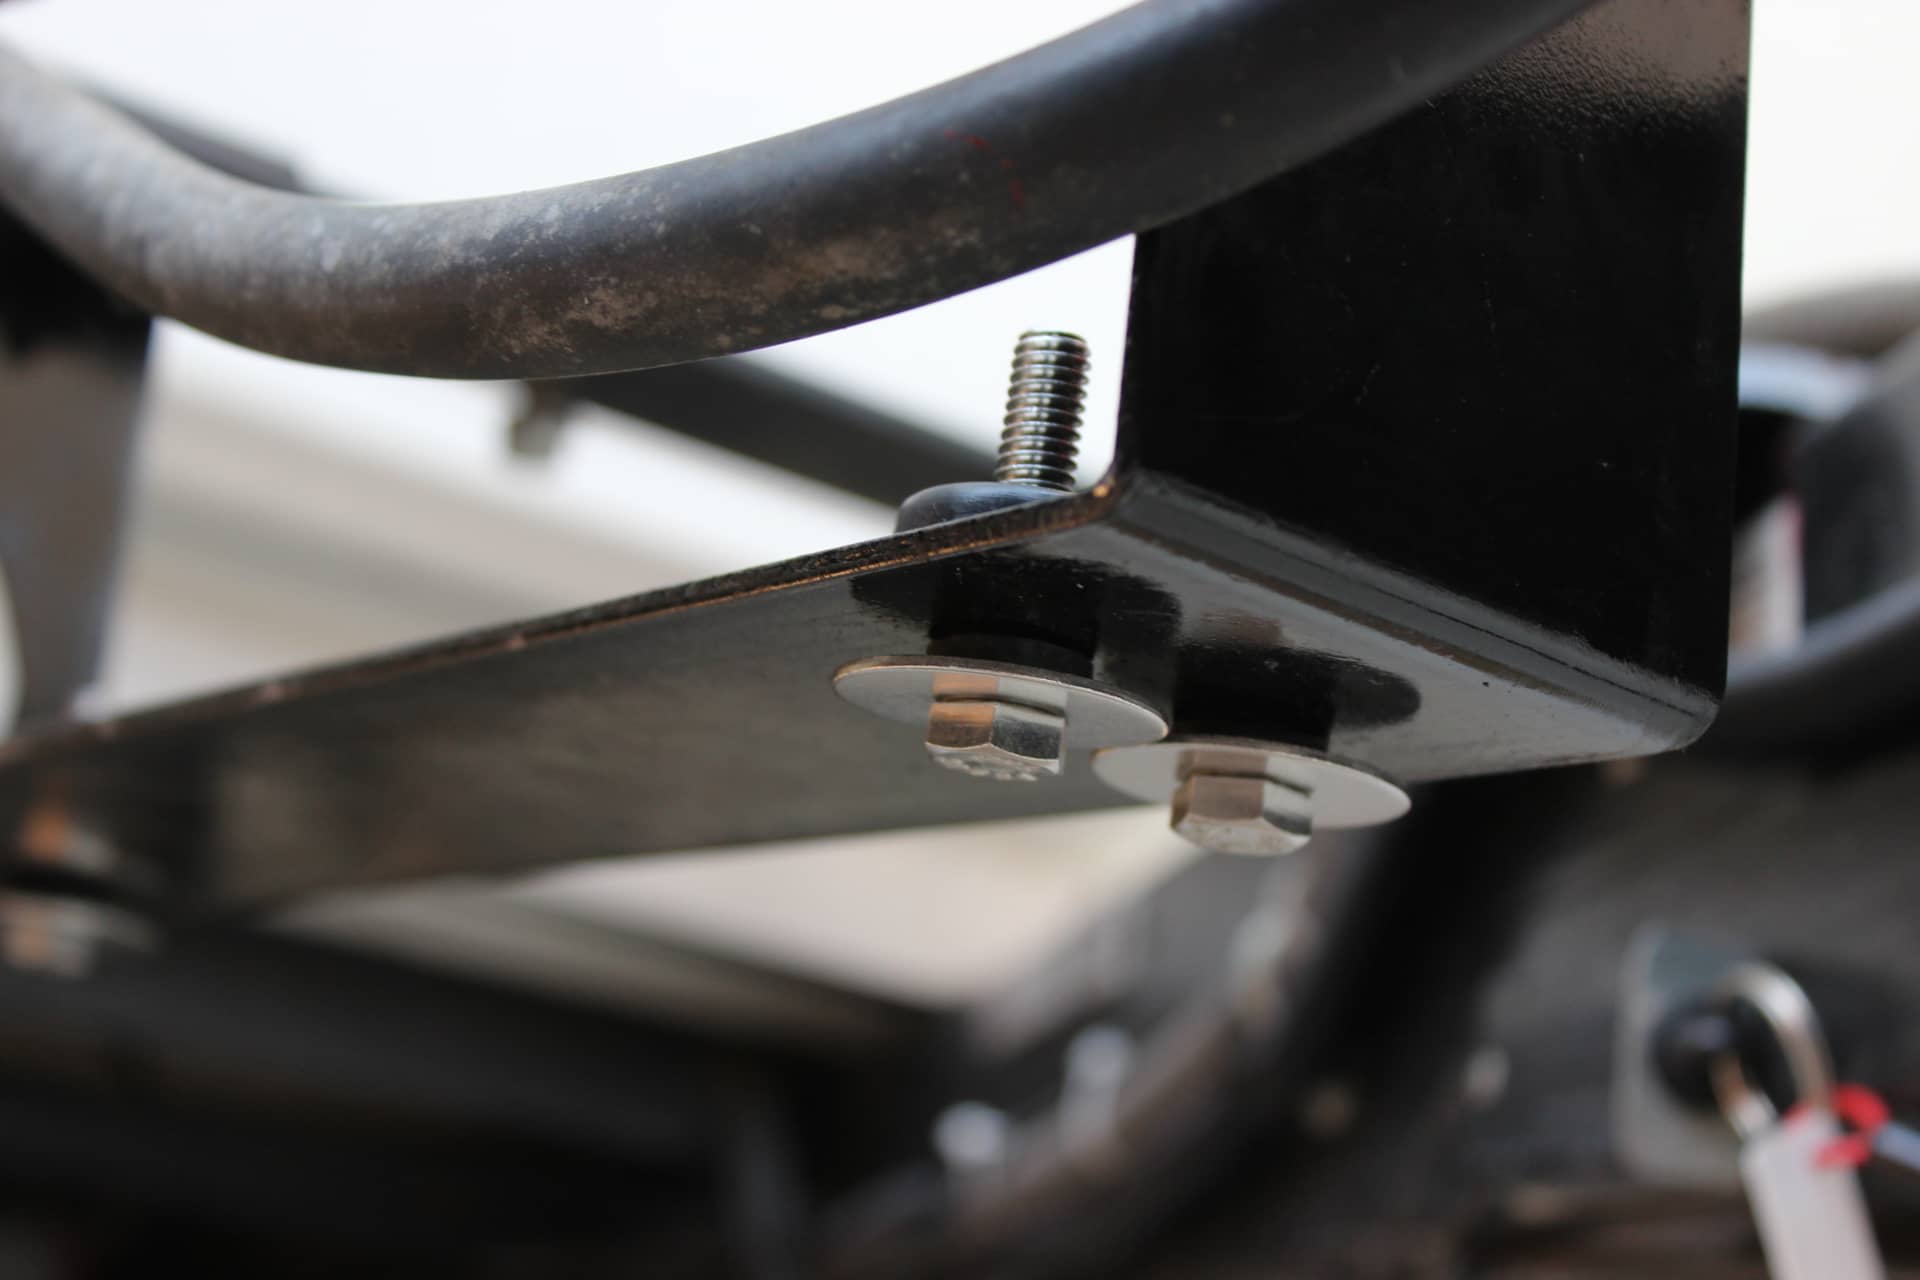
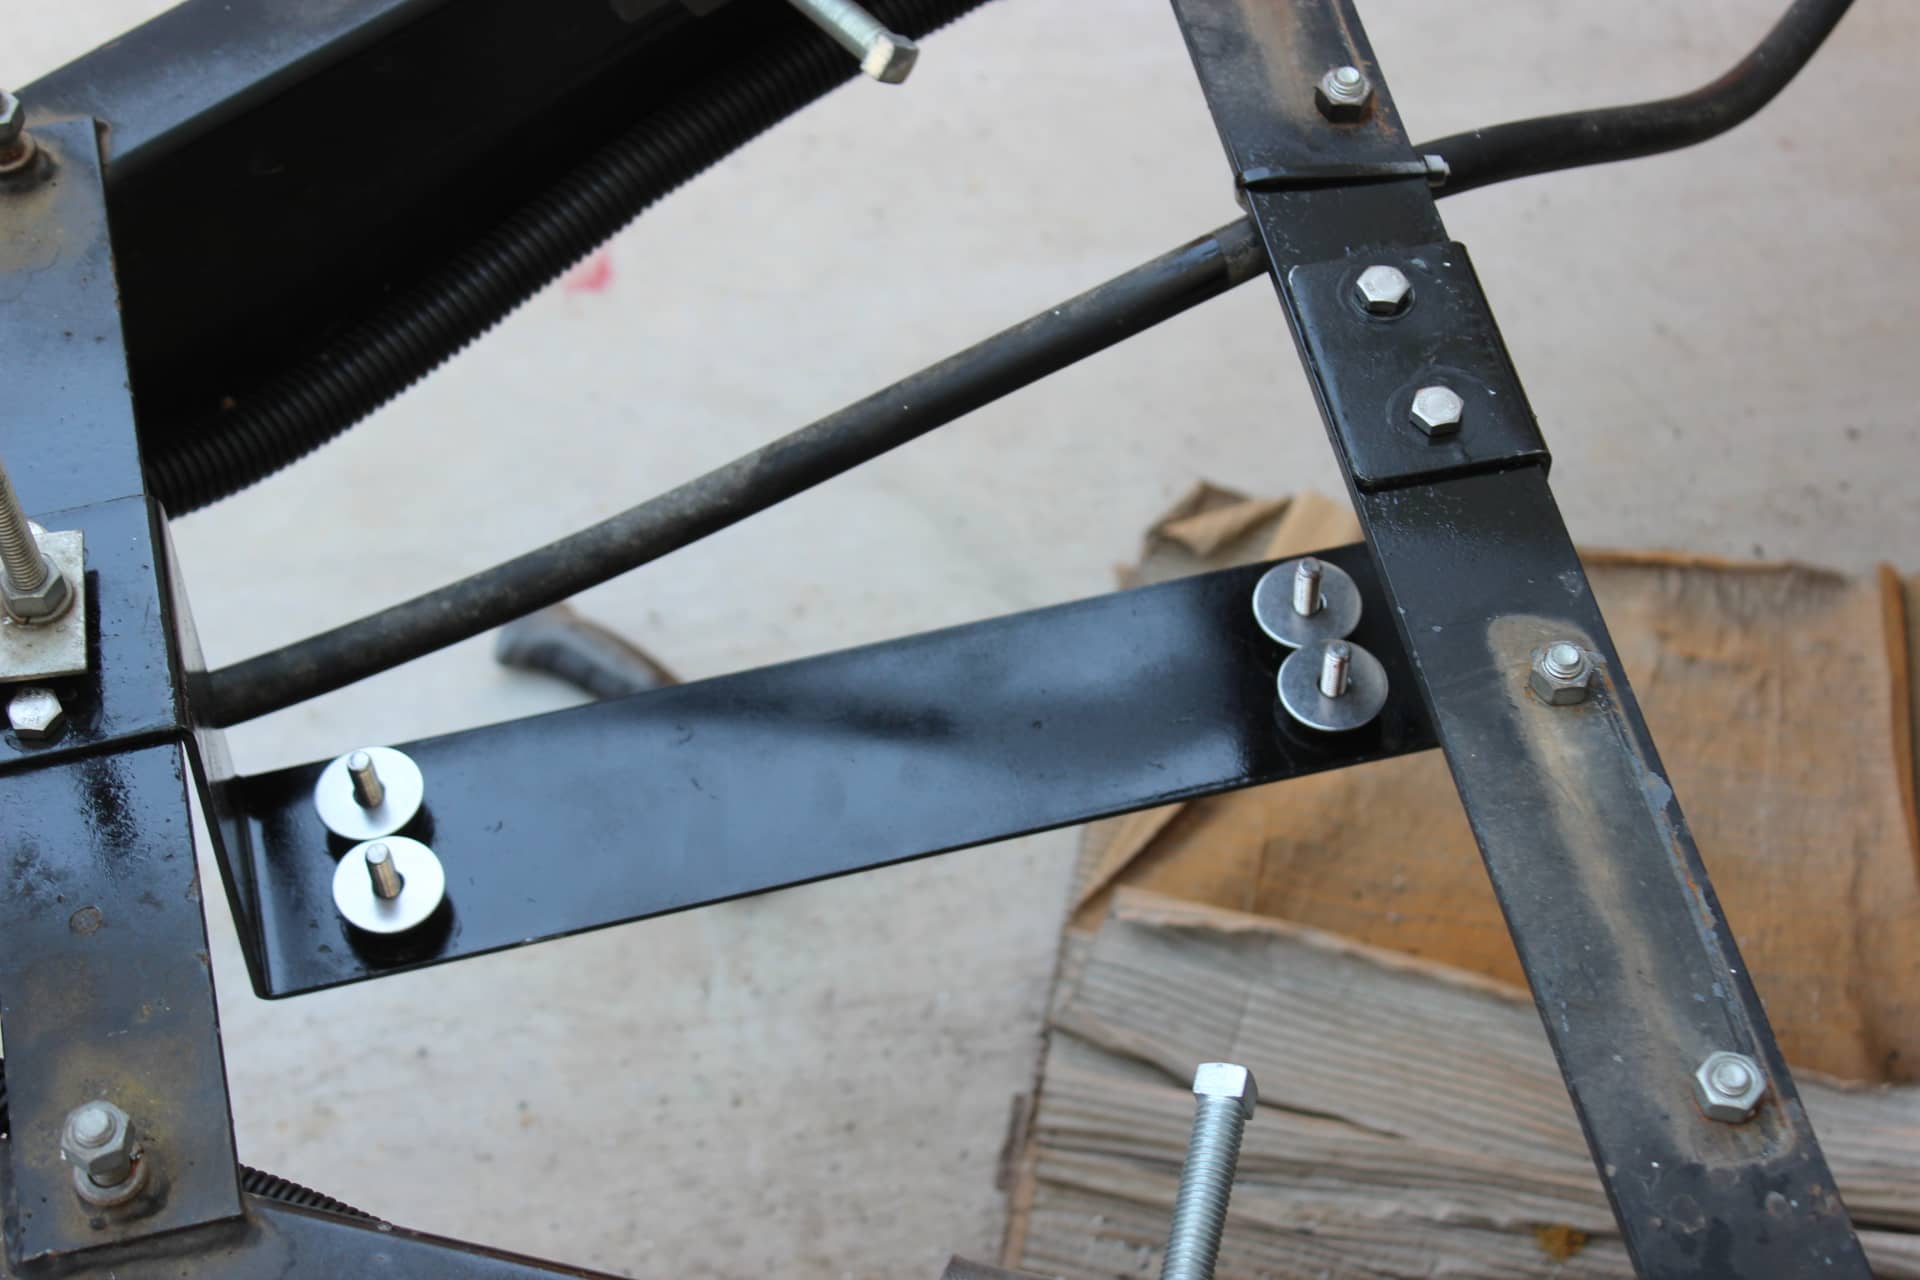
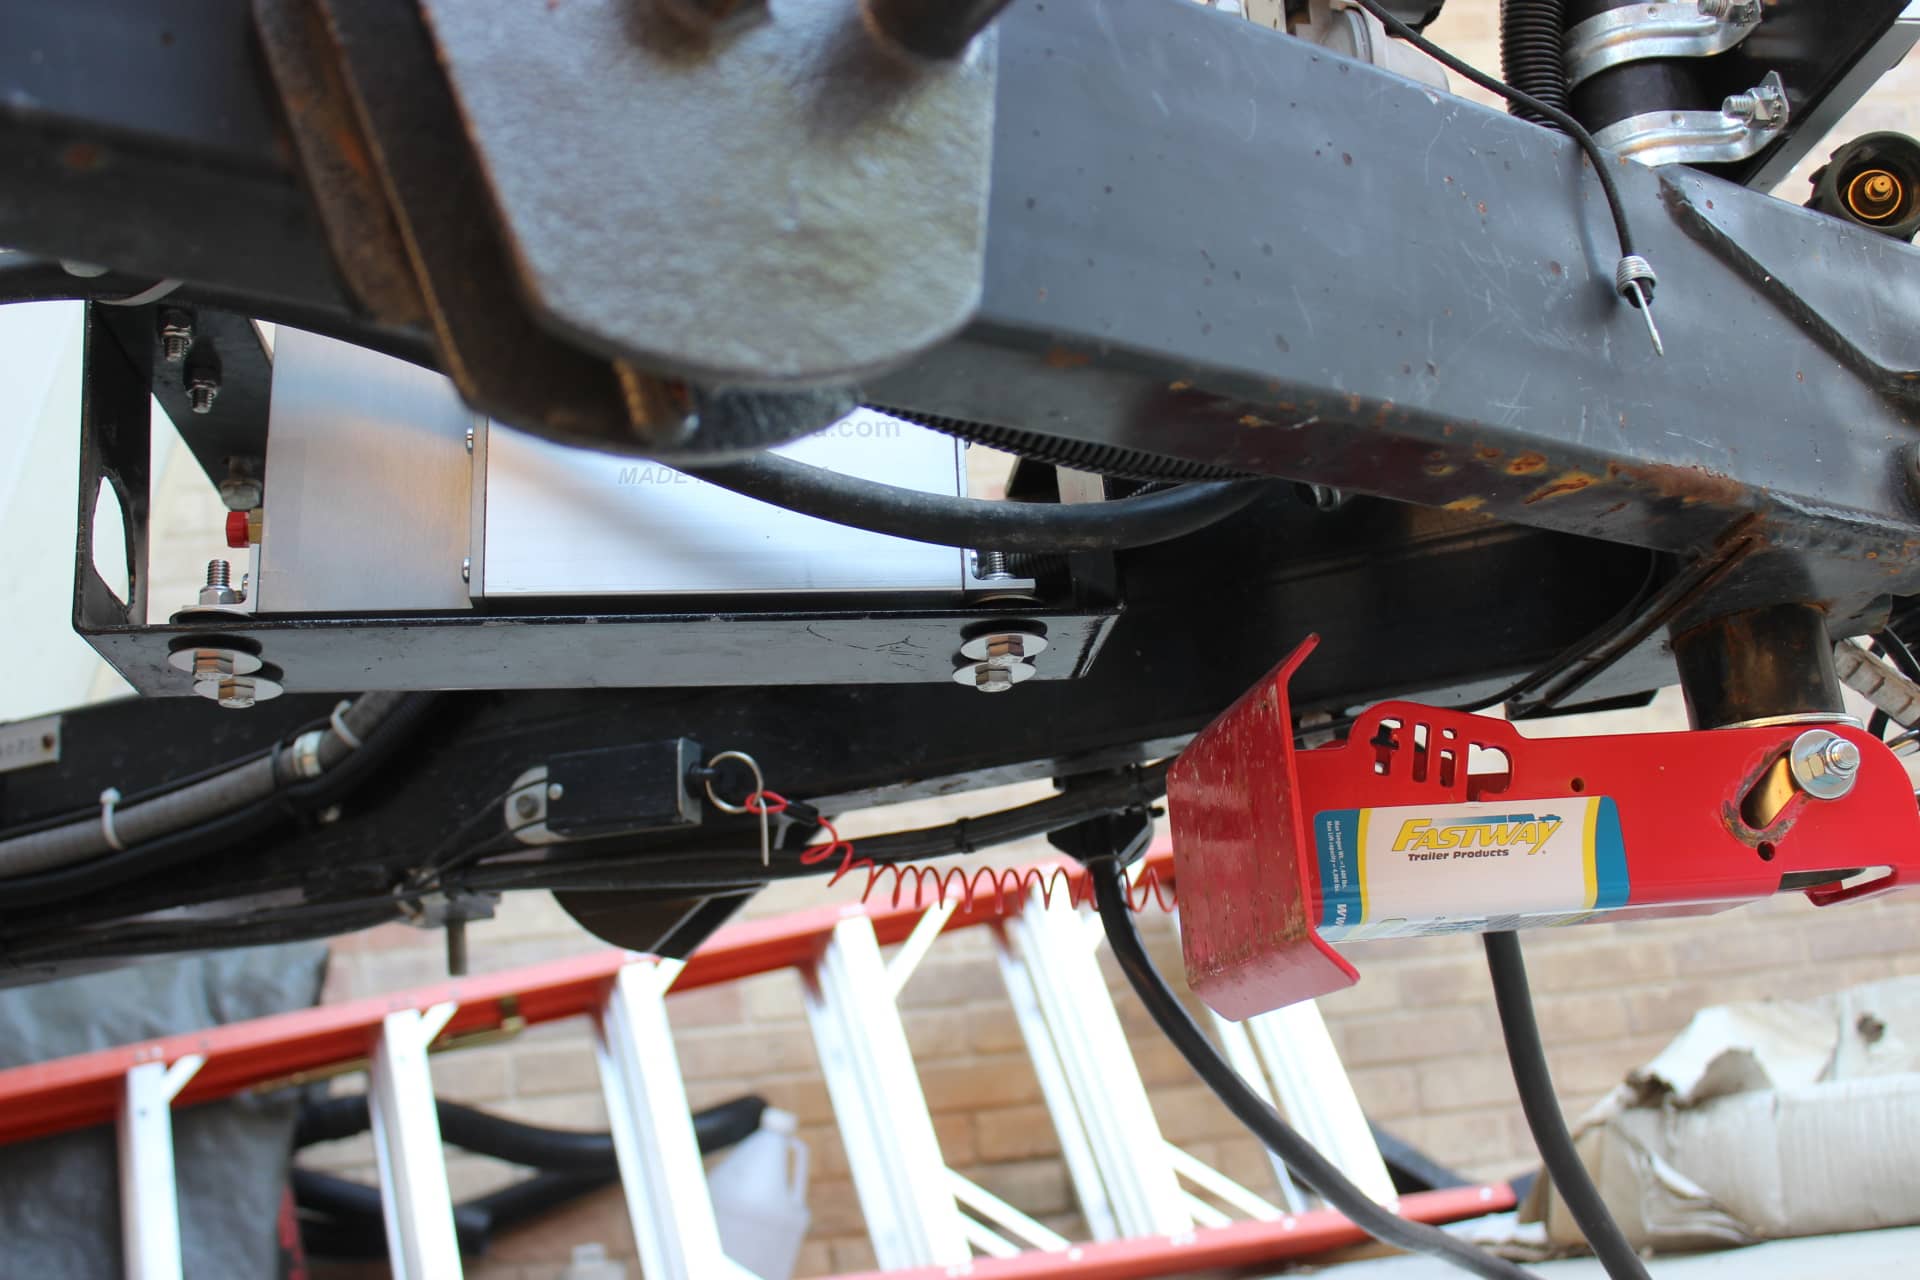
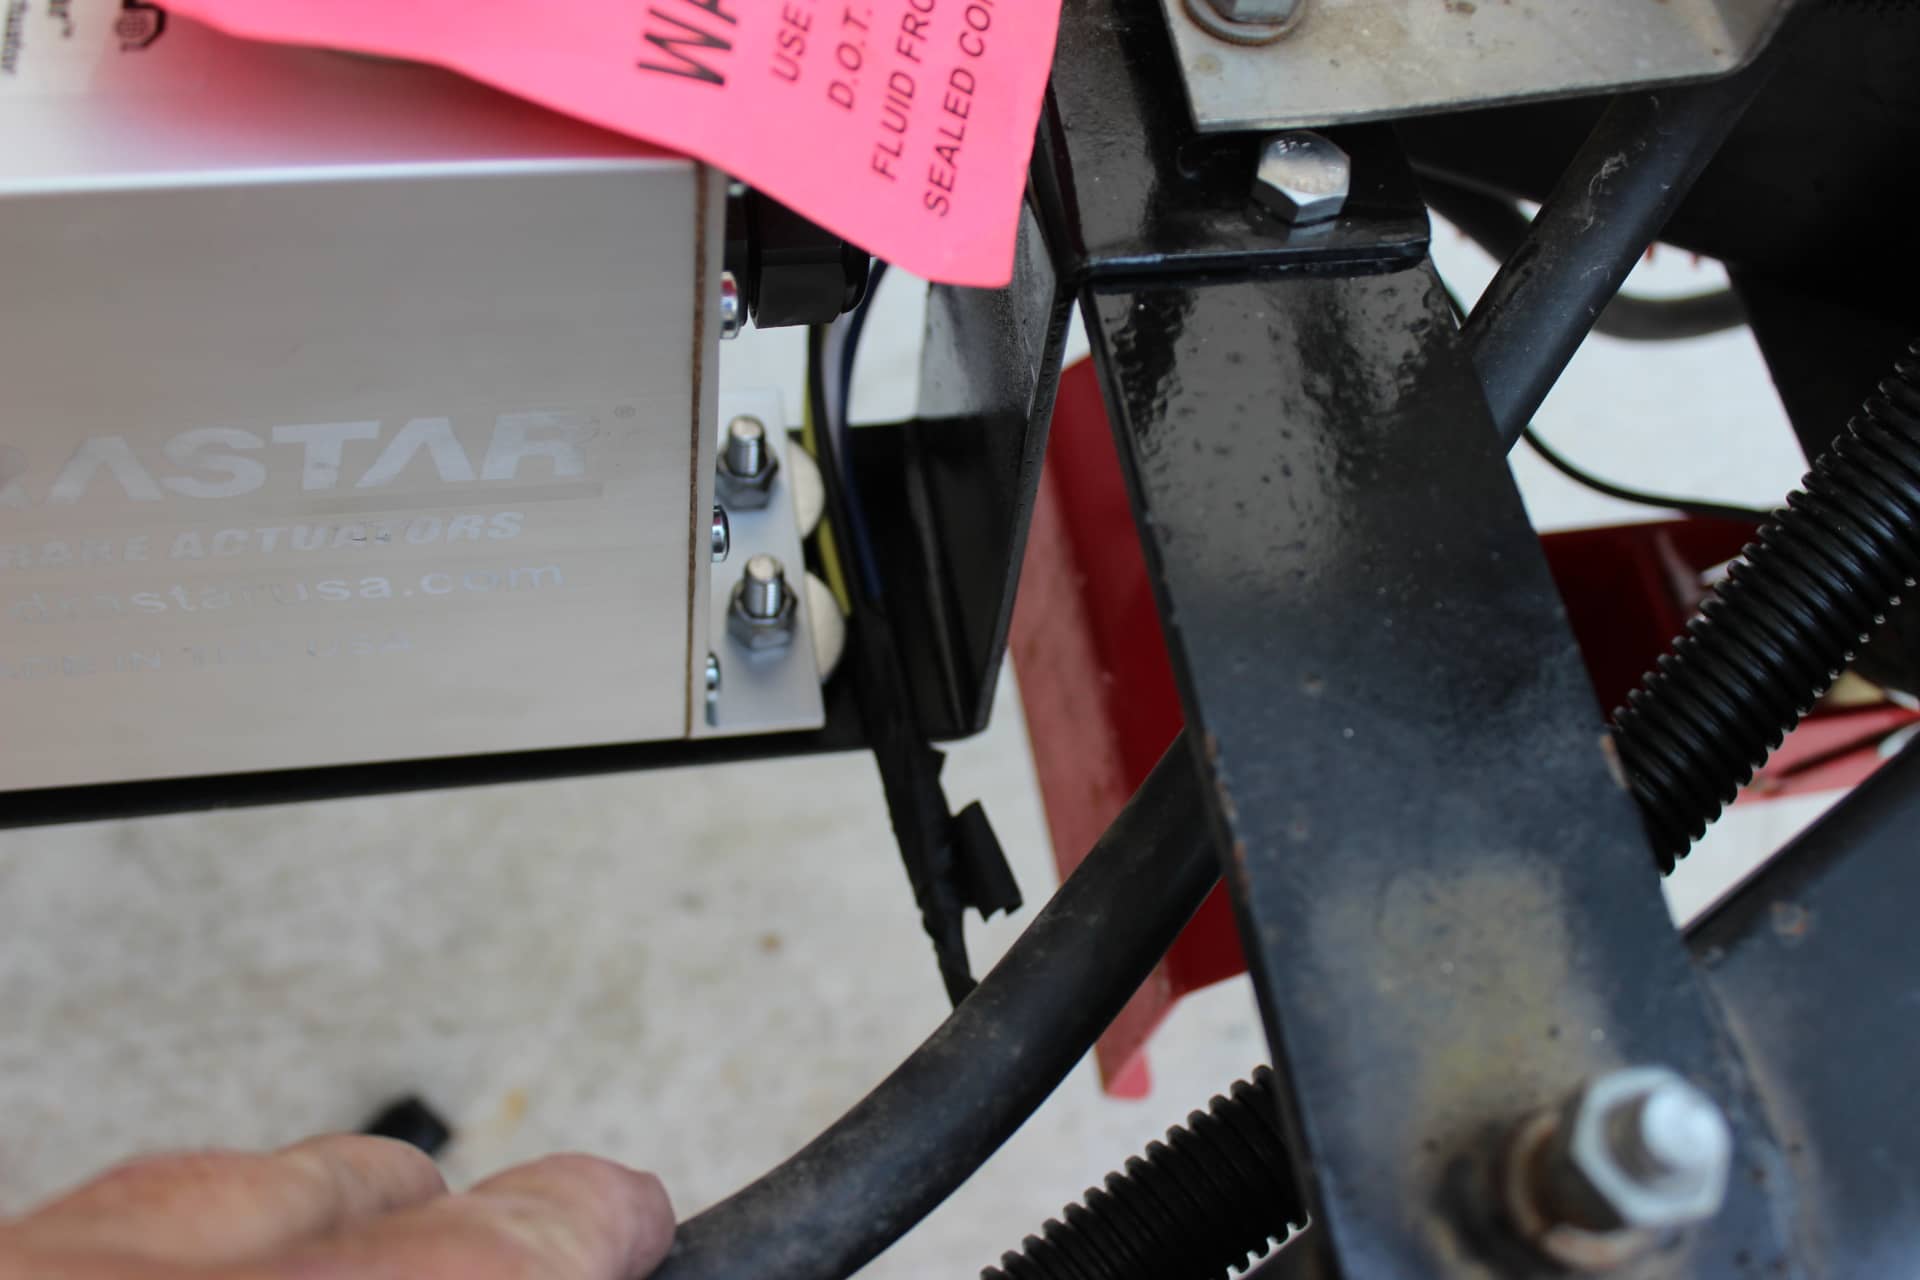
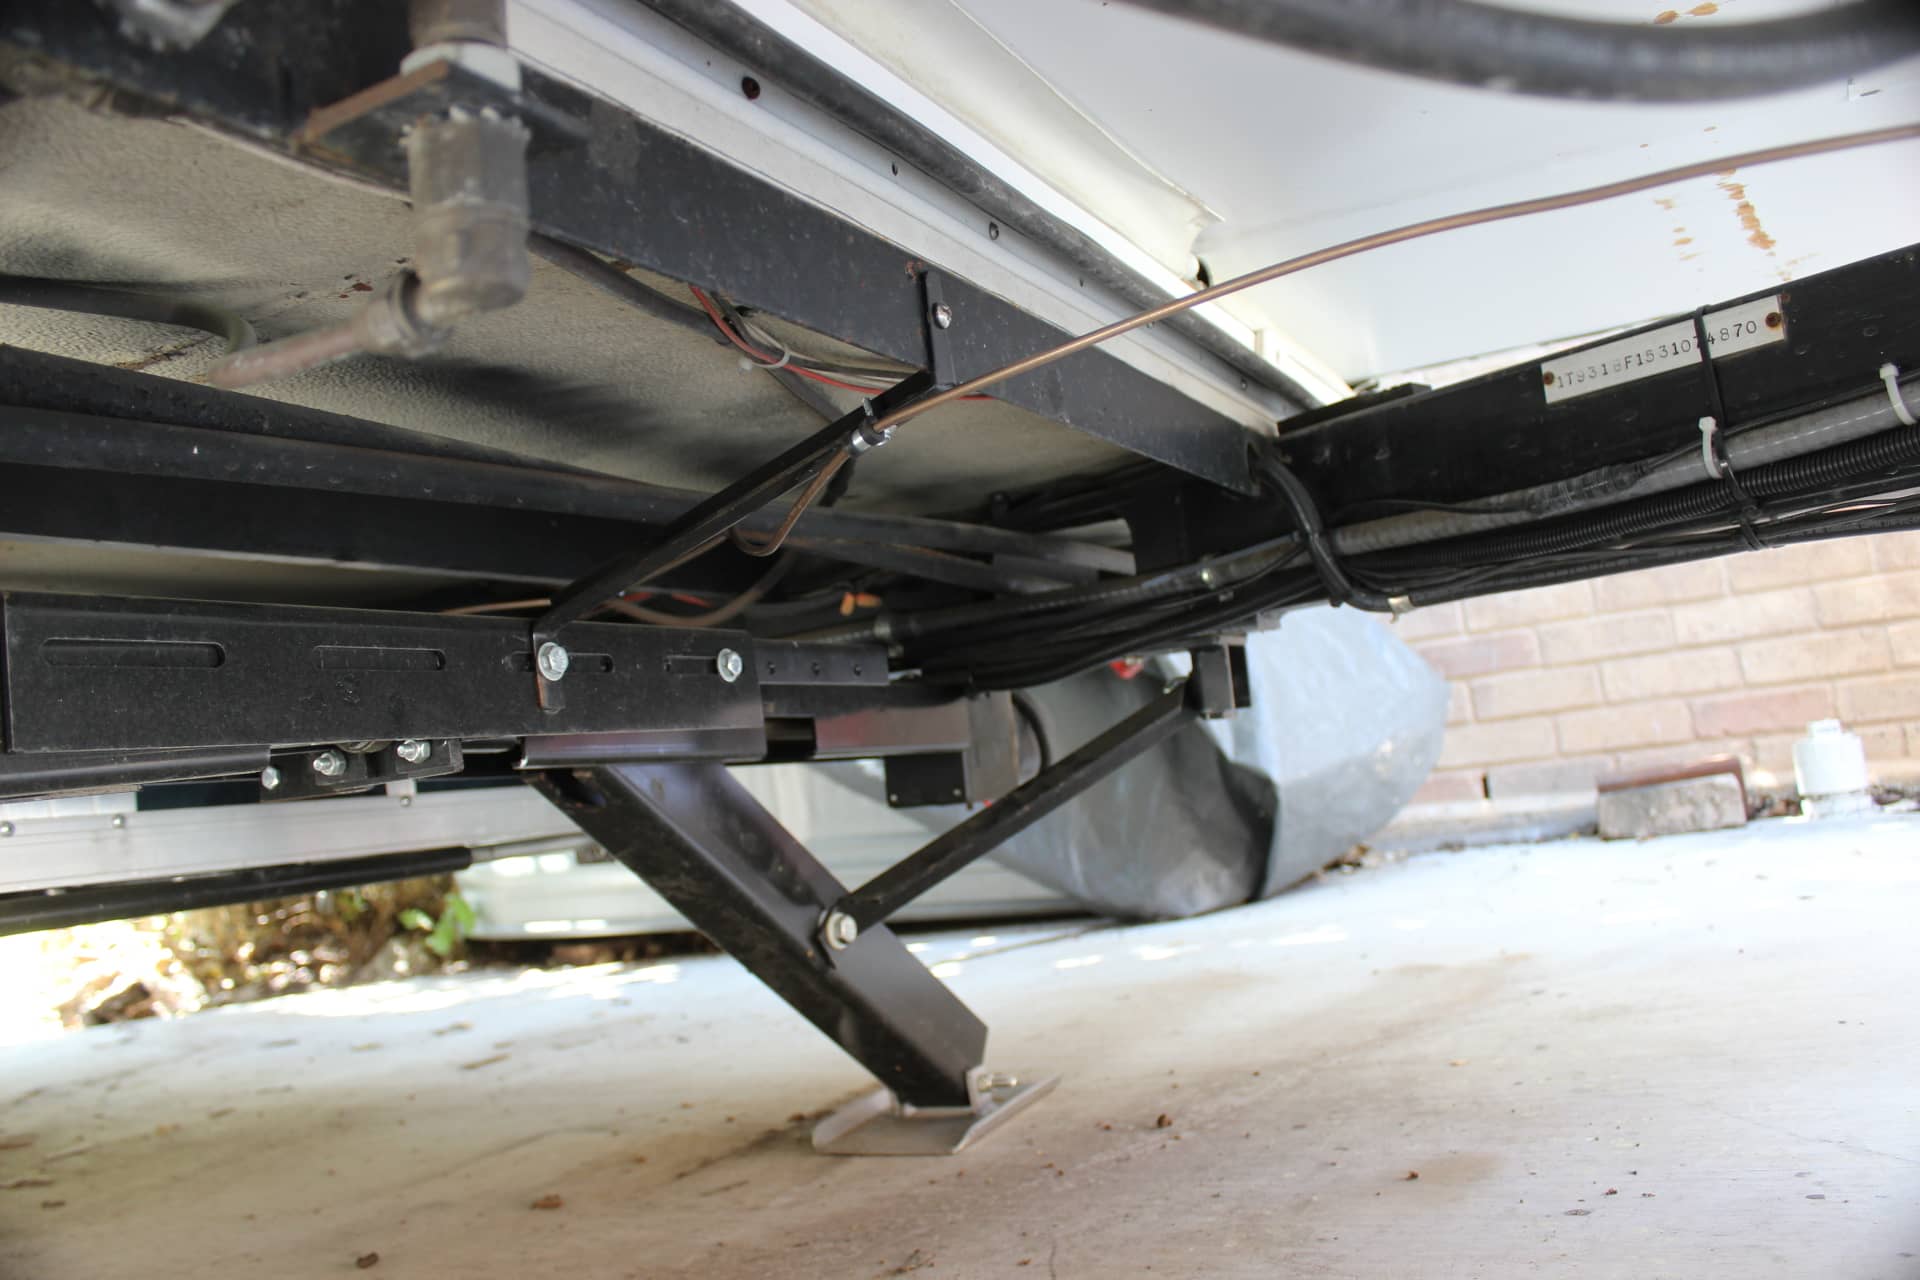
So I can do some of the time consuming work myself, mainly mounting the actuator onto the trailer. The spot I chose was down beneath and between the two propane bottles. It was perfect because I have the horizontal bottles and the cross pieces that the bottles bolt to I could use to bolt my actuator bracket onto as well. This seemed the best place for the actuator where I could get access to the filler cap to check the brake fluid. I got a piece of 3” wide steel flat stock 28” long and had it bent by a professional sheet metal shop that had a big metal brake. They did a great job and the finished product looked and fit perfect (image 2166) Starting at the top front flange the dimensions are 2” long, 5” down, 14” long, 5” up, and the back flange is also 2” like the front one and bent in the same direction too so it will be easy to mount. I placed the actuator on the bracket and marked where to drill the holes (image 2168) and cut a slot in the backside for the hydraulic line to go thru but big enough so it wouldn’t rub the sides of the bracket (images 2167, 2169). Next I placed the bracket onto the frame cross bars and marked and drilled out the holes (image 2170). Three in the front because the middle hole holds the rod that the automatic propane bottle selector switch is attached to and the other two were for the bracket (image 2171). On the back I just needed two holes (image 2172). Sprayed a little primer on the raw holes and laid the bracket over the holes to check the alignment (images 2173, 2174). I laid the actuator on the bracket to check that there was enough room and it fit right (image 2175). Next I finished the bracket with some Rust-Oleum gloss black spray paint (image 2176). When it had dried I installed some rubber cushions with stainless steel bolts and fender washers in the holes to cut down on the shock (images 2177, 2178) and bolted (with stainless steel) the bracket to the cross bars (image 2179). Now it was time for the actuator to be mounted to the bracket (images 2180, 2182, 2181) and secured with stainless ny-lock nuts. OK…my part was done…now off to Zannettis.
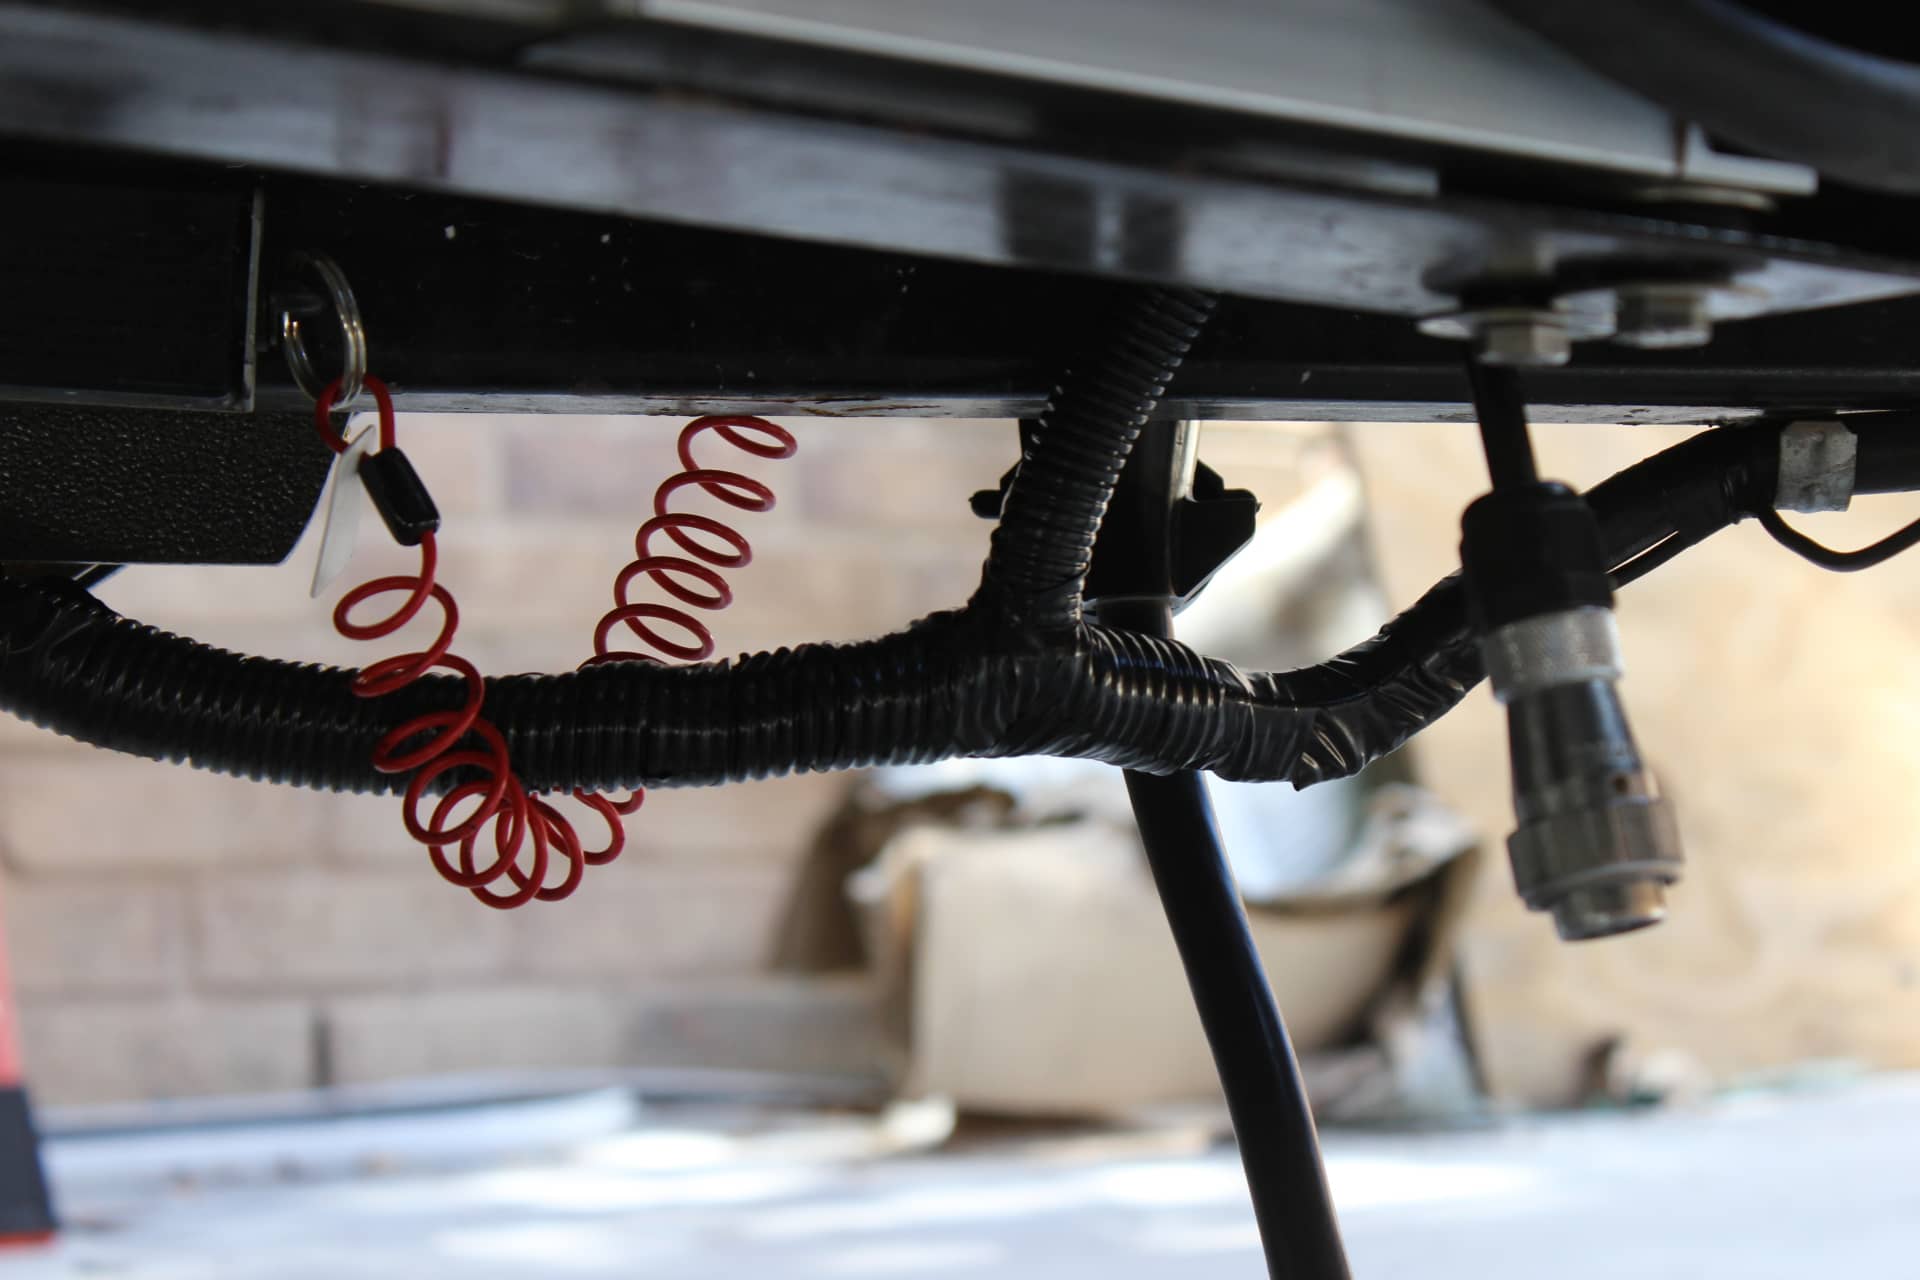
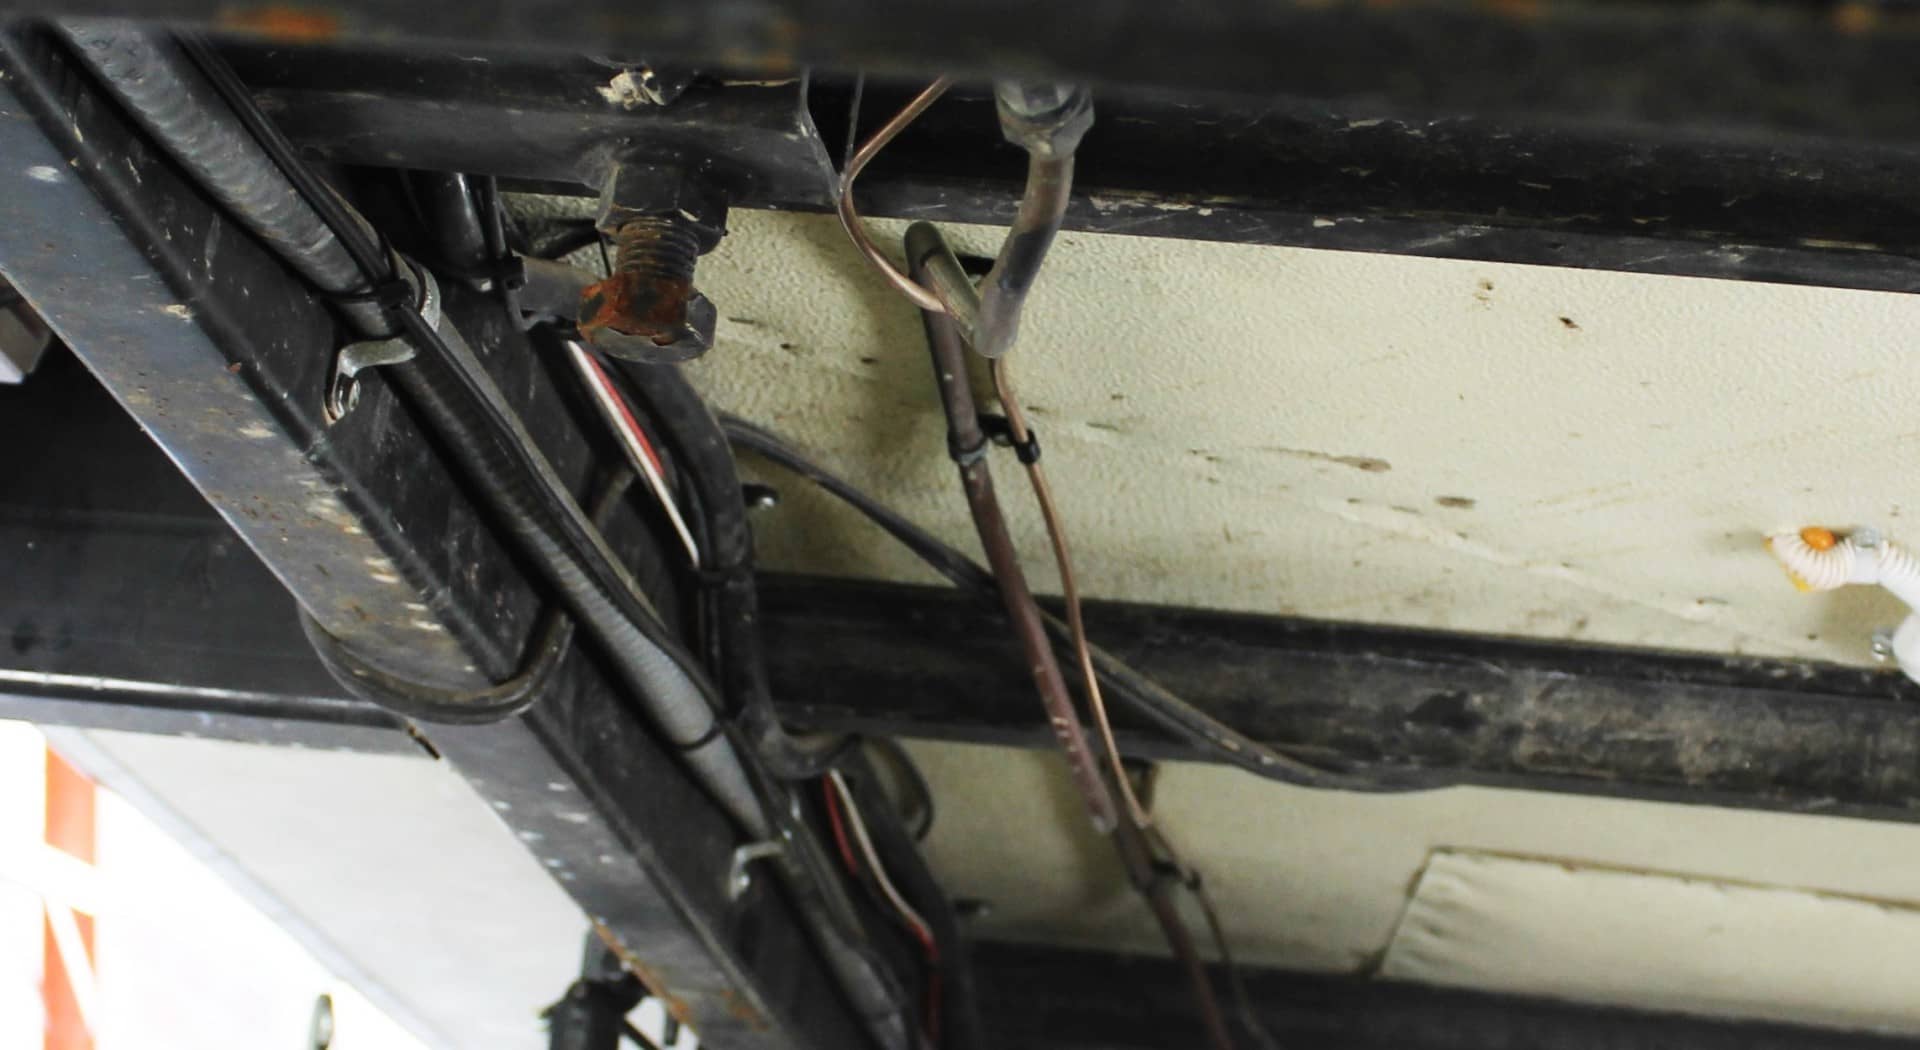
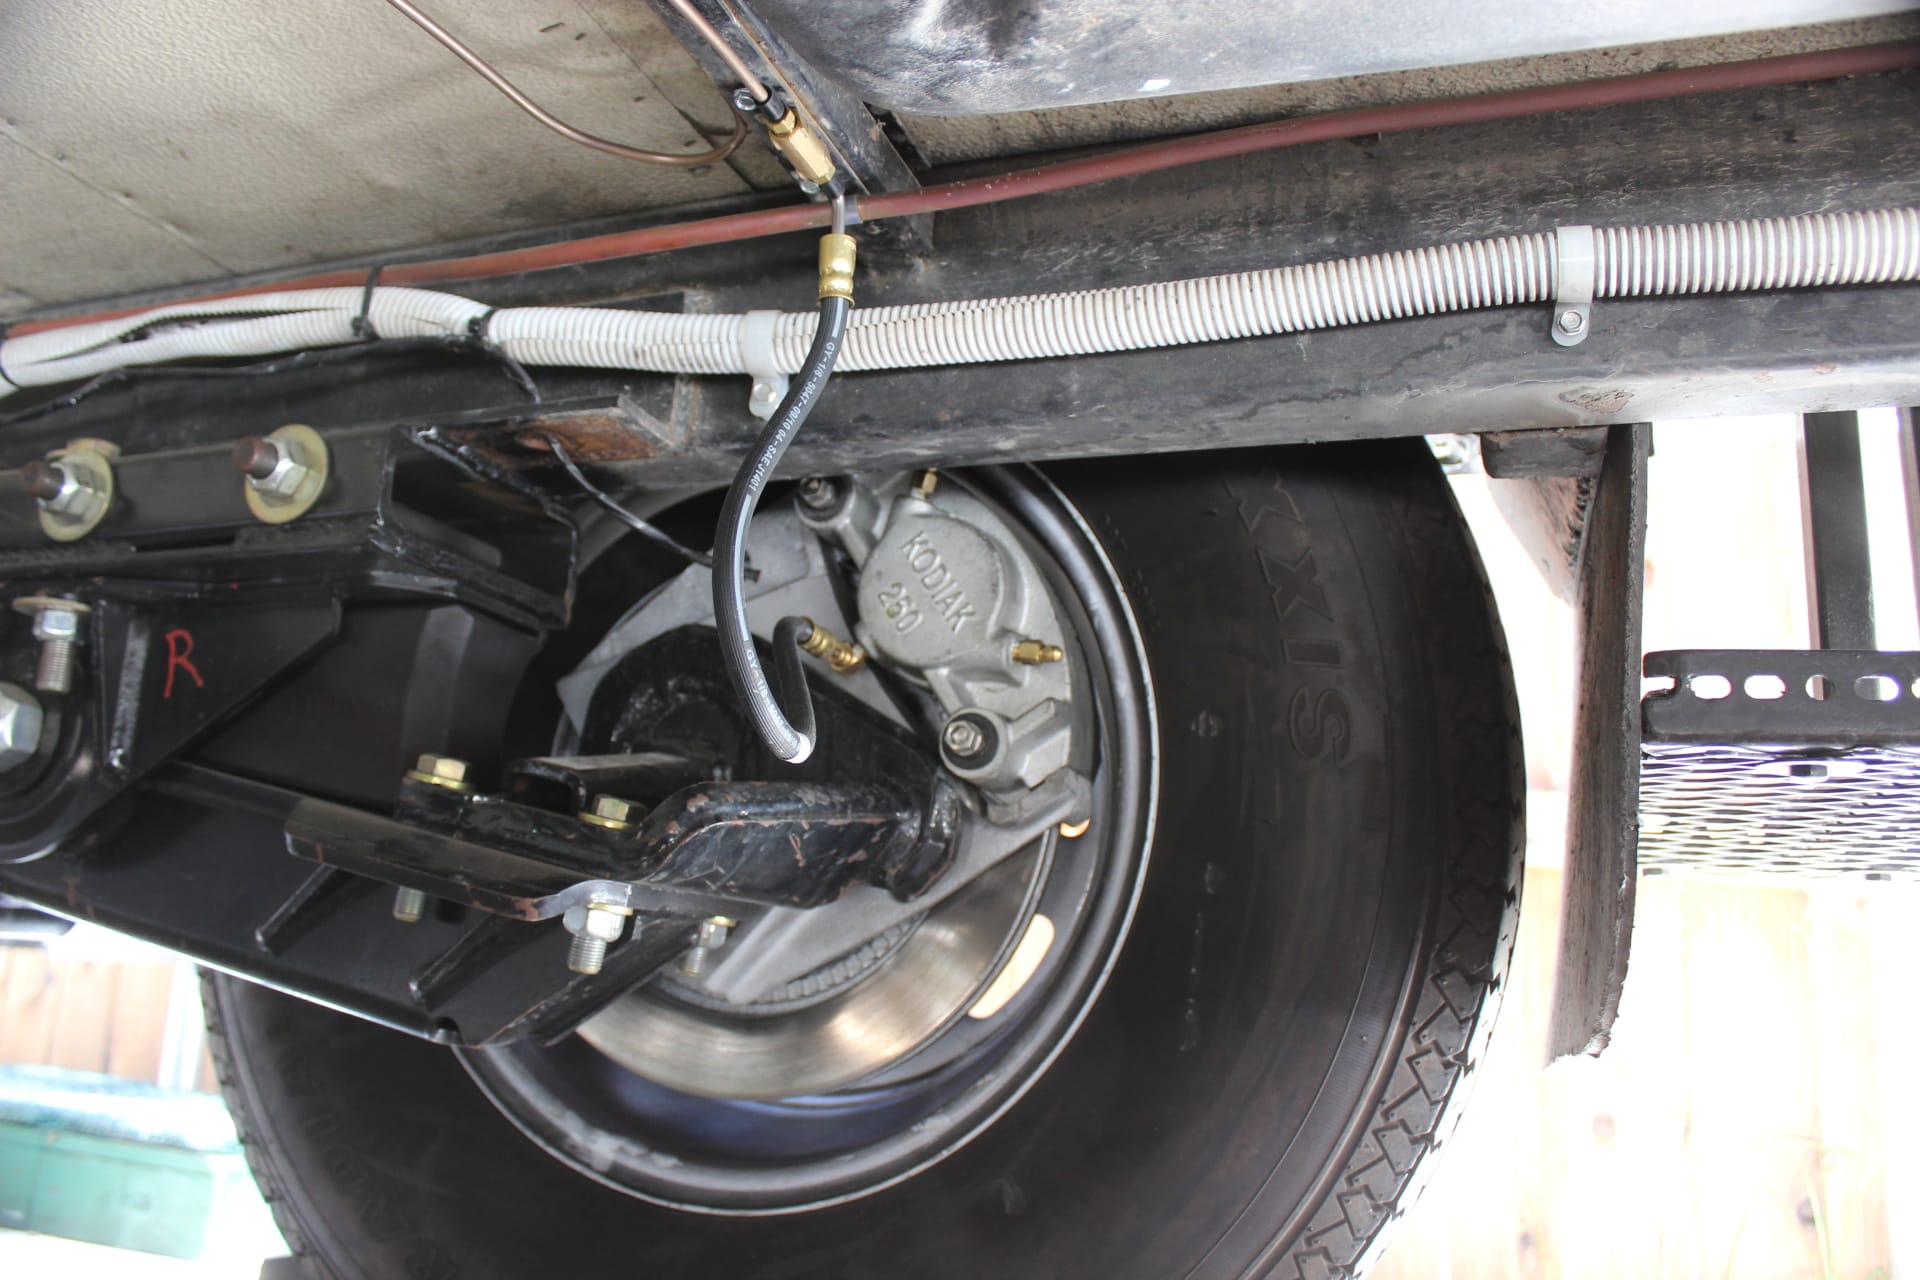
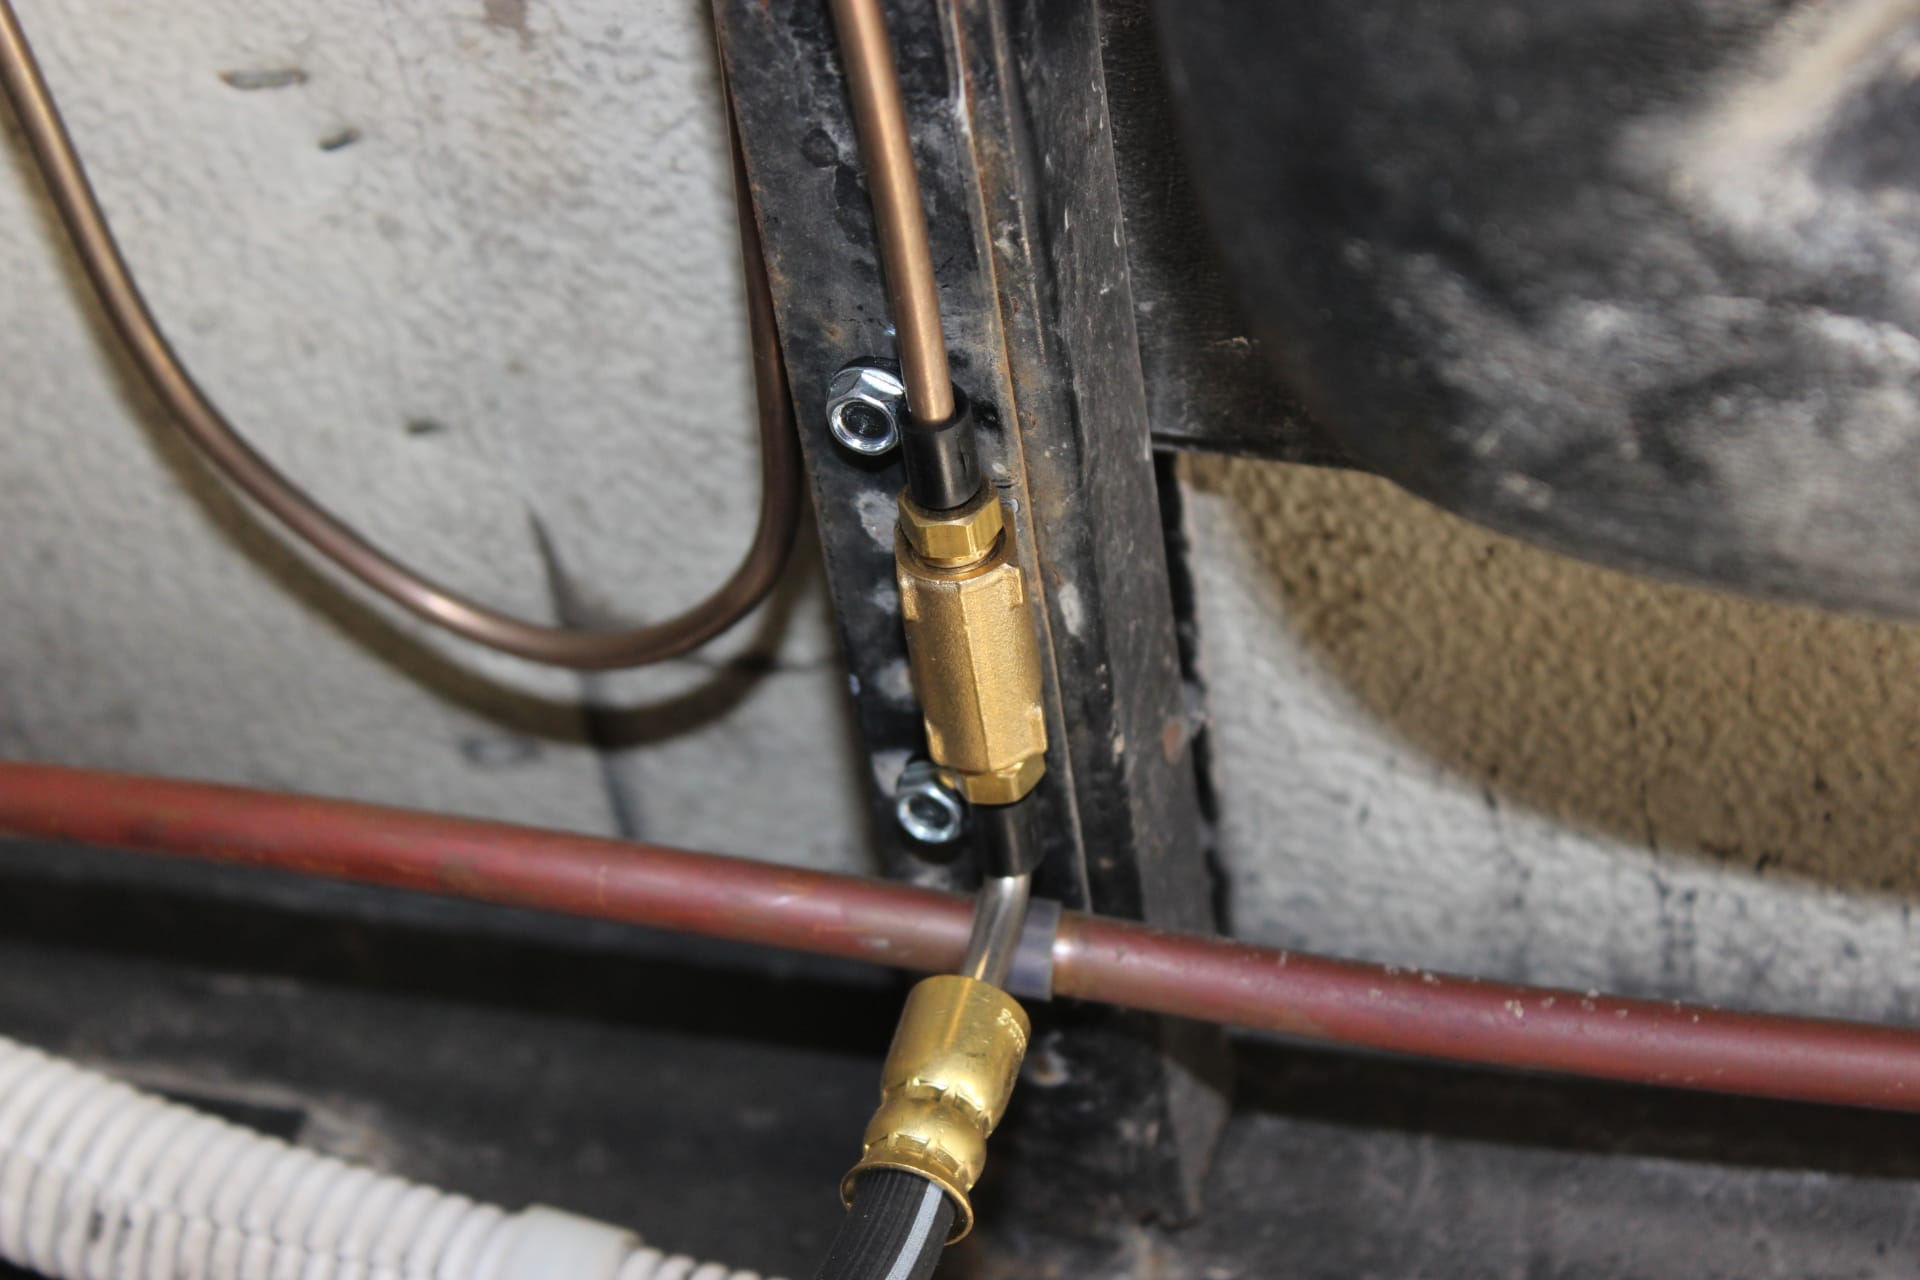
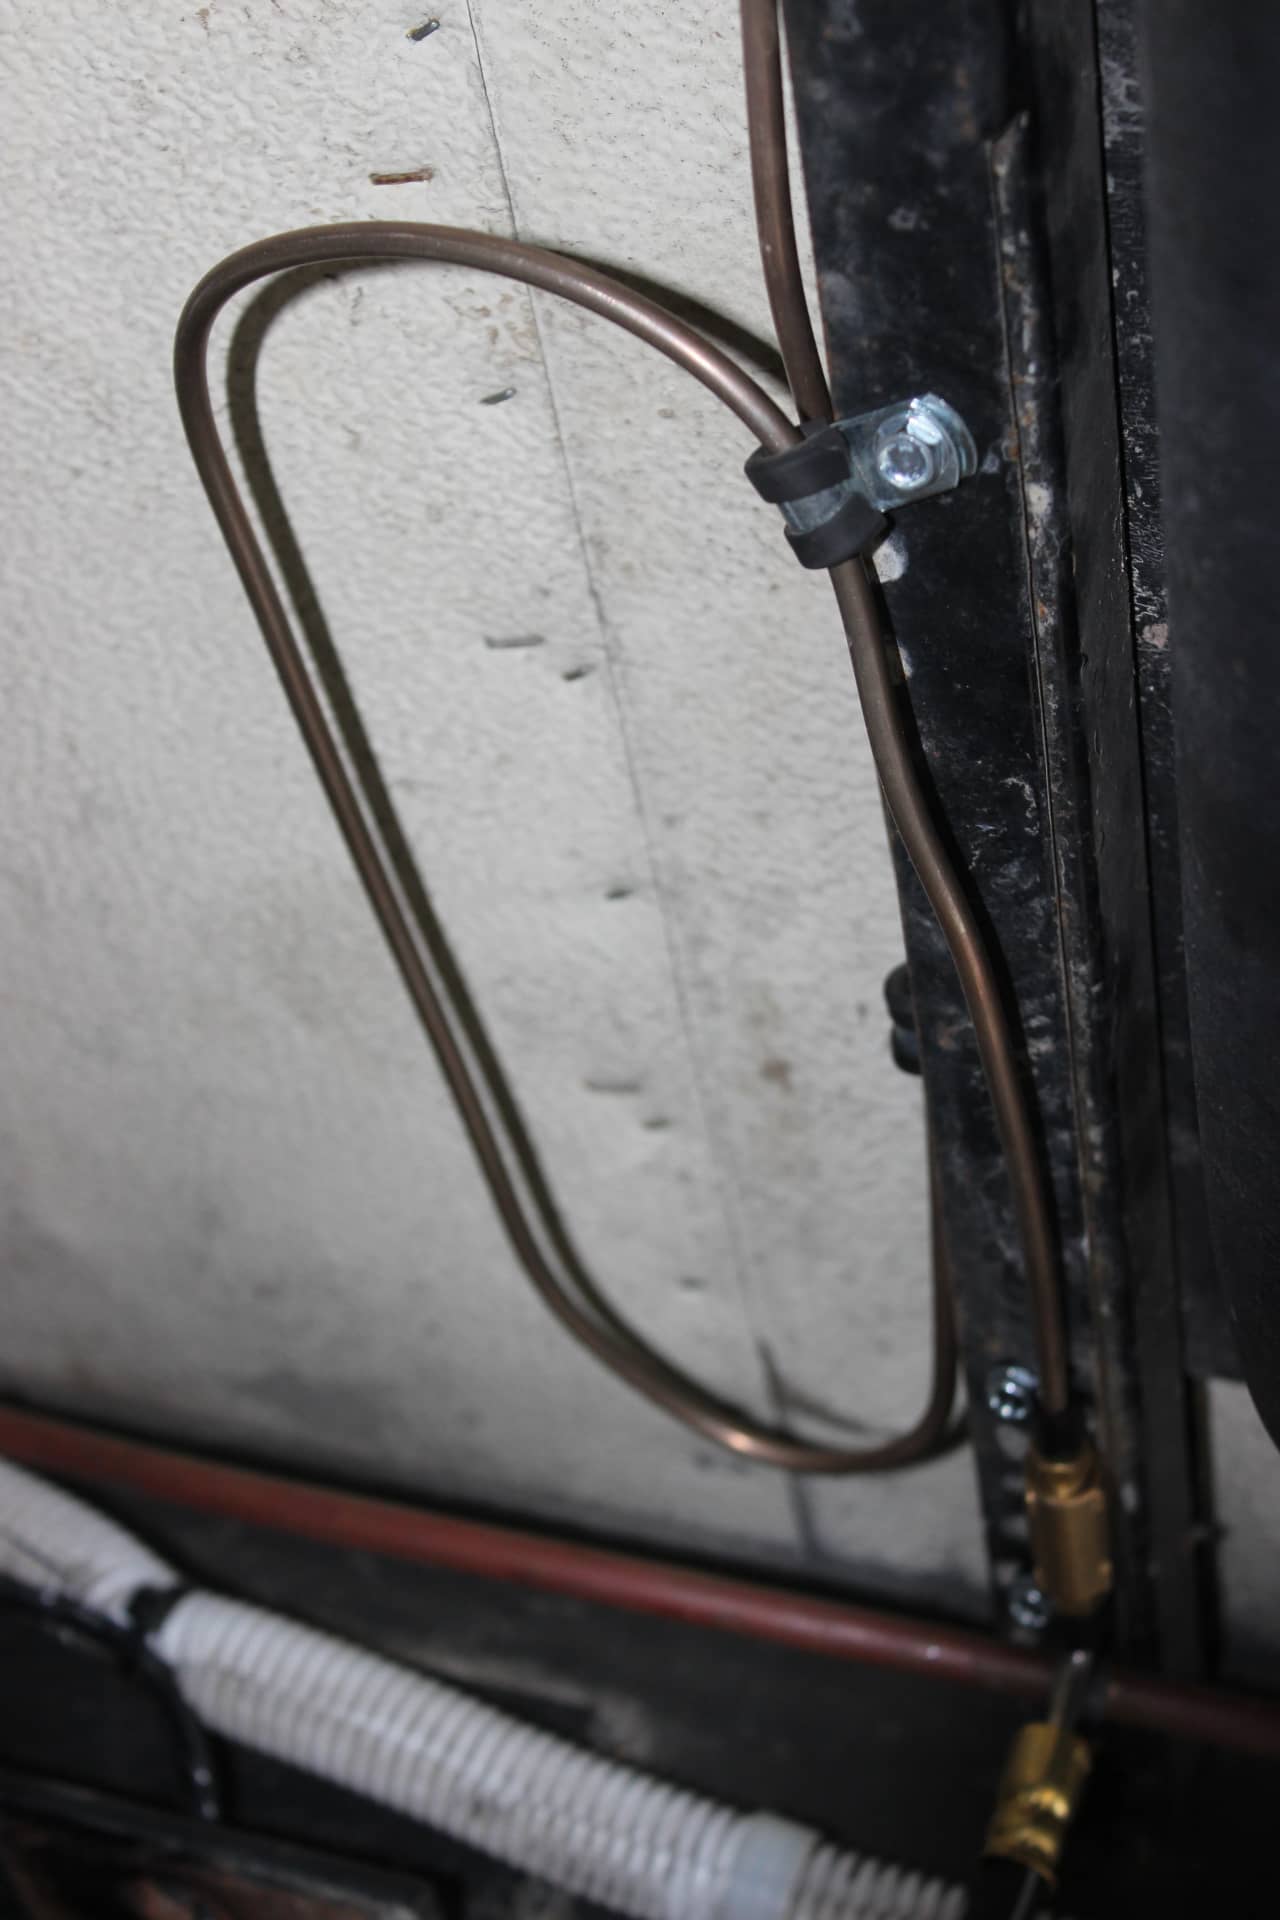
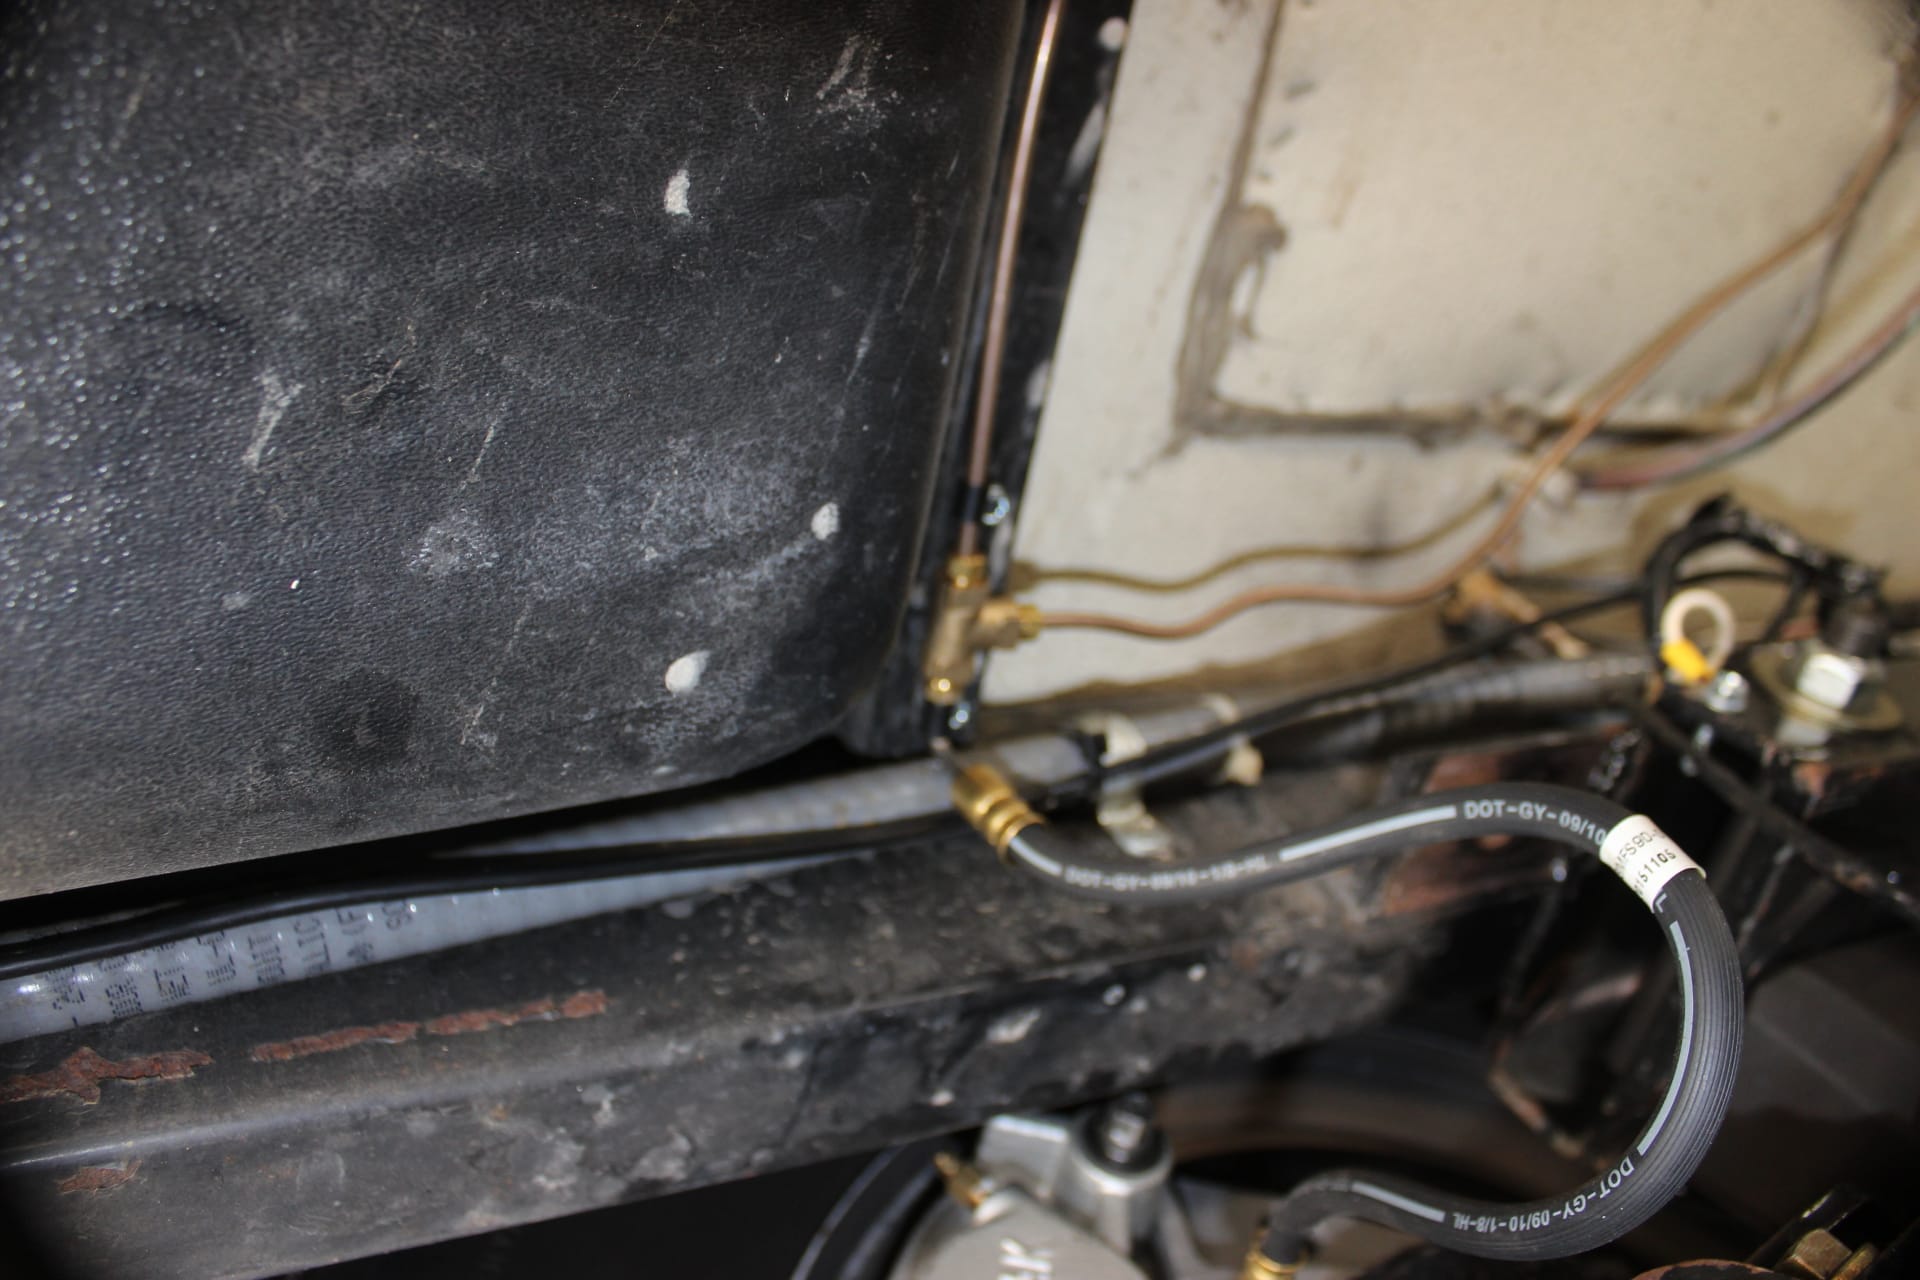
The folks at Zannettis are super. The woman who runs the shop is excellent! They did a top rate job and while they had the wheels off I got them to re torque my new Timbren axles. So they ran the hydraulic lines where they wouldn’t get pinched or damaged (images 2184, 2185, 2187) pretty much following the propane line to the back (image 2188) and culminating at a “T” fitting (image 2189), and then to the street side caliper, over to the curbside with a service loop taking up the extra slack (image 2194) and finally to the rubber brake line to the wheel (images 2192, 2191). All that was left to do was hook up the wiring to my new Tekonsha Prodigy 3 controller via the Bargman trailer hook up wire (image 2186) and it was all done.
So the bottom line…..
For the parts about $1100
Labor…………about $300
TOTAL………..about $1400
AND WORTH EVEY SINGLE CENT TOO!!!
WOW! The first time I drove off it was a big difference. No more shutter when stopping or letting off the brakes and truly proportional brake pedal stopping. That was so nice. The best part though is the fact that I can rest assured that I will be able to stop in all situations much better that I use to. Like I said…you can’t put a price of afety!