At every campground you go to will most likely have a water spigot for your trailer at your parking spot. Everything that I have read about the “water thing” is that you need an intake filter for your whole trailer water system, and if you’re smart, a pressure regulator so you don’t blow out your plumbing, and of course a fresh water hose to deliver the water to your trailer (trailer parks are notorious for goofy water). These are three things that have to be dragged out from wherever, then get it all hooked together then finally screwed onto the water source (faucet). Then when you’re ready to leave you have to unscrew the hose, and disconnect the hose from the pressure regulator and then that from the filter. Then you have to roll up the hose and store away all the other components somewhere. WWHHEEEW! I’m tired just telling you about it not to mention the time it takes (that’s a total of 20-30 minutes you could be spending relaxing or on the road to you next stop). If you’re lucky and don’t need those pliers, it should take you about 10-15 minutes each way.
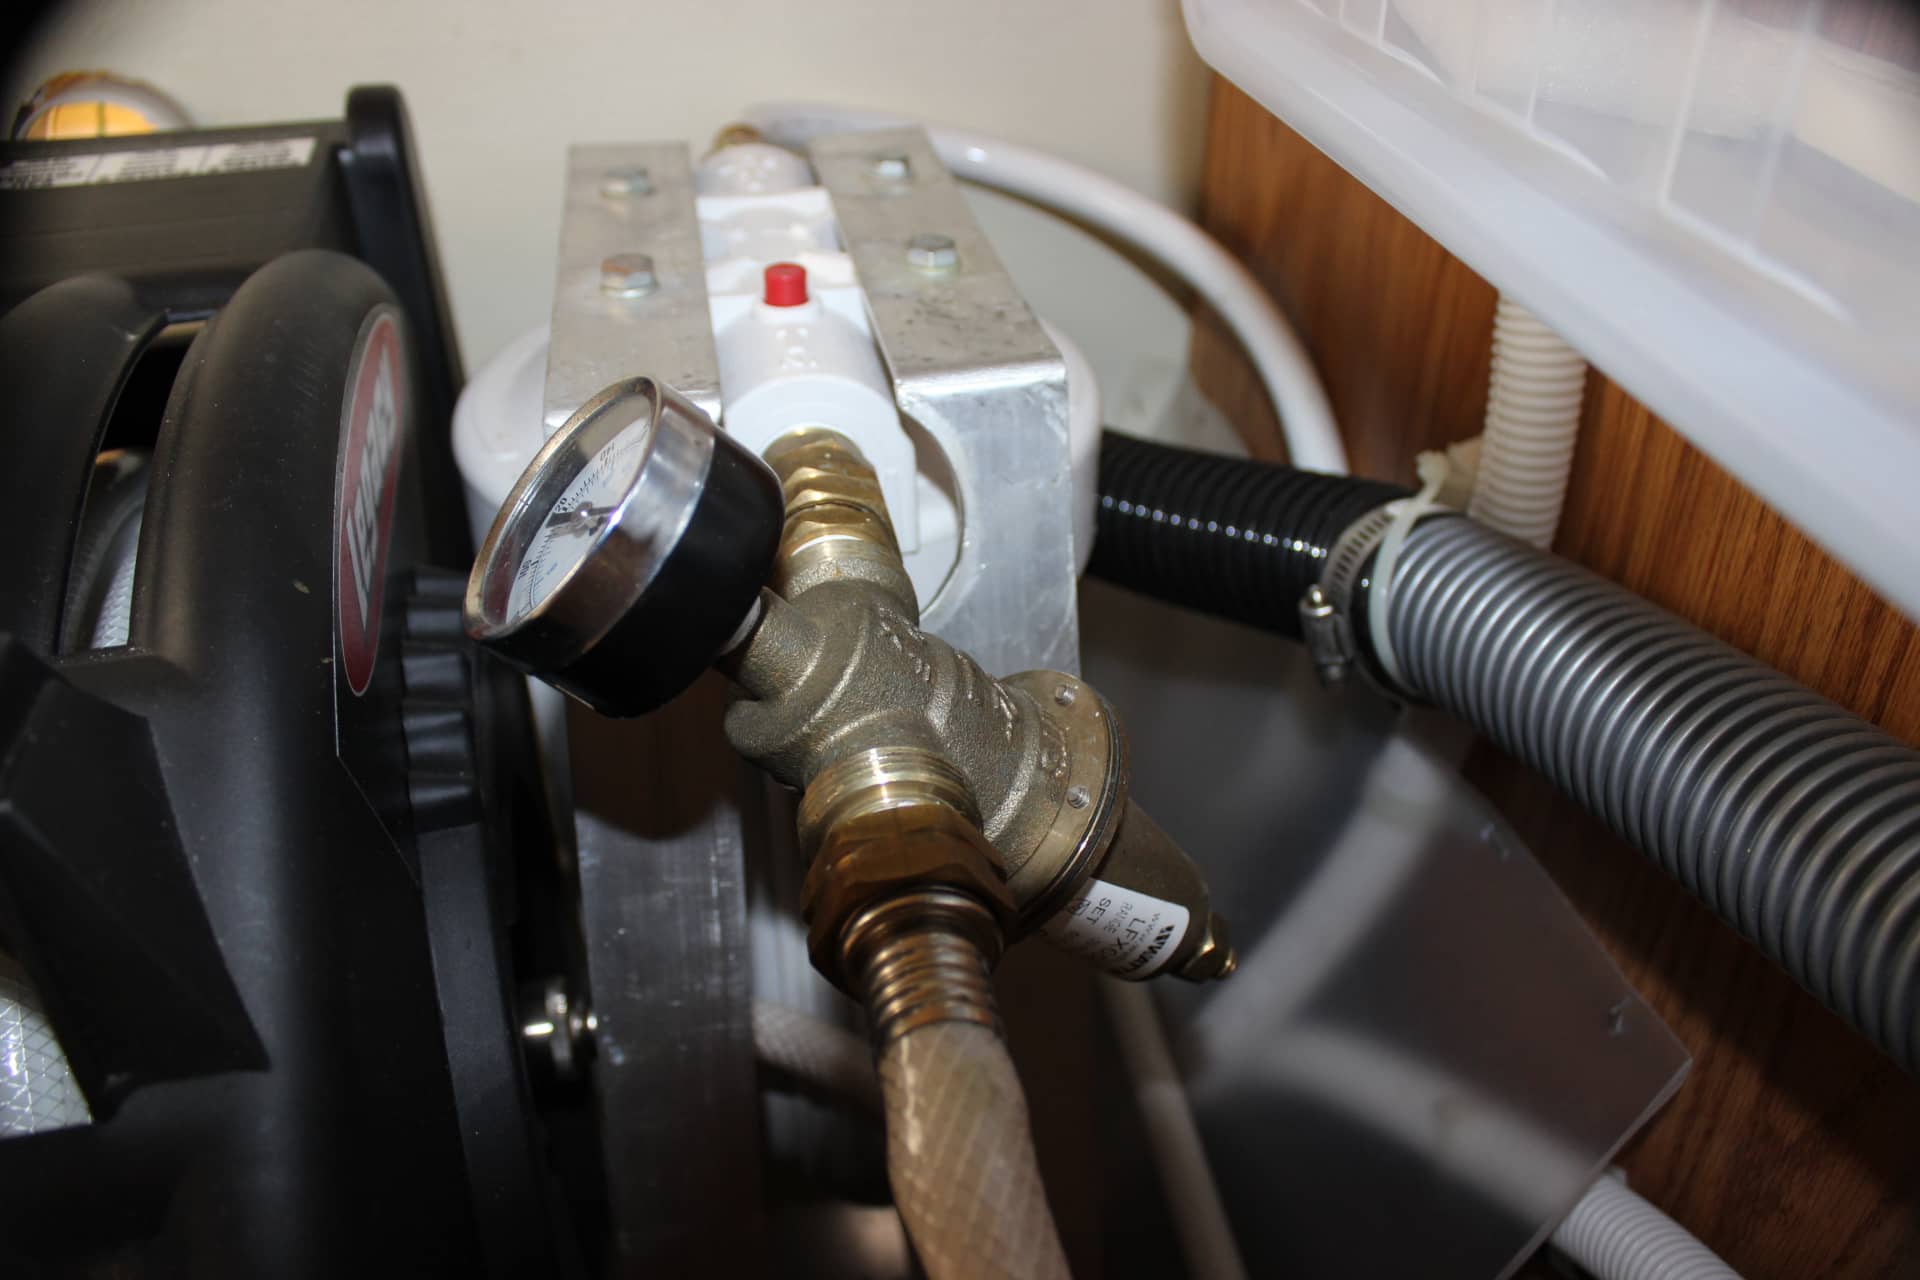
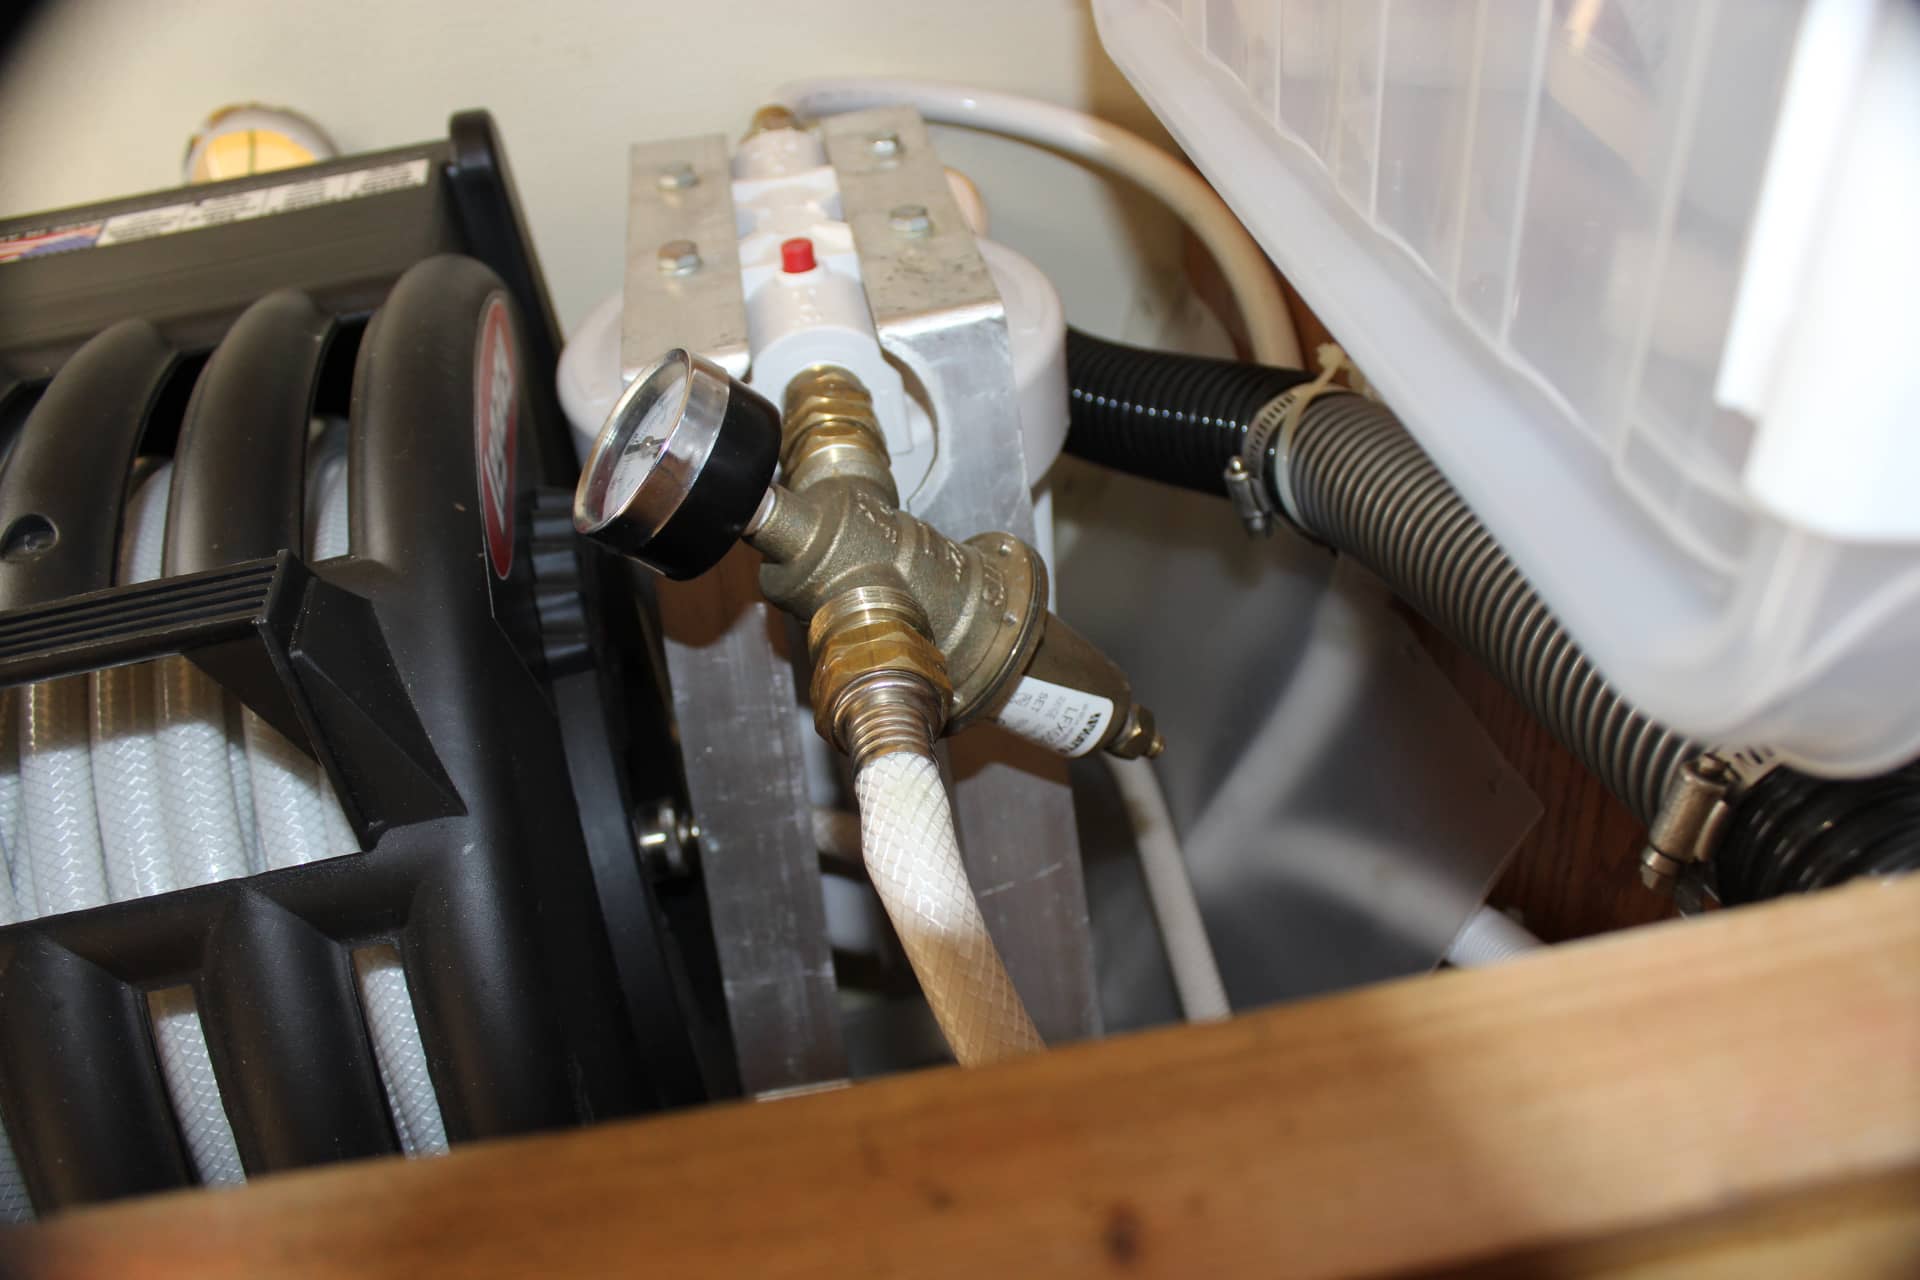
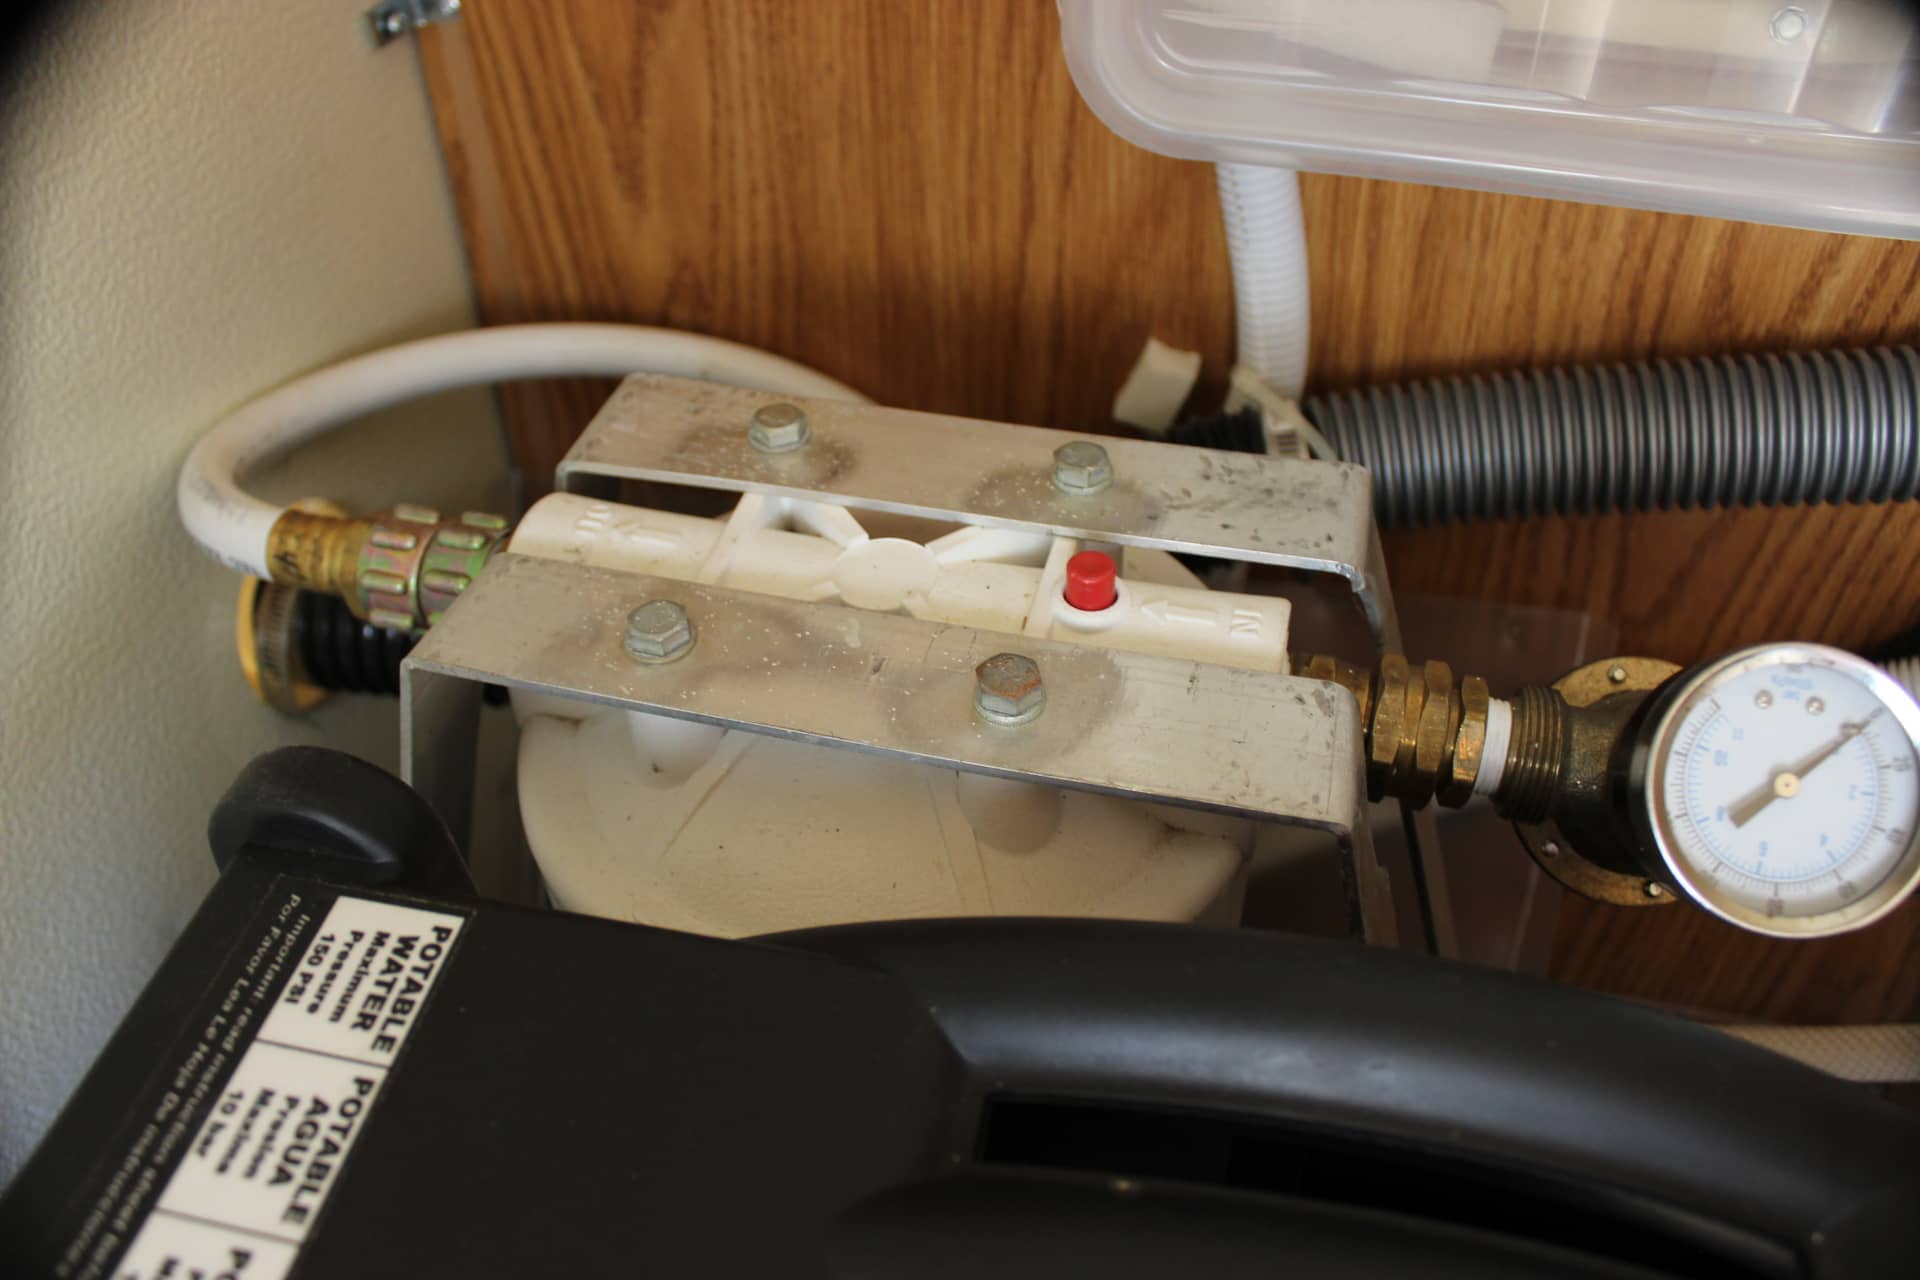
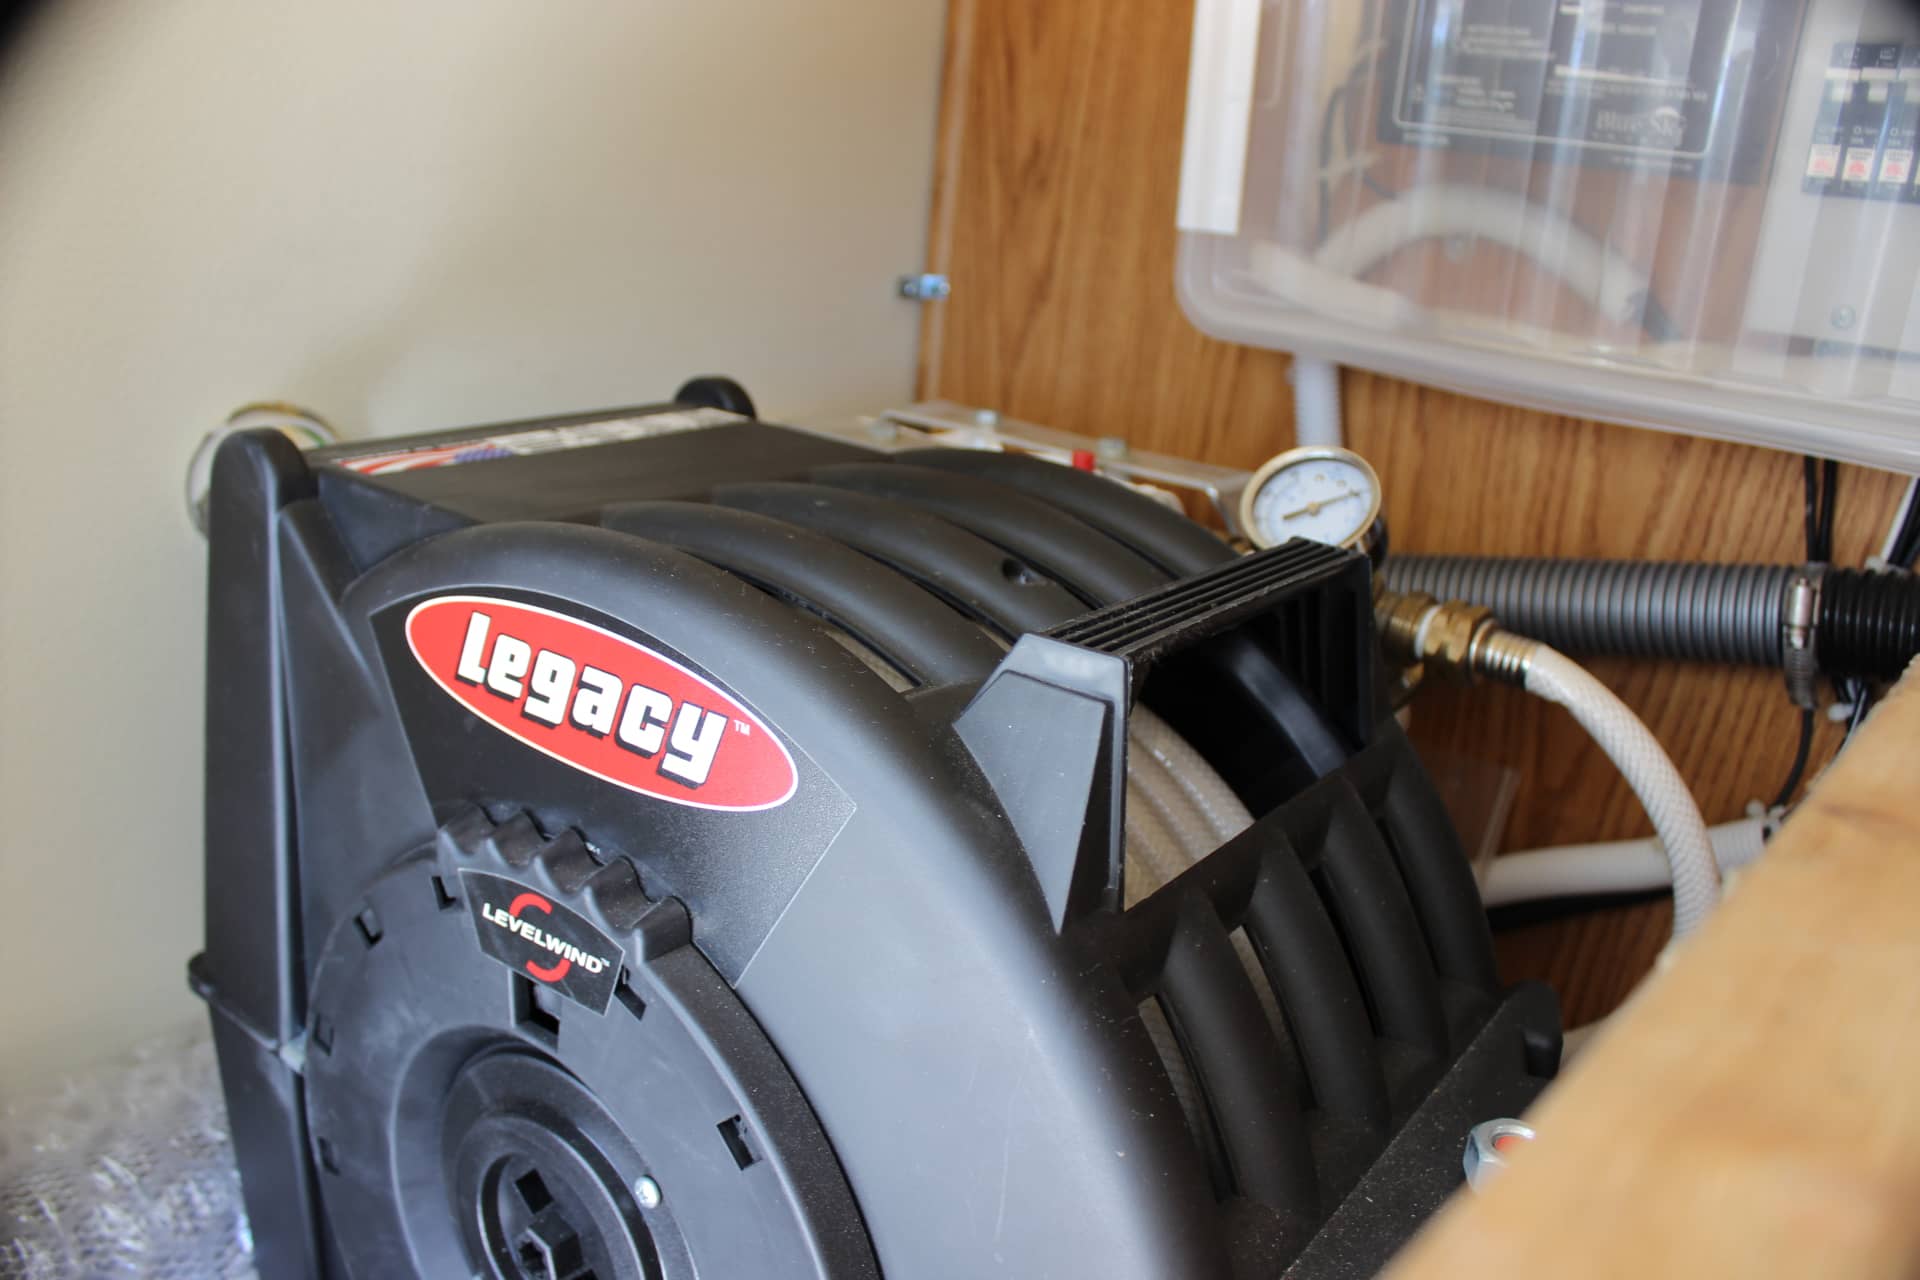
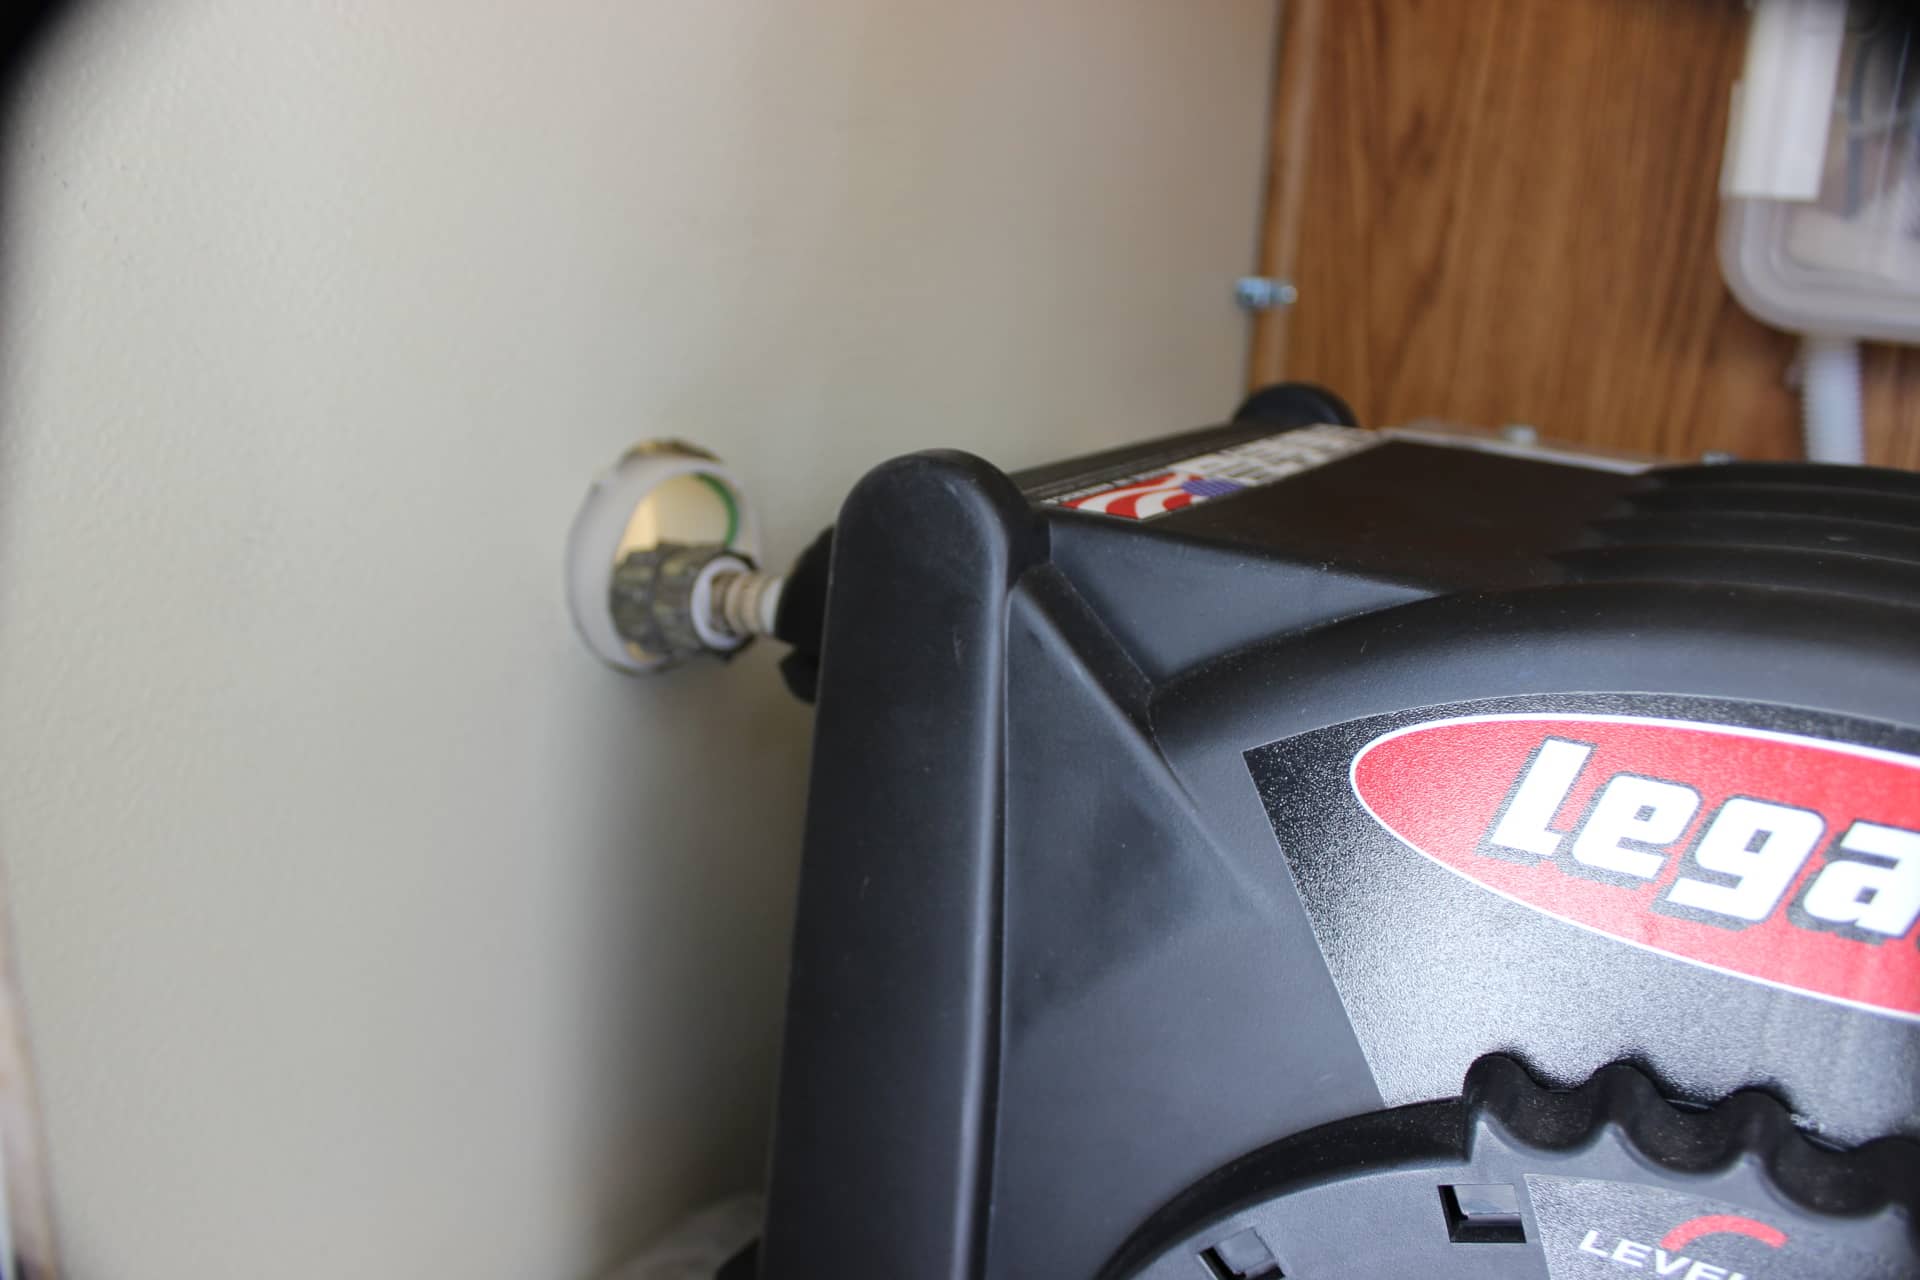
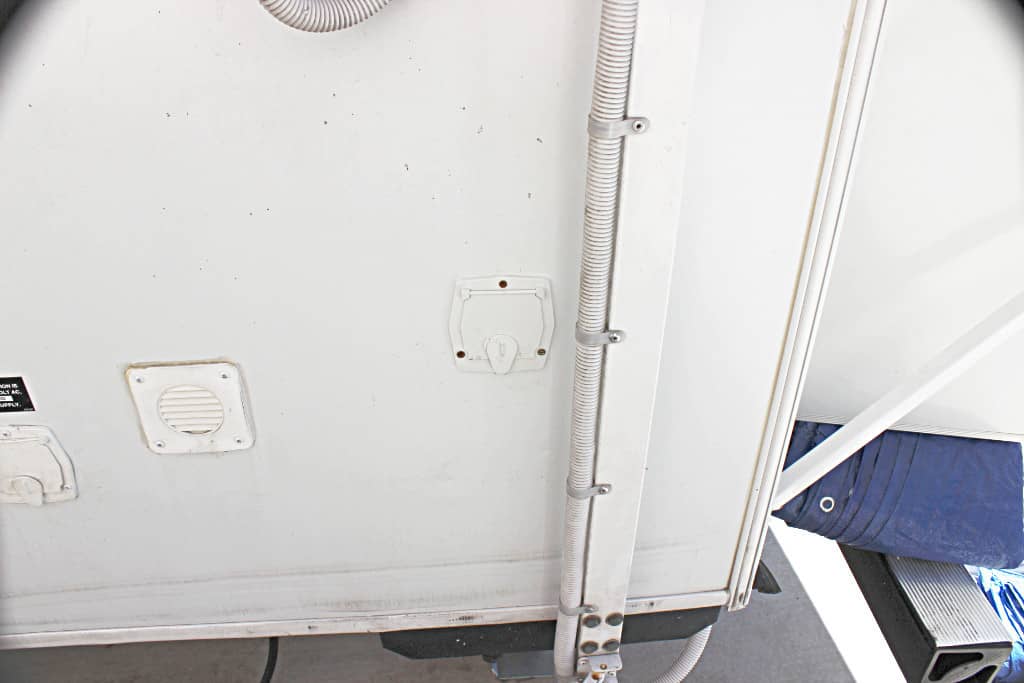
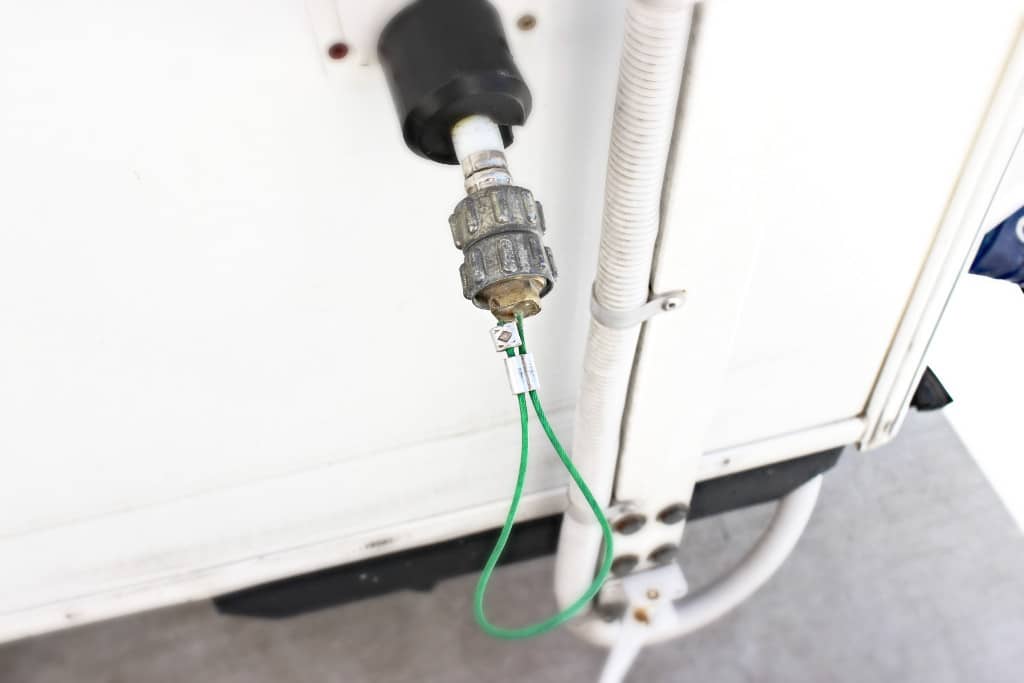
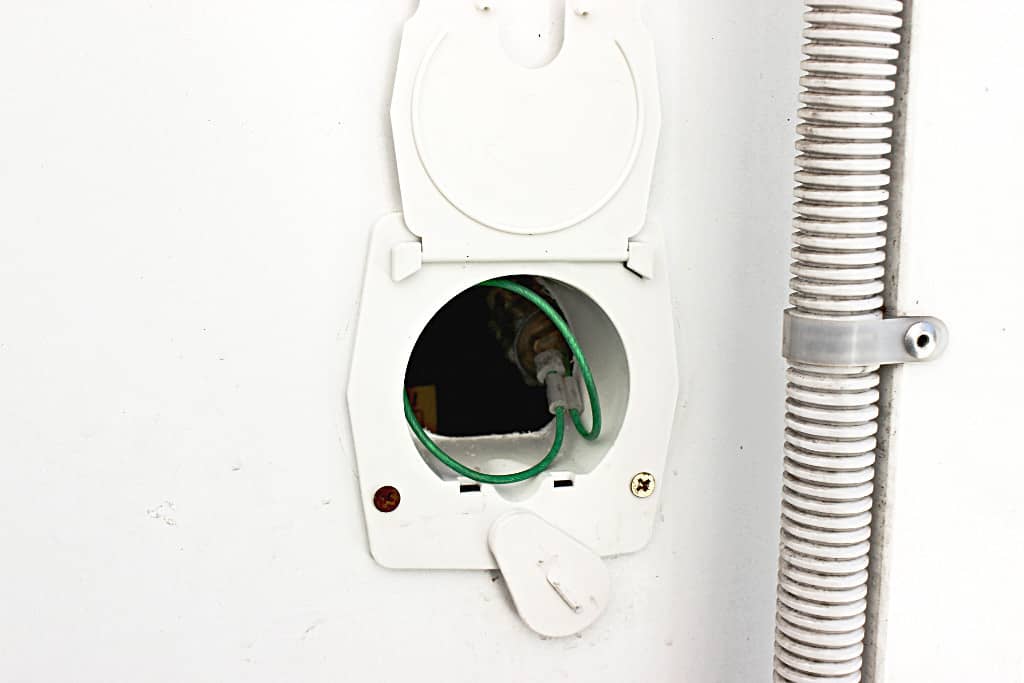
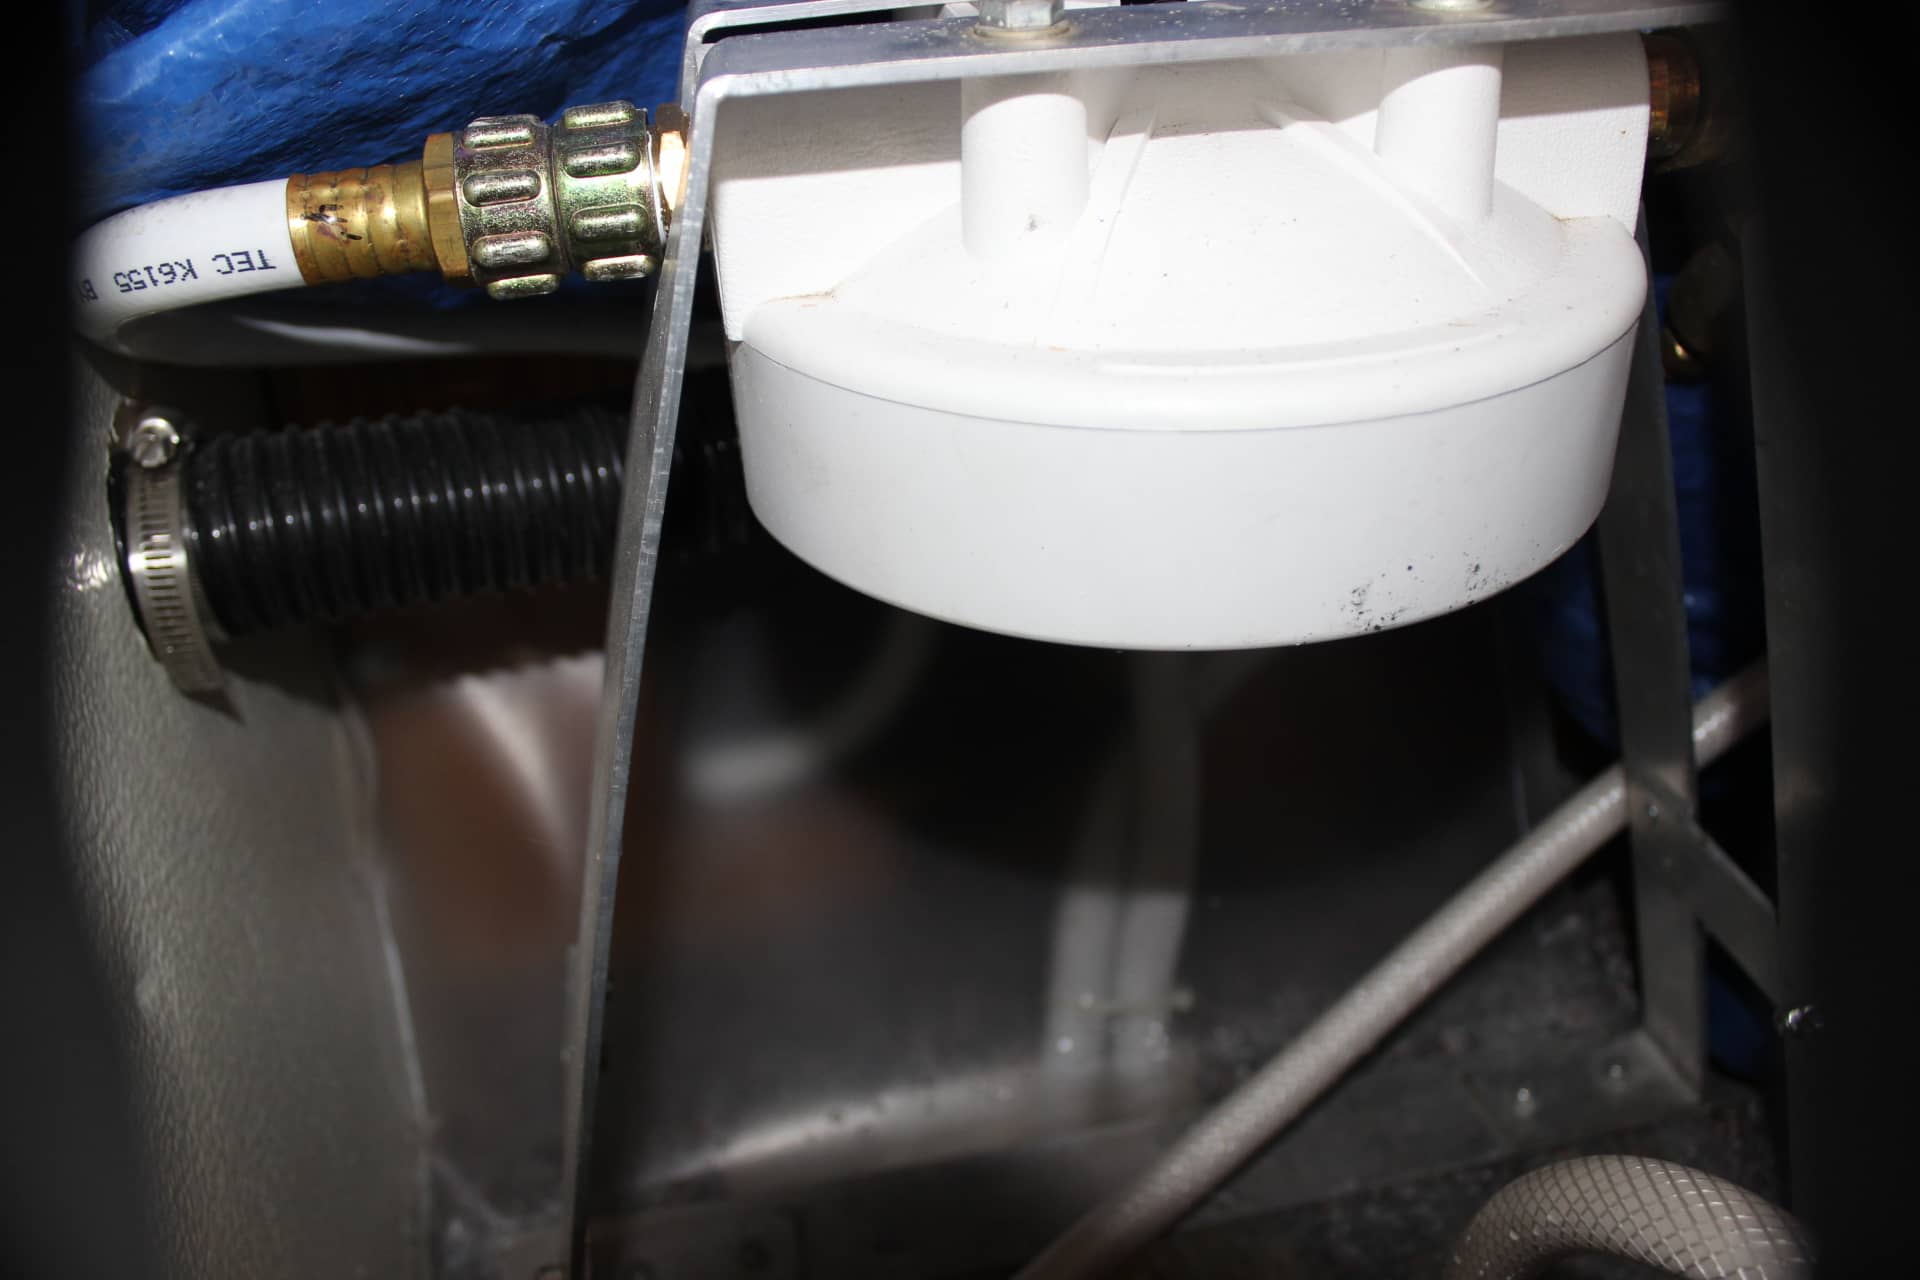
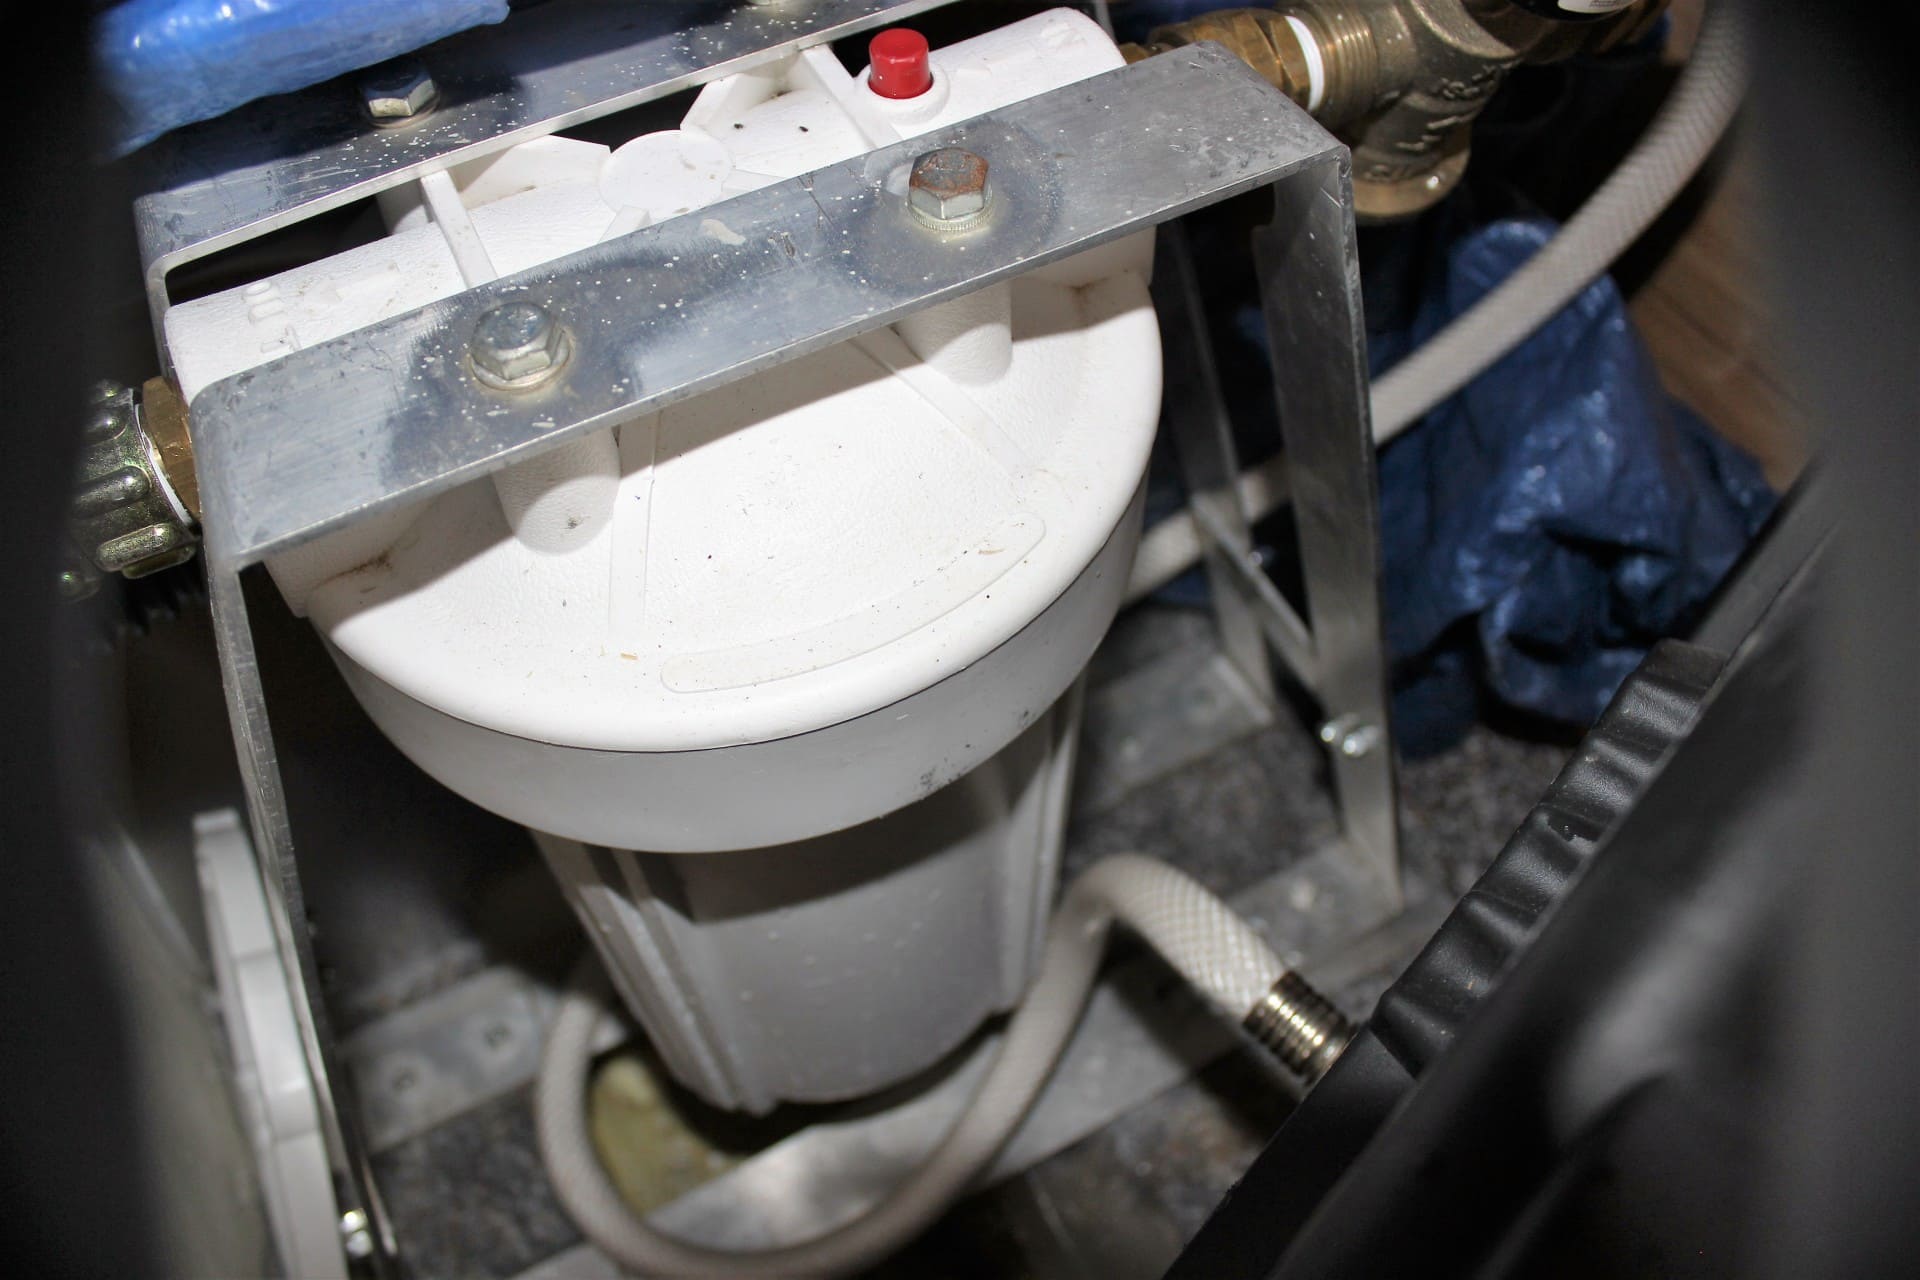
What I did to bypass this hassle was to get the JUMBO filter canister (image 1436…you can’t really see it that good because it is behind the hose reel) so I wouldn’t be having to change it as often and the deluxe pressure regulator (images 1434, 1435, 1436 attached to the filter) that lets the water pressure be where you like it without busting your pipes…. but with the least water restrictions so it flows really good. Then I purchased the Legacy Levelwind potable water hose reel with the 300psi proof 75’ hose (images 1437, 1438). I cut a port in the back storage compartment (image 1439) and attached a little hatch on the outside (images 1440, 1441,…. I believe it’s made by RV products…Trailmanor uses them for their electrical hook up cable access) so that the hose could be pulled thru and out of the back compartment.
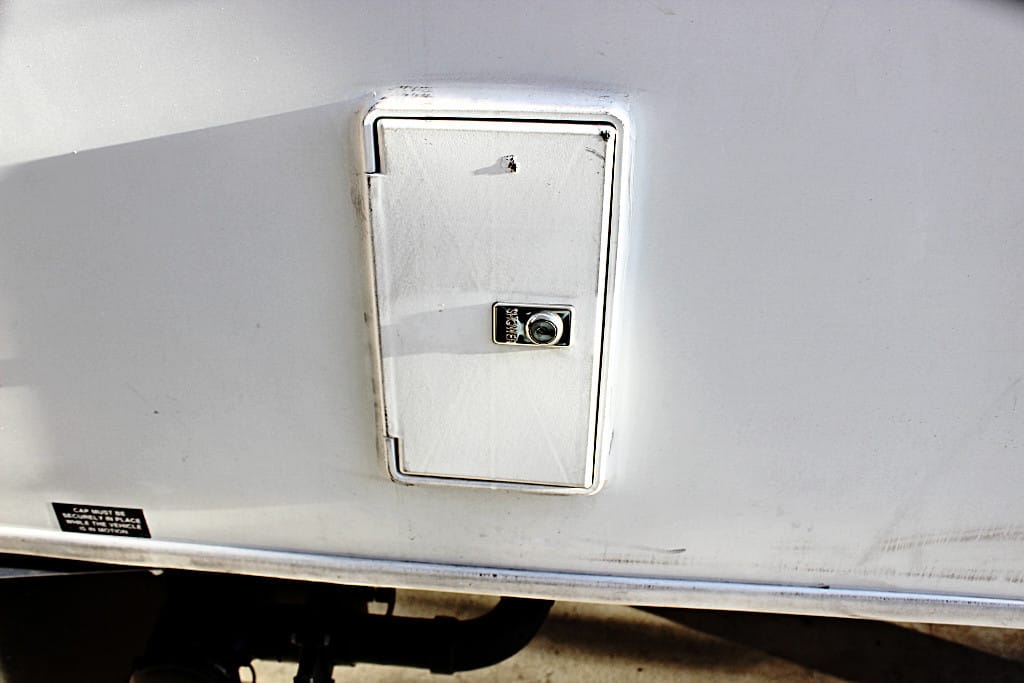
First I laid down some thick plastic to collect any spilled water with a hole in the plastic and in the bottom of the compartment so that it would drain to the outside and never build up. Then I installed the water filter with the regulator on the filter intake side and the hose reel output into the water regulator intake side. I fed the output off the water filter into where the cold water for the outside shower is (image1576….behind this door on the left rear side of the trailer….you have to remove the shower fixture to get to the cold water access to put in a “T”). With a “T” installed I can now feed the whole trailer with pure regulated filtered water.
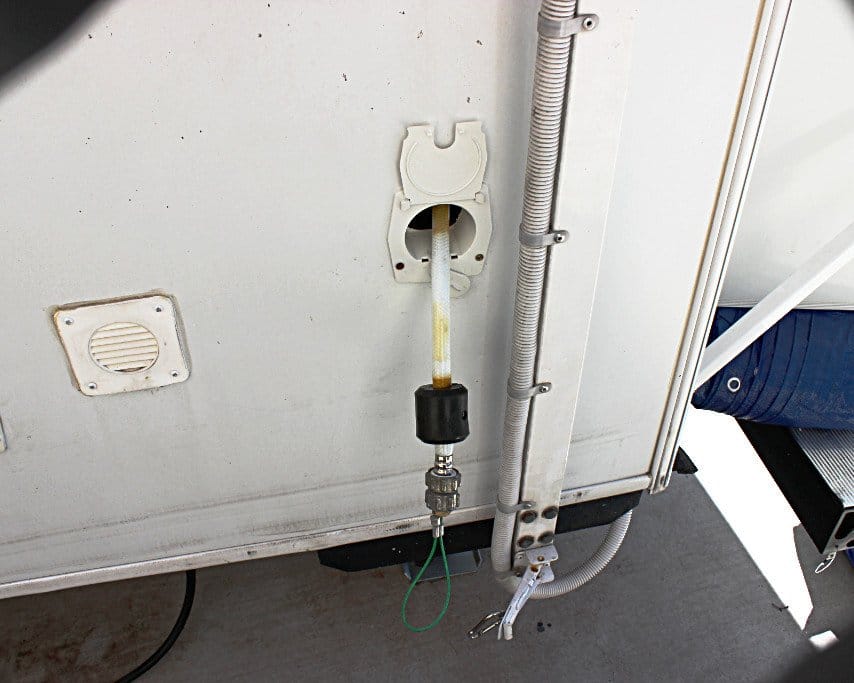
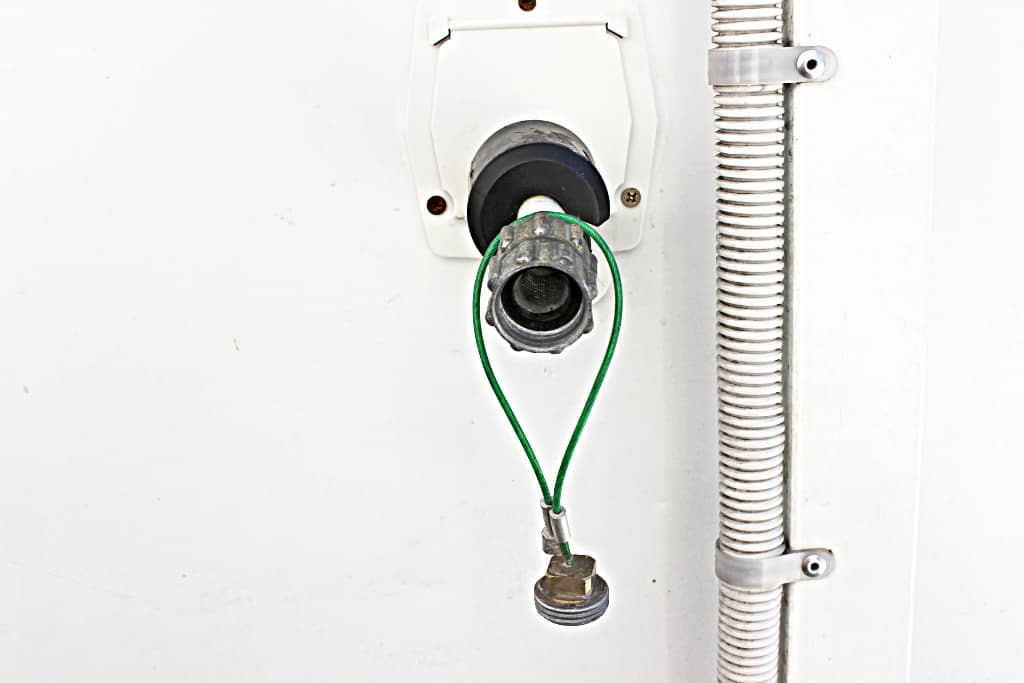
So now with everything mentioned permanently tied down in the back storage compartment and the hose with a lanyard attached to a hose cap at the end of the hose (image 1443, which just screws on and off image 1442) for pulling, I’m able to just pull the hose out from the side of the trailer to however much I need in length and the reel self-locks like a roller blind. Screw it on the faucet, turn it on and there you have it….all in about 1 minute! Then when I’m ready to leave, un-screw it from the faucet, put the cap on, give er a tug and zzzzip…it rolls itself up very nicely (image 1444). Close the little hatch door, and it’s done….all in less than a minute. It just doesn’t get any easier than this! But the best part…I don’t have to get anything out or put anything away!
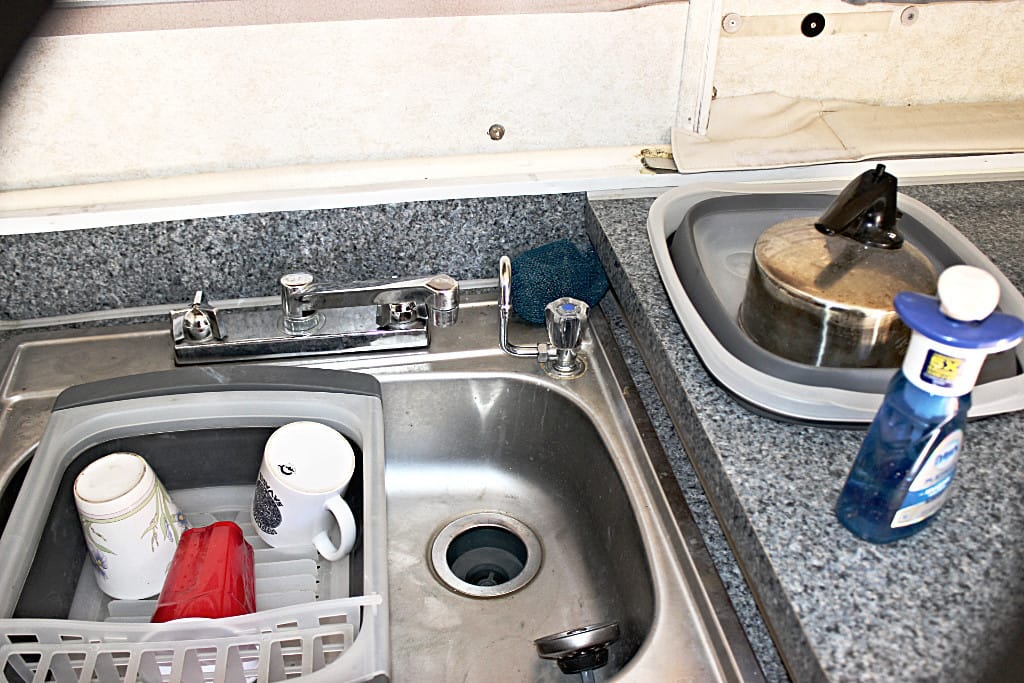
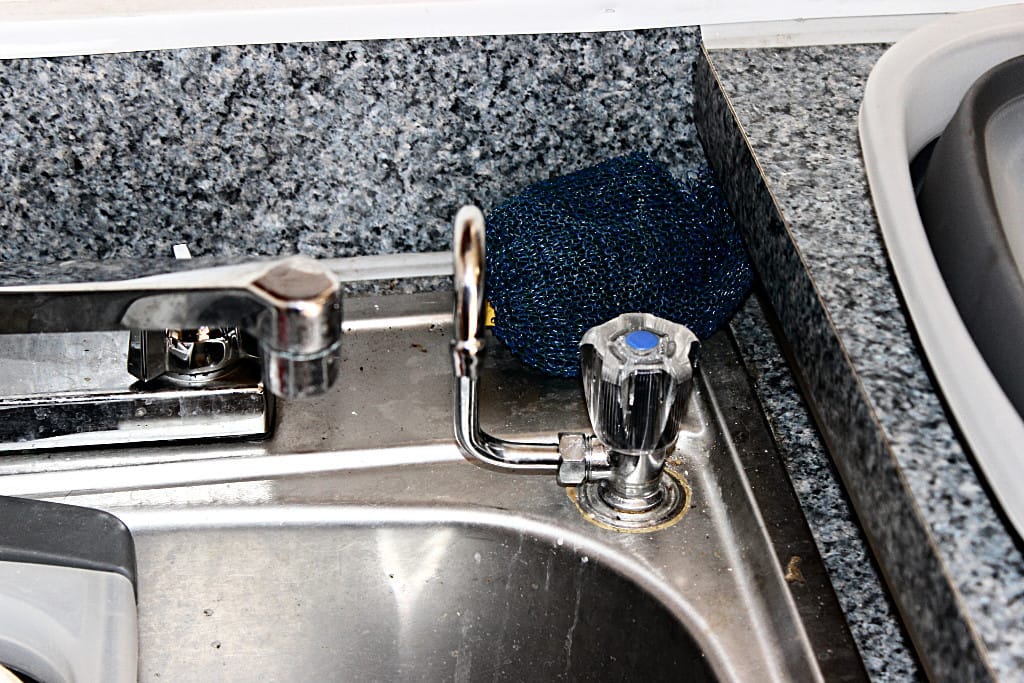
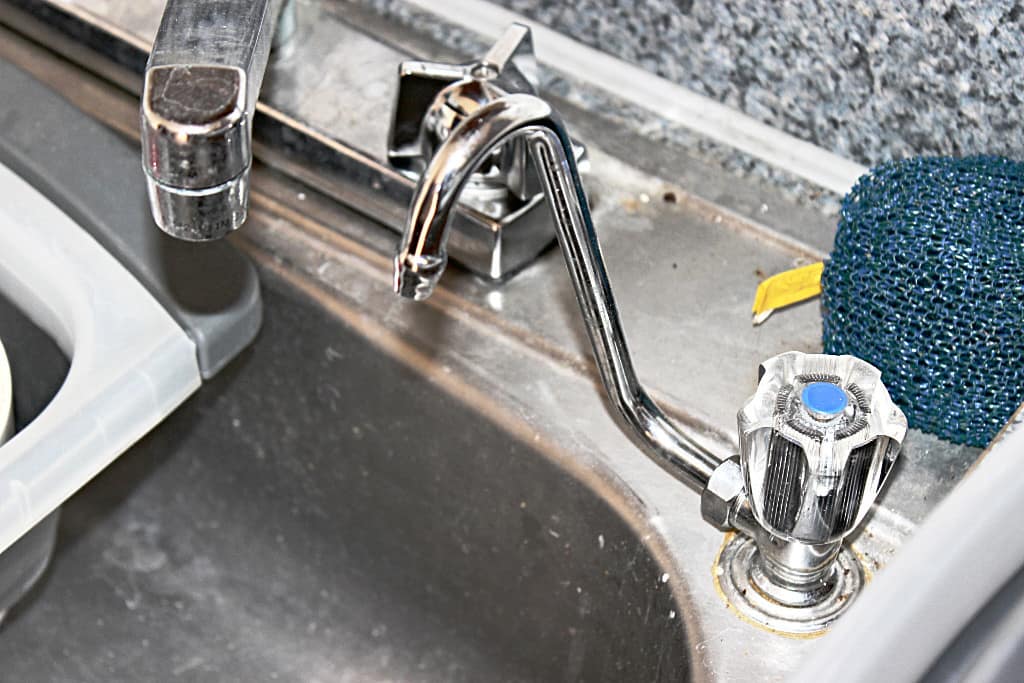
Now I know that the Jumbo water filter does a good job, but for drinking and cooking water we were using bottled water as the purity is far superior. But there are problems related to bottled water. The waste of all those bottles and the cost not to mention the storage for all that water. The answer…a reverse osmosis water filter which does make a very high quality water for consumption. I found just the right place to put a small R/O filter that I got online from a company called Reef Supply. The tank holds about 2 gallons and I mounted it under the counter in the storage cabinets next to the refrigerator (images 1532, 1533). The filters themselves sit on top of the fresh water storage tank under the sink (image 1550) and are tied into the cold water feed to the hot water heater while the waste water from the R/O I ran thru the bottom of the trailer by the sink drain pipes (image 1551 the little black tube). I was able to find a spigot that folds down (although after I got it, it was evident that it really didn’t need to fold down as the clearance was ample and didn’t stick up past the sink faucet!… images 1512, 1553, 1554, 1555). I got it from a marine supply place online. Now we have very good tasting pure water to cook with and drink without the cost or waste.
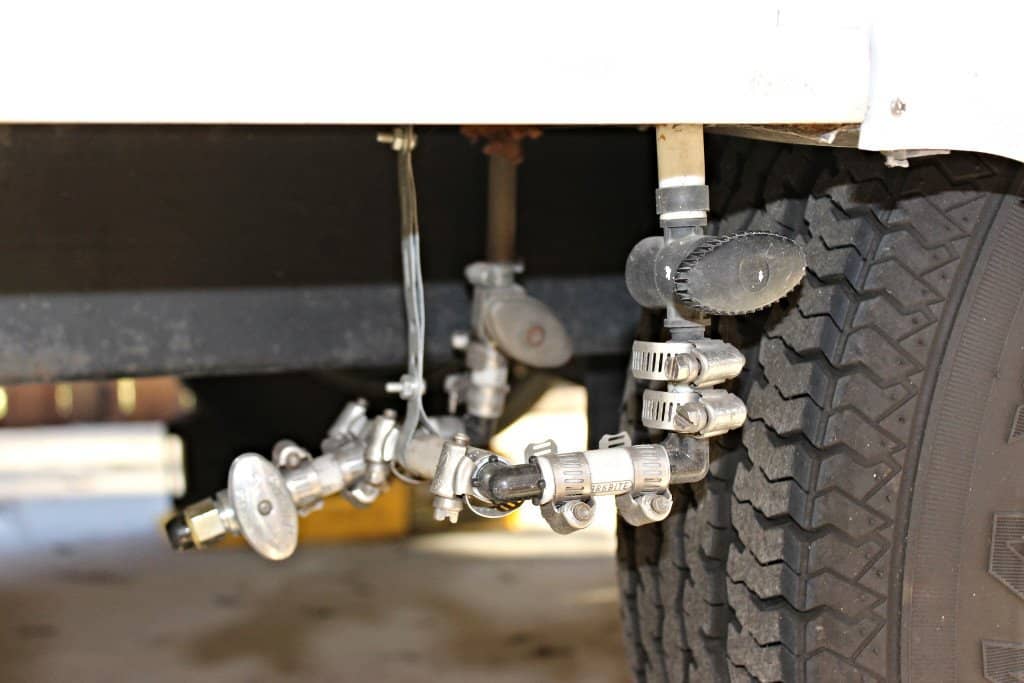
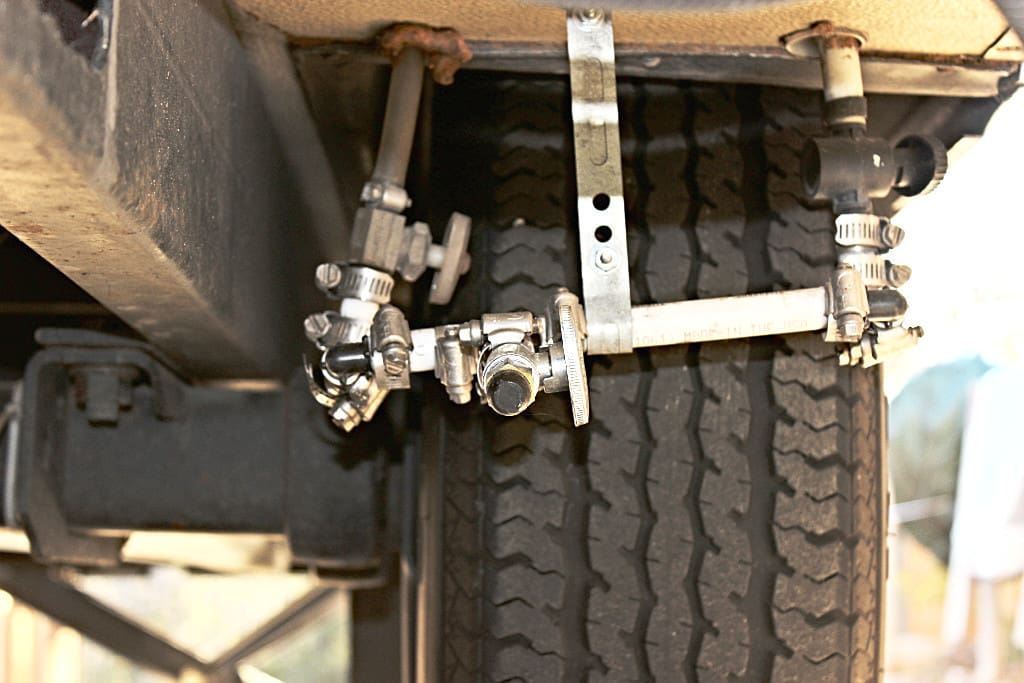
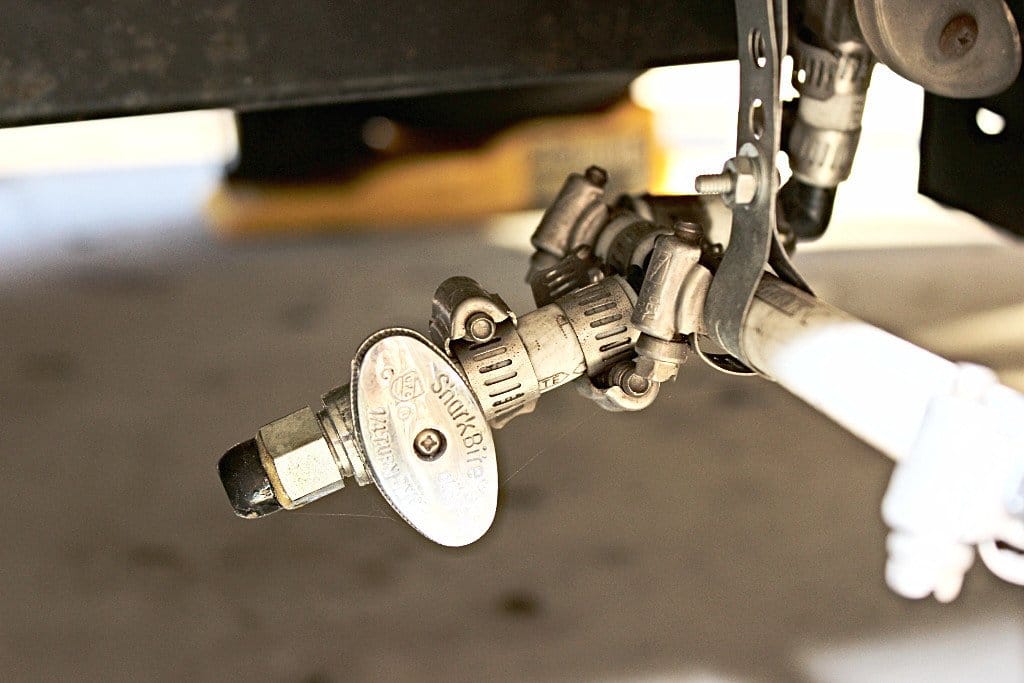
The next thing I did (I actually got the idea from the owner’s forum) was this. That is, filling up the fresh water storage tank. The discussion was about how to do that with the trailer closed up. Well I didn’t care about that. What I did care about was filling my fresh water tank up with FILTERED WATER! So since my whole trailer water system is on a JUMBO water filter I had to get the filtered water into my storage tank because I didn’t want to use a garden hose (YUCK). So I borrowed an idea from the forum. I simply hooked up the drain hoses for the hot water heater and the fresh water tank. Since these both have valves on each one anyway it wouldn’t matter if they were connected (image 1574). So after coming off of each drain valve end with two elbows (image 1573), I hooked them both into a “T” fitting on each end of the “T” and put another valve on the third end (image 1575) with a cap to keep the road dirt and dust out of that valve. This way I can still drain either the hot water heater tank or the fresh water storage tank by removing the cap from the third valve end and opening the third valve while having only one of the other two valves open.
Now if I want to fill up my fresh water tank with filtered water then it is best to turn off the water heater and let it cool down until it is cold (or do this before you ever turn the water heater on while the water in it is still cold). Make sure the third valve of master drain valve is closed. Next you simply open both valves on the water heater and the fresh water storage tank drain stems and with your trailer hooked up to a water supply (city, or a faucet), it fills itself automatically in minutes and when full it overflows like normal thru the fitting on the side of your trailer. Turn the valve to the hot water drain to the off position, then next turn the valve on the fresh water storage tank to the off position and you are done. Your fresh water tank is full of yummy filtered water!
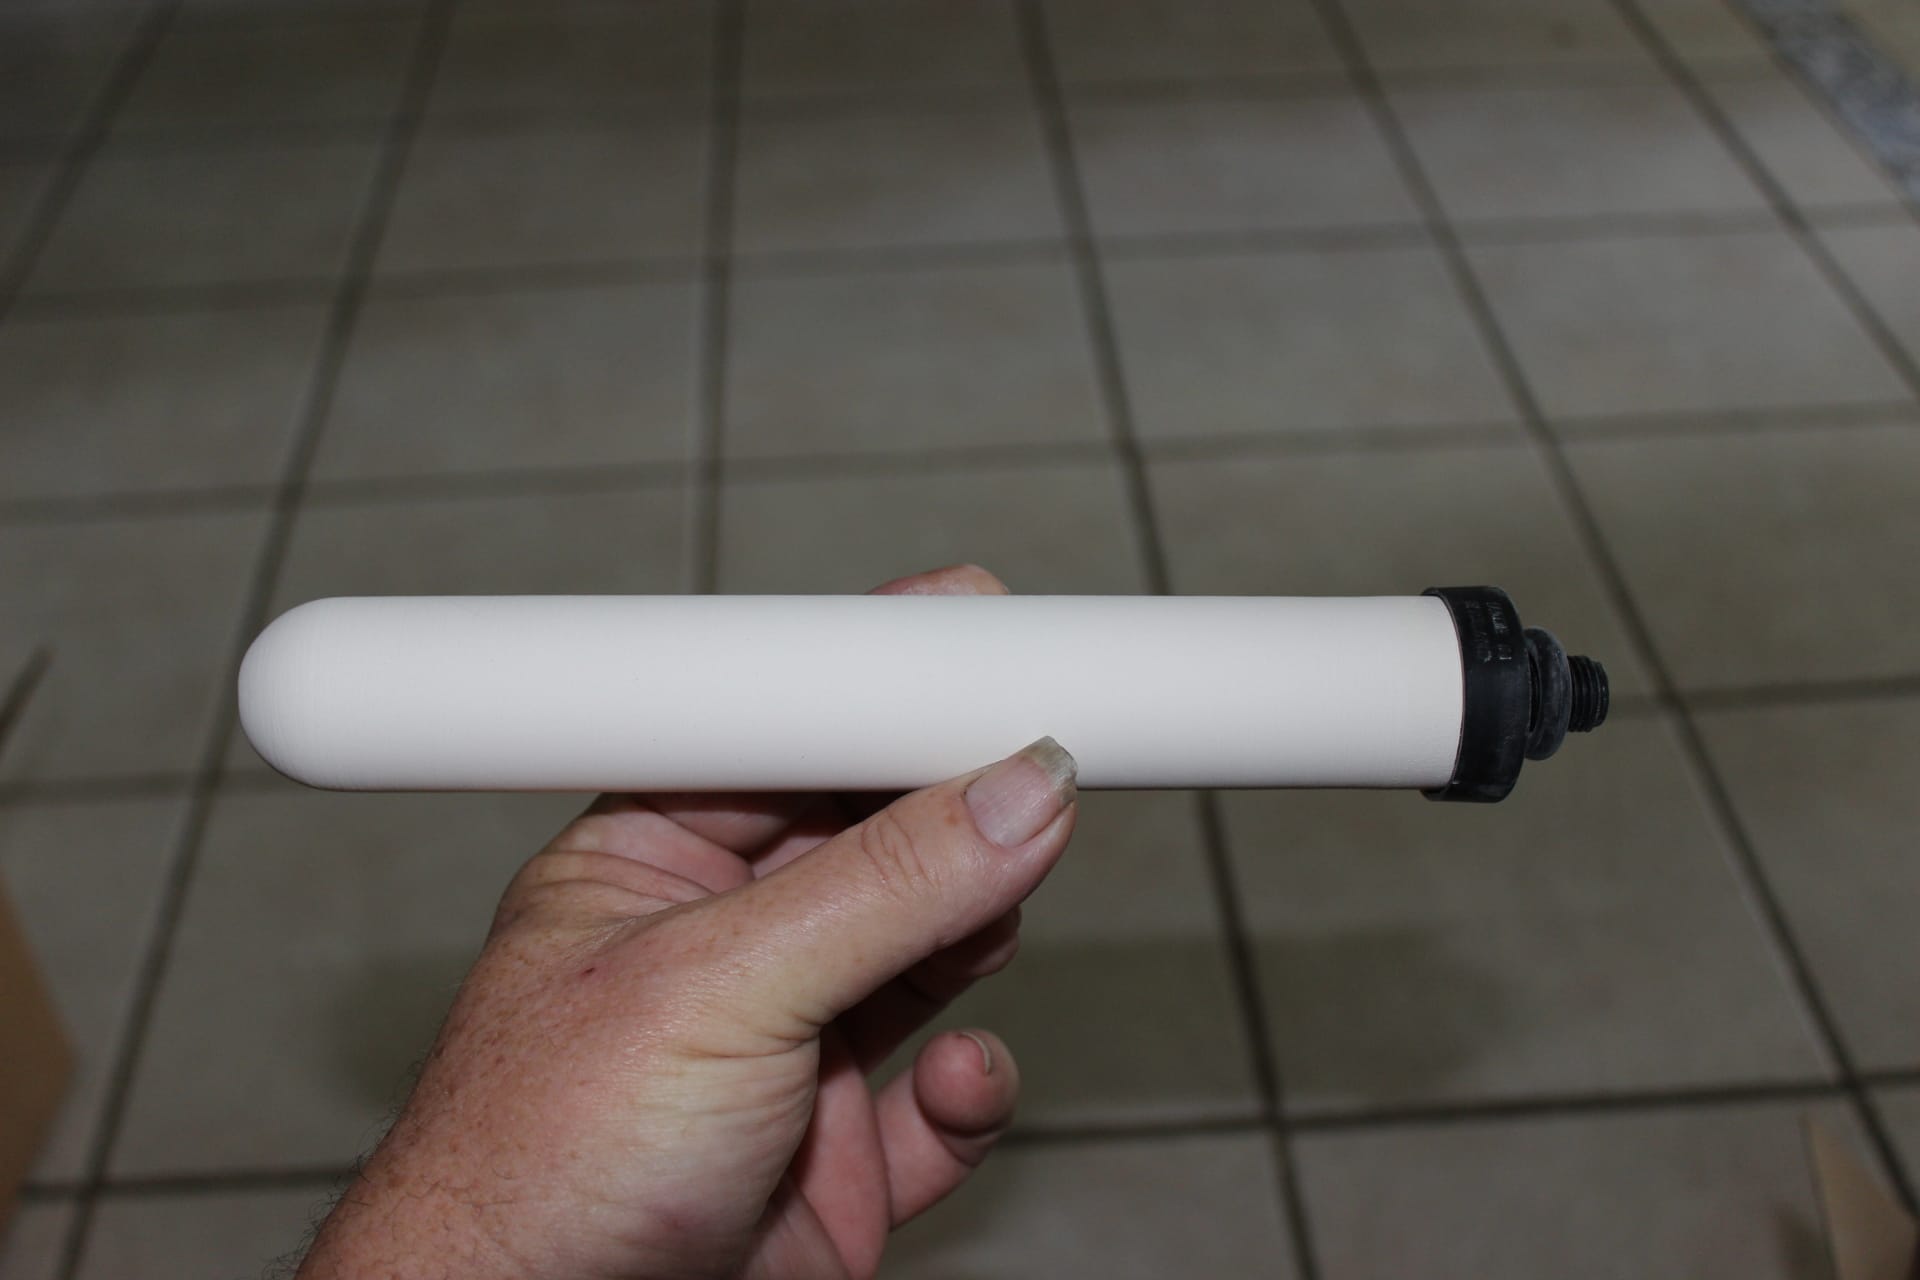
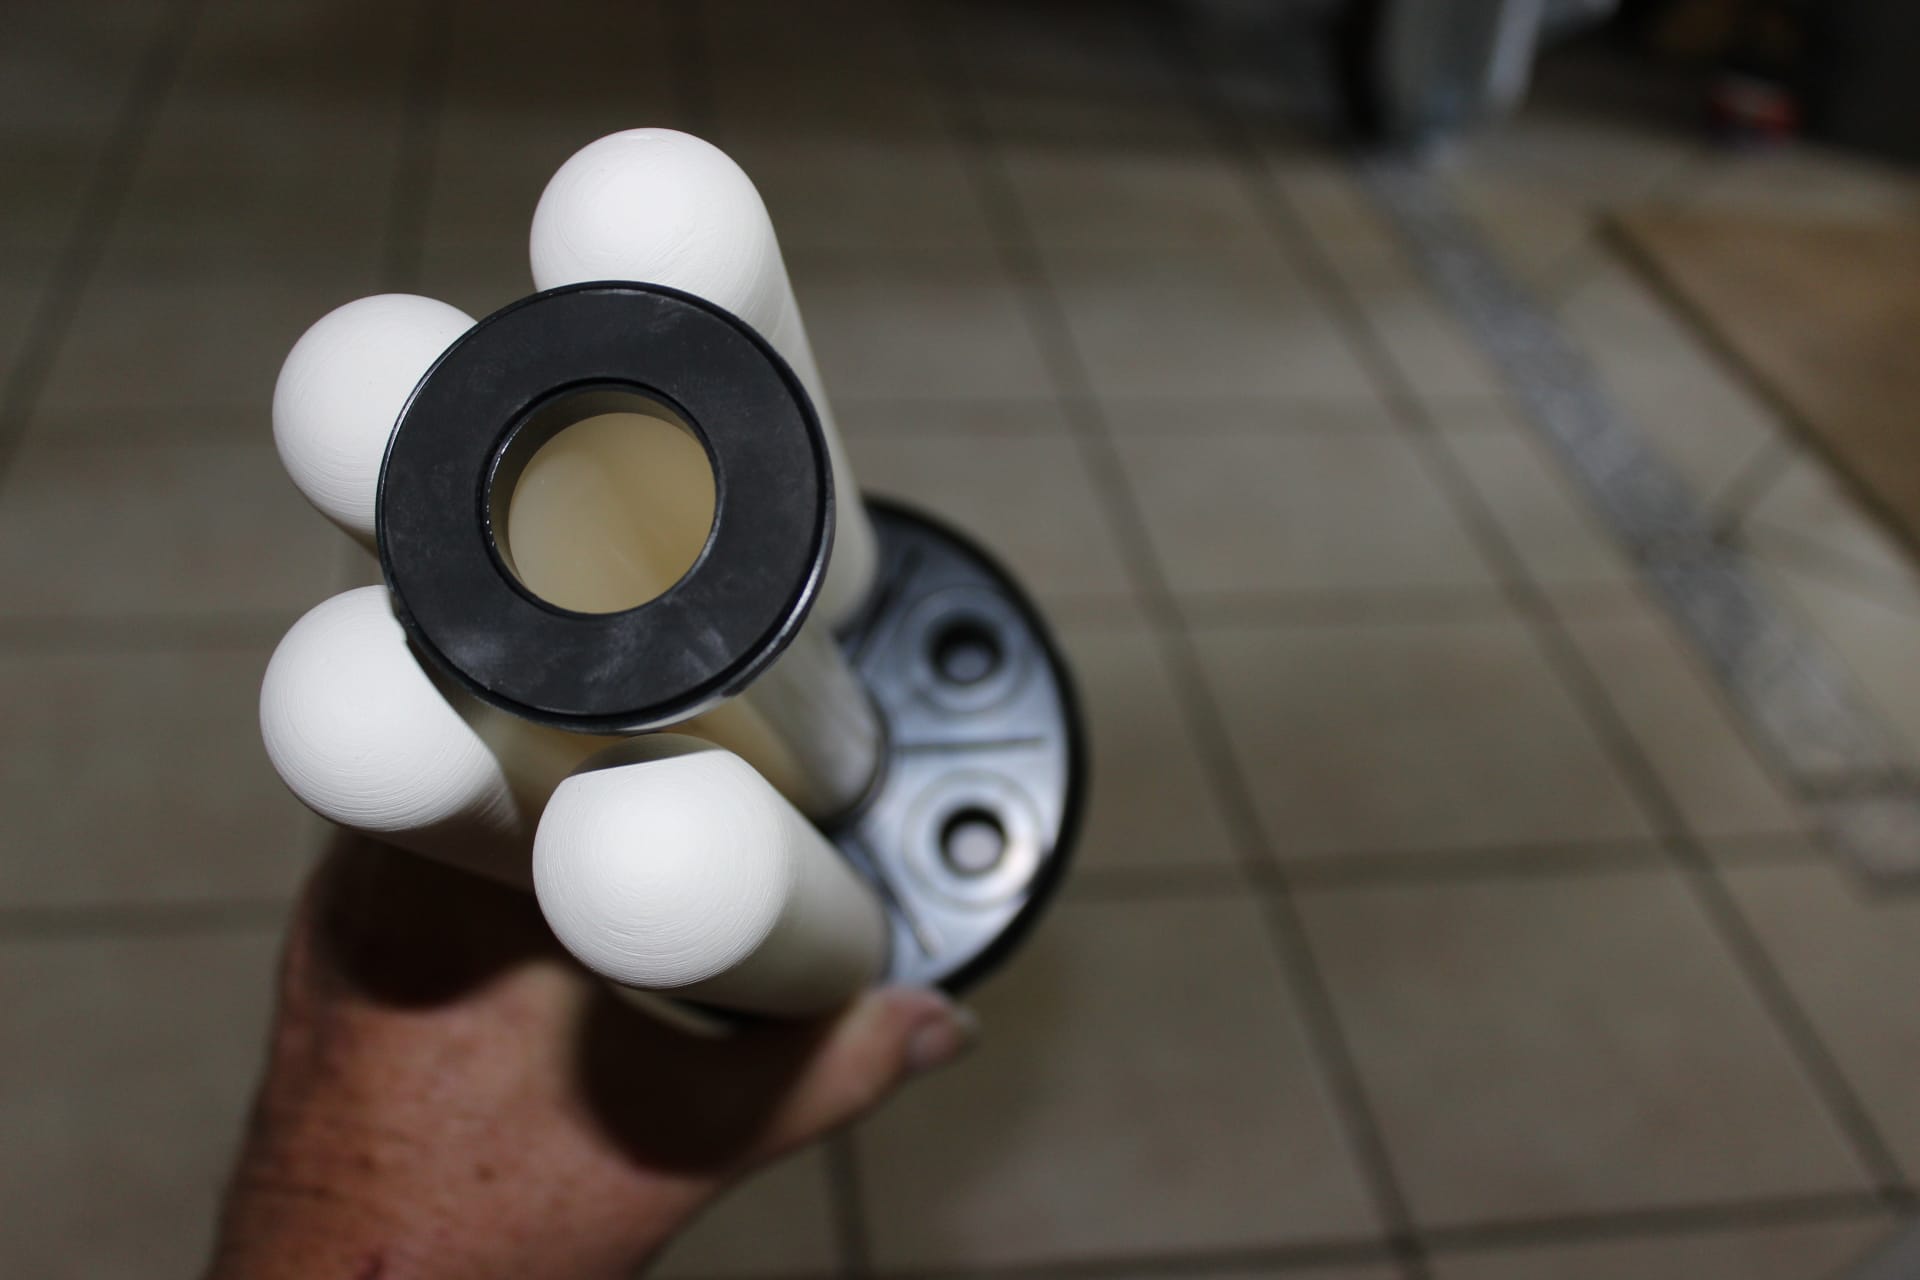
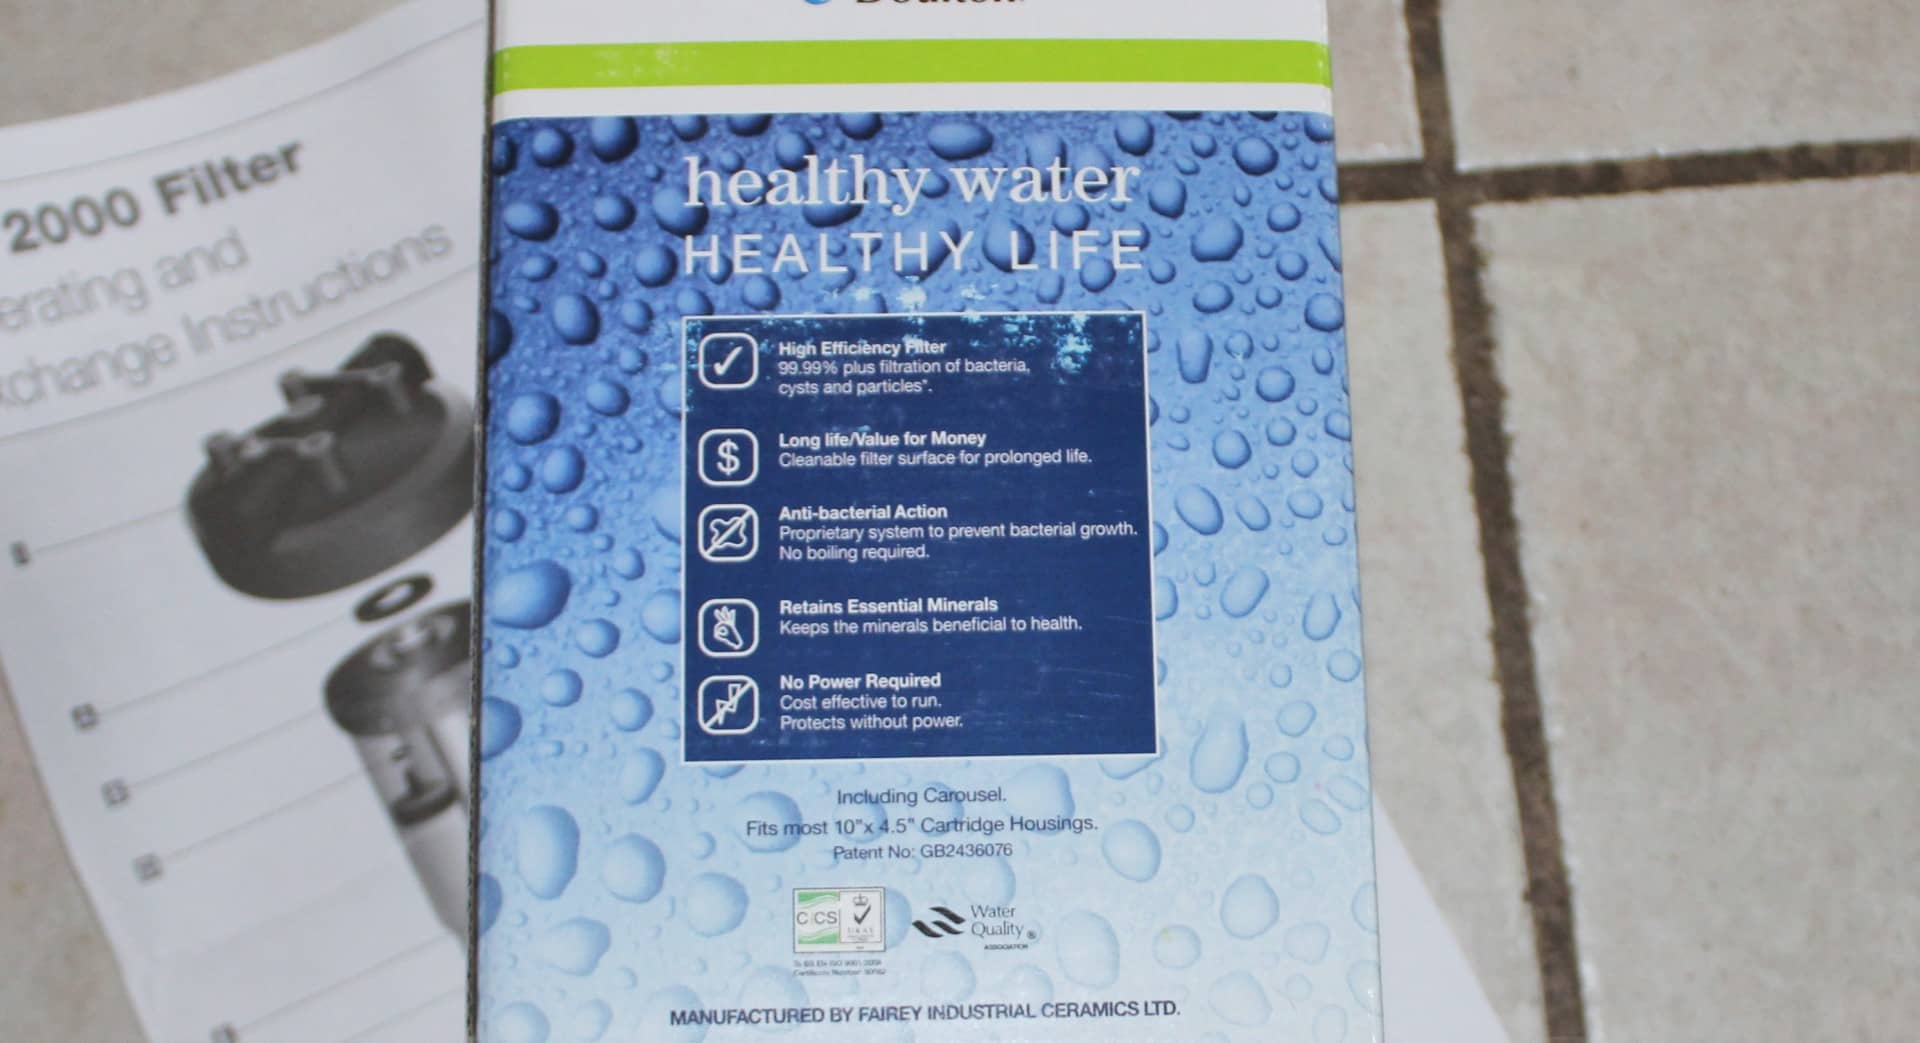
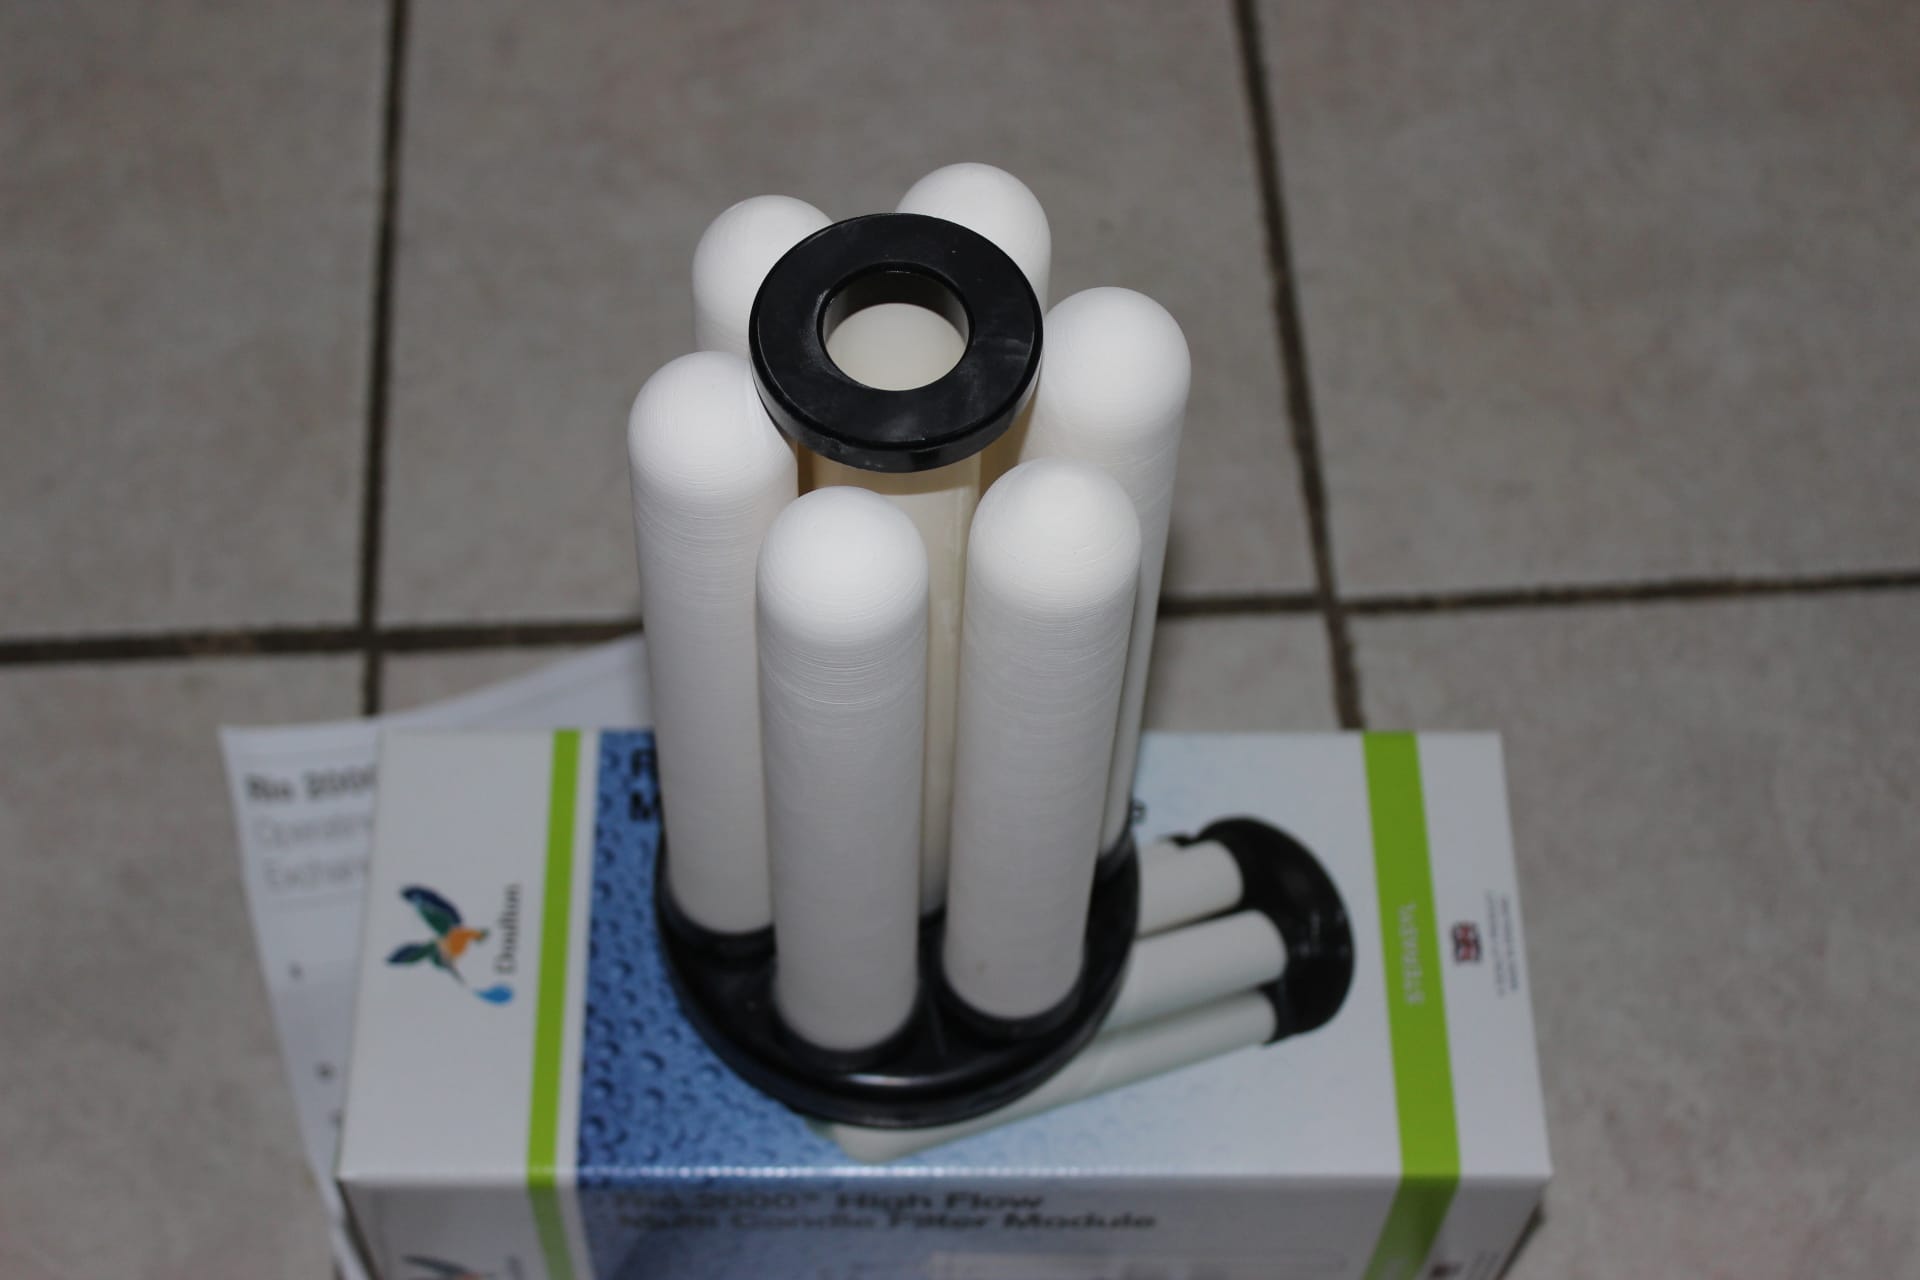
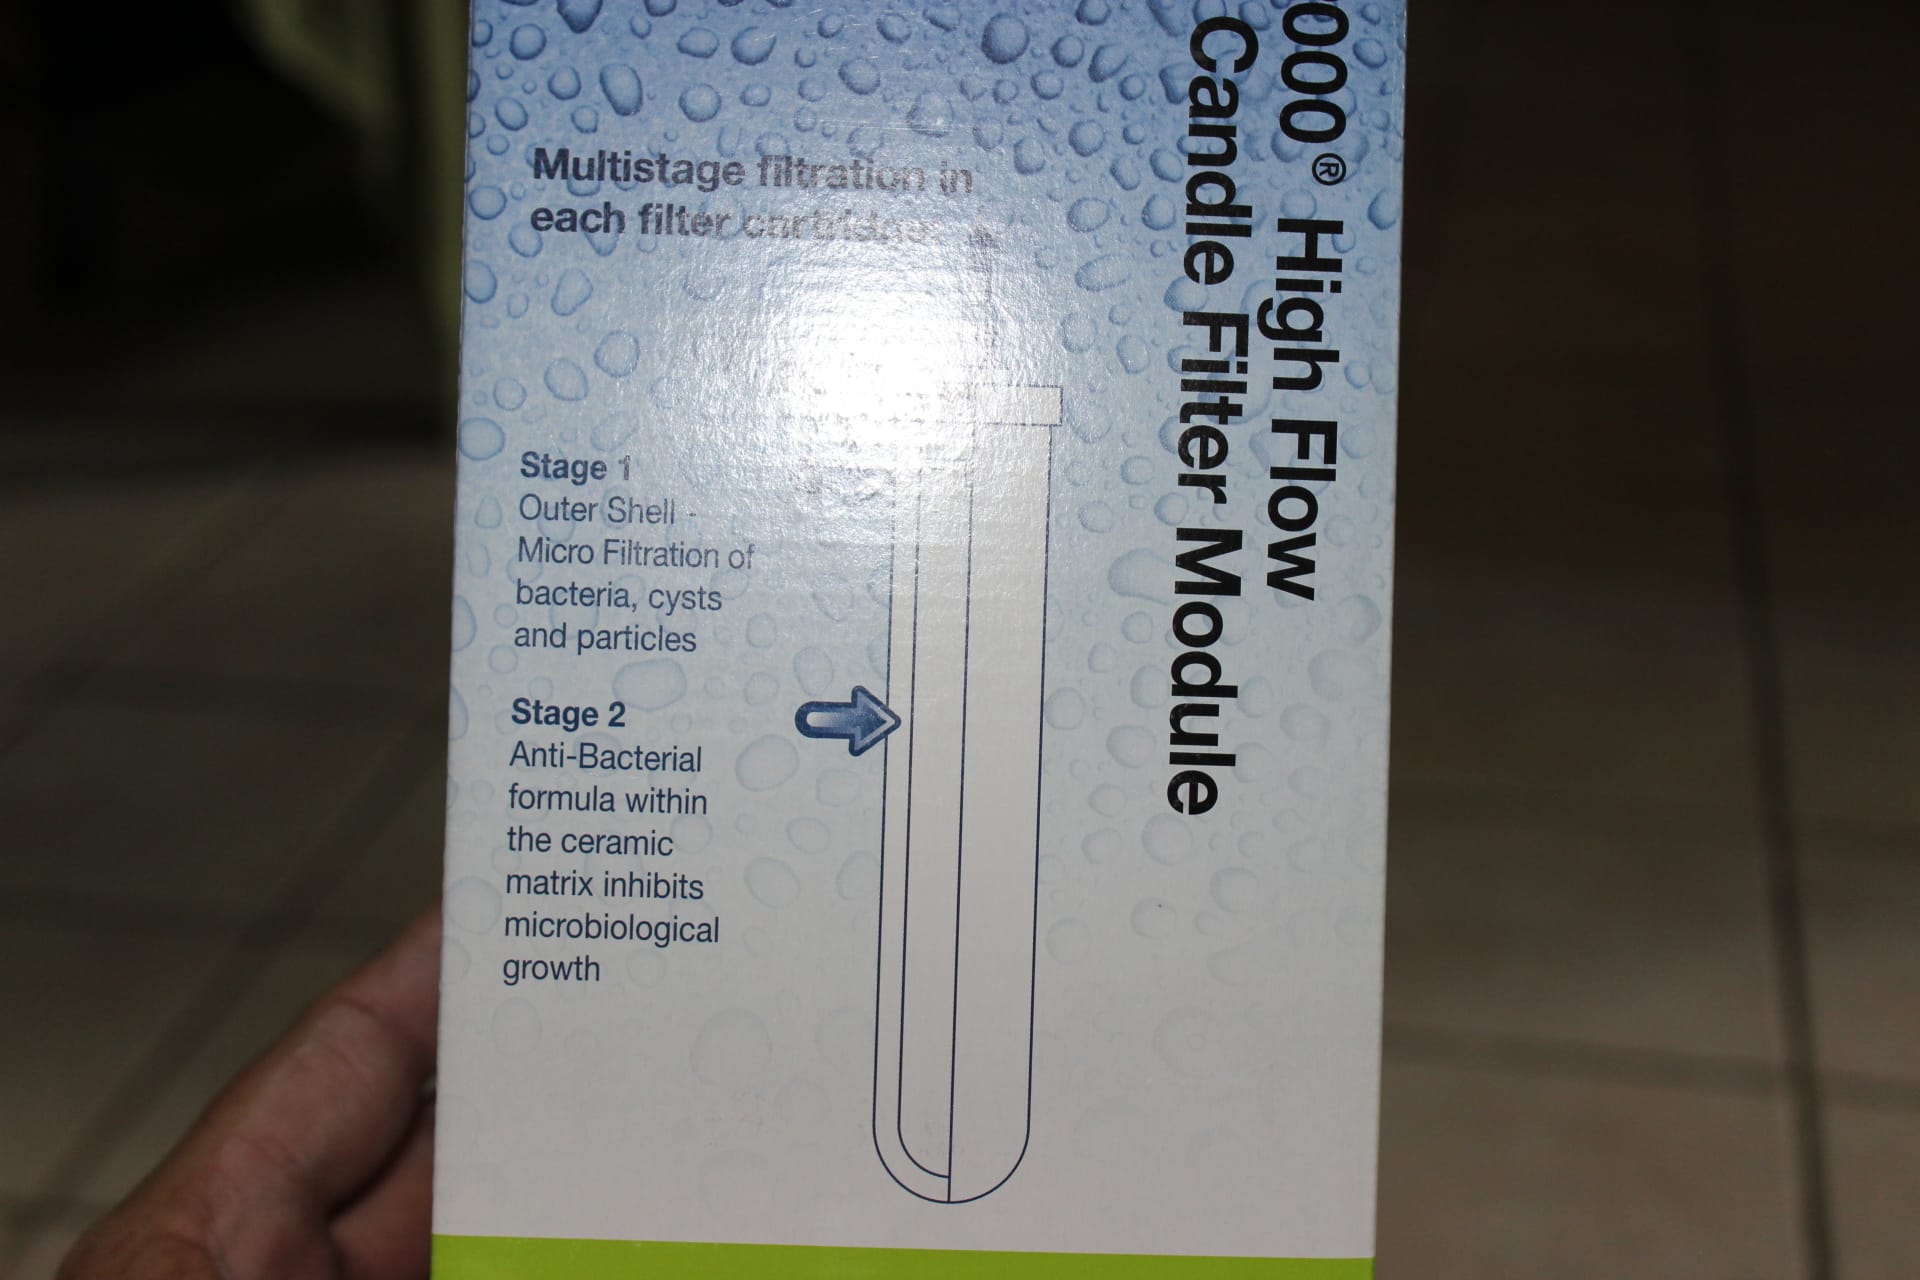
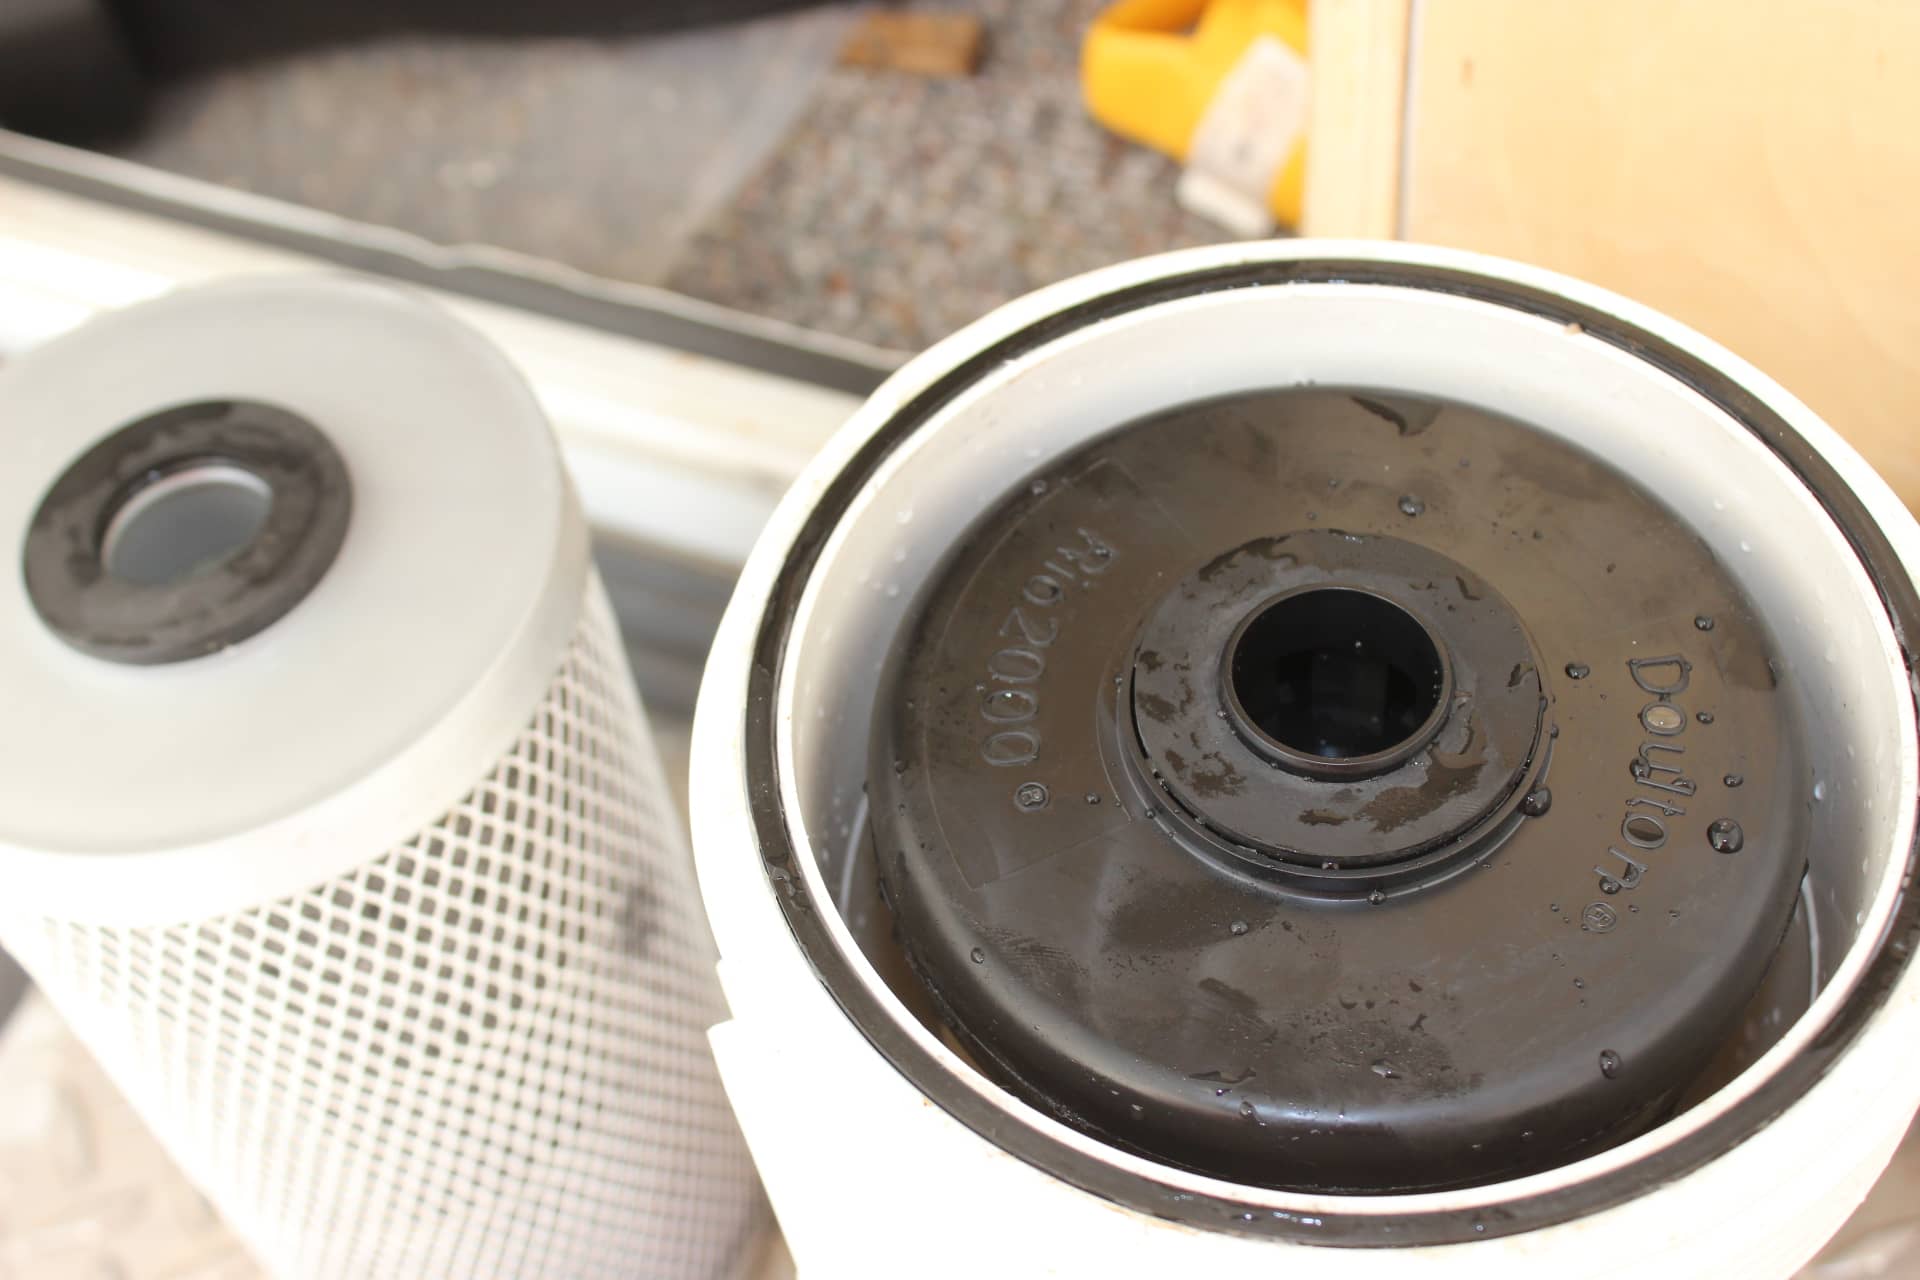
I saw an article about these and have now upgraded my whole trailer water filter with a new style cartridge that uses instead of a canister, but a ceramic candle shaped element (image 1997)…actually 6 of them. It’s made by a British company, Doulton and is caller the Rio 2000 (images 2002, 2001, 2004, 2005, 2009). These “candles” are screwed into a round cradled to form a cluster which is inserted into a “jumbo” type water filter canister housing (images 1996, 2006, 2007) with a gasket on each end to seal it into the canister housing (images 1998, 1999). Because there are six of these “candles”, they do not restict the water flow and will take a very long time before any acumulation of particulate matter can cause a slow down of water pressure.
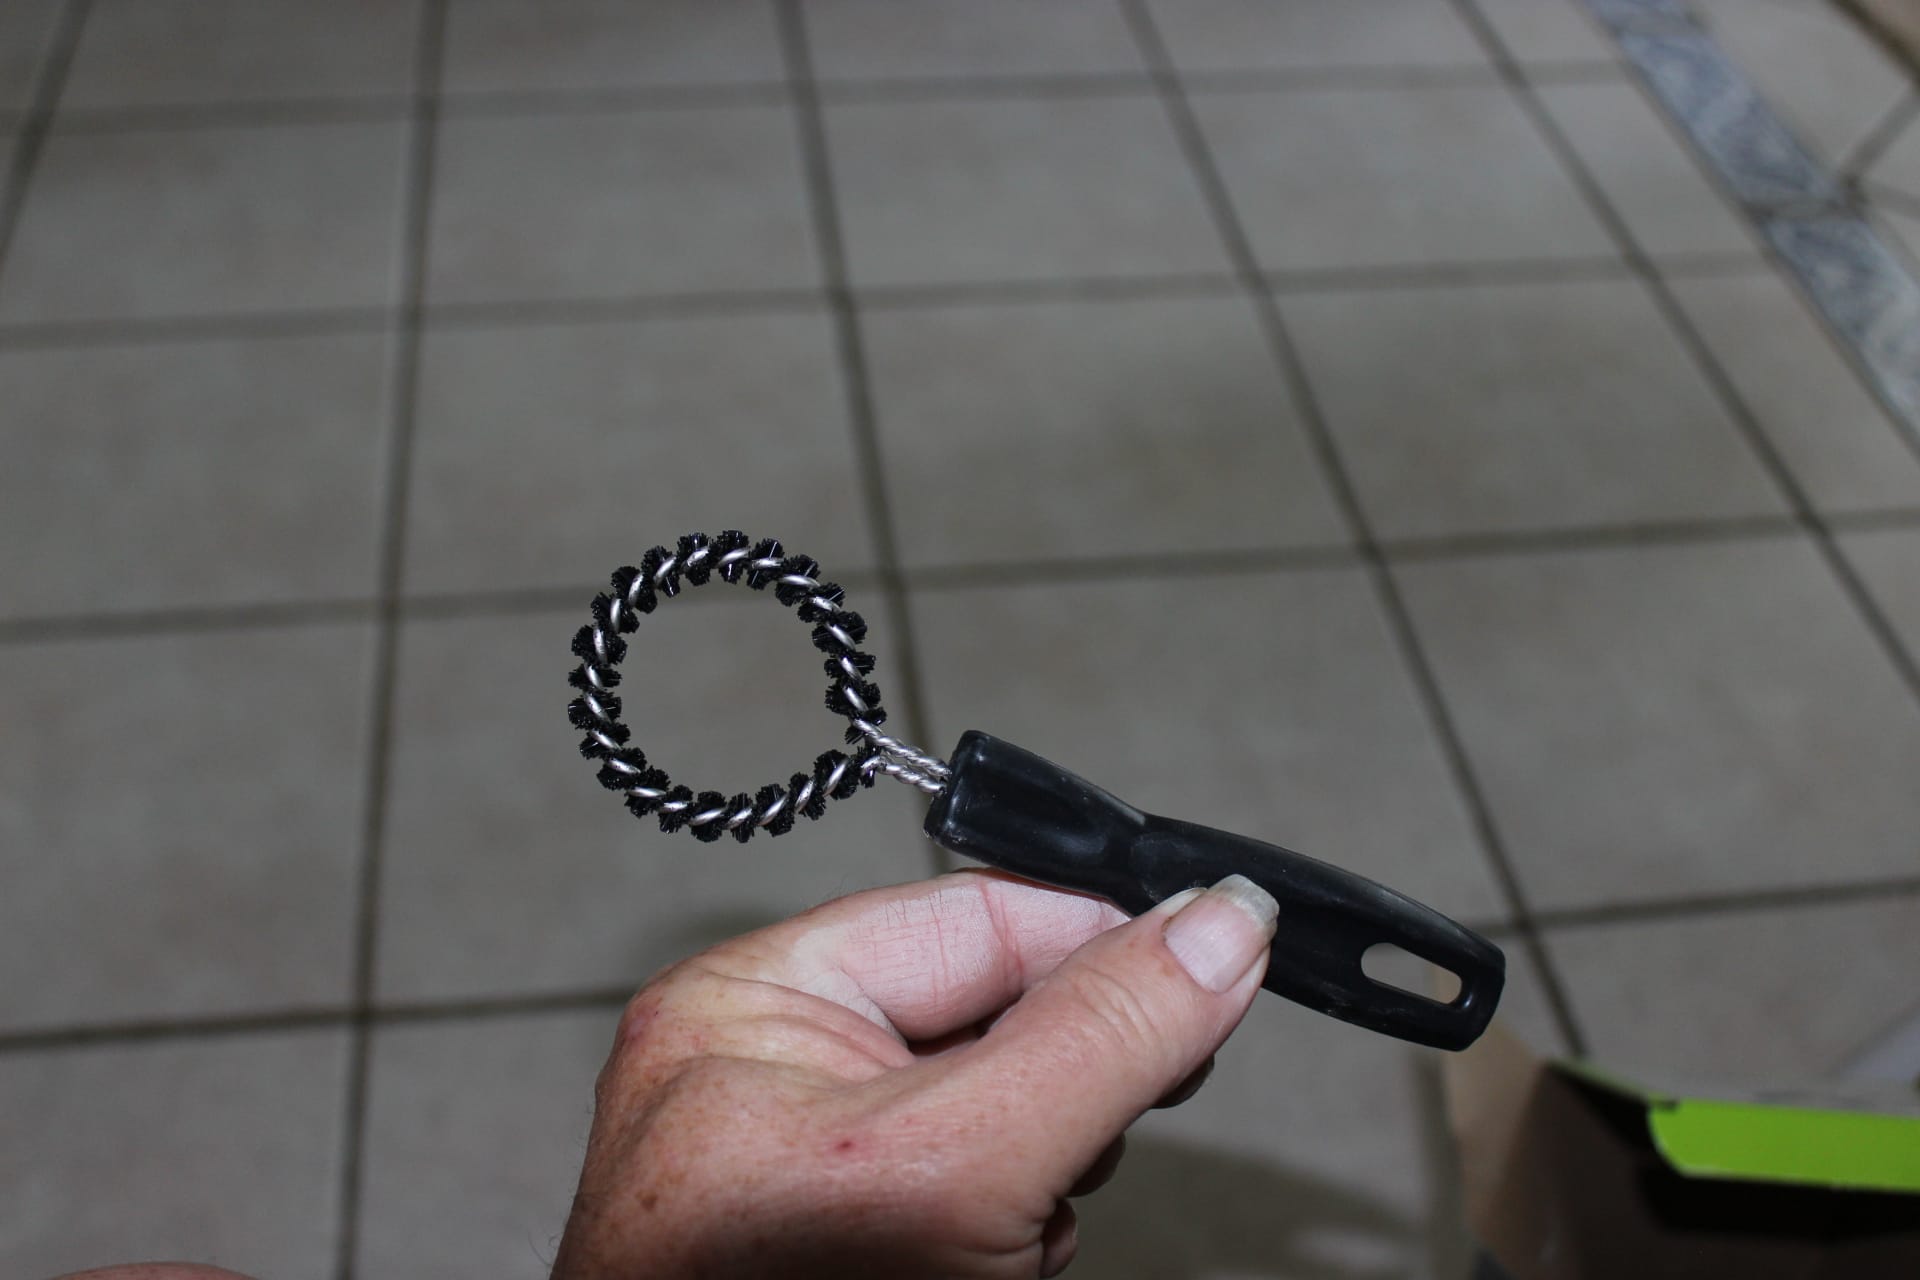
This also comes with a special brush to clean off the outer surface of the candles (image 2000). Although I saw some in an advertisement that had been in a “full-timers” motorhome, that were 8 years old, and they looked almost brand new! These will last a very long time I am told, plus the ceramic material is impregnated with silver to kill any bacteria that might grow inside there. These are very good filters as they take out most of the chlorine, the cysts and a lot of other chemicals that are really nasty!
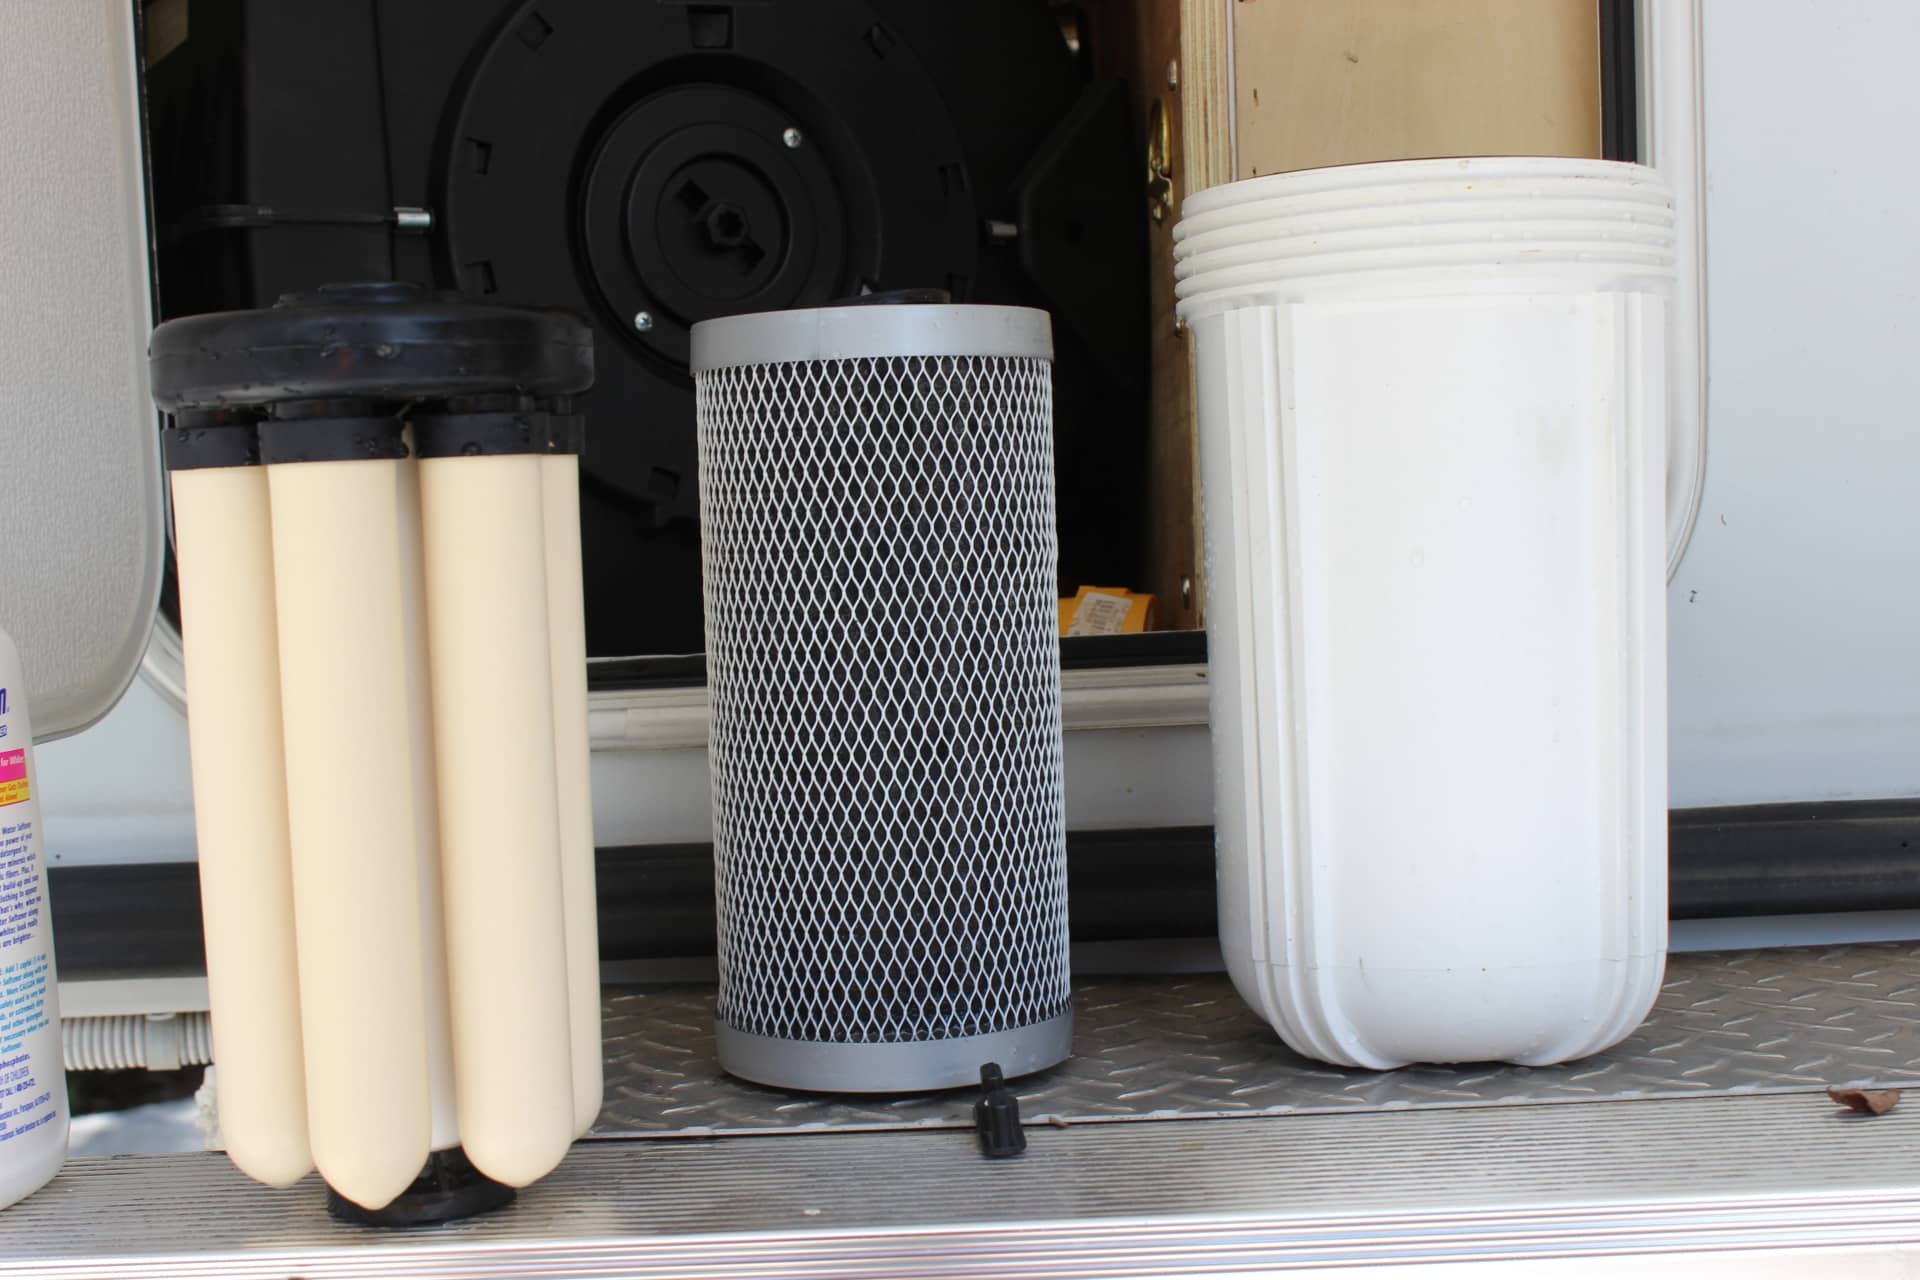
This was so easy to do, because when I put in my hose reel and water filter canister housing, I had the foresight to leave enough room between the two so I would be able to unscrew the canister housing (image 2012), remove the old style canister filter (you can see the difference …image 2010) and drop in the new Rio 2000 (image 2011). Then all I had to do is screw the housing back on (image 2015) and snug it down with the housing wrench that came with the jumbo filter housing. Done deal!
This new filter will greatly improve the water quality coming into the trailer. It will also help the reverse osmosis filter too by providing even better water for it. Good clean water is essential for your health… on the inside of your body as well as on the outside!