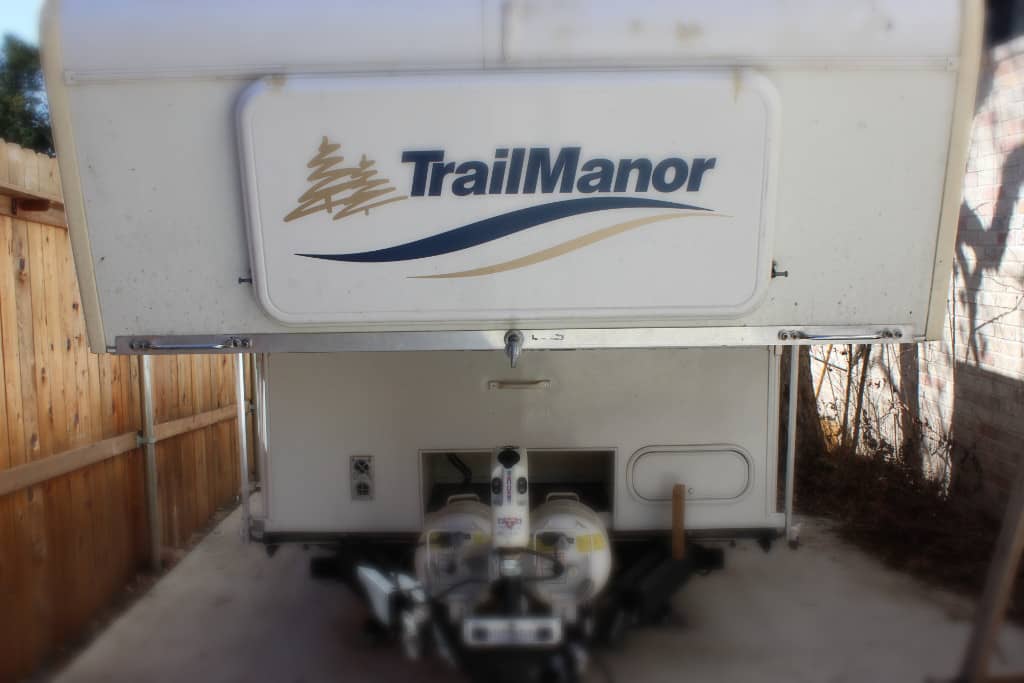
It’s tough opening the front shell on my Trailmanor sometimes. Especially if you have sculpted nails like my wife does.
Simple solution…handles near the corners. Why it didn’t come with some kind of handles in the first place is a mystery to me. “Just grab the corner and lift”….yeah right! The rear shell is easy comparably so, not having the weight of all the accessories and the A/C and being able to get your hands in middle under the rear shell. You can’t do this on the front because the trailer tongue and propane bottles are in the way, so you have to grab under the corner and lift.
Which is less of a problem with two people doing the lifting. But with one person trying to open the front shell there is a problem. Namely being that the side you are attempting to lift binds when lifted upwards and the other side isn’t being lifted at all. When this happens the front shell doesn’t want to open at a tilted down angle to the side not being lifted (left to right etc…).
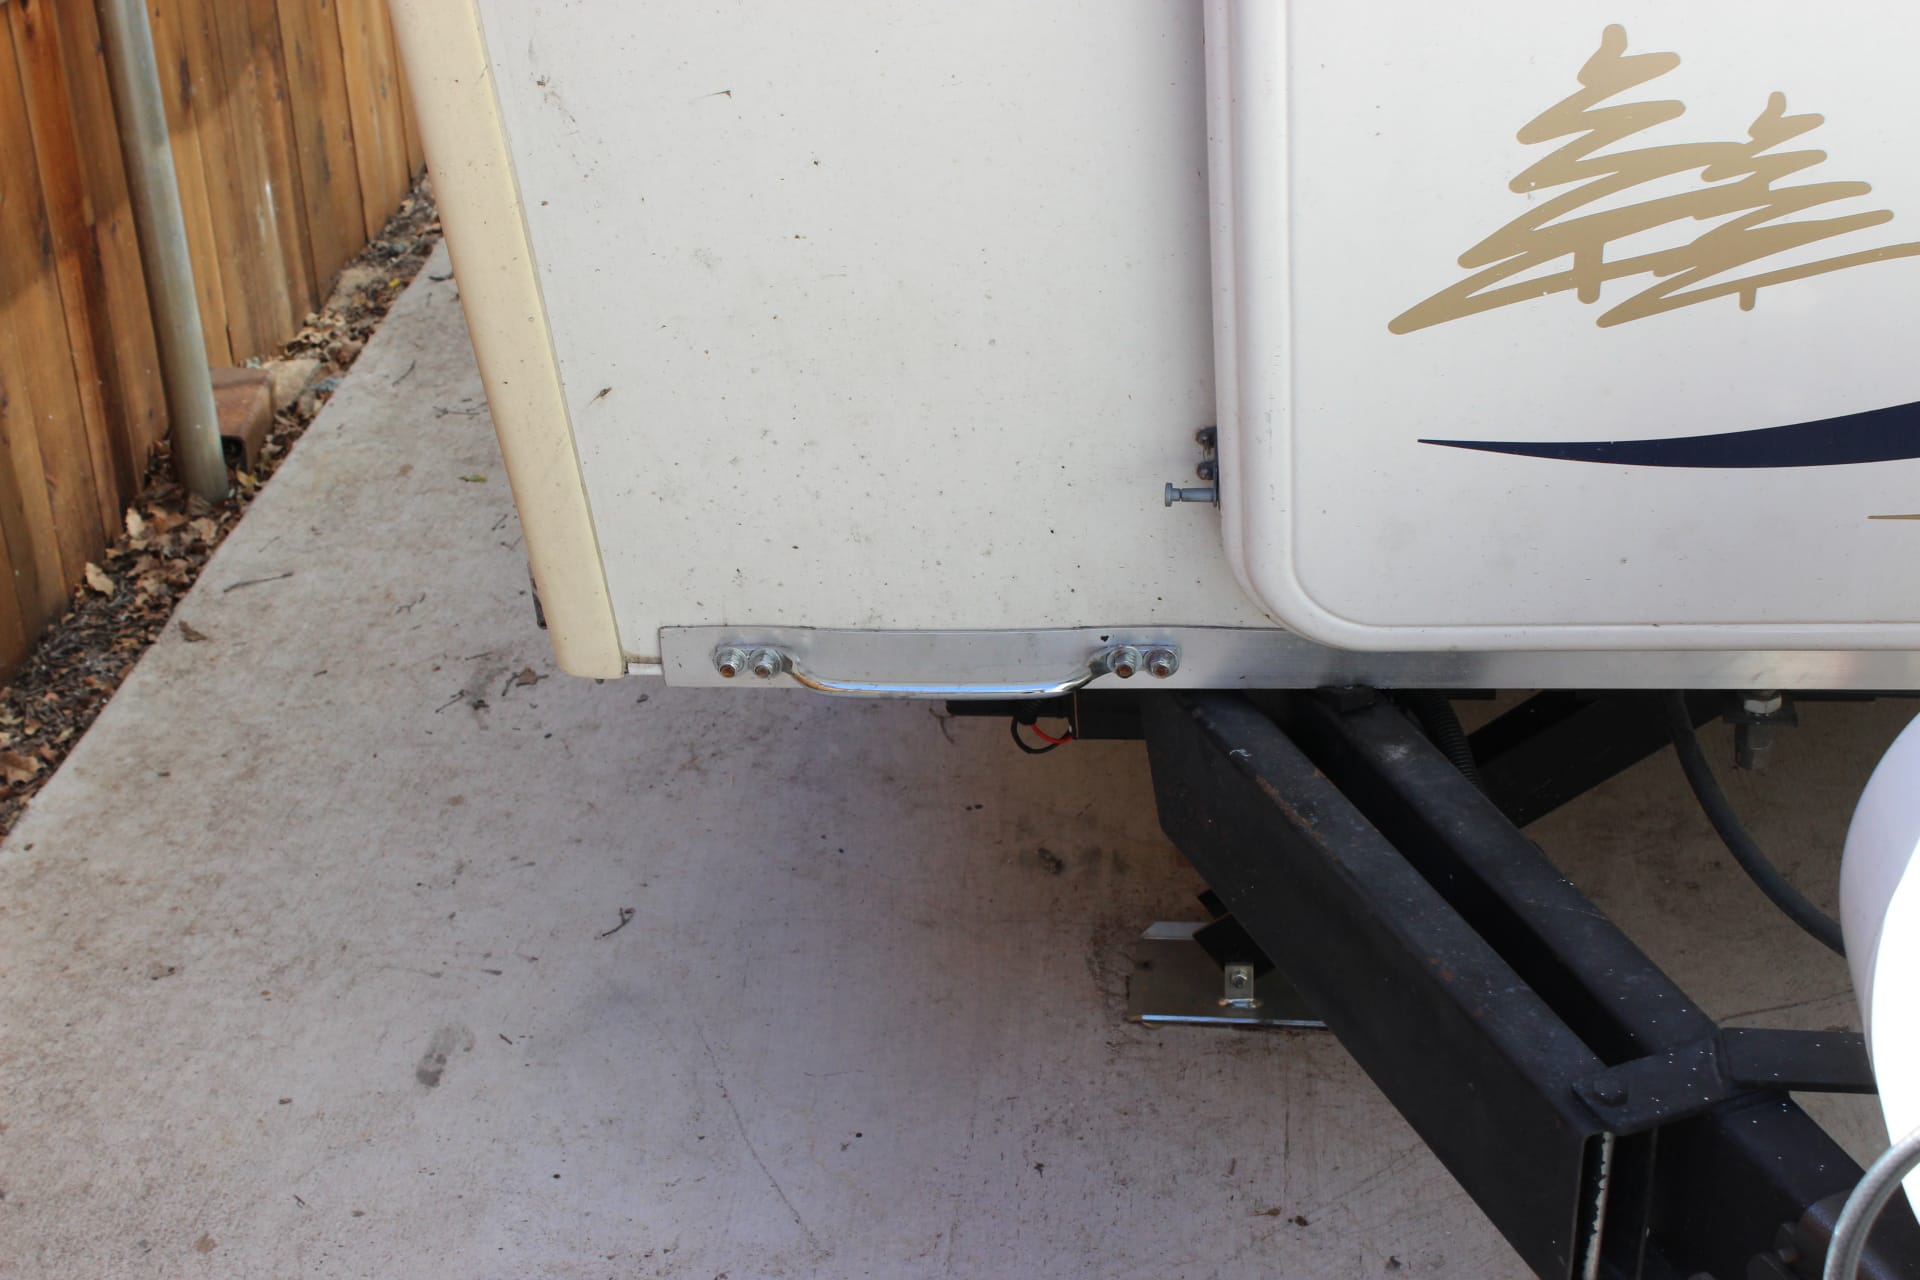
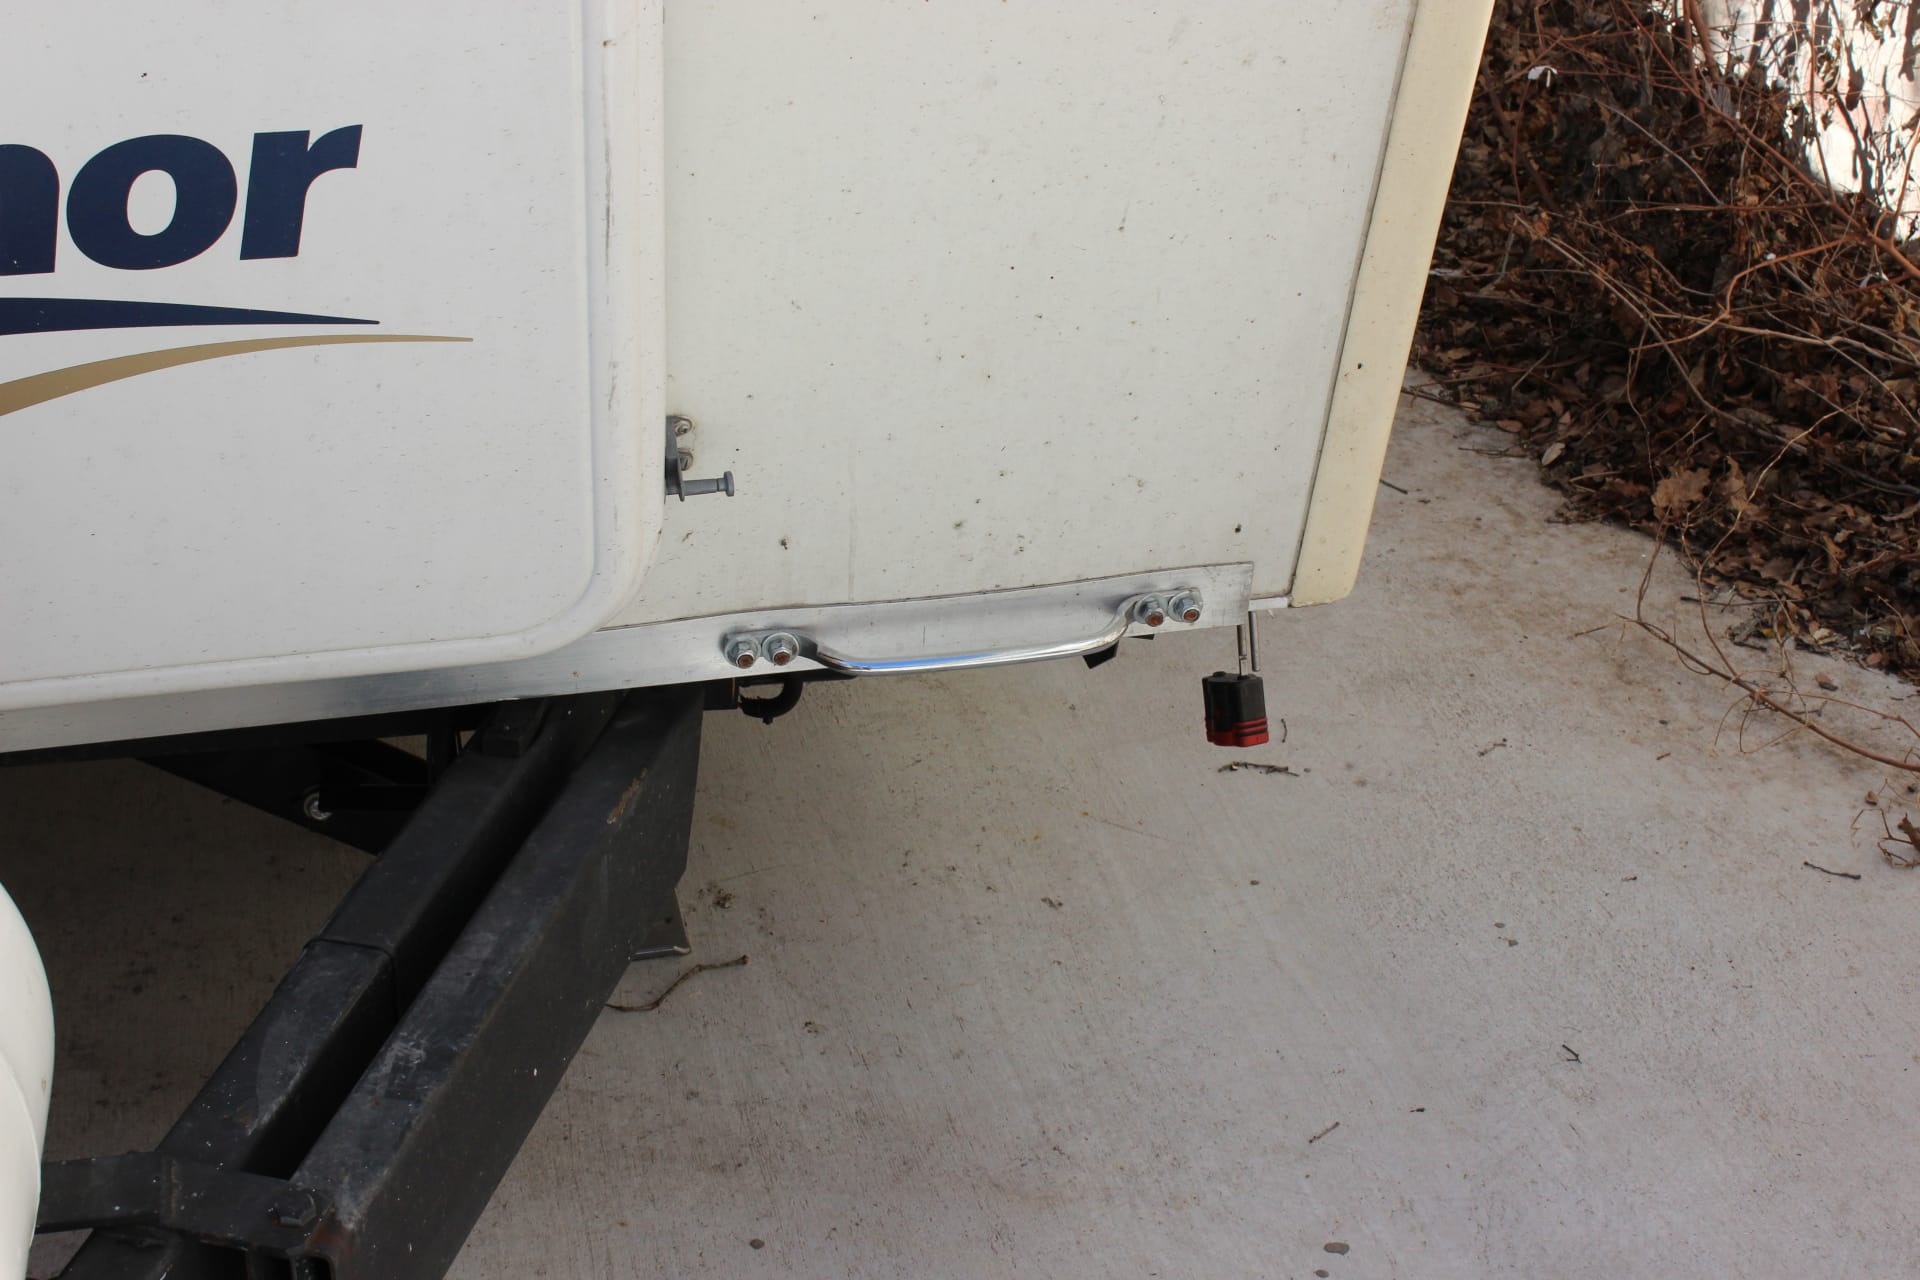
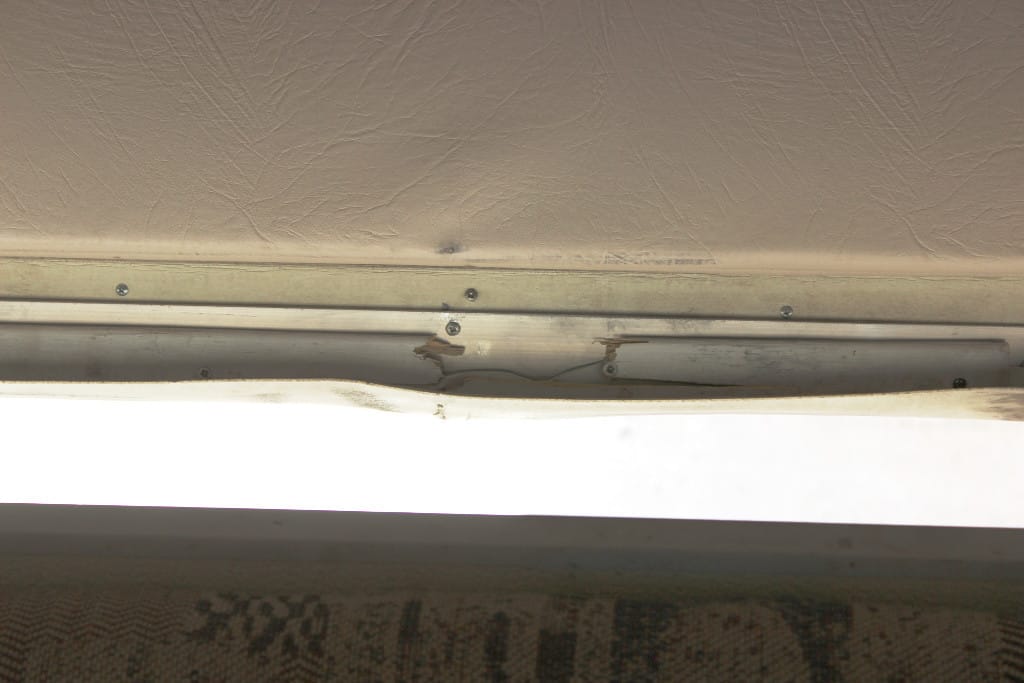
So I got a piece of aluminum channel the width of the bottom board on the front shell and attached it to that board so as to spread the stress of lifting the front shell evenly across the whole area in question so as to not cause any damage. I attached the handles to help with the lifting. They work GREAT and do the job nicely!
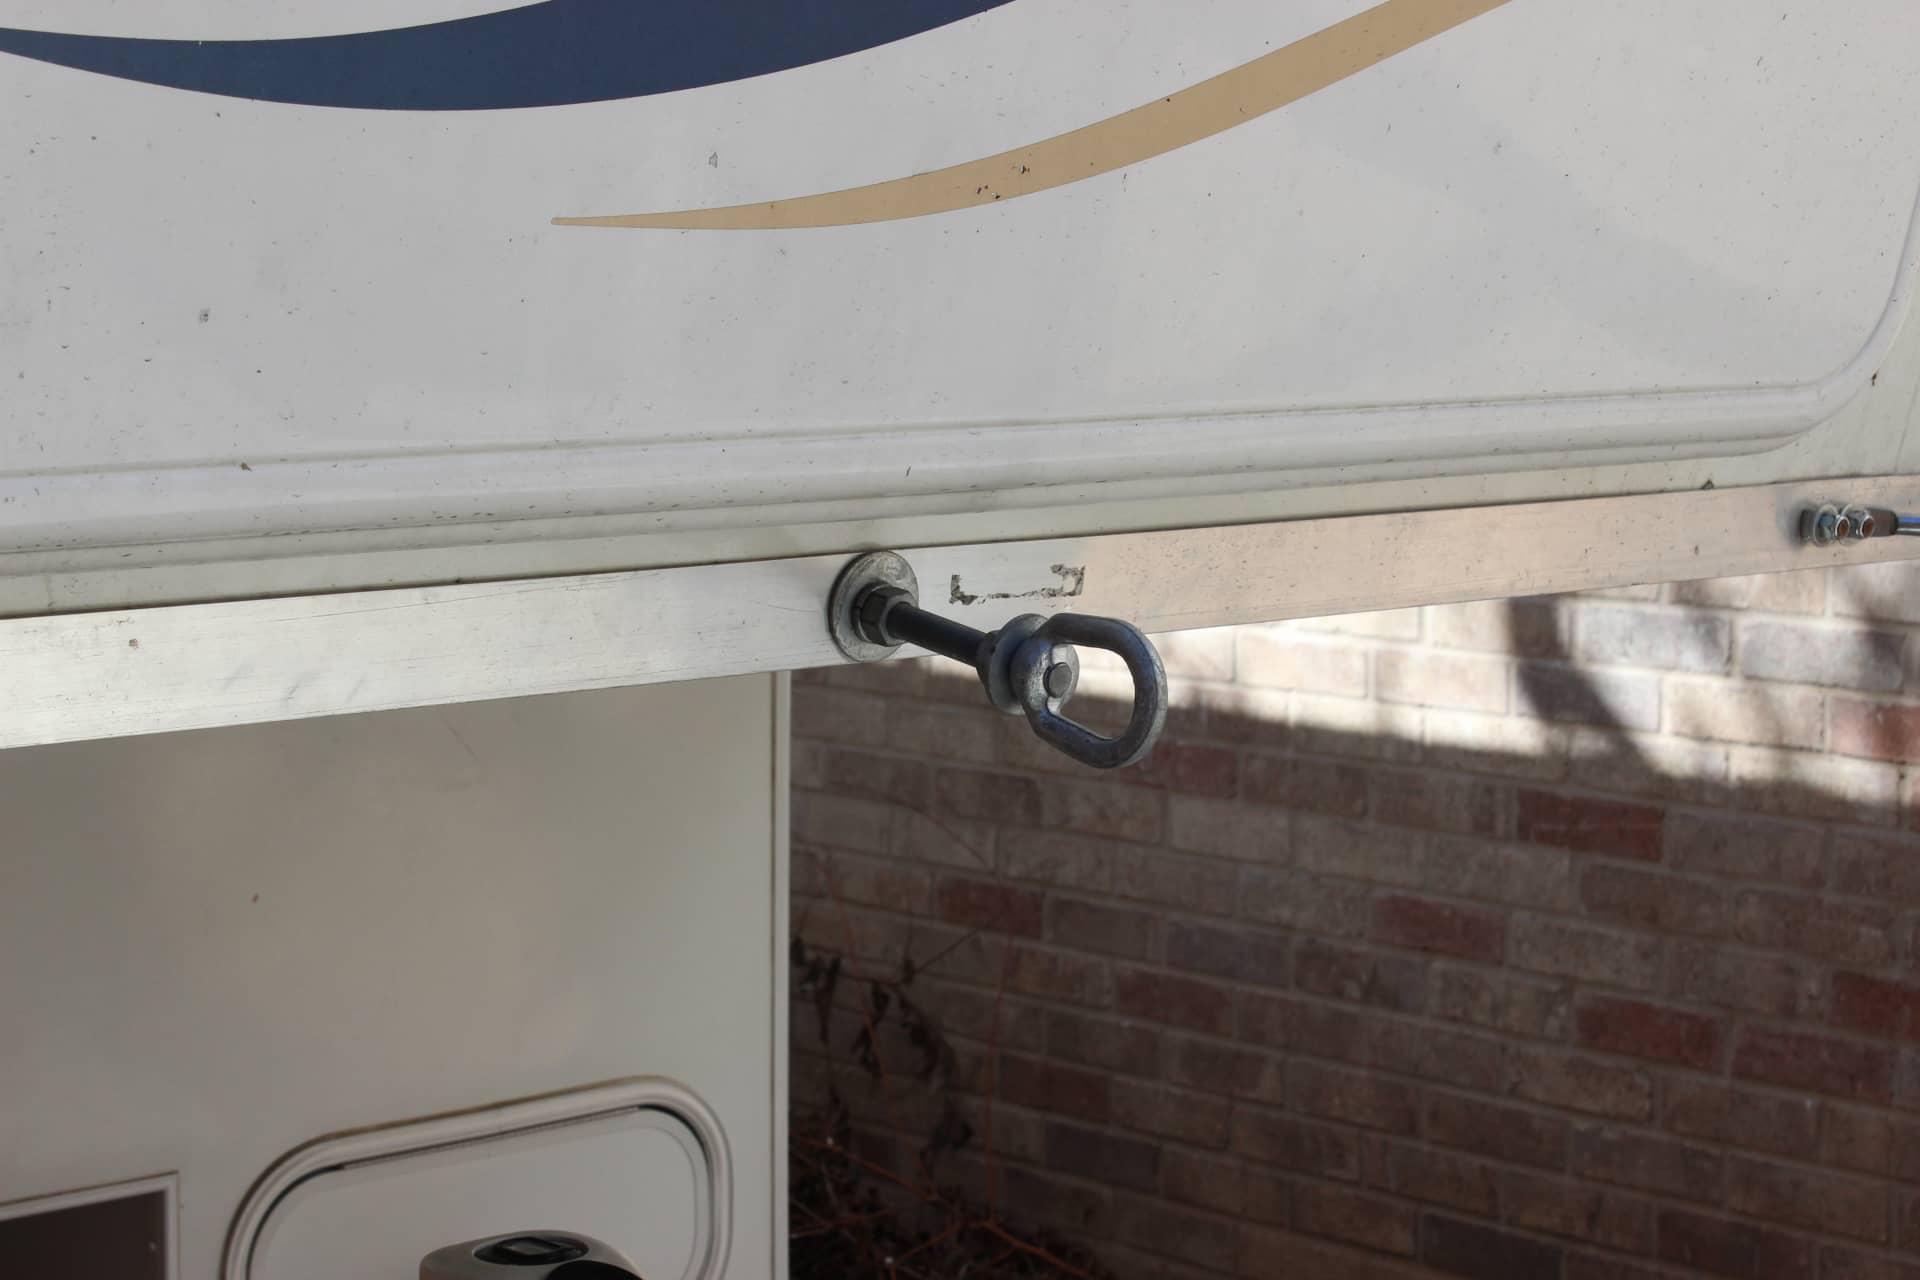
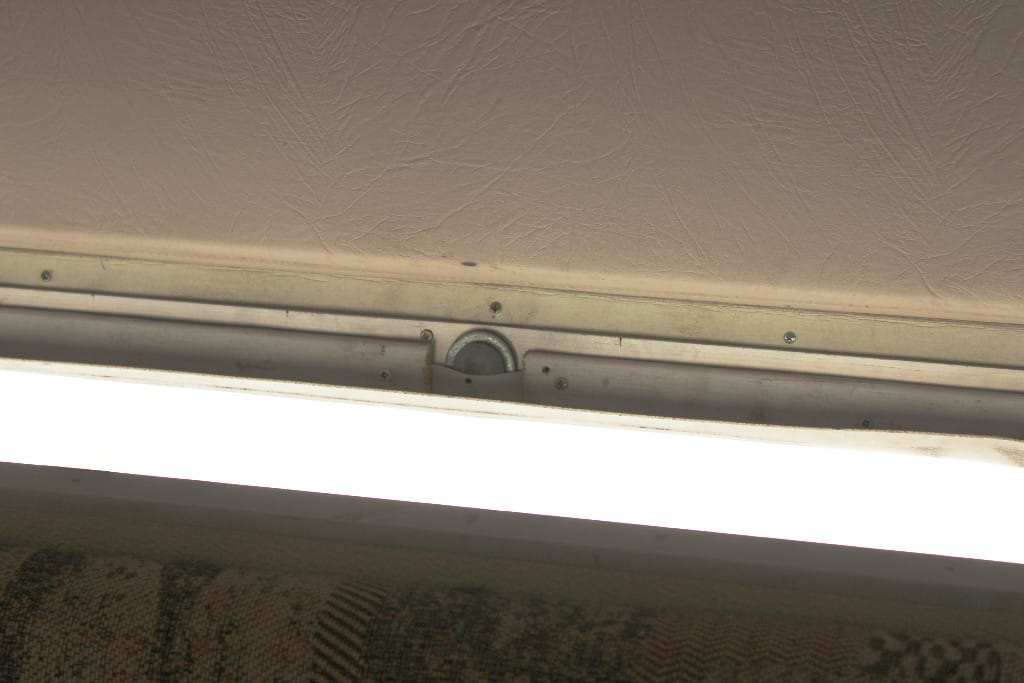
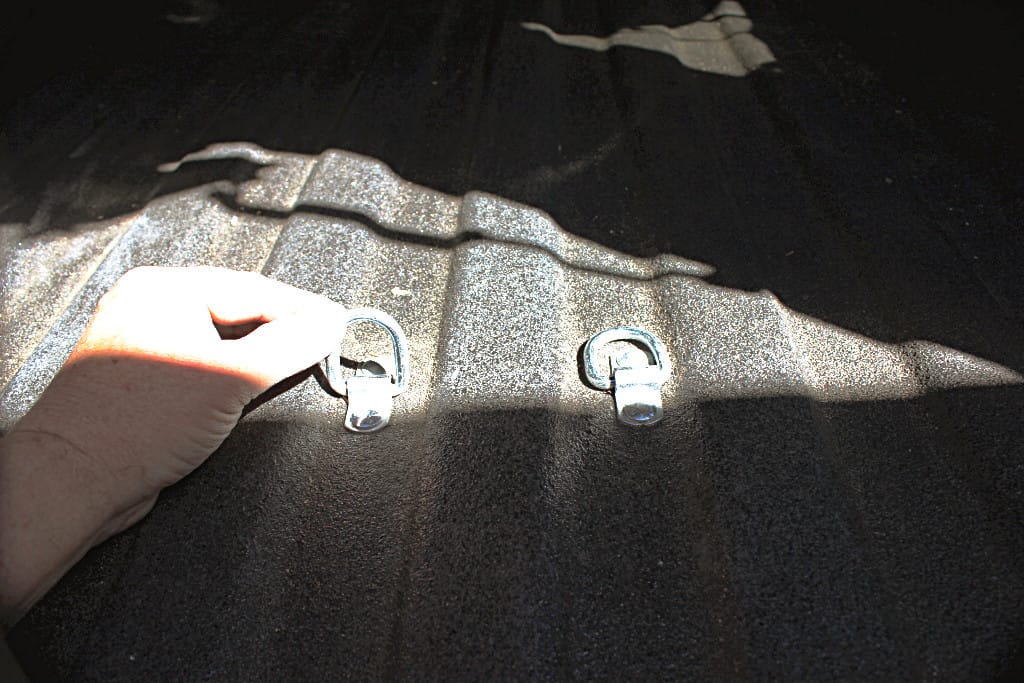
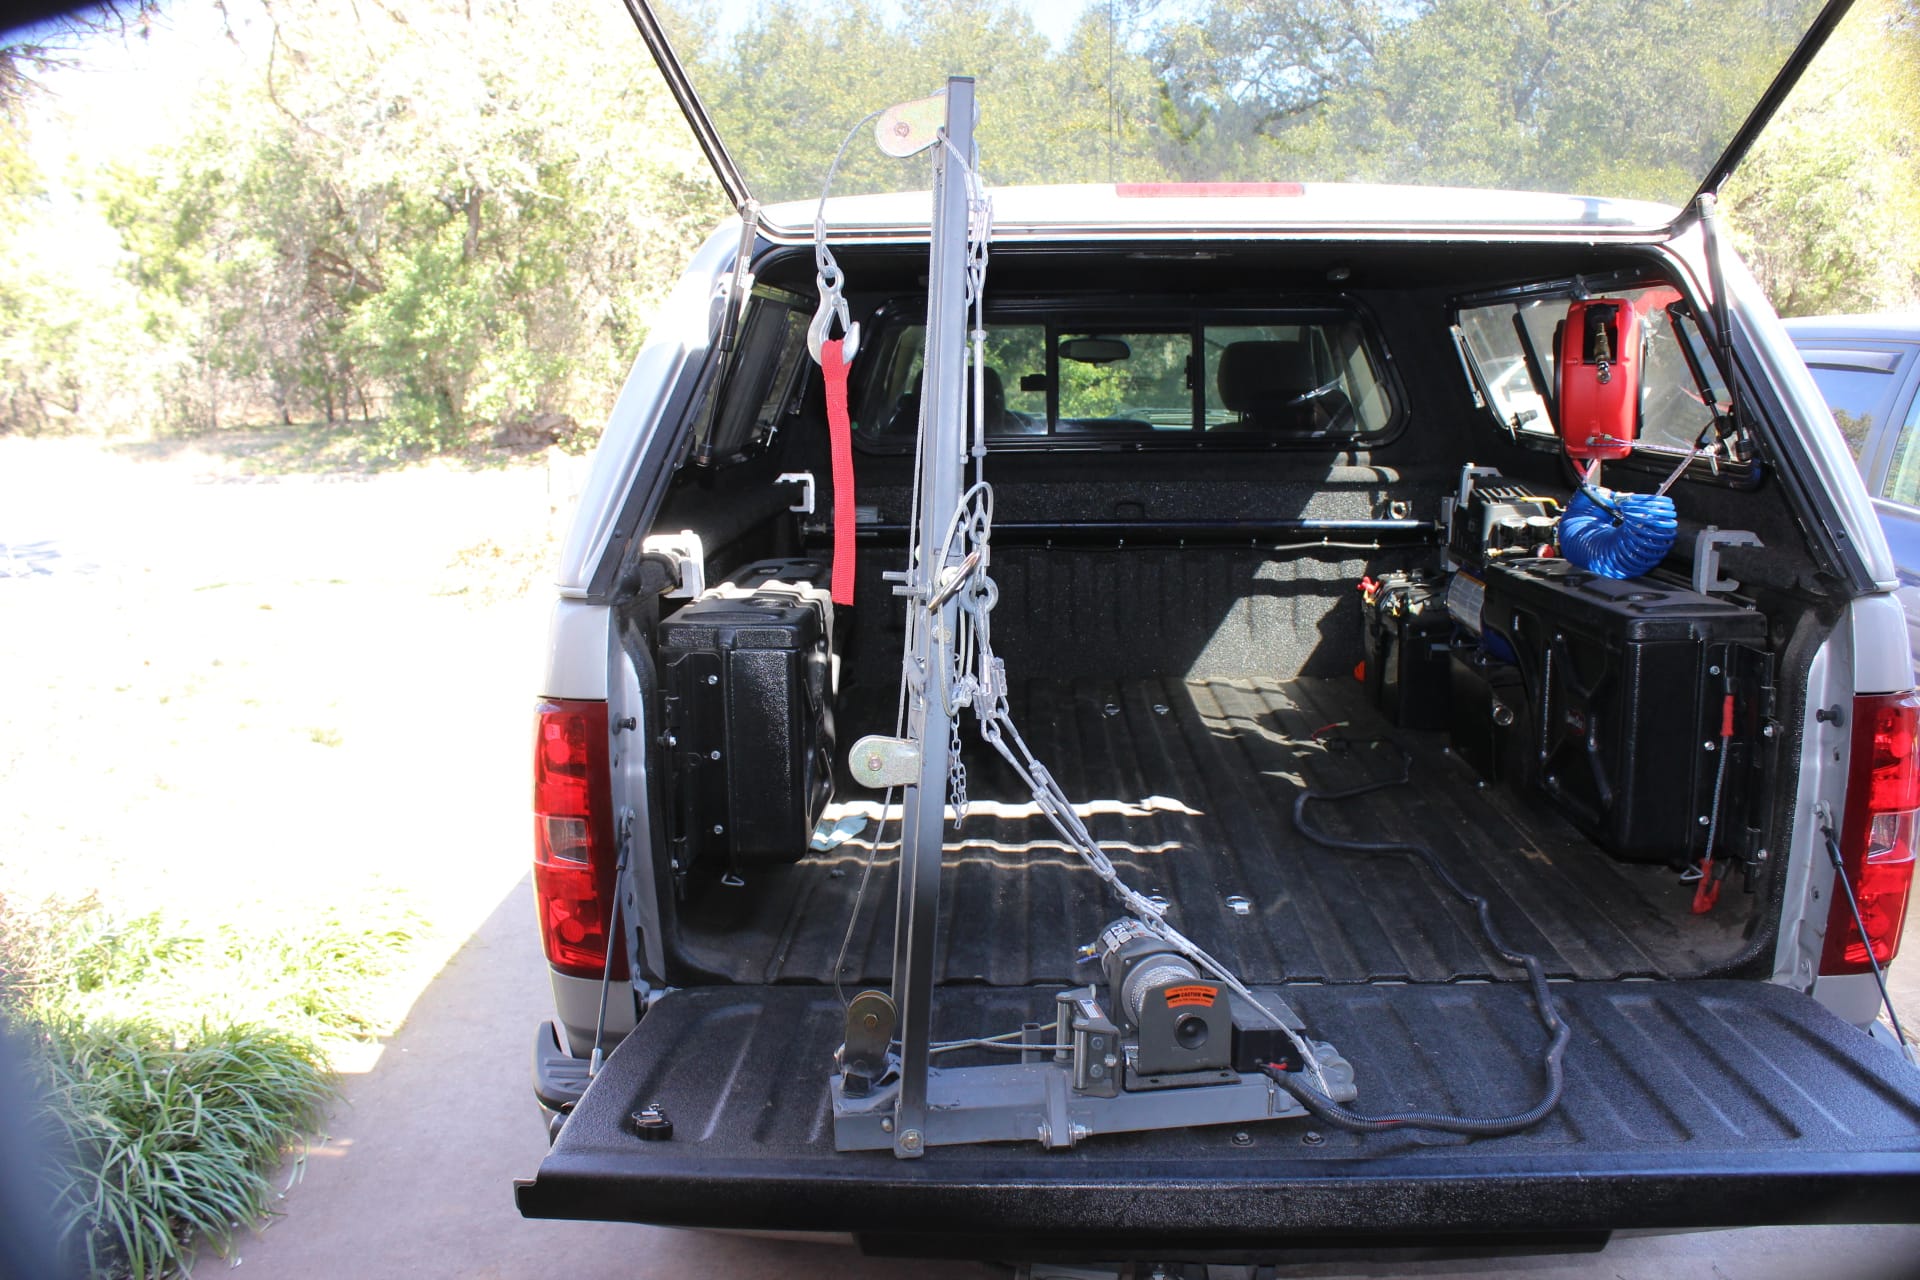
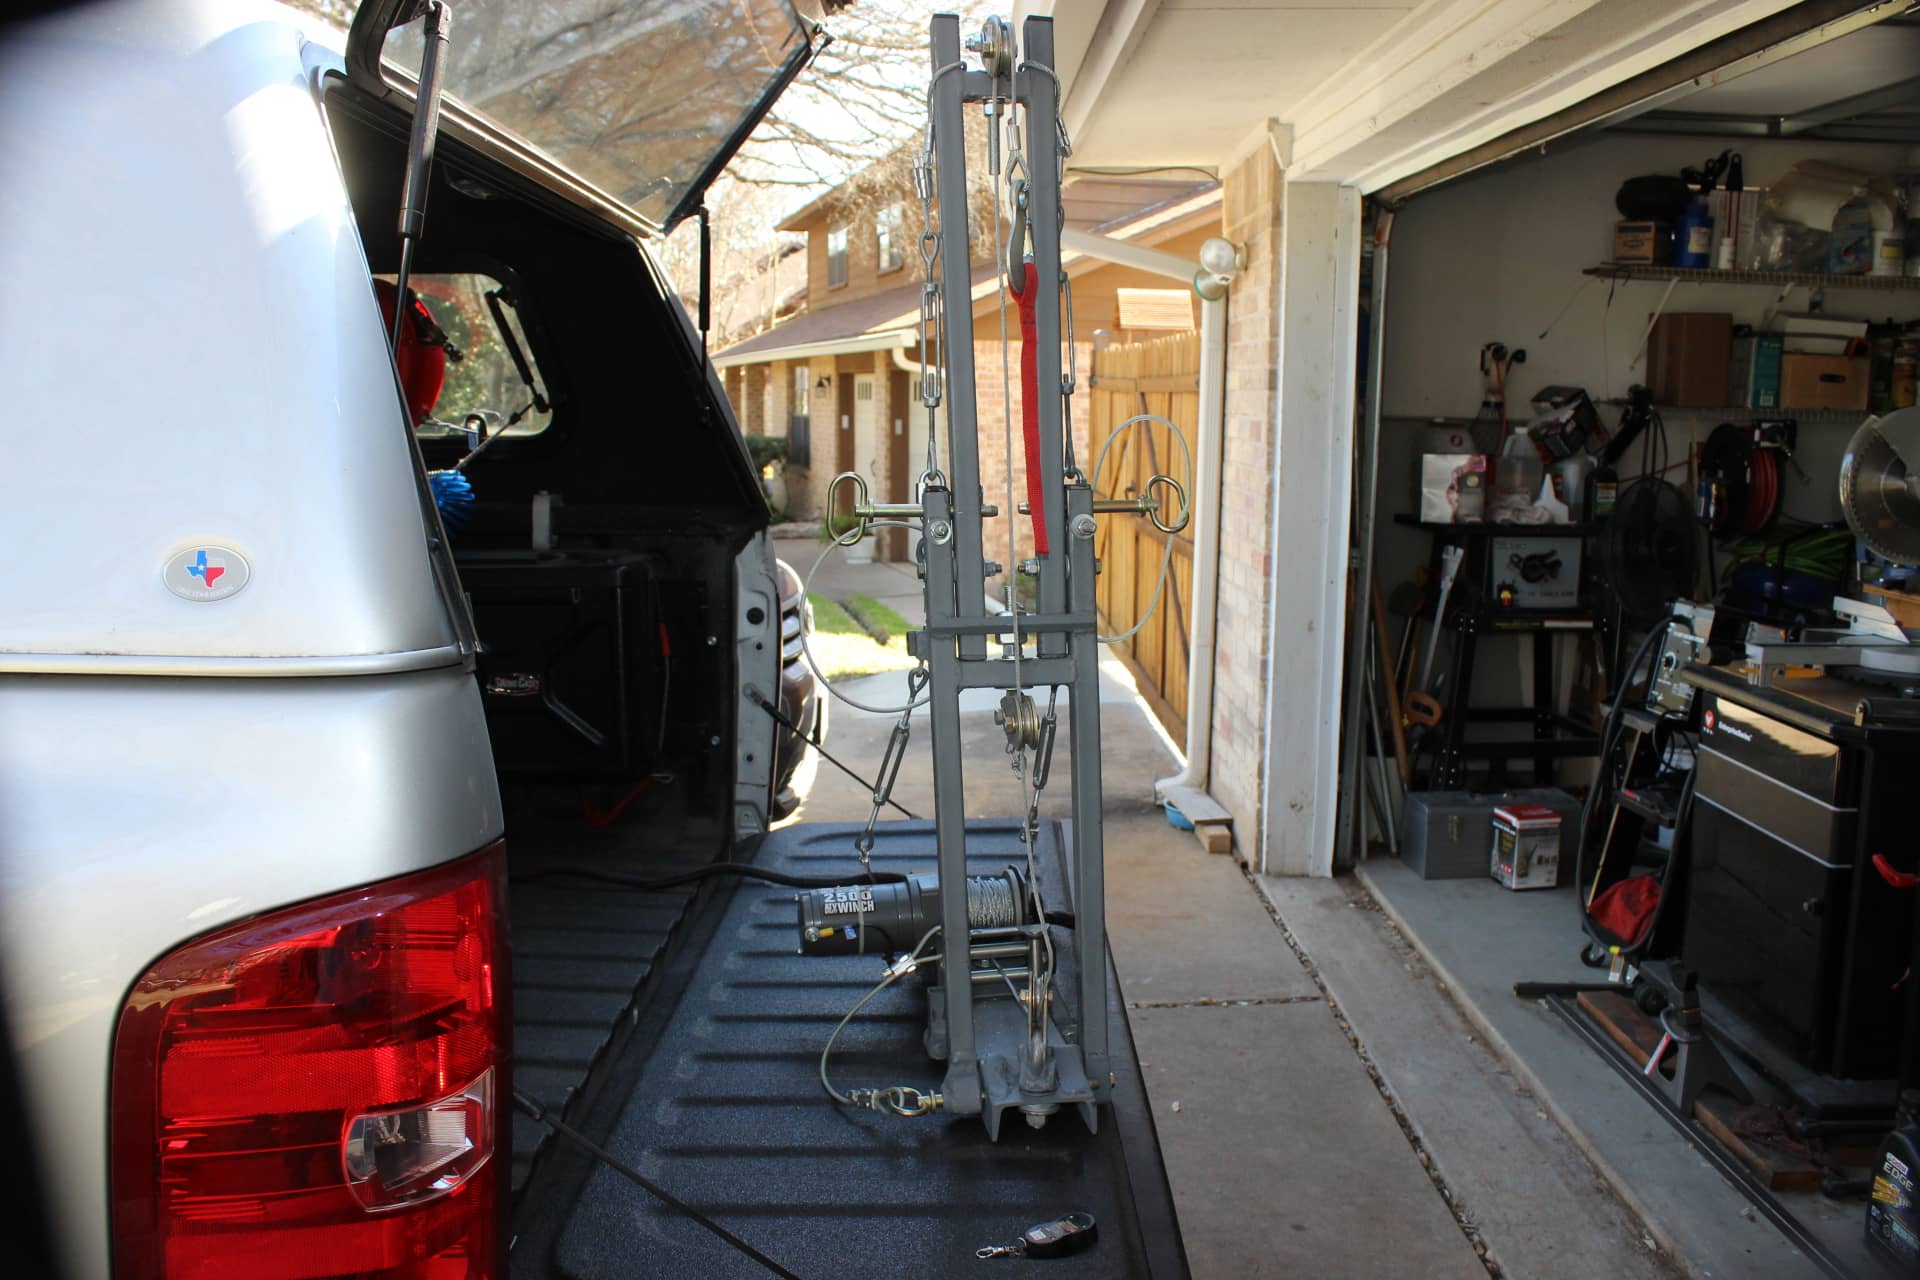
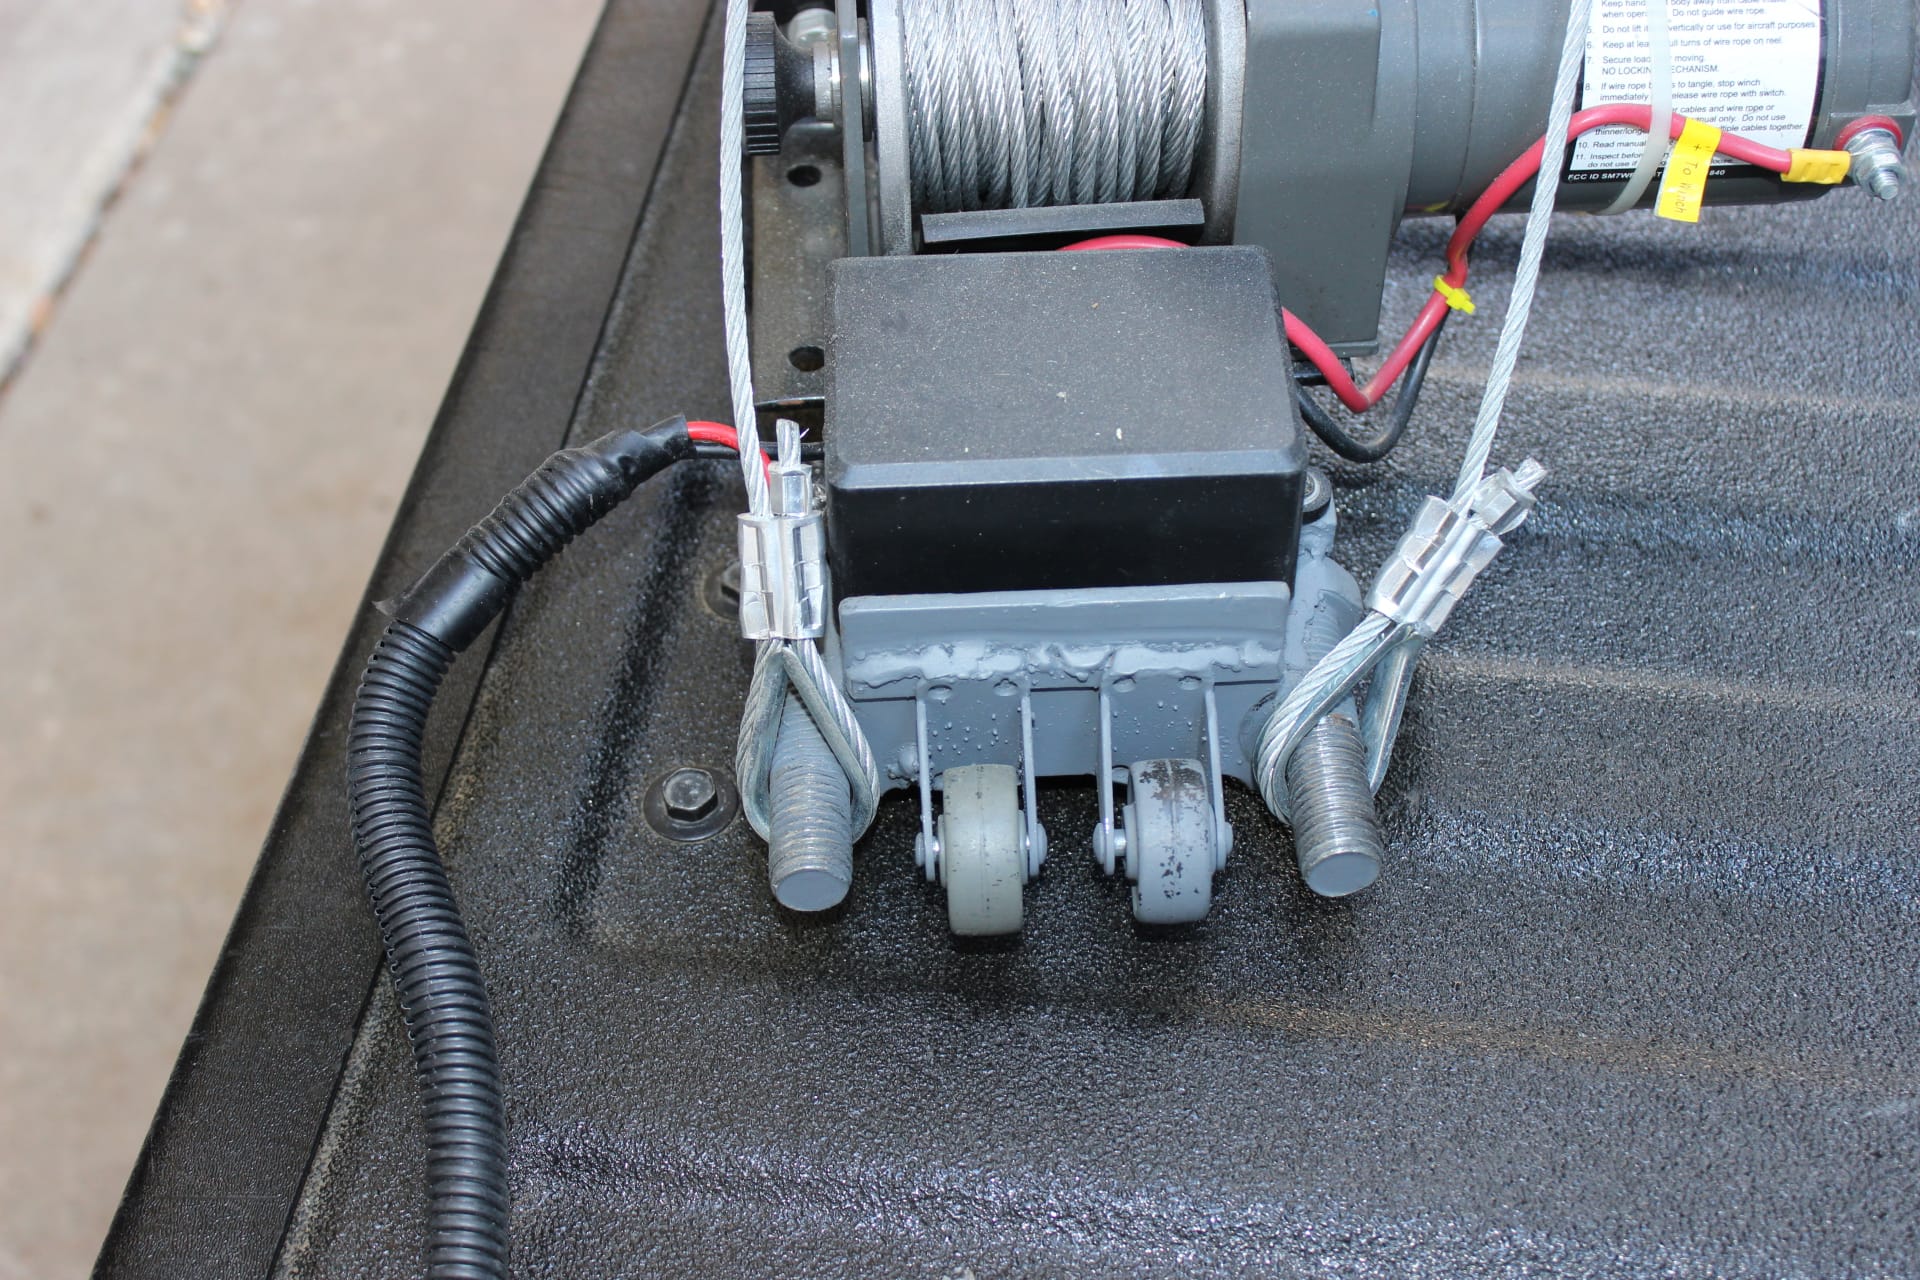
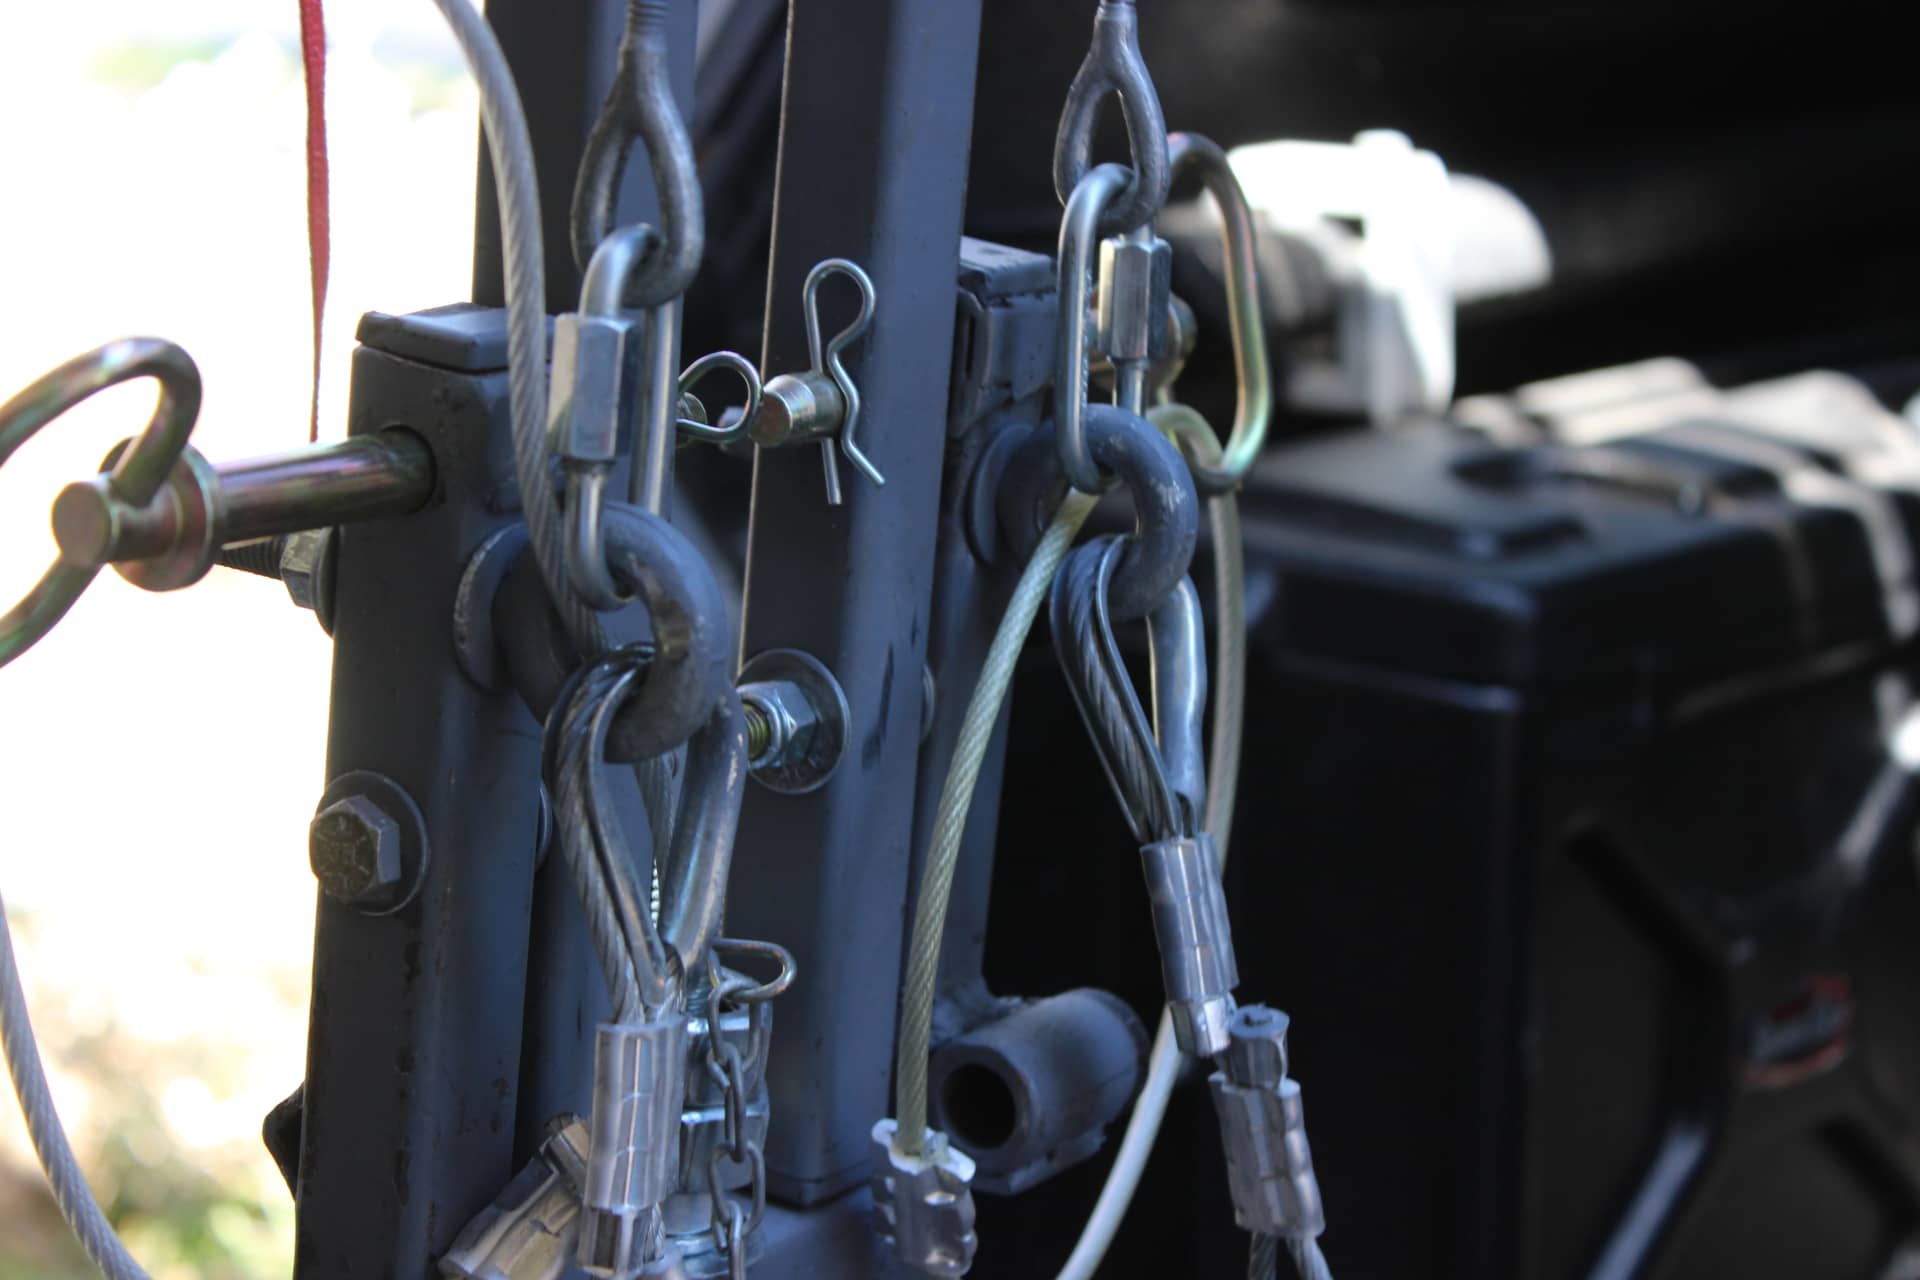
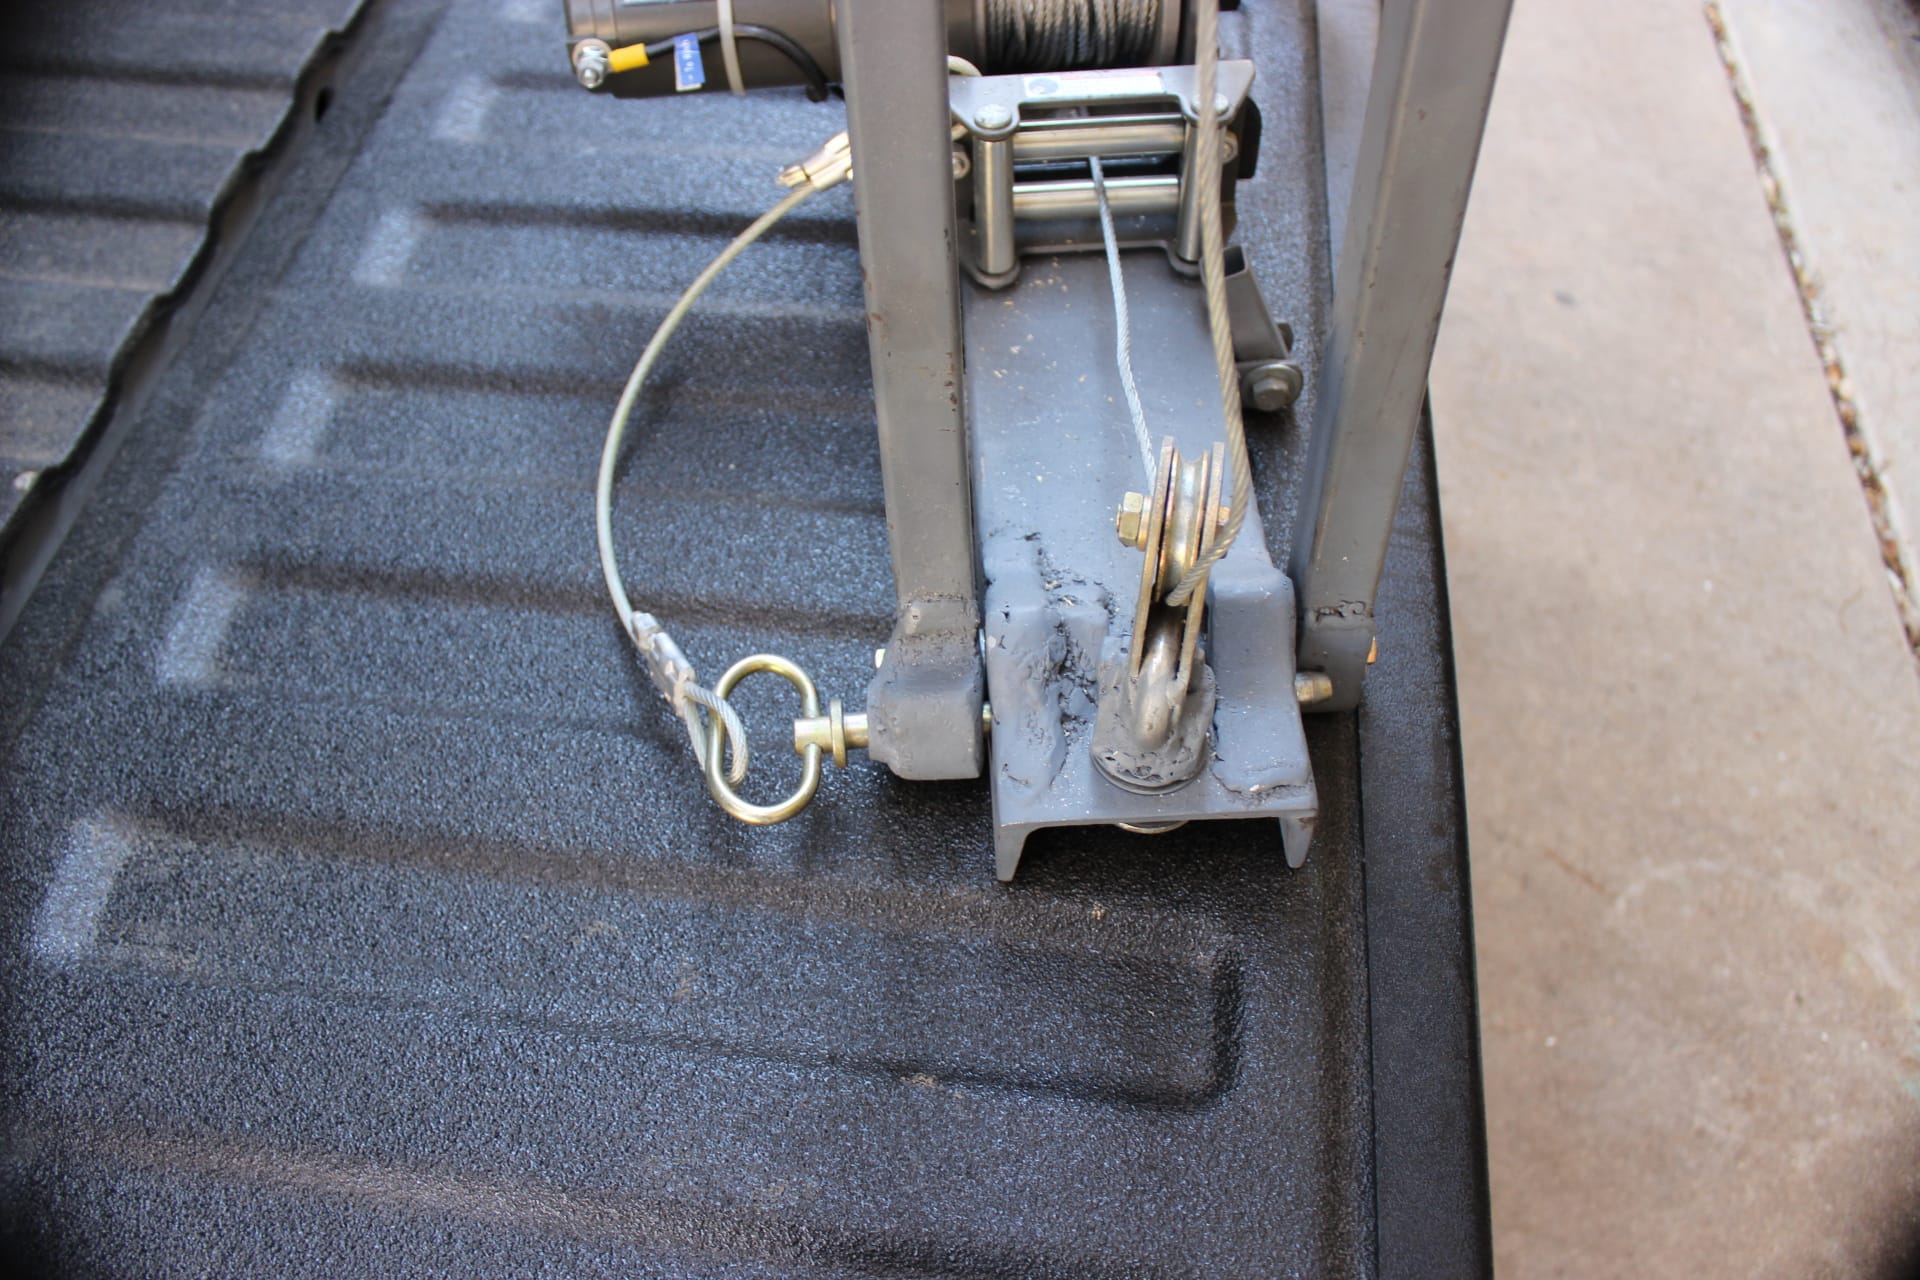
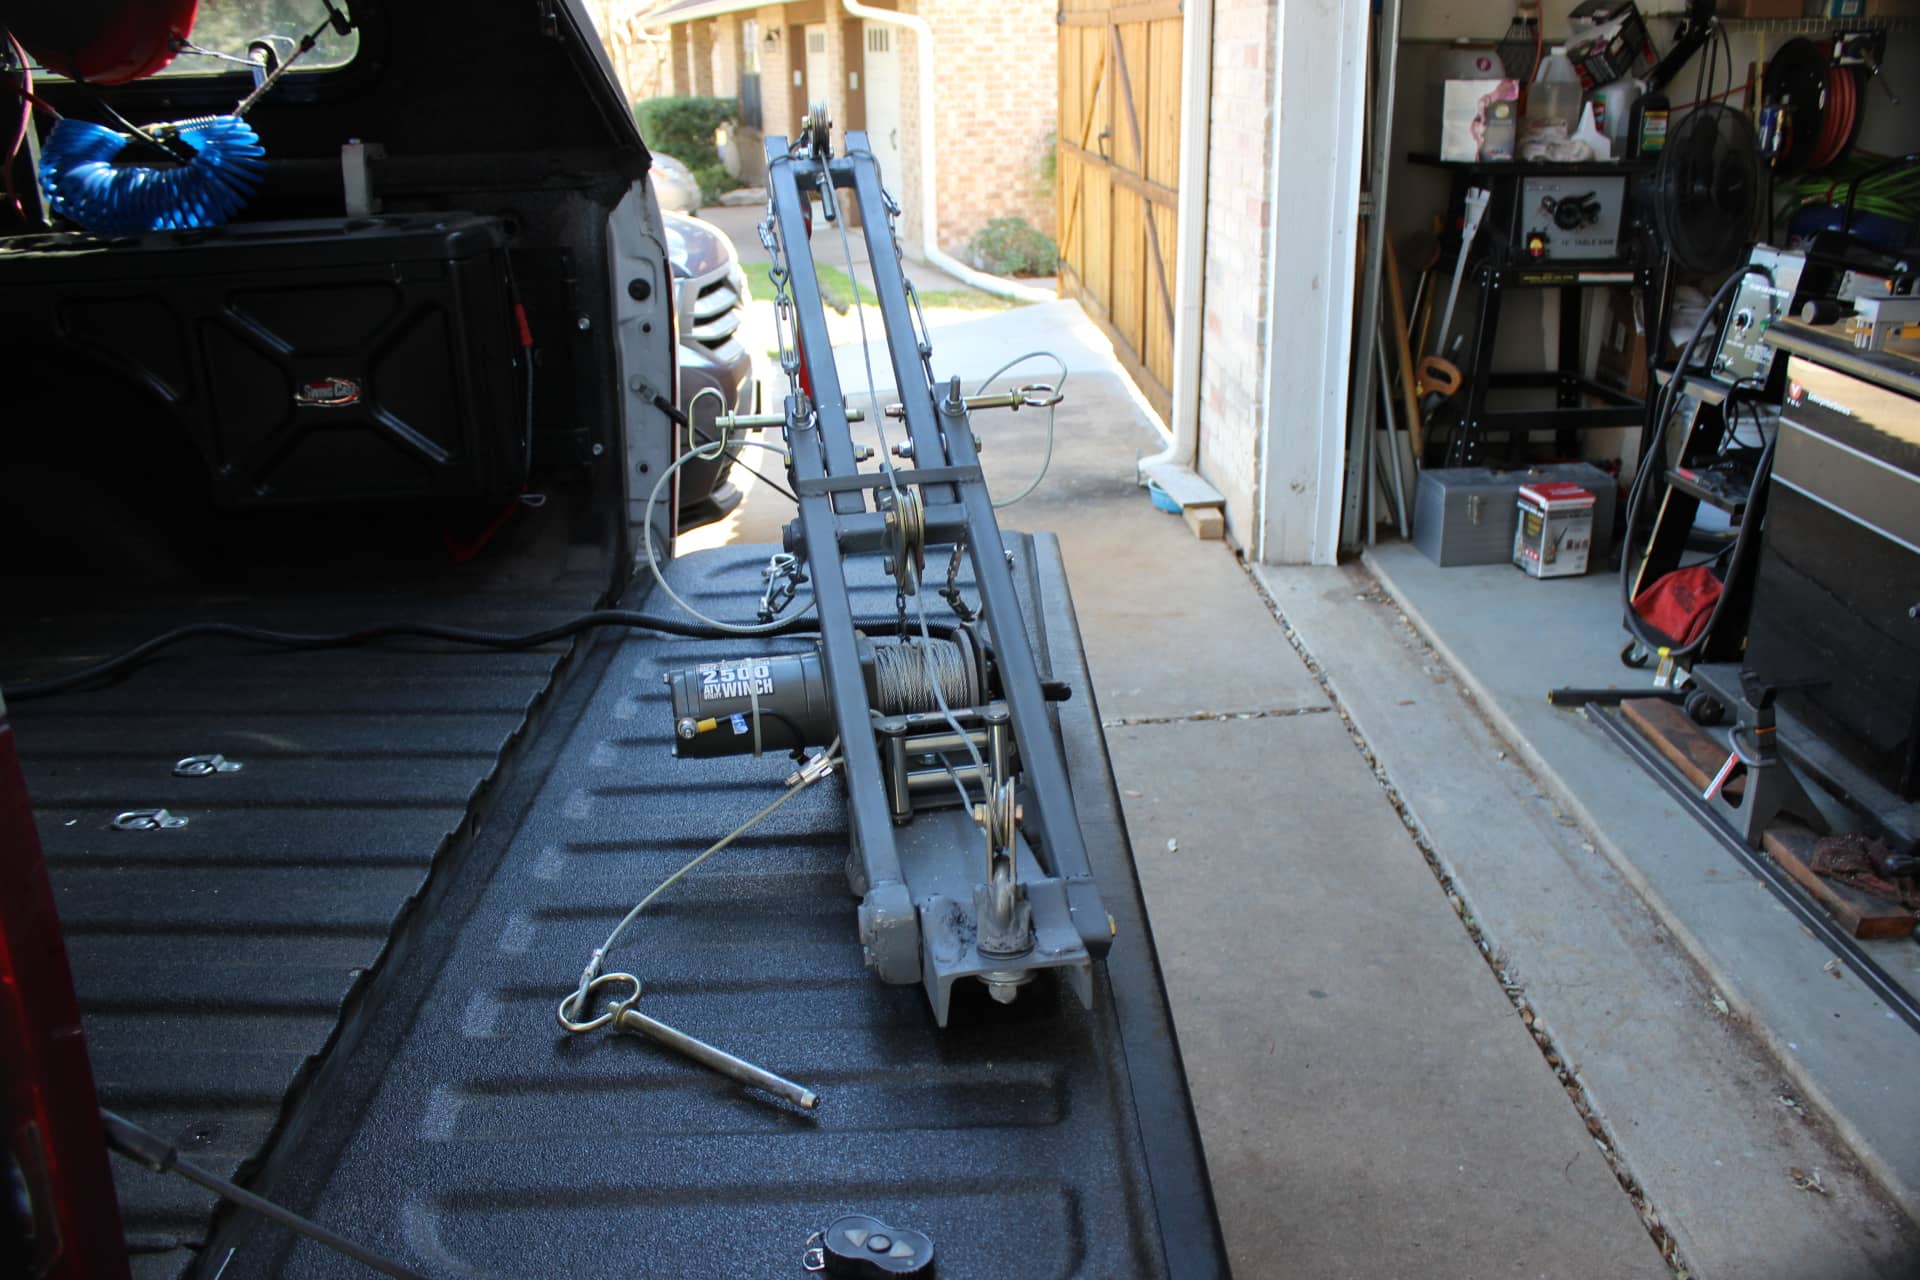
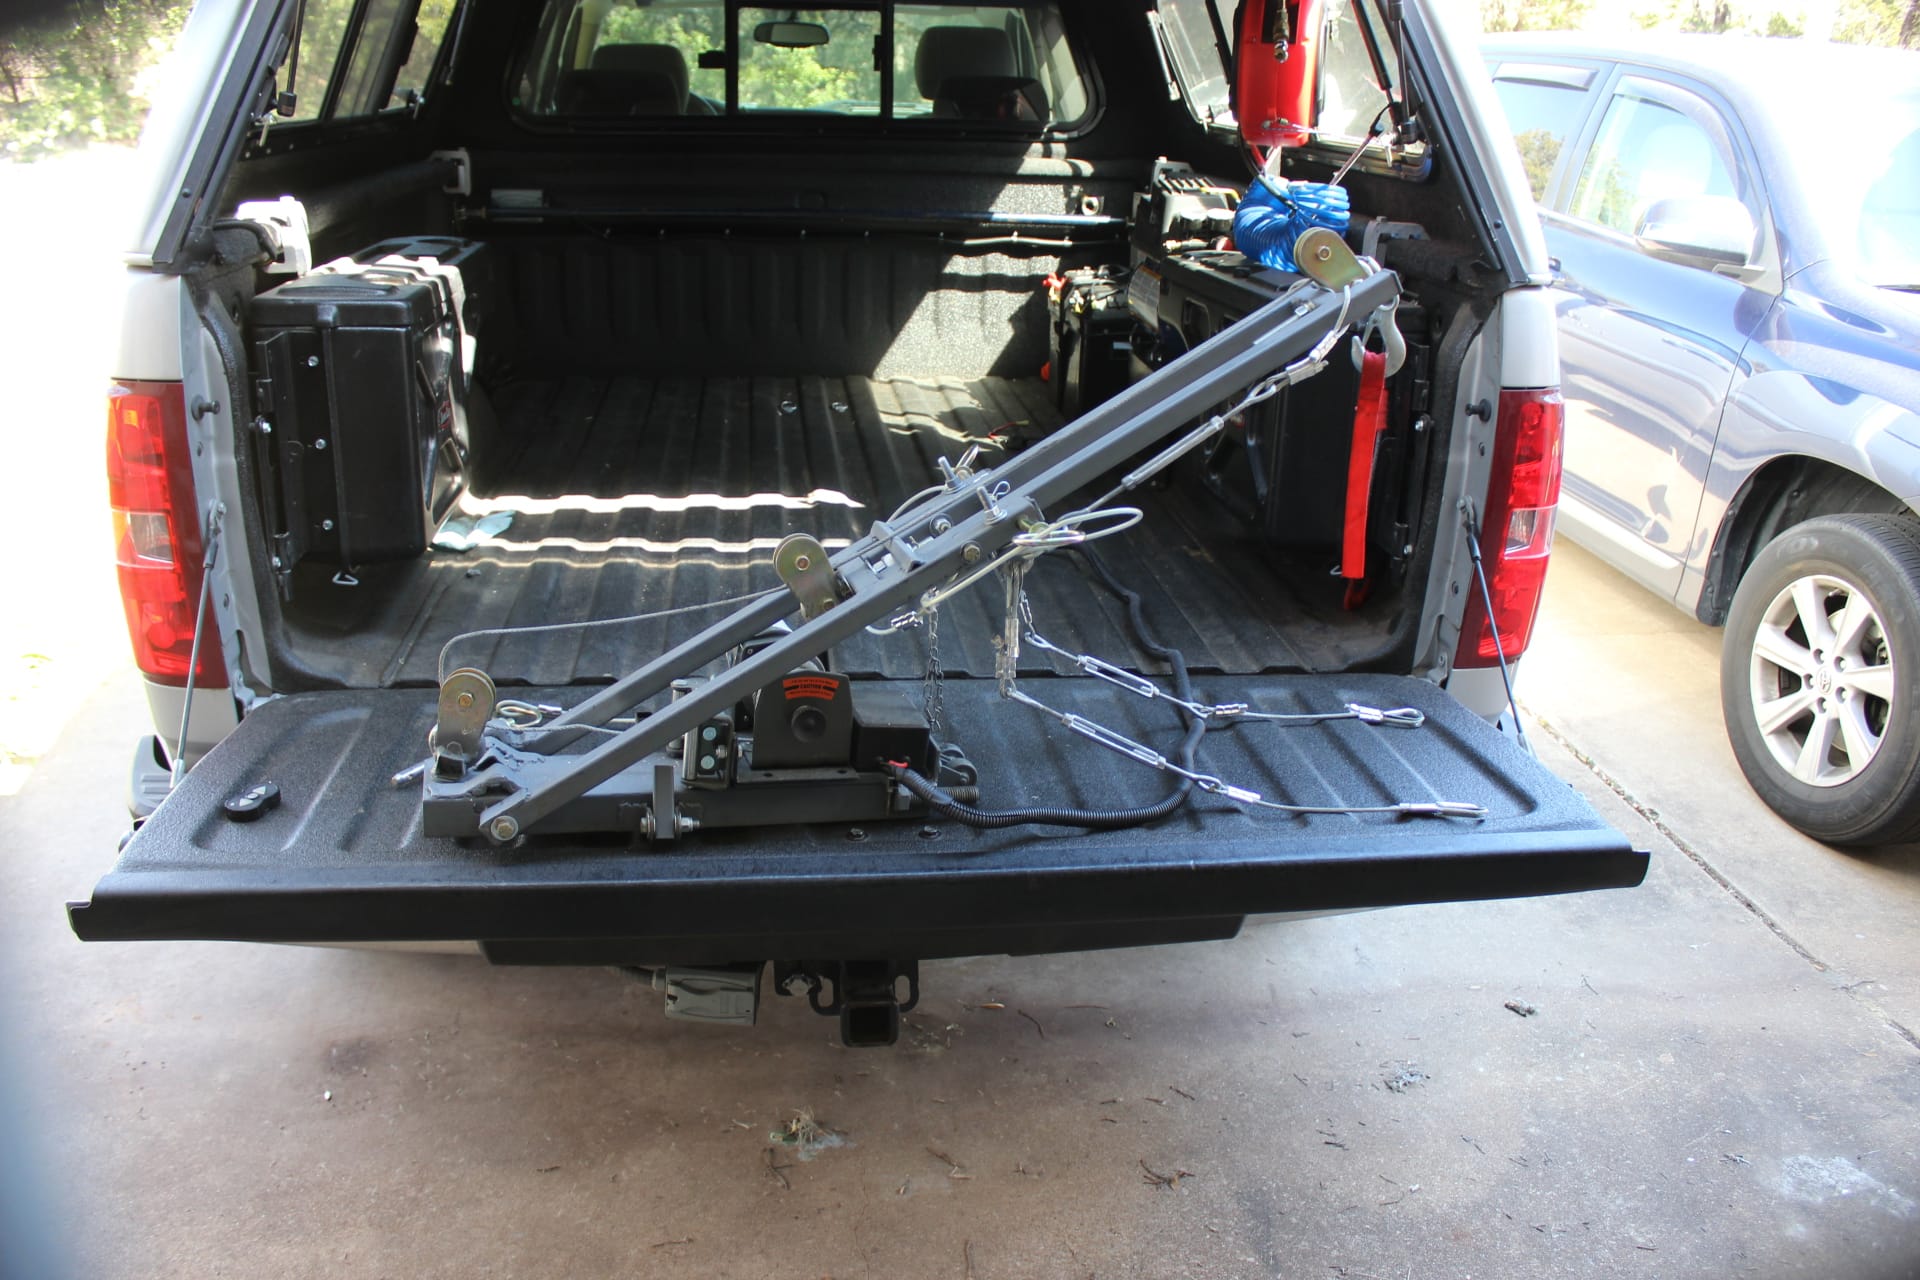
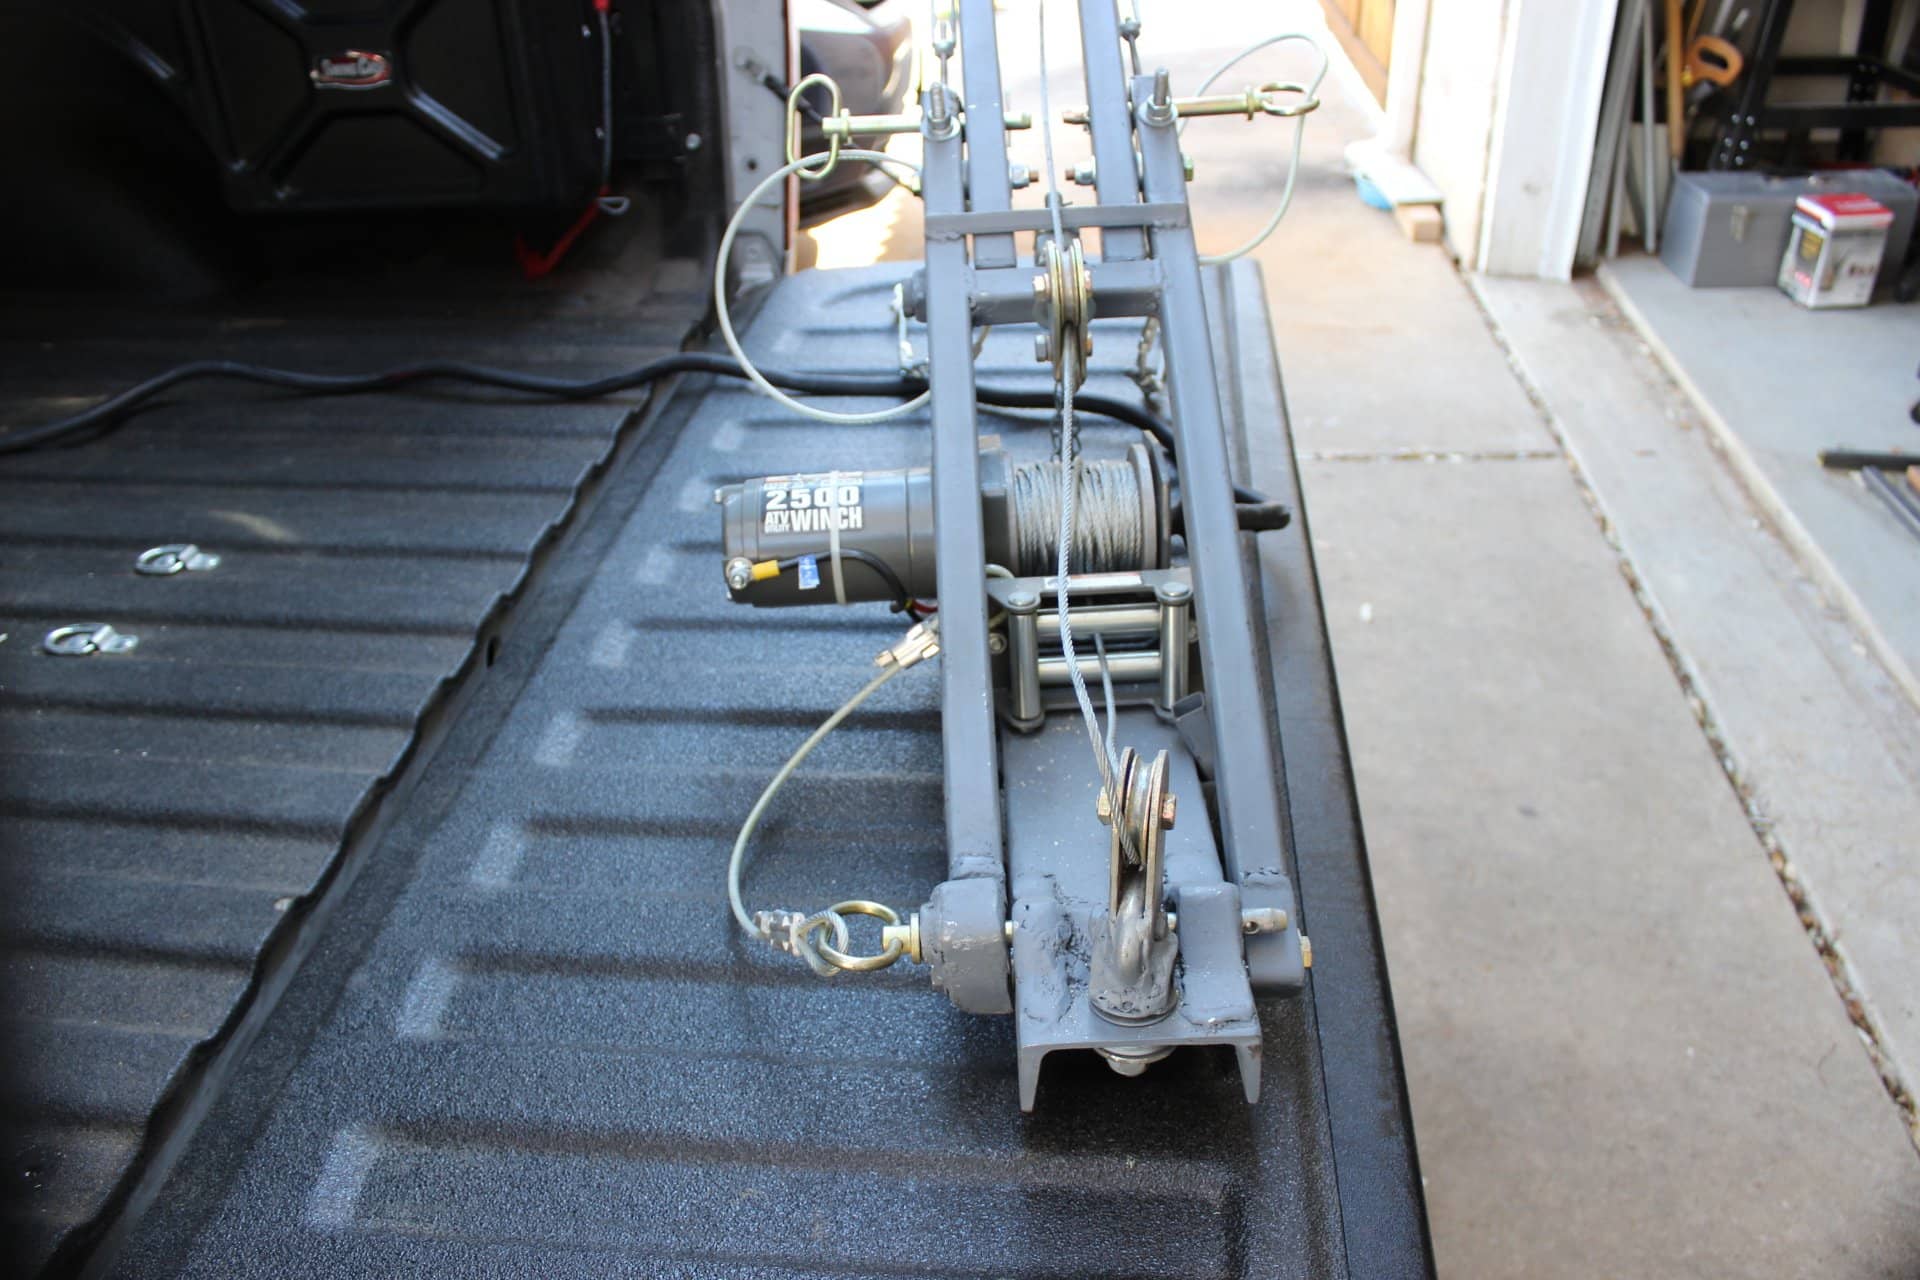
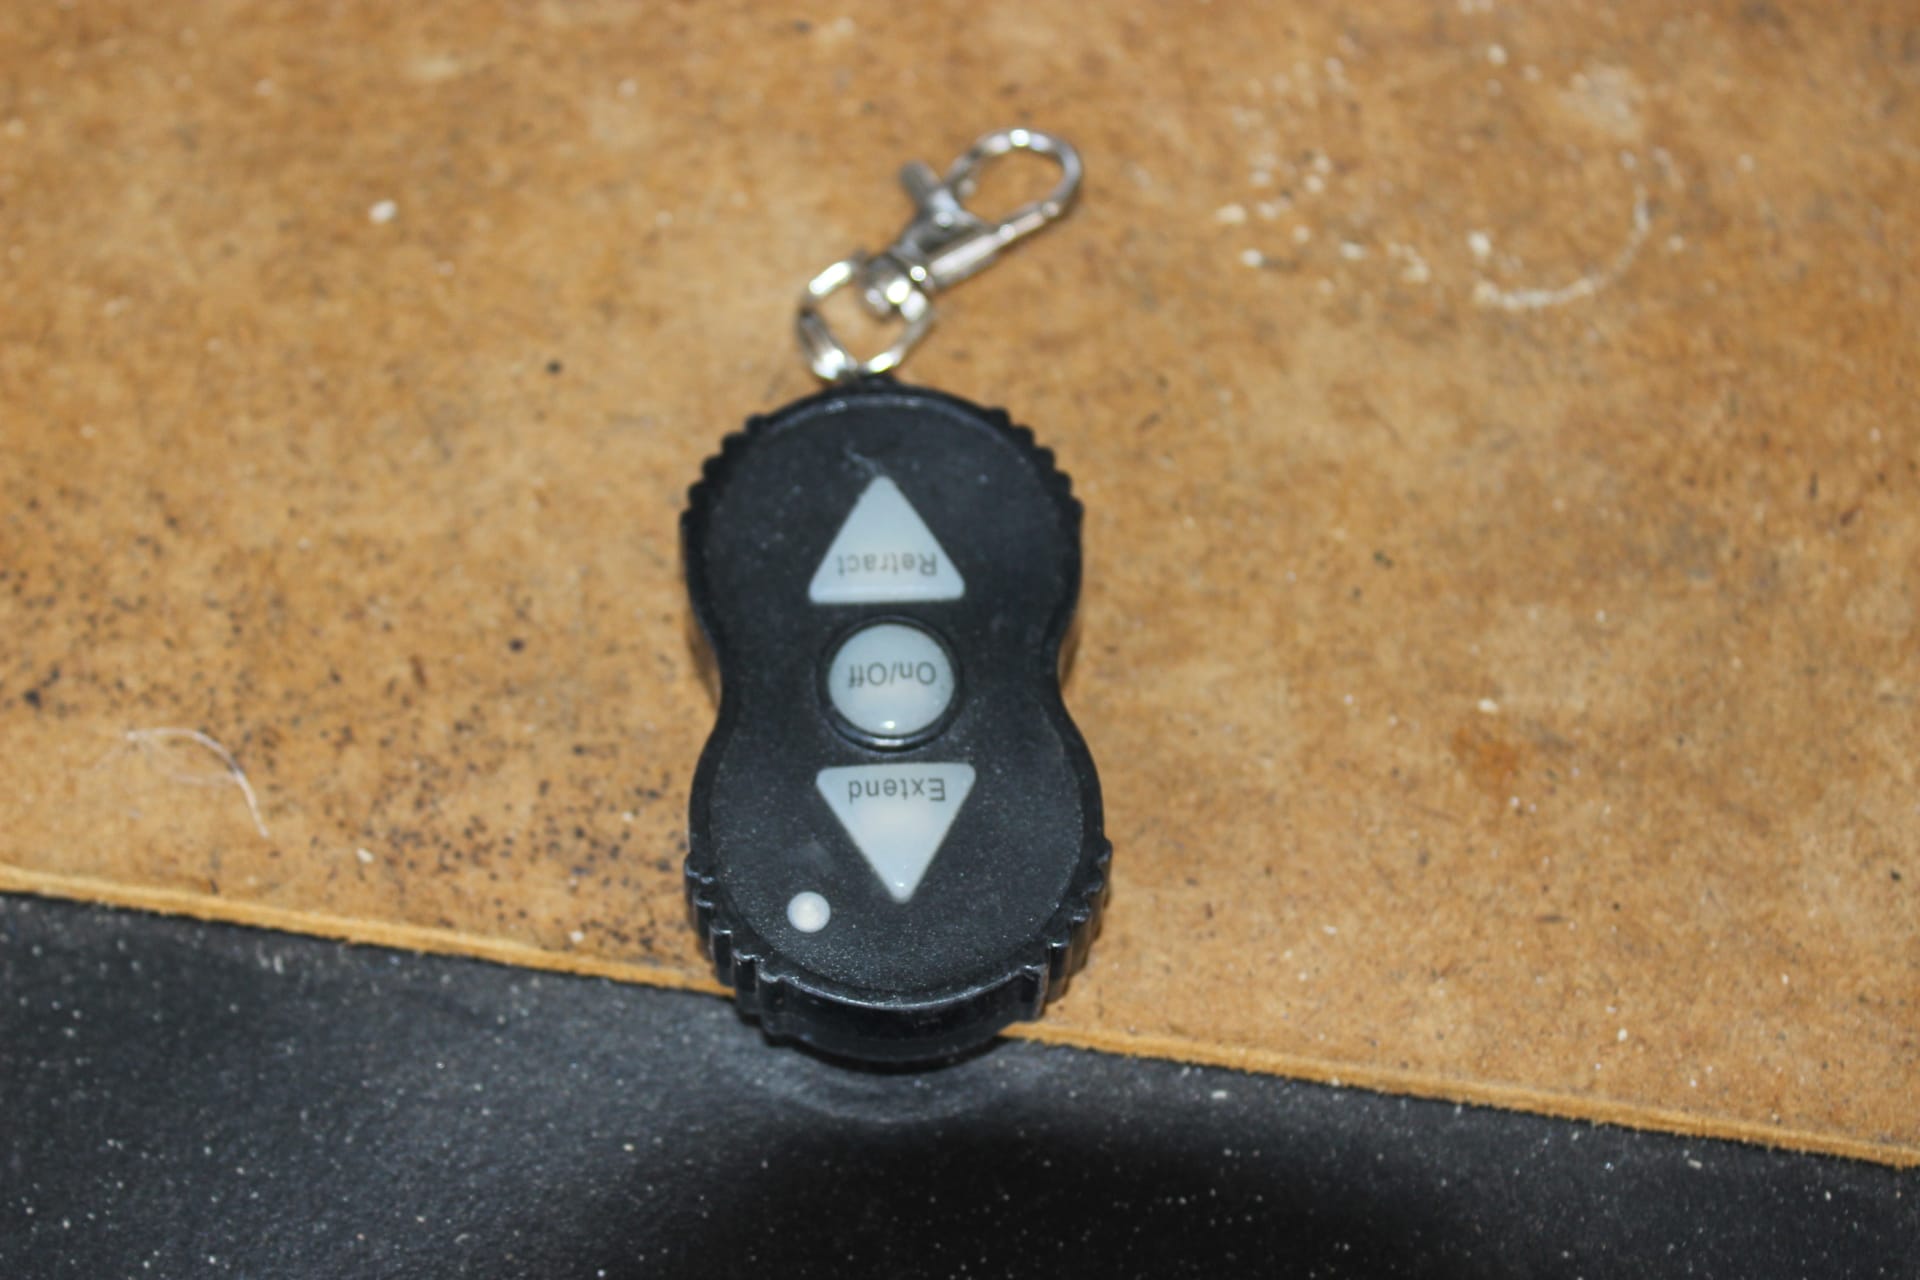
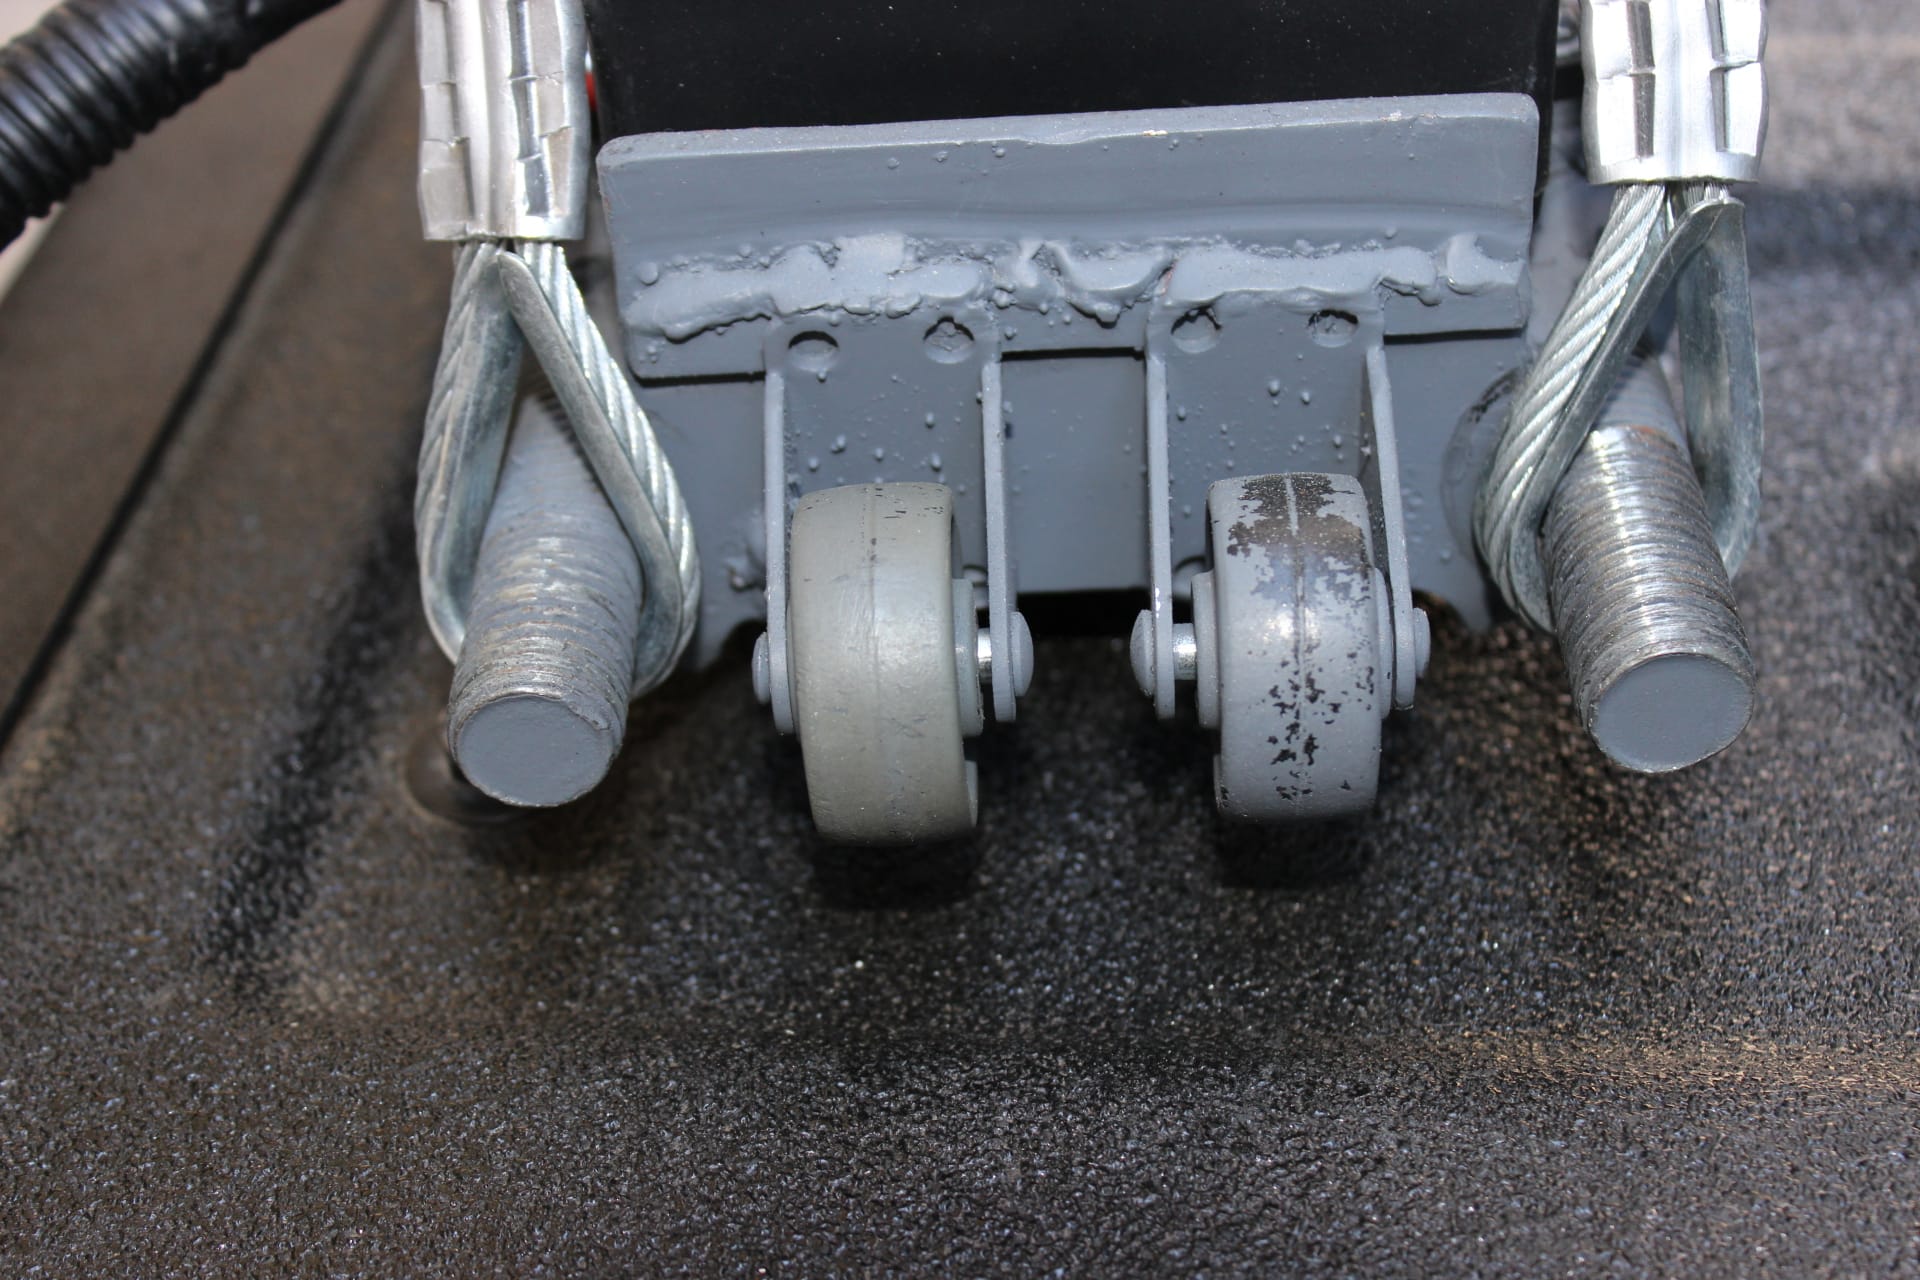
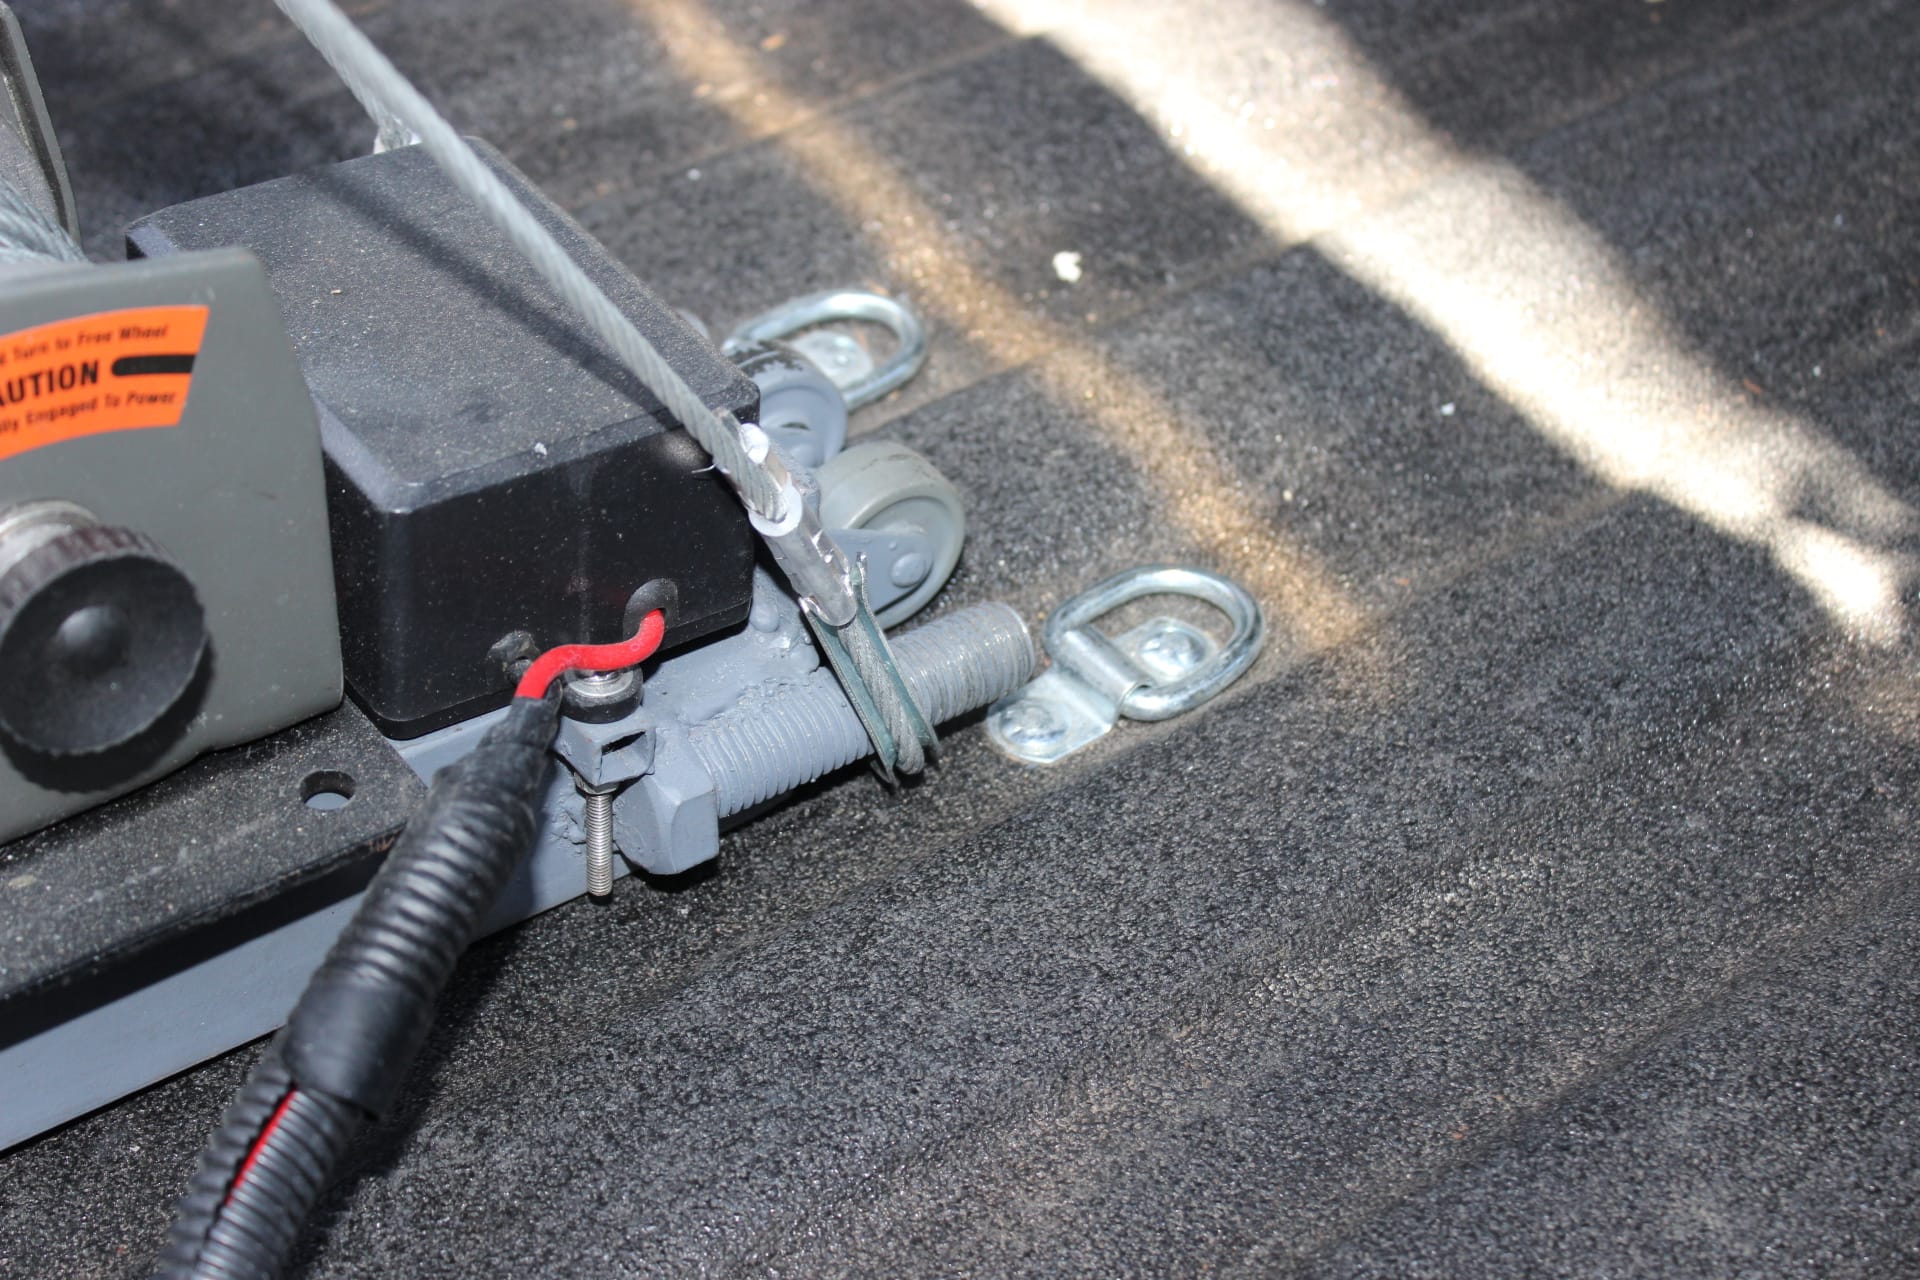
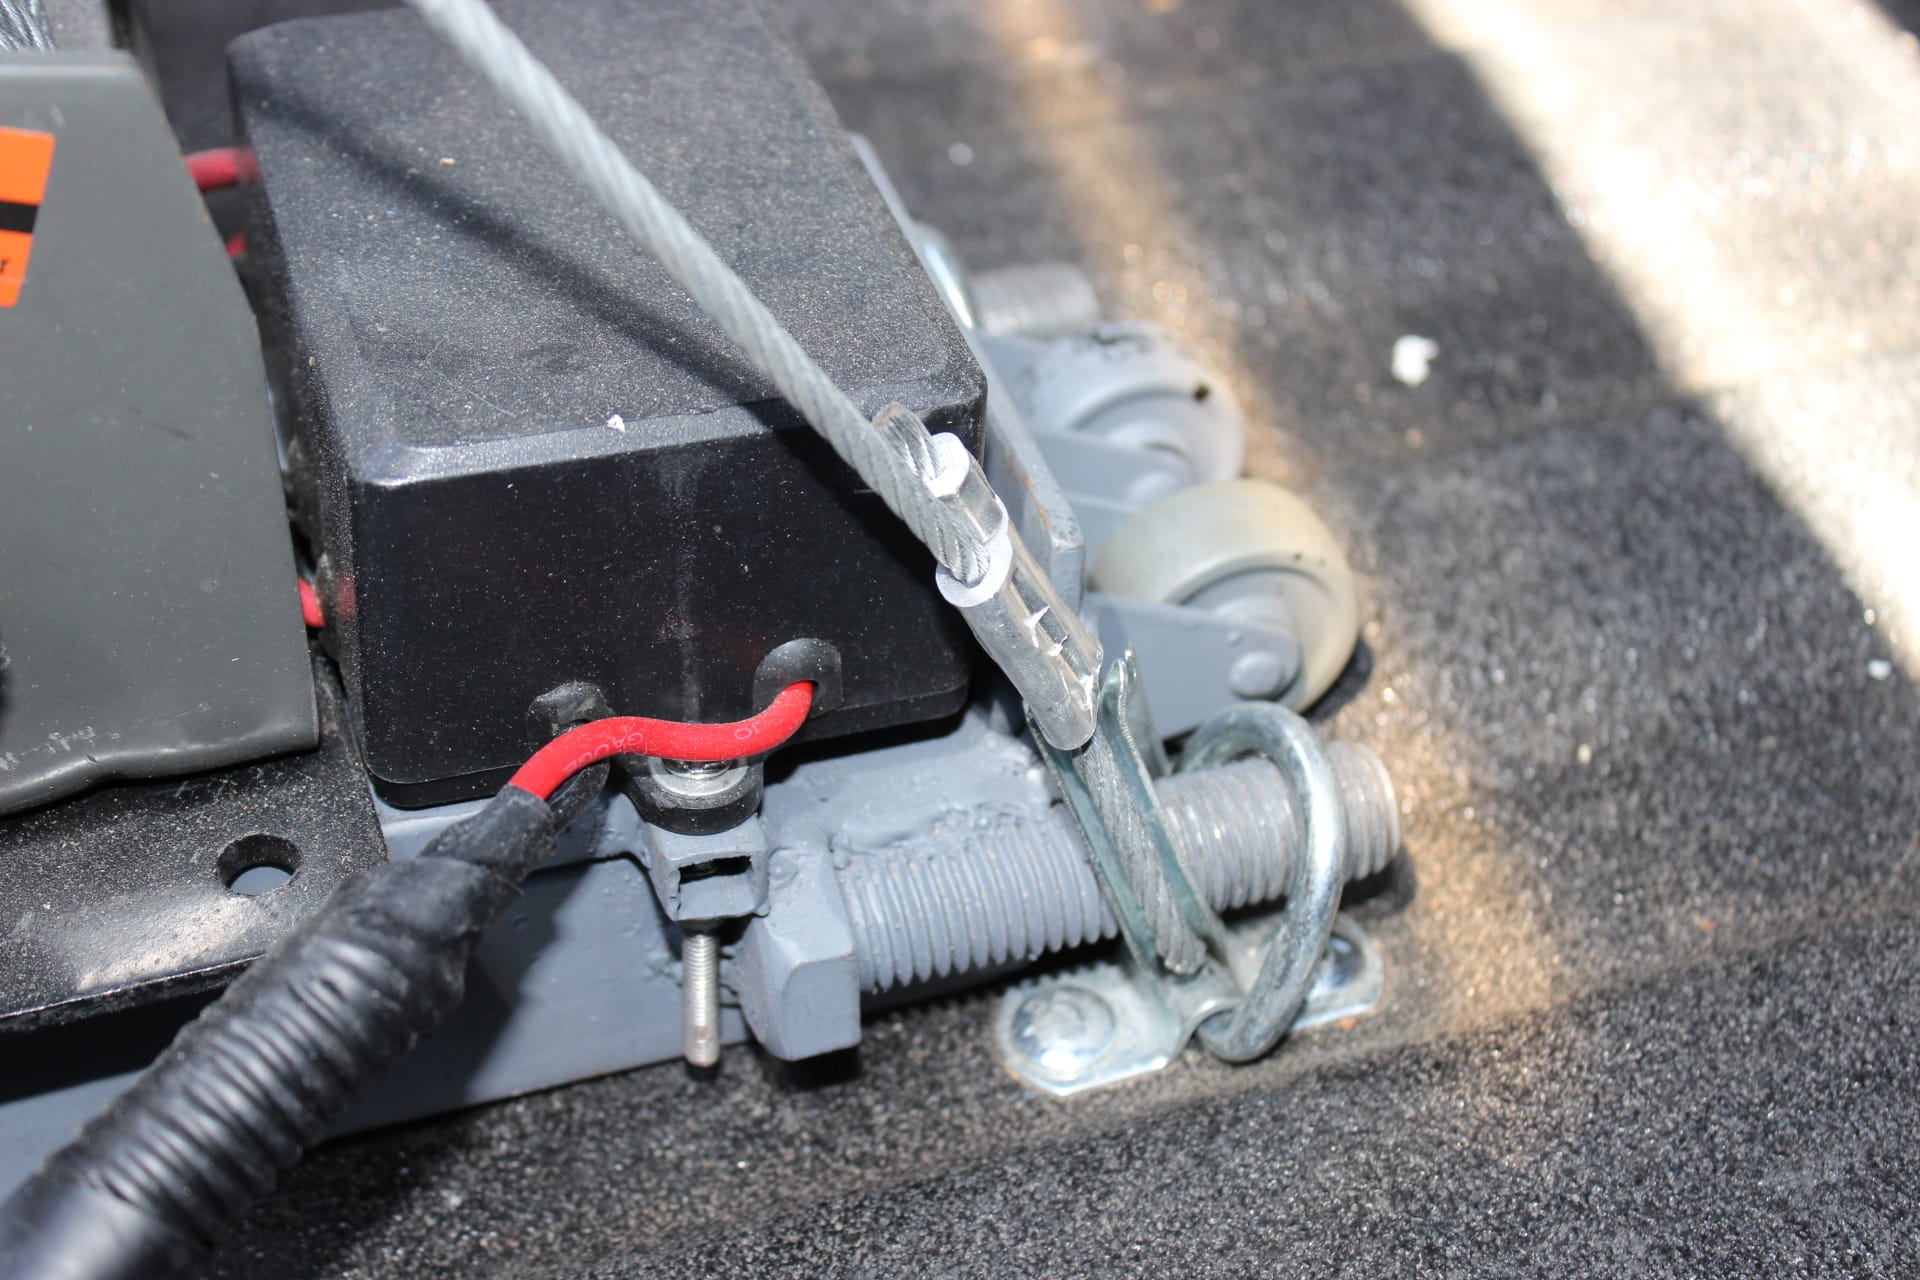
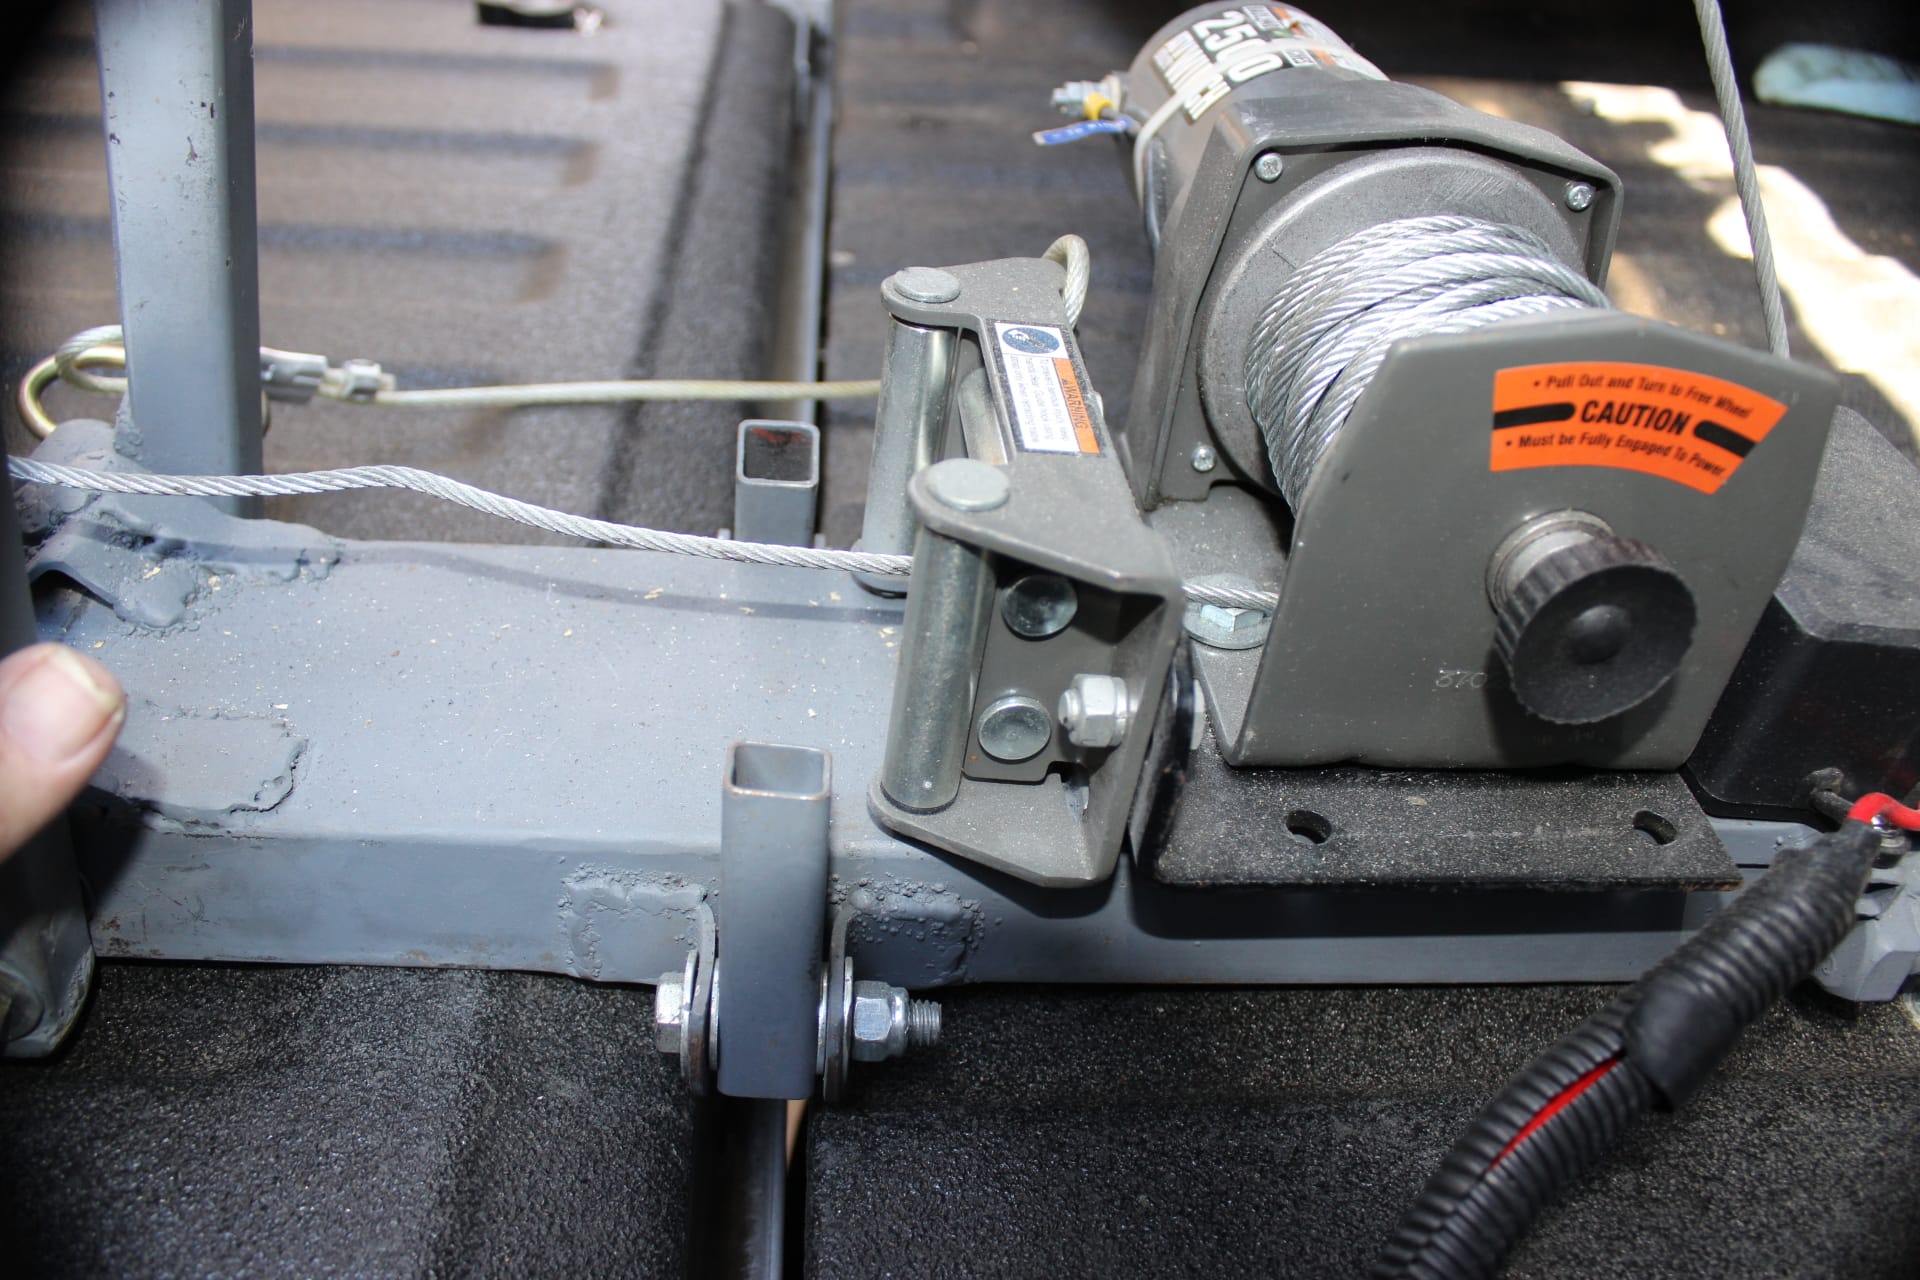
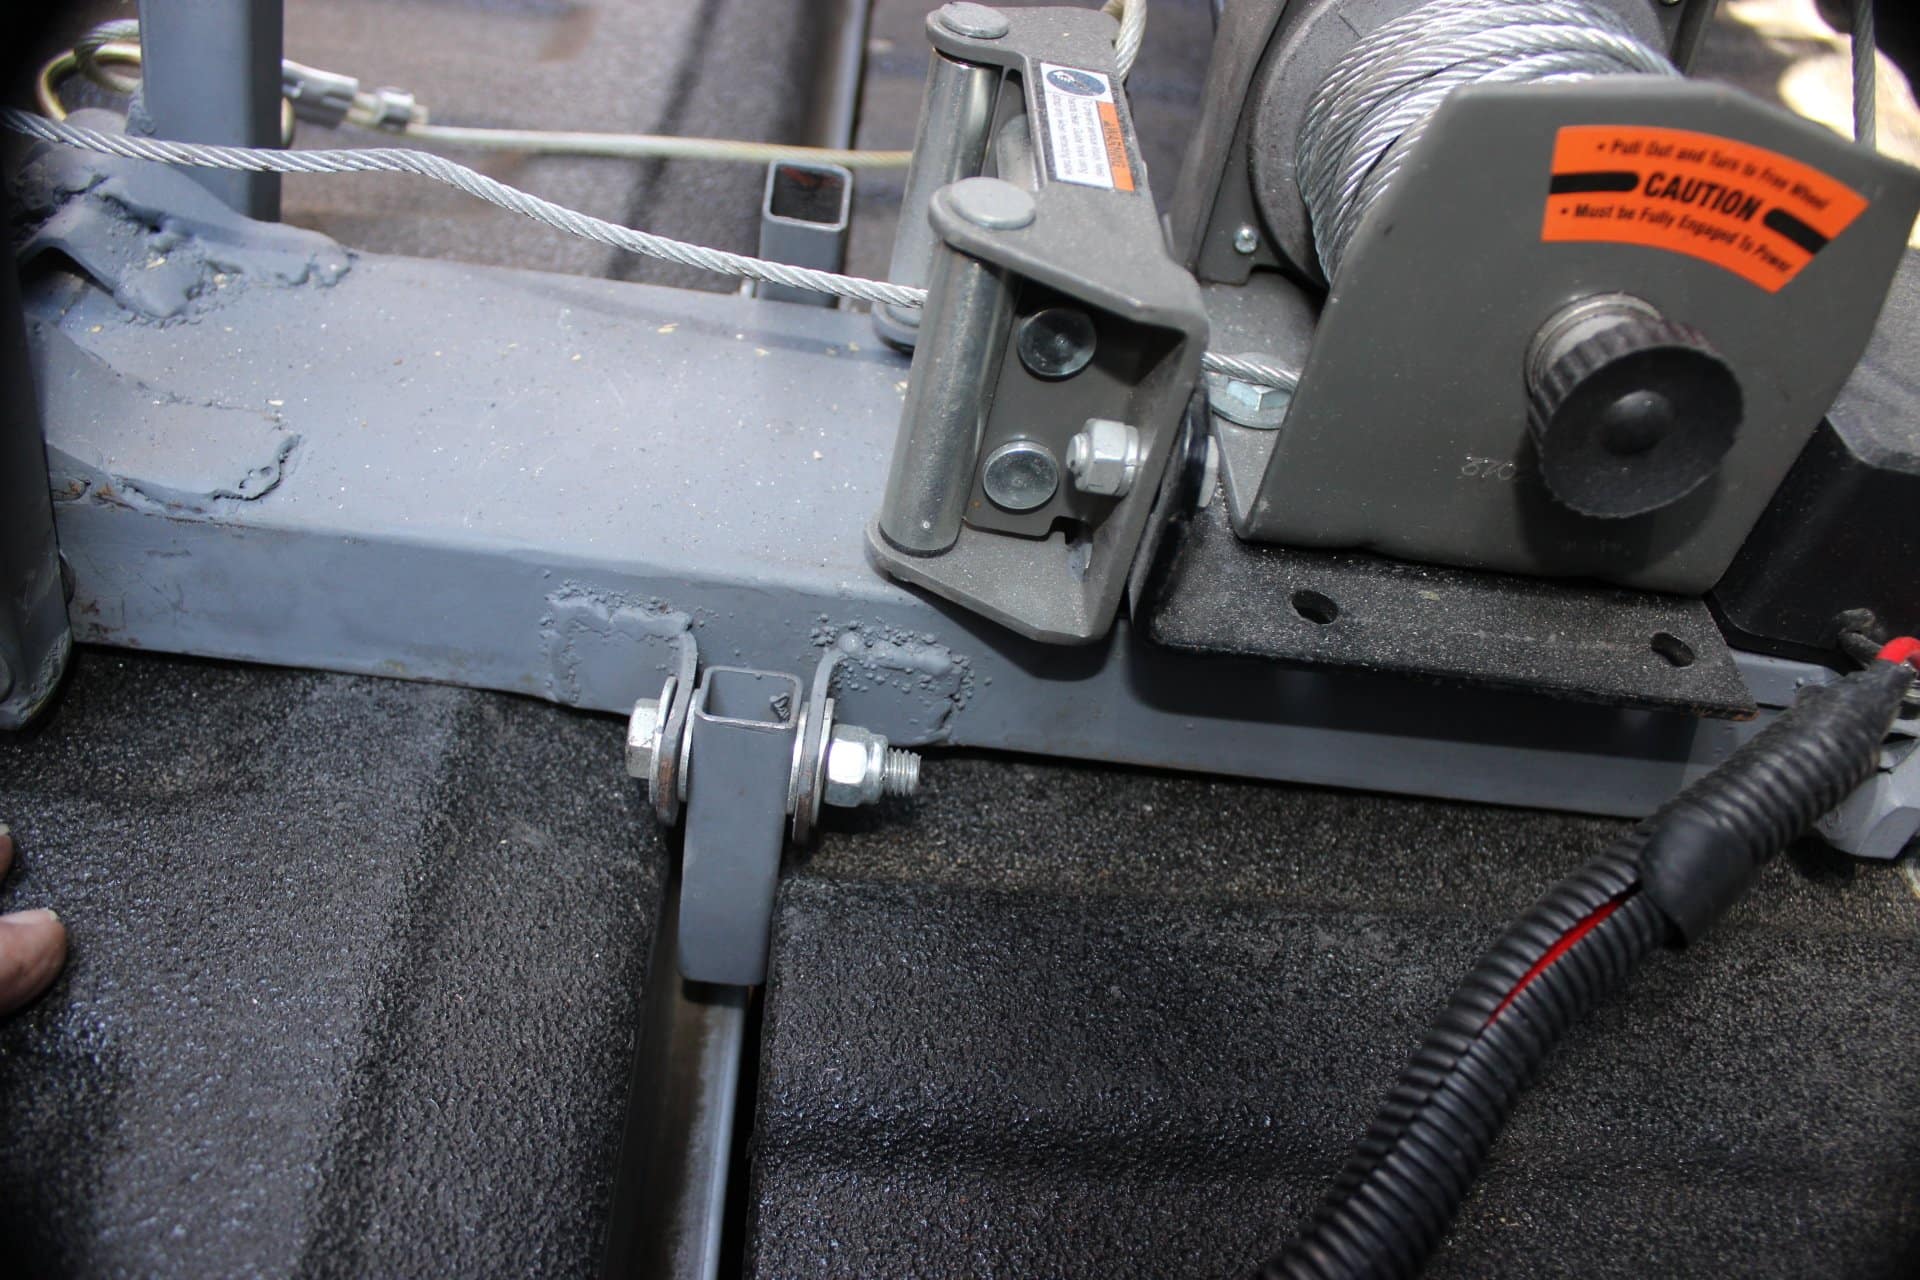
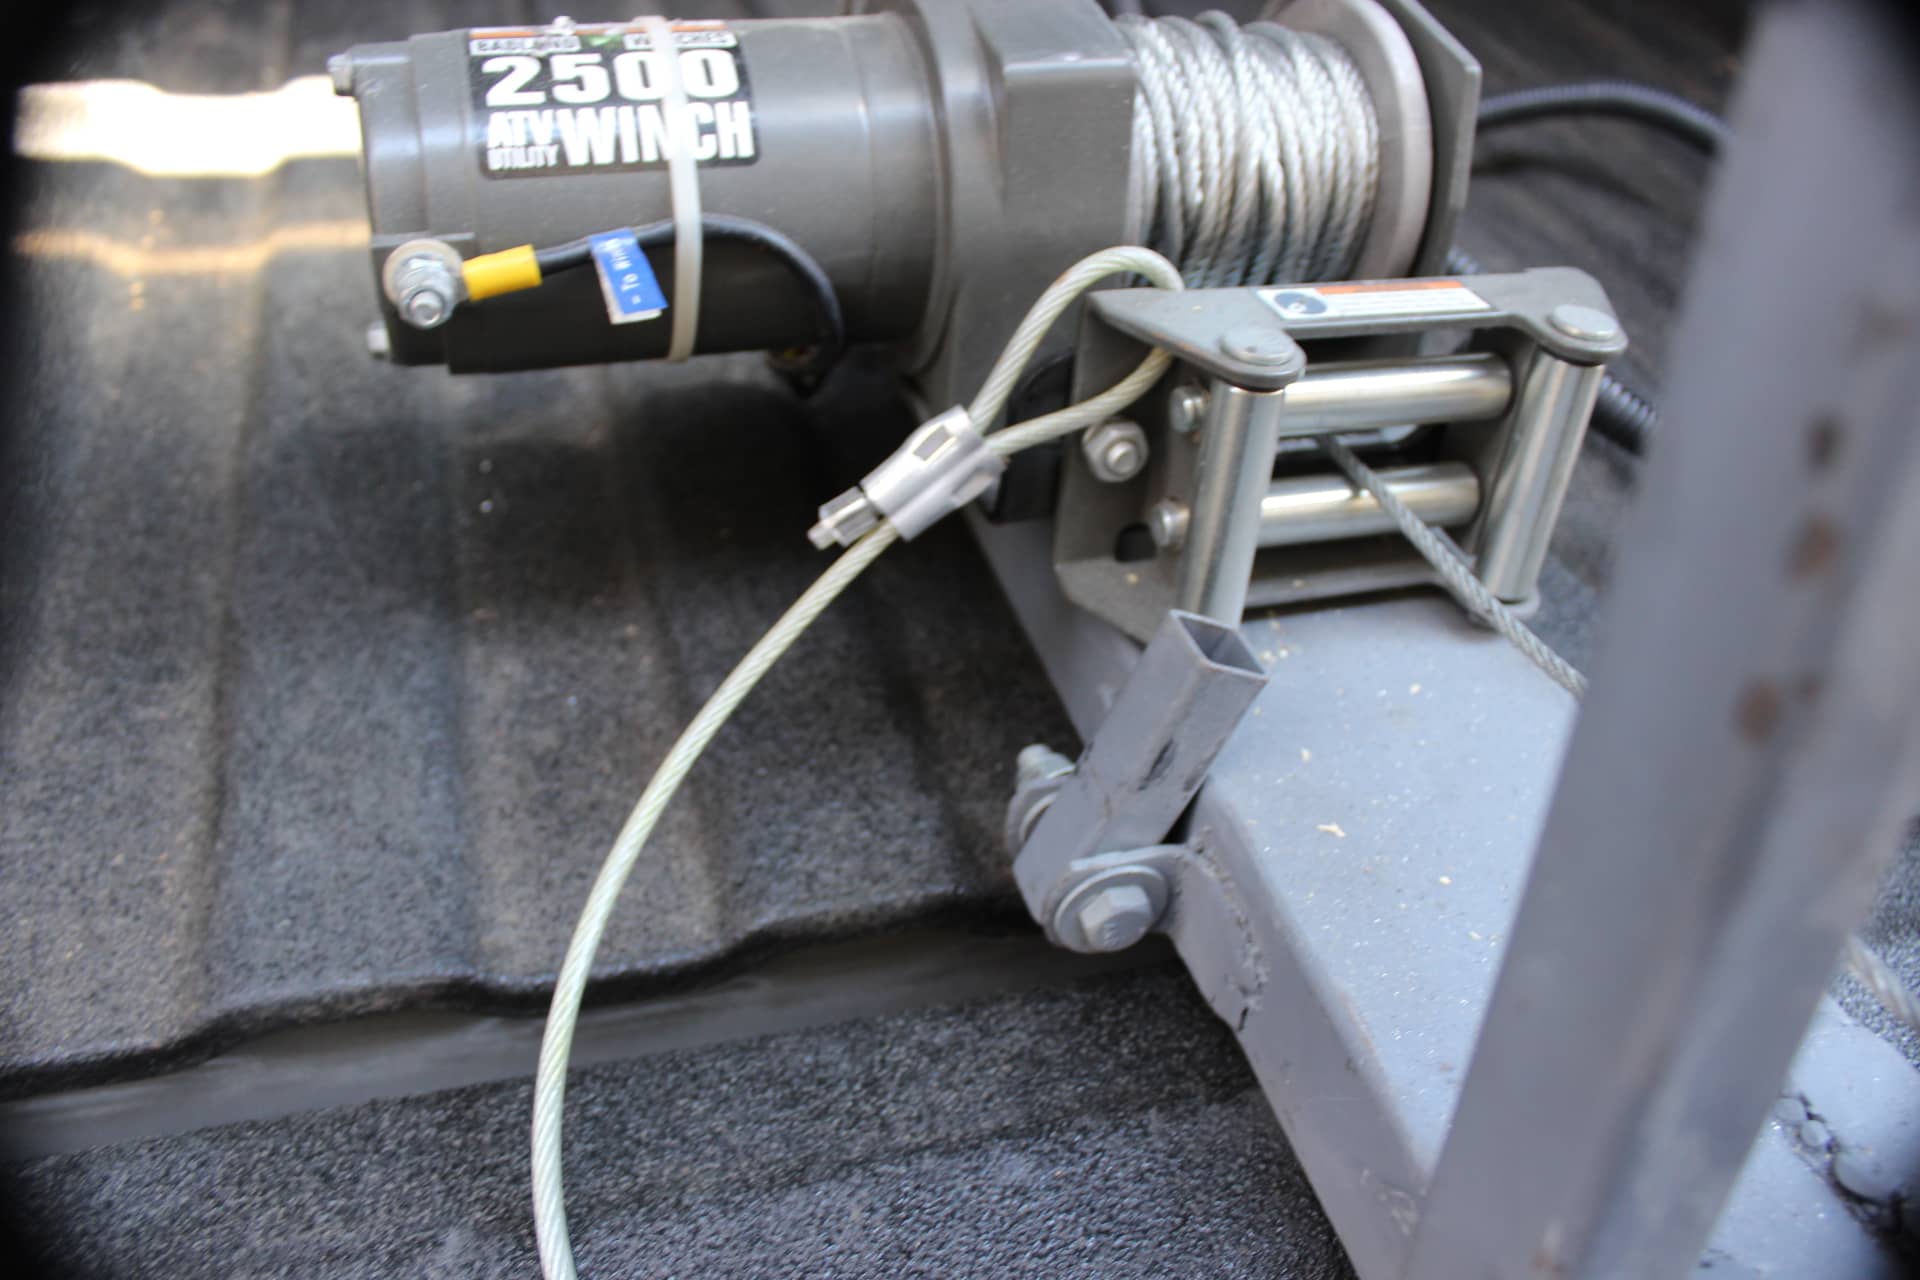
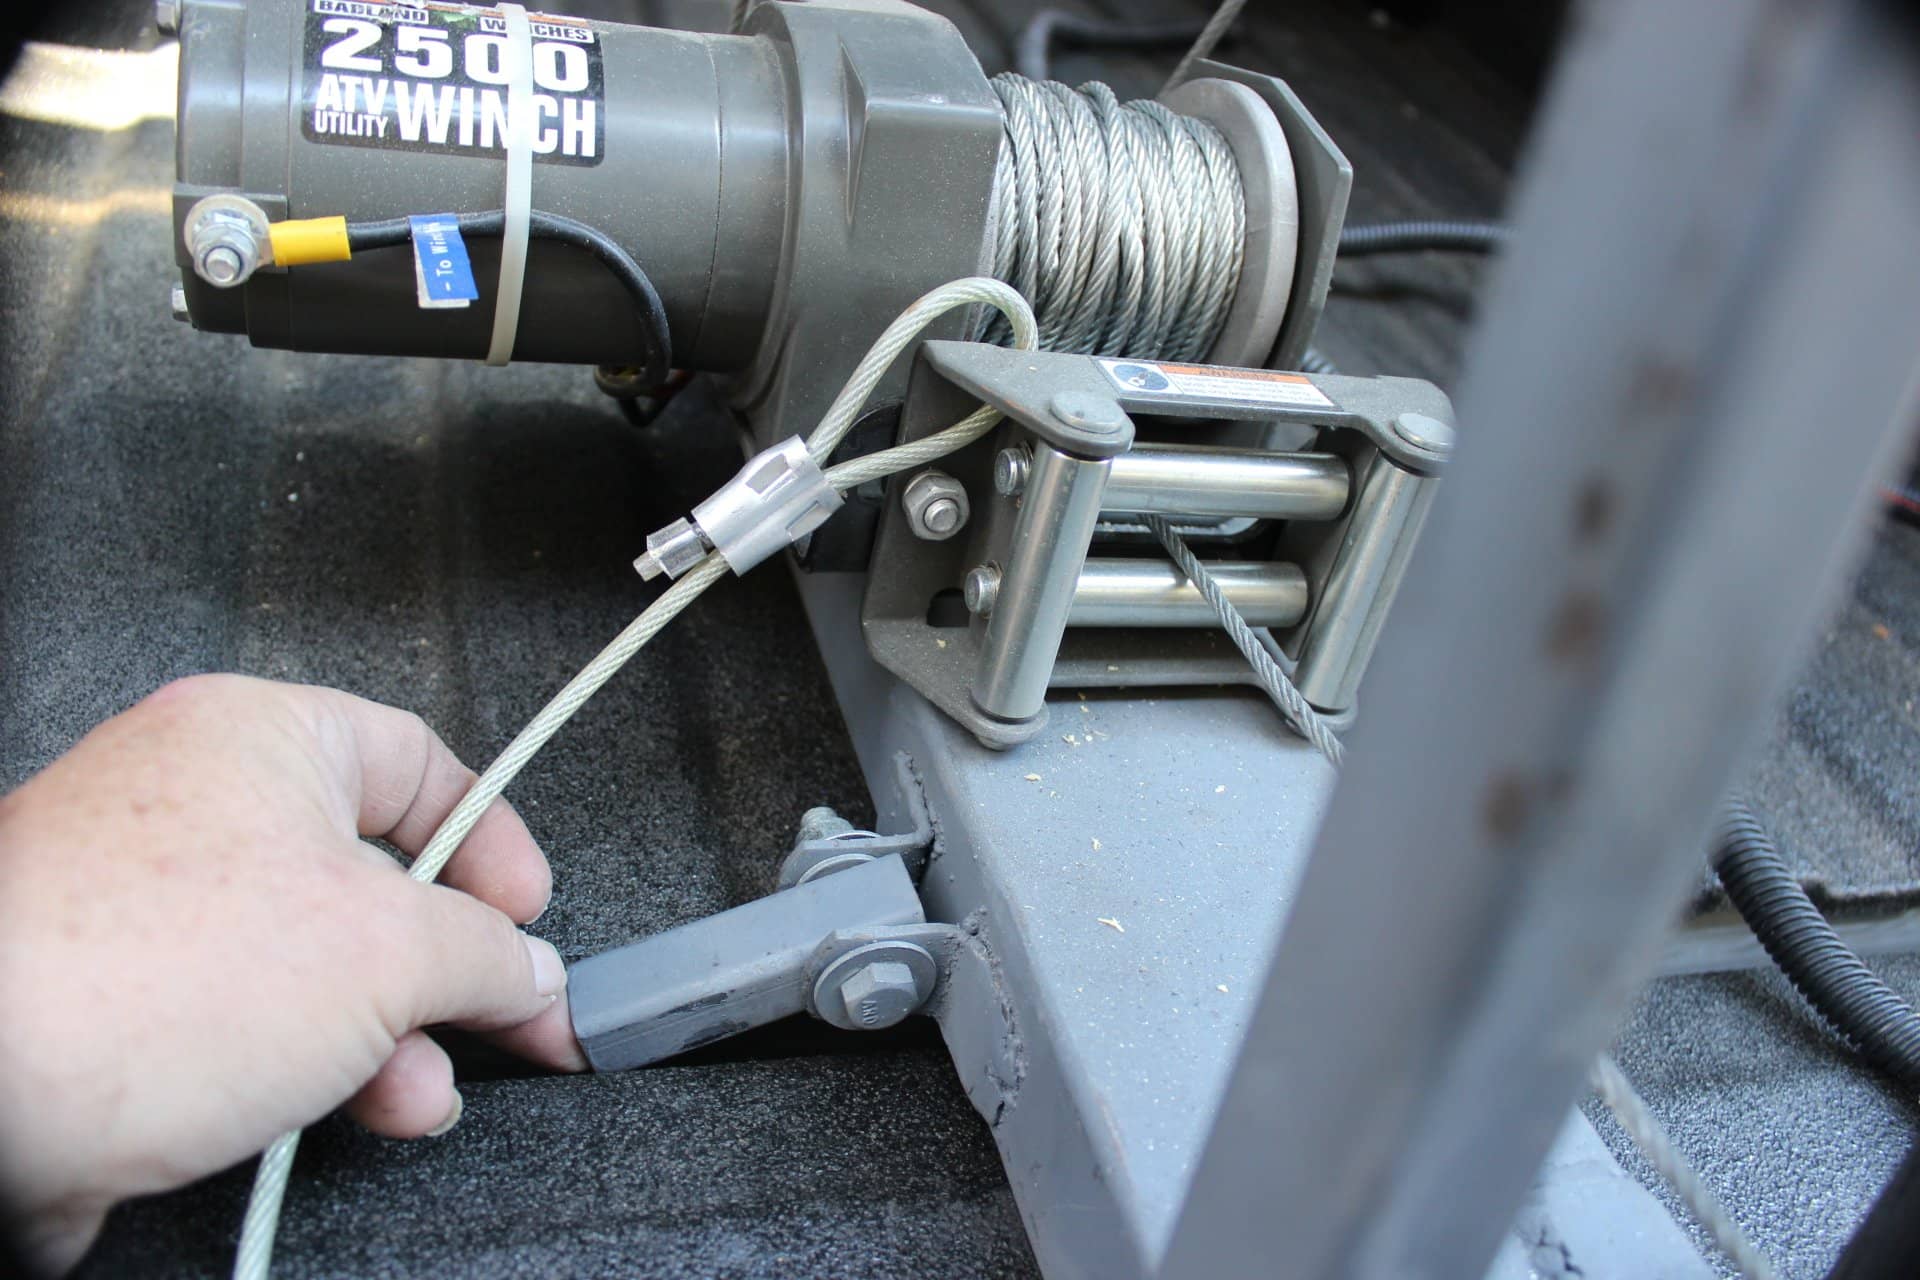
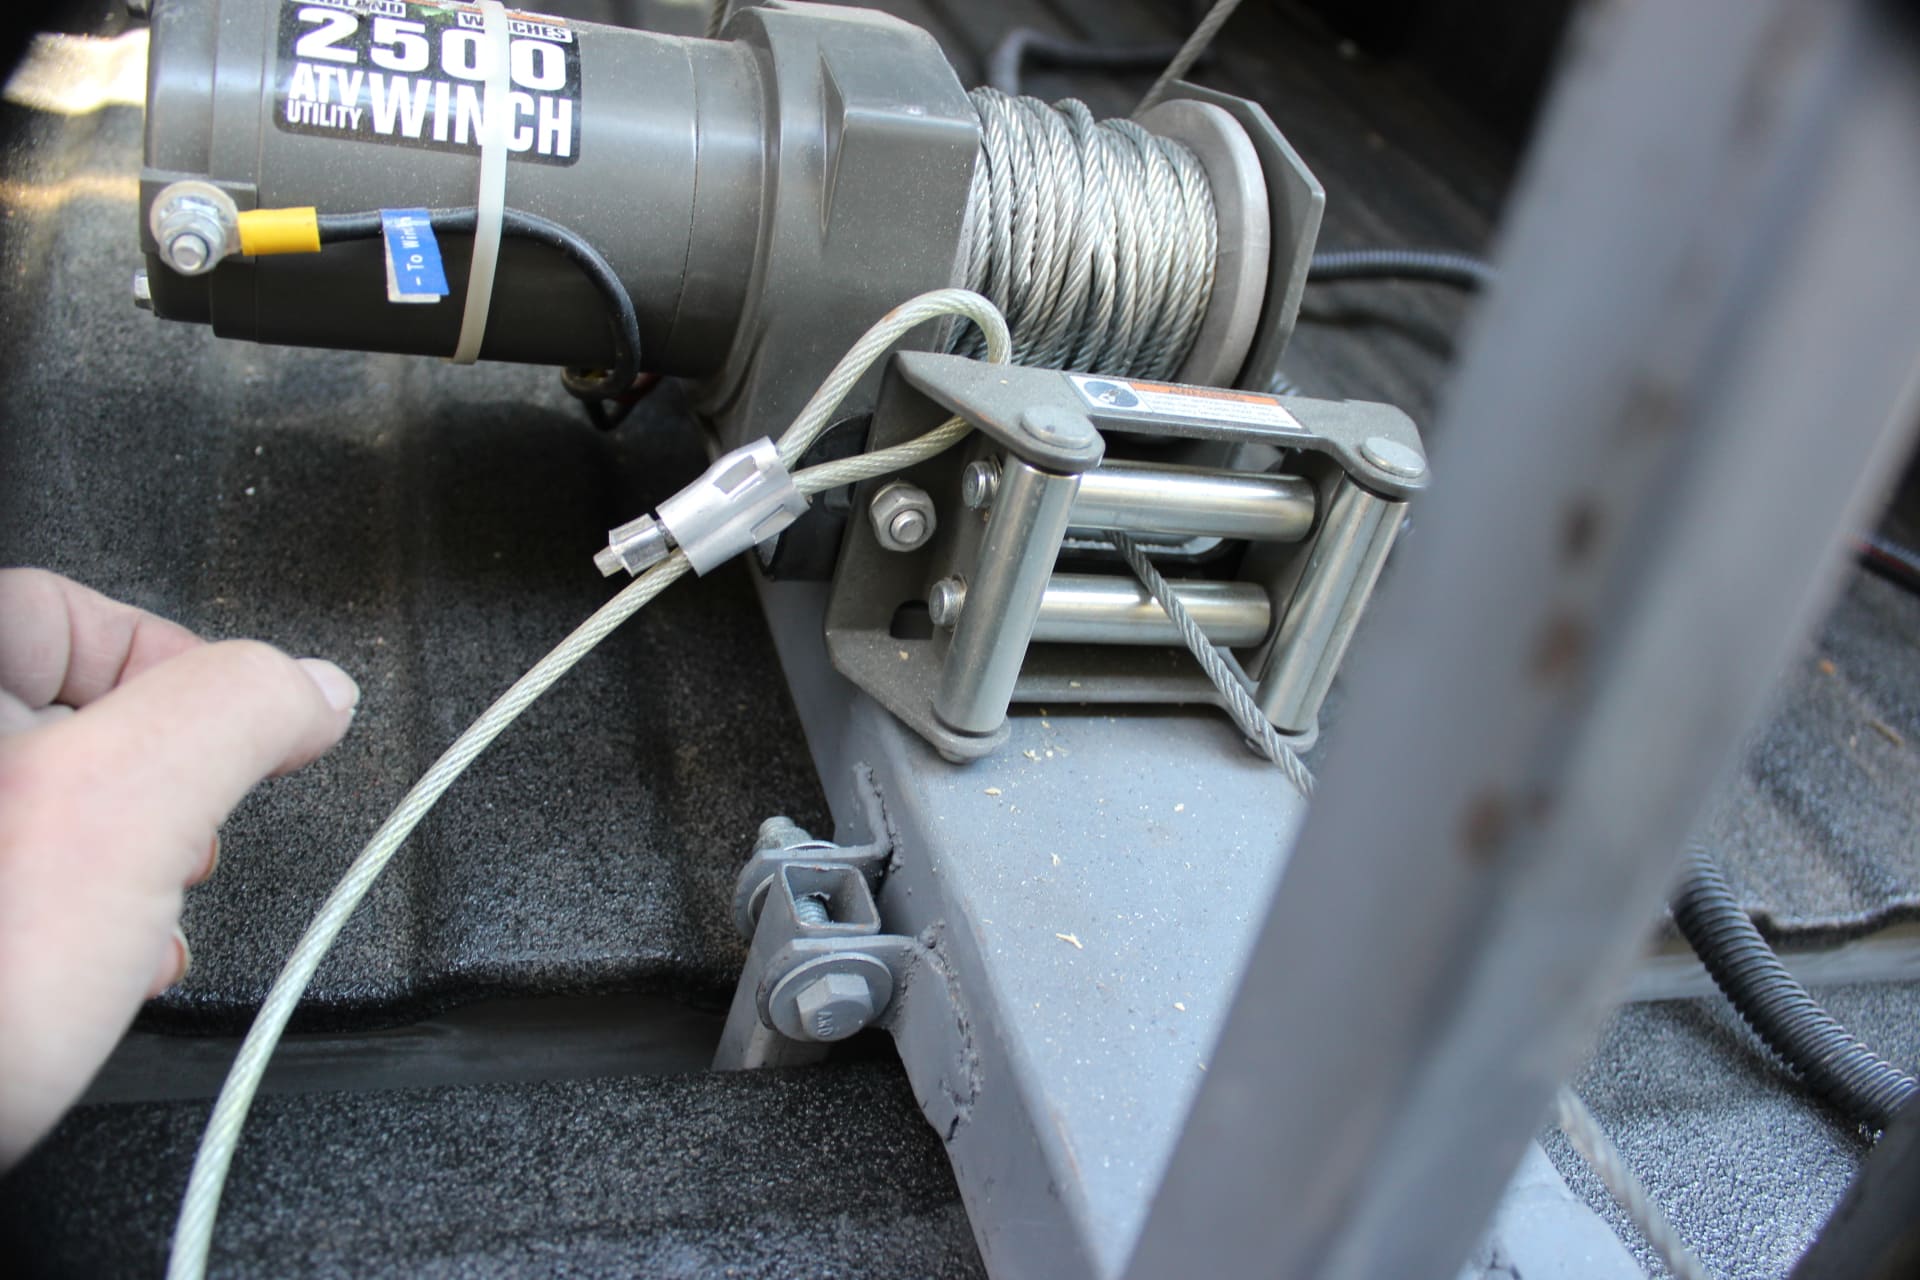
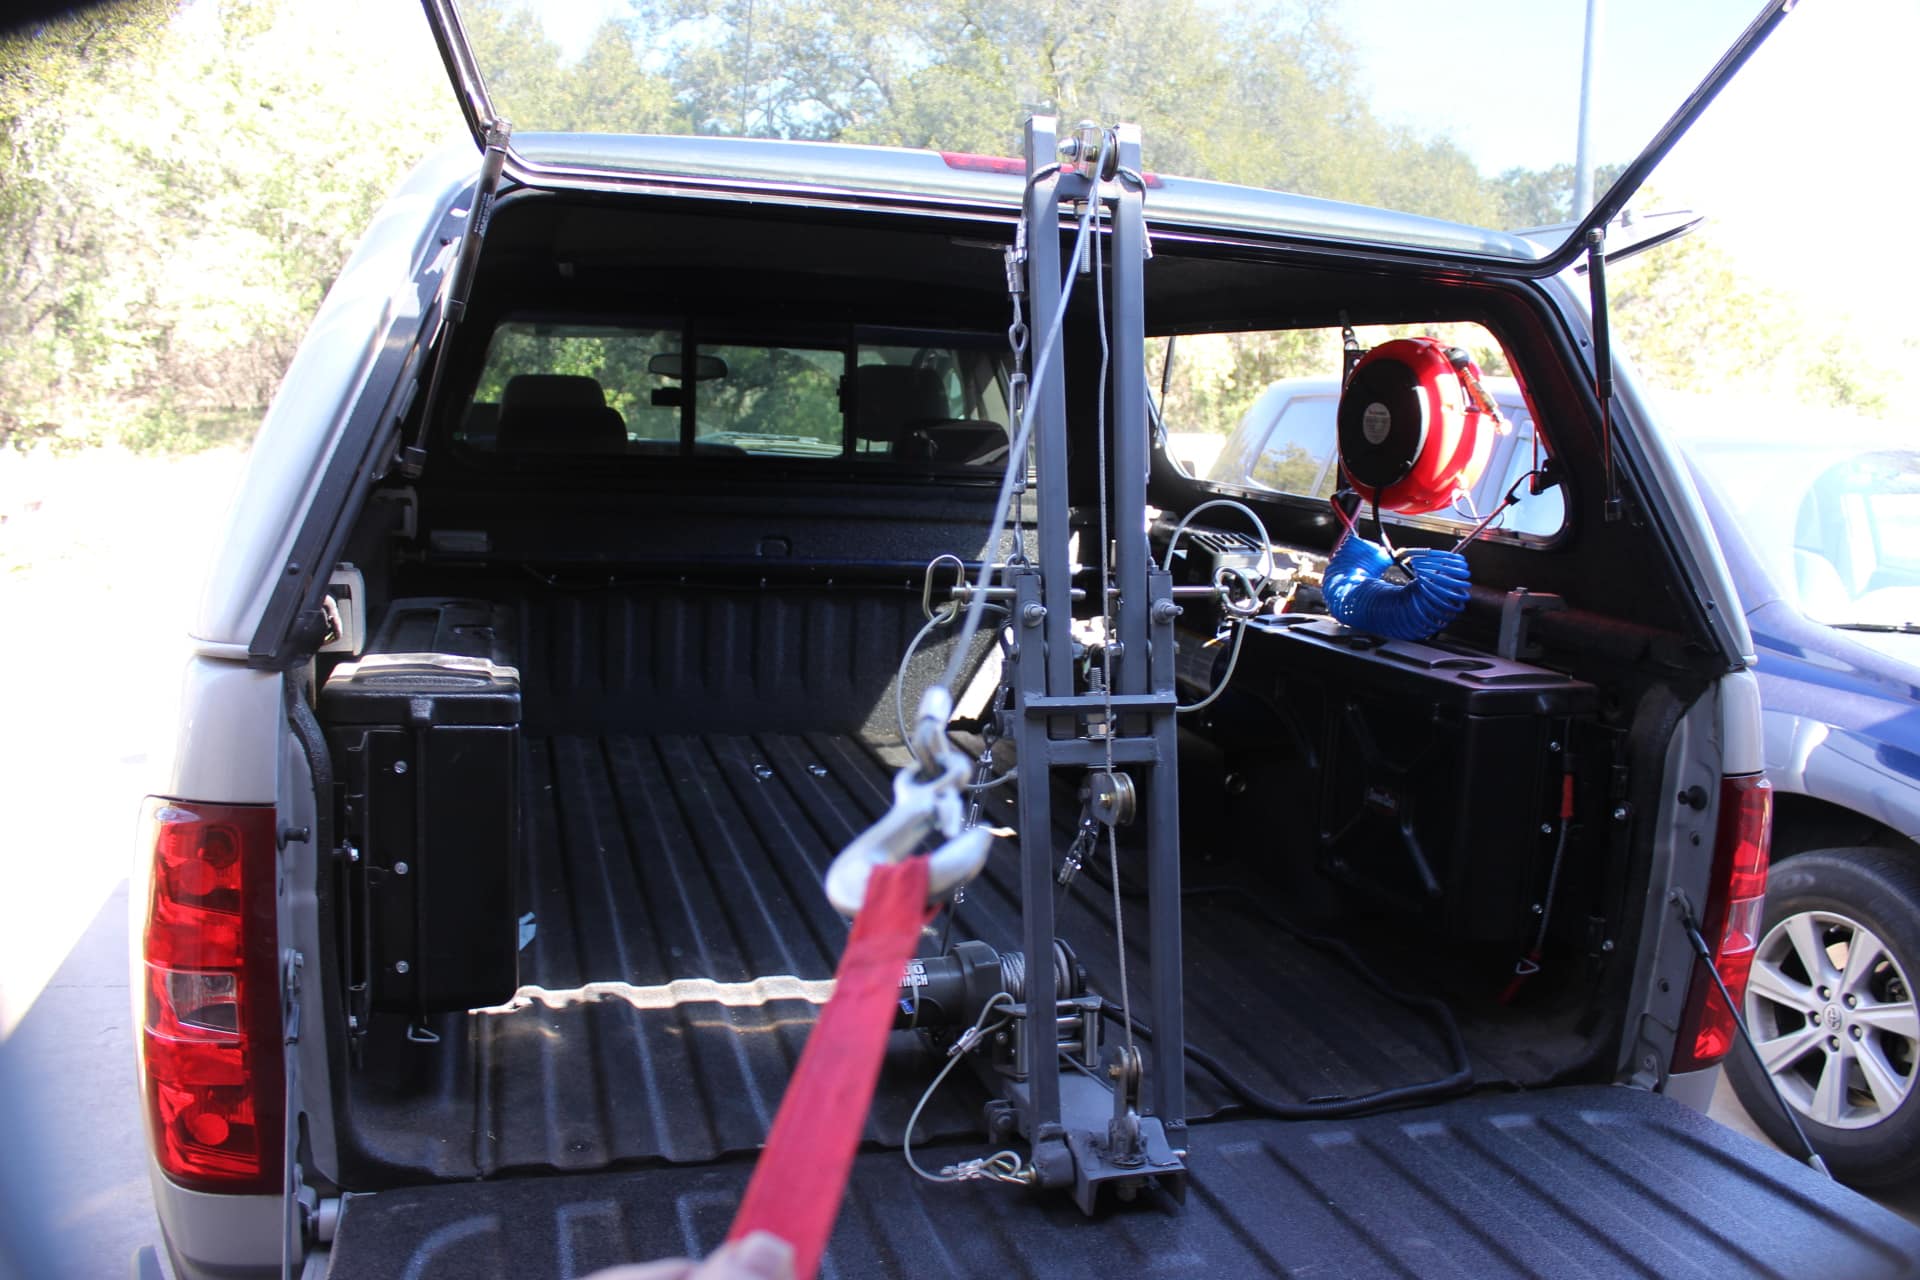
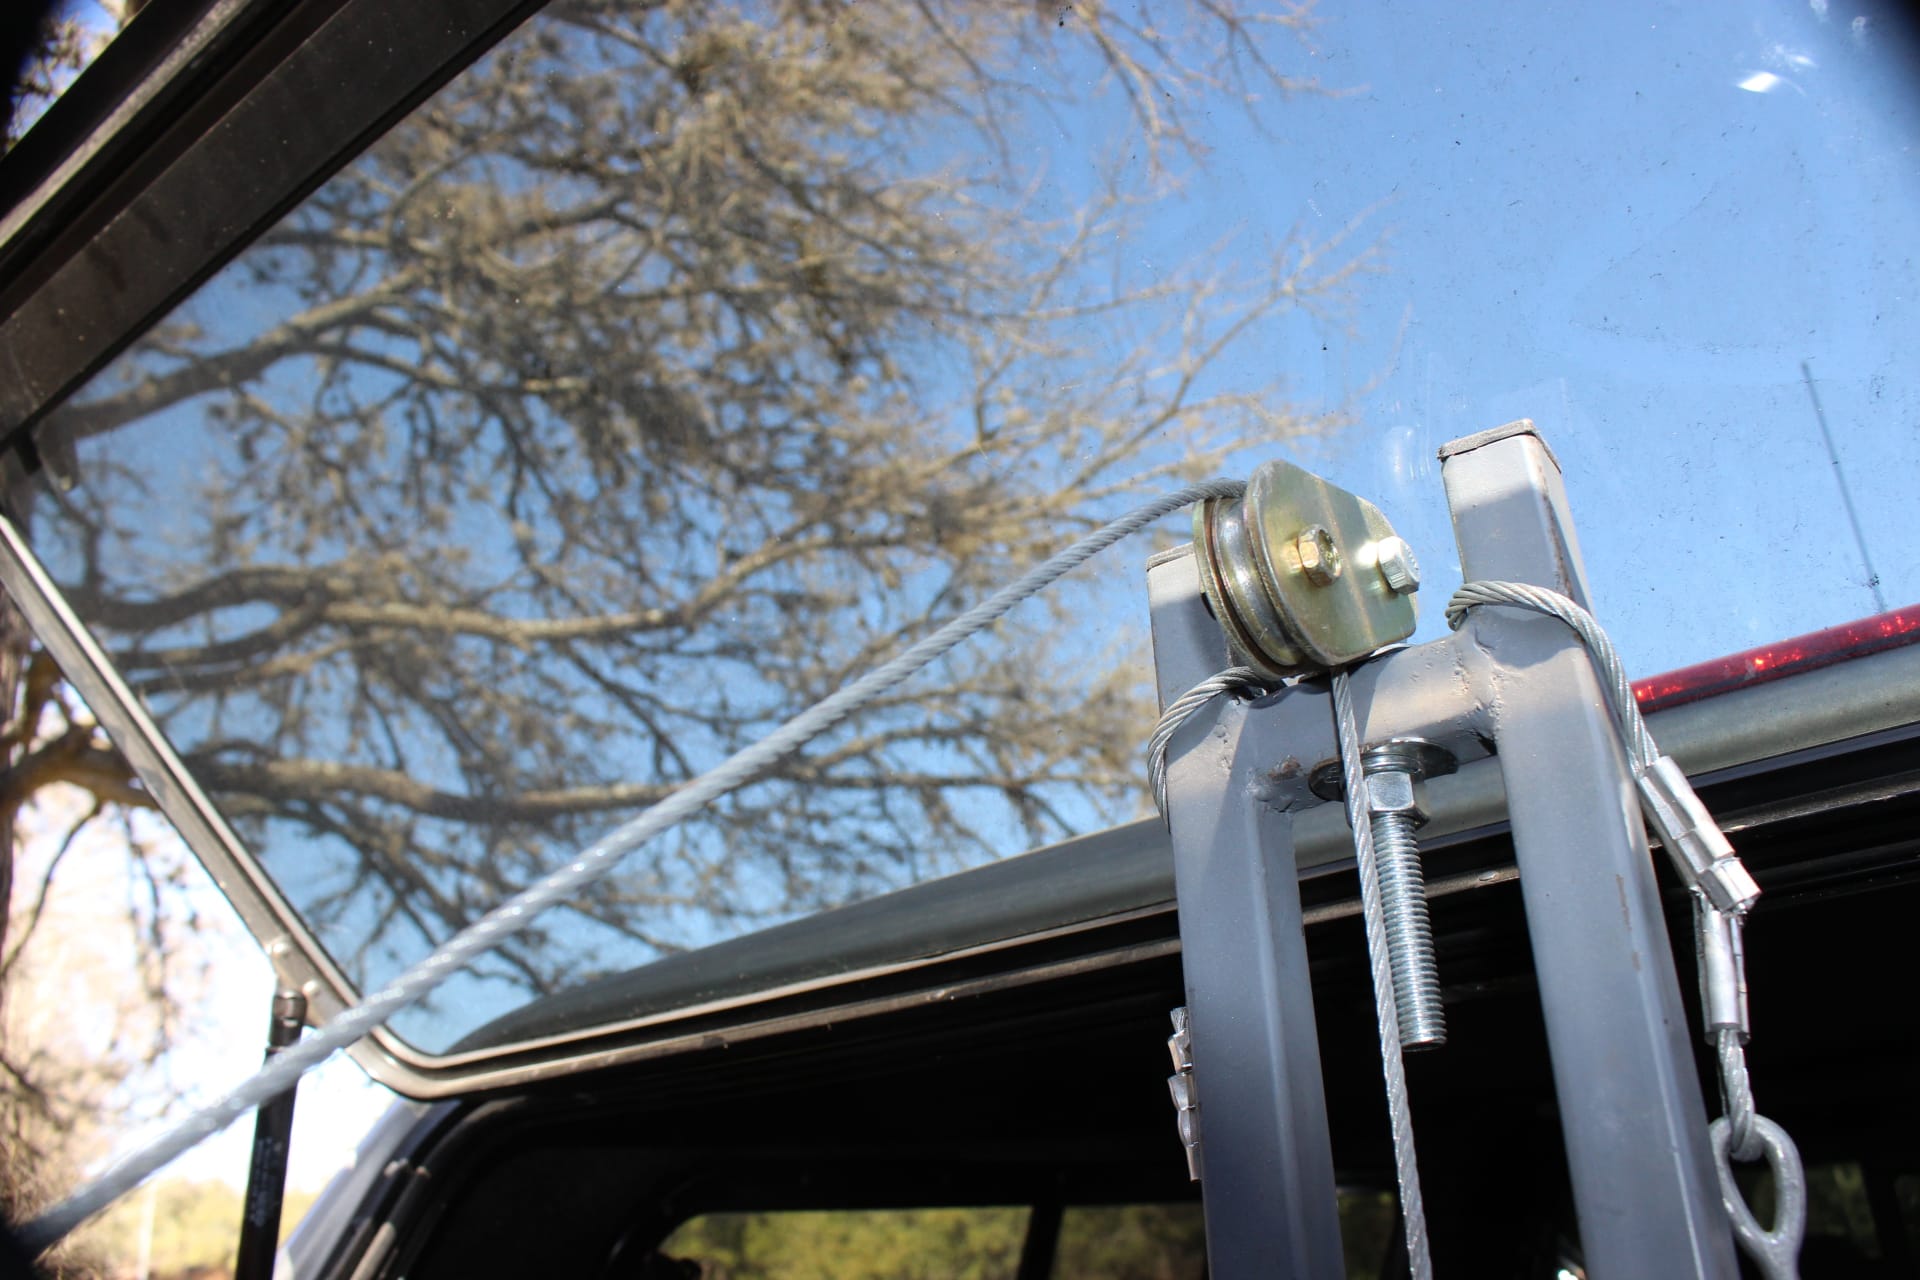
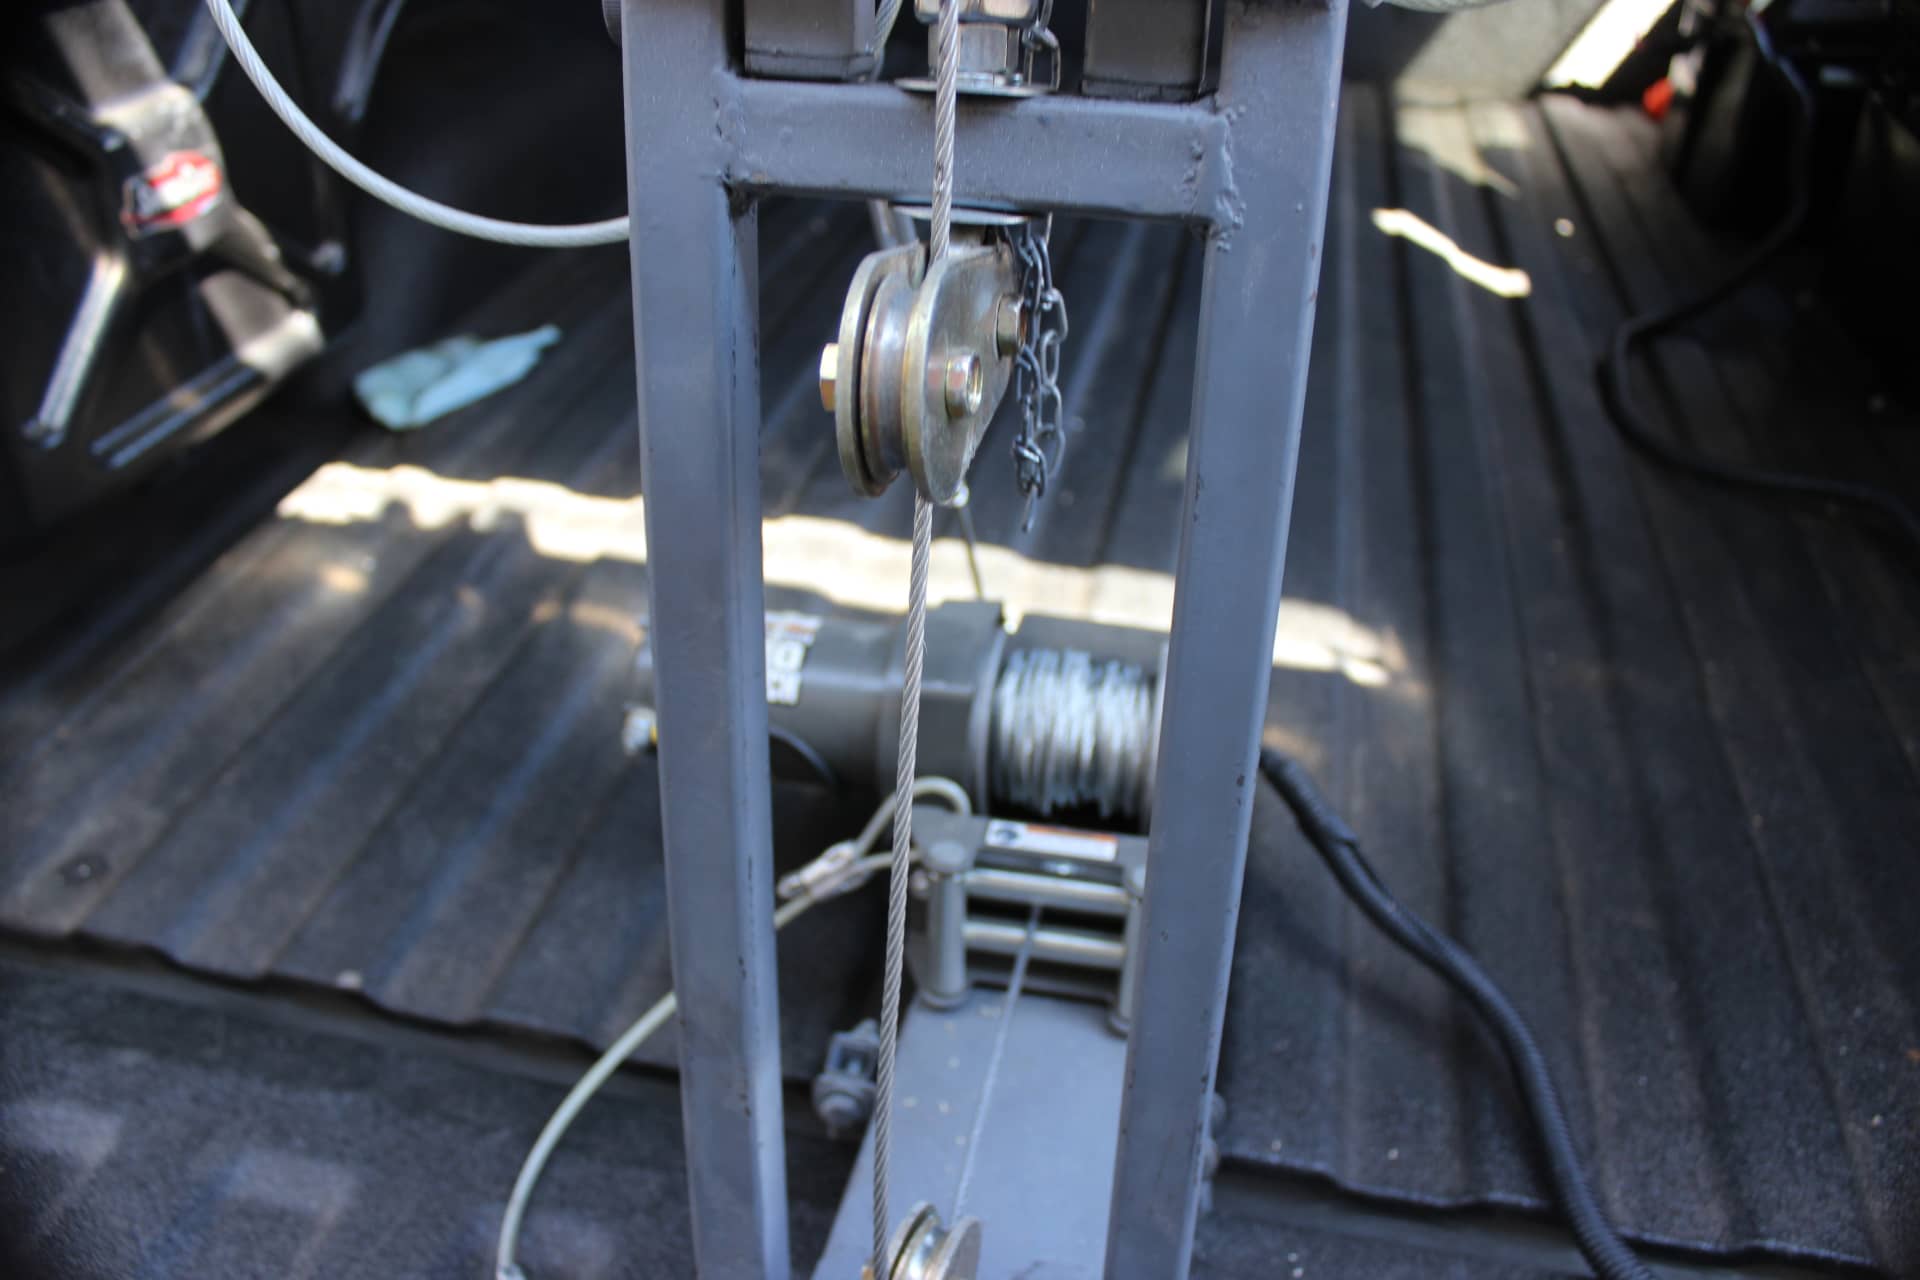
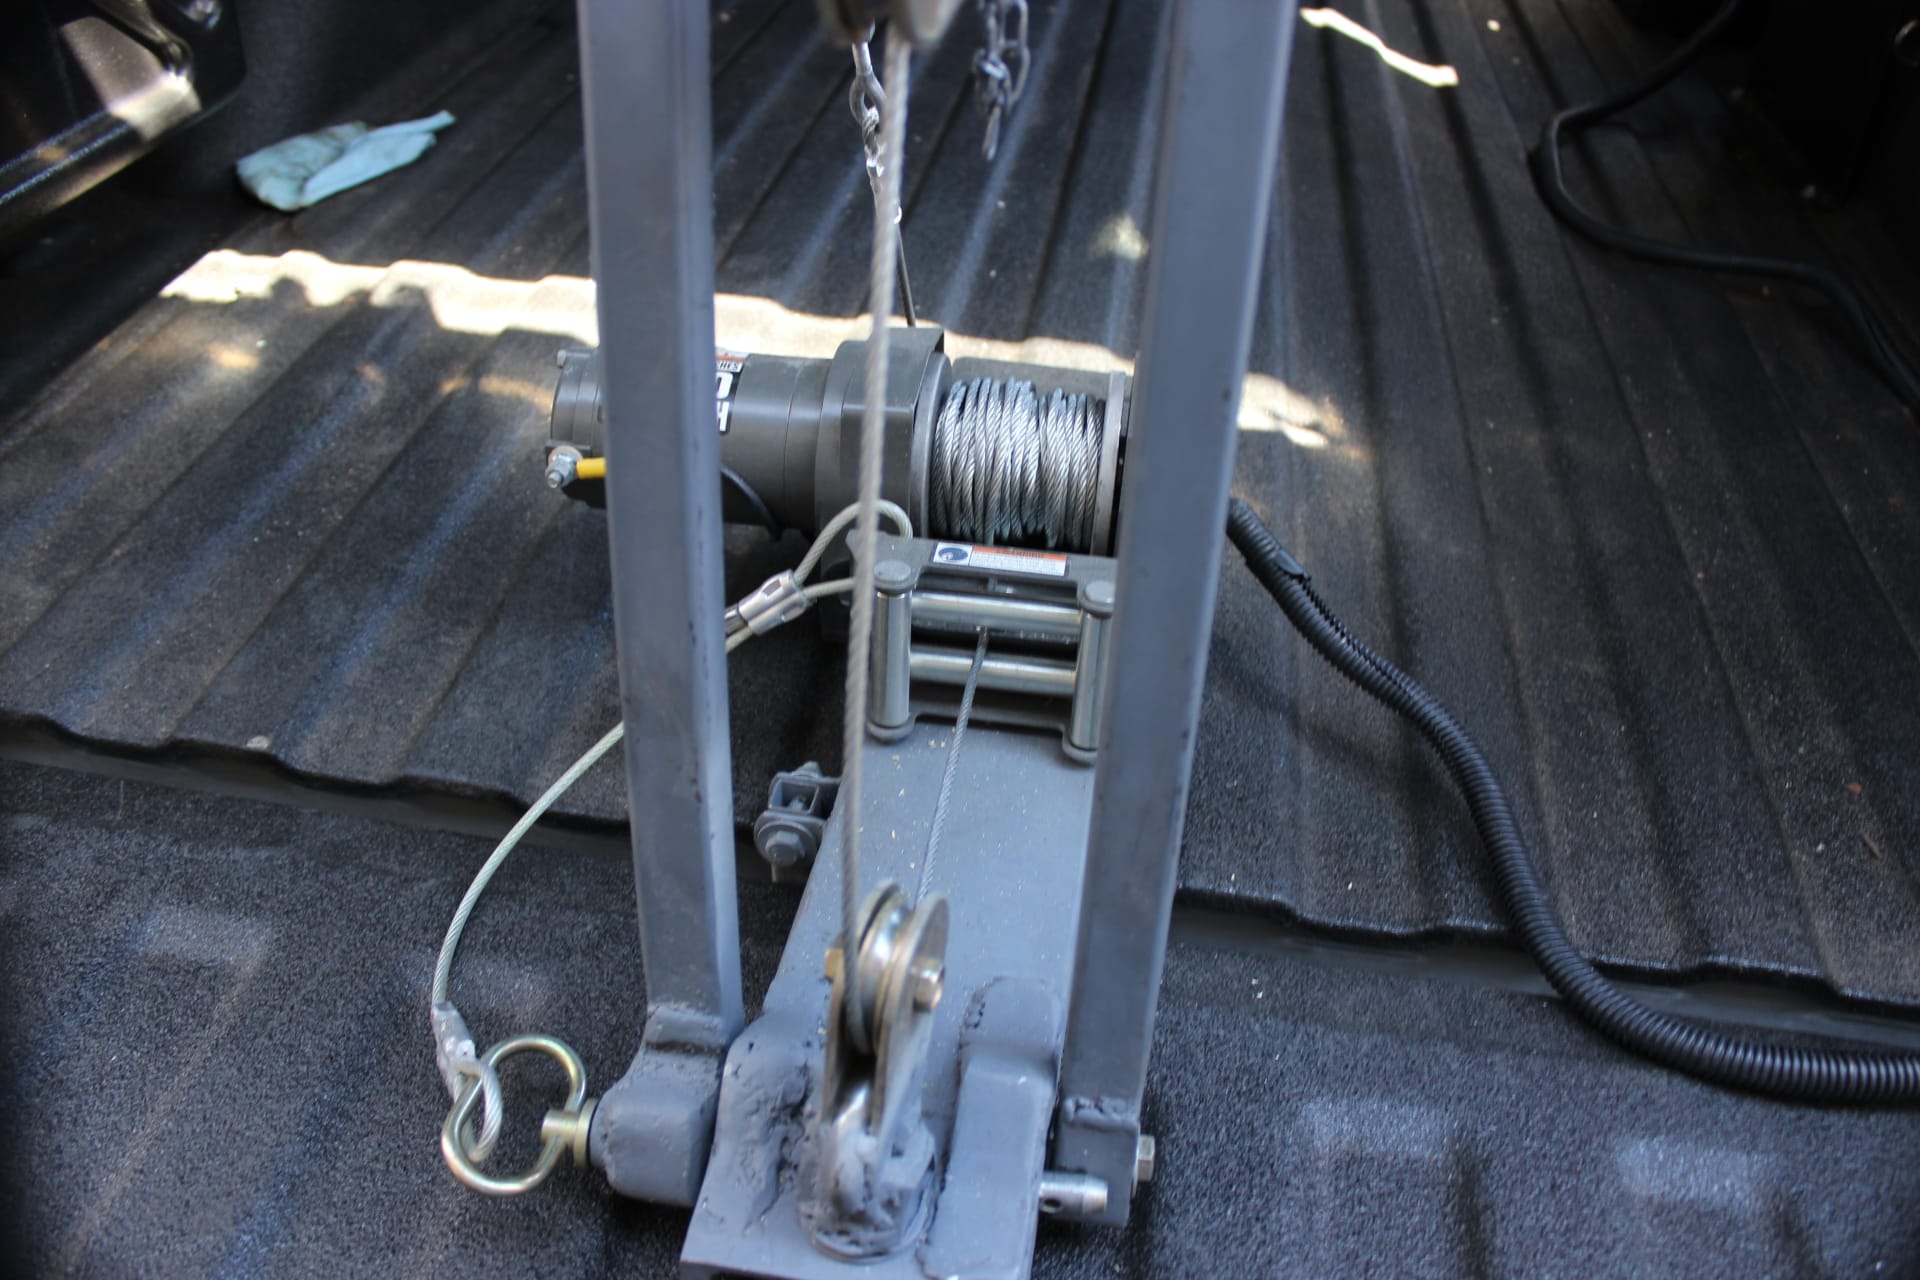
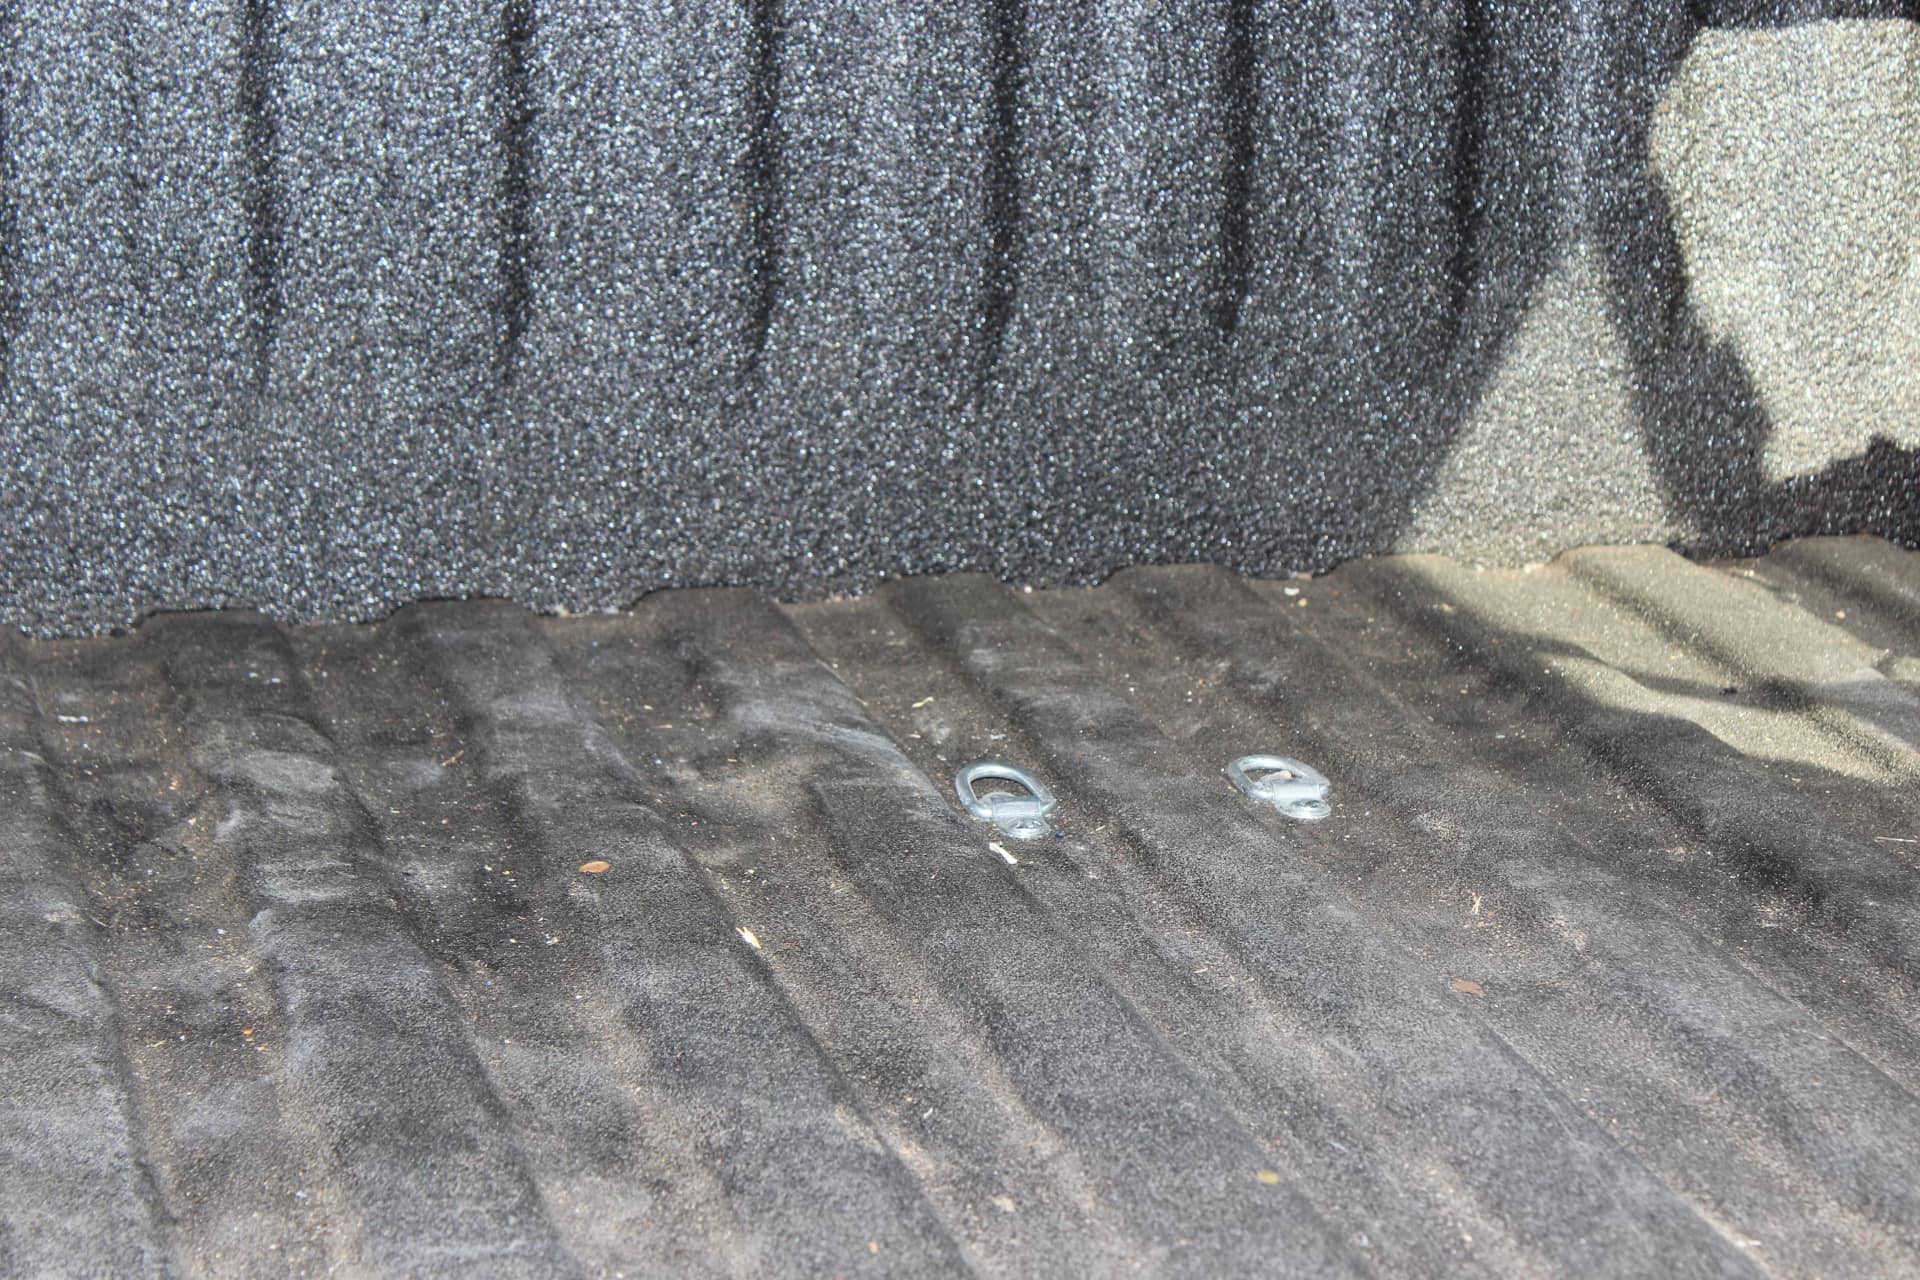
If you look you will see a steel eyelet (image 1425) bolted in the middle of (and running all the way thru to the inside …. image 1510) the aluminum channel. This is so I could hook up (and I don’t expect anyone to run out and build this) a folding (images 1635, 1642…the upper and lower sets of the crane base arms lock with a pin/s, in the up, or down position so it will fit in my truck…. images 1640, 1641), remote (image 1644), winch powered crane (image 1634 …I got this at Harbor Freight for just $50) that I built (images 1635, 1636, 1637) that hooks into the bed of my truck with a couple of large bolts welded on the back of the crane (images 1646, 1647), that fit into two steel tie down eyelets (image 1625… I also put a couple of these closer to the front of the truck bed so when I wanted to wench things, like my generator, into the truck bed Image 1660), that are bolted to the bed of my truck (down inside the little channels the run the length of the bed …so nothing will scrape on them). These big bolts also hold the wire cables with turn buckles (image 1637) that support the top part the cranes lower arms (images 1638, 1639). I also put support wire cables with turn buckles on the top arms as well (images 1637, 1639, 1642, 1655) fitted to the same eyelets on the top of the lower arm and these have removable chain links so you can take these off if need be so as to be able to fold the full length of the crane arms in half. On either side there are folding tabs that fit down into the channel between the truck bed and the tailgate (images 1648, 1649, 1650, 1651). I put a couple of casters on the back so I could roll the whole thing in and out without having to pick it all the way up (image 1645). I ran the cable on the wench thru a series of pulleys (images 1640, 1655, 1656, 1657, to transfer the lifting power in the direction I wanted (up and then towards the truck).
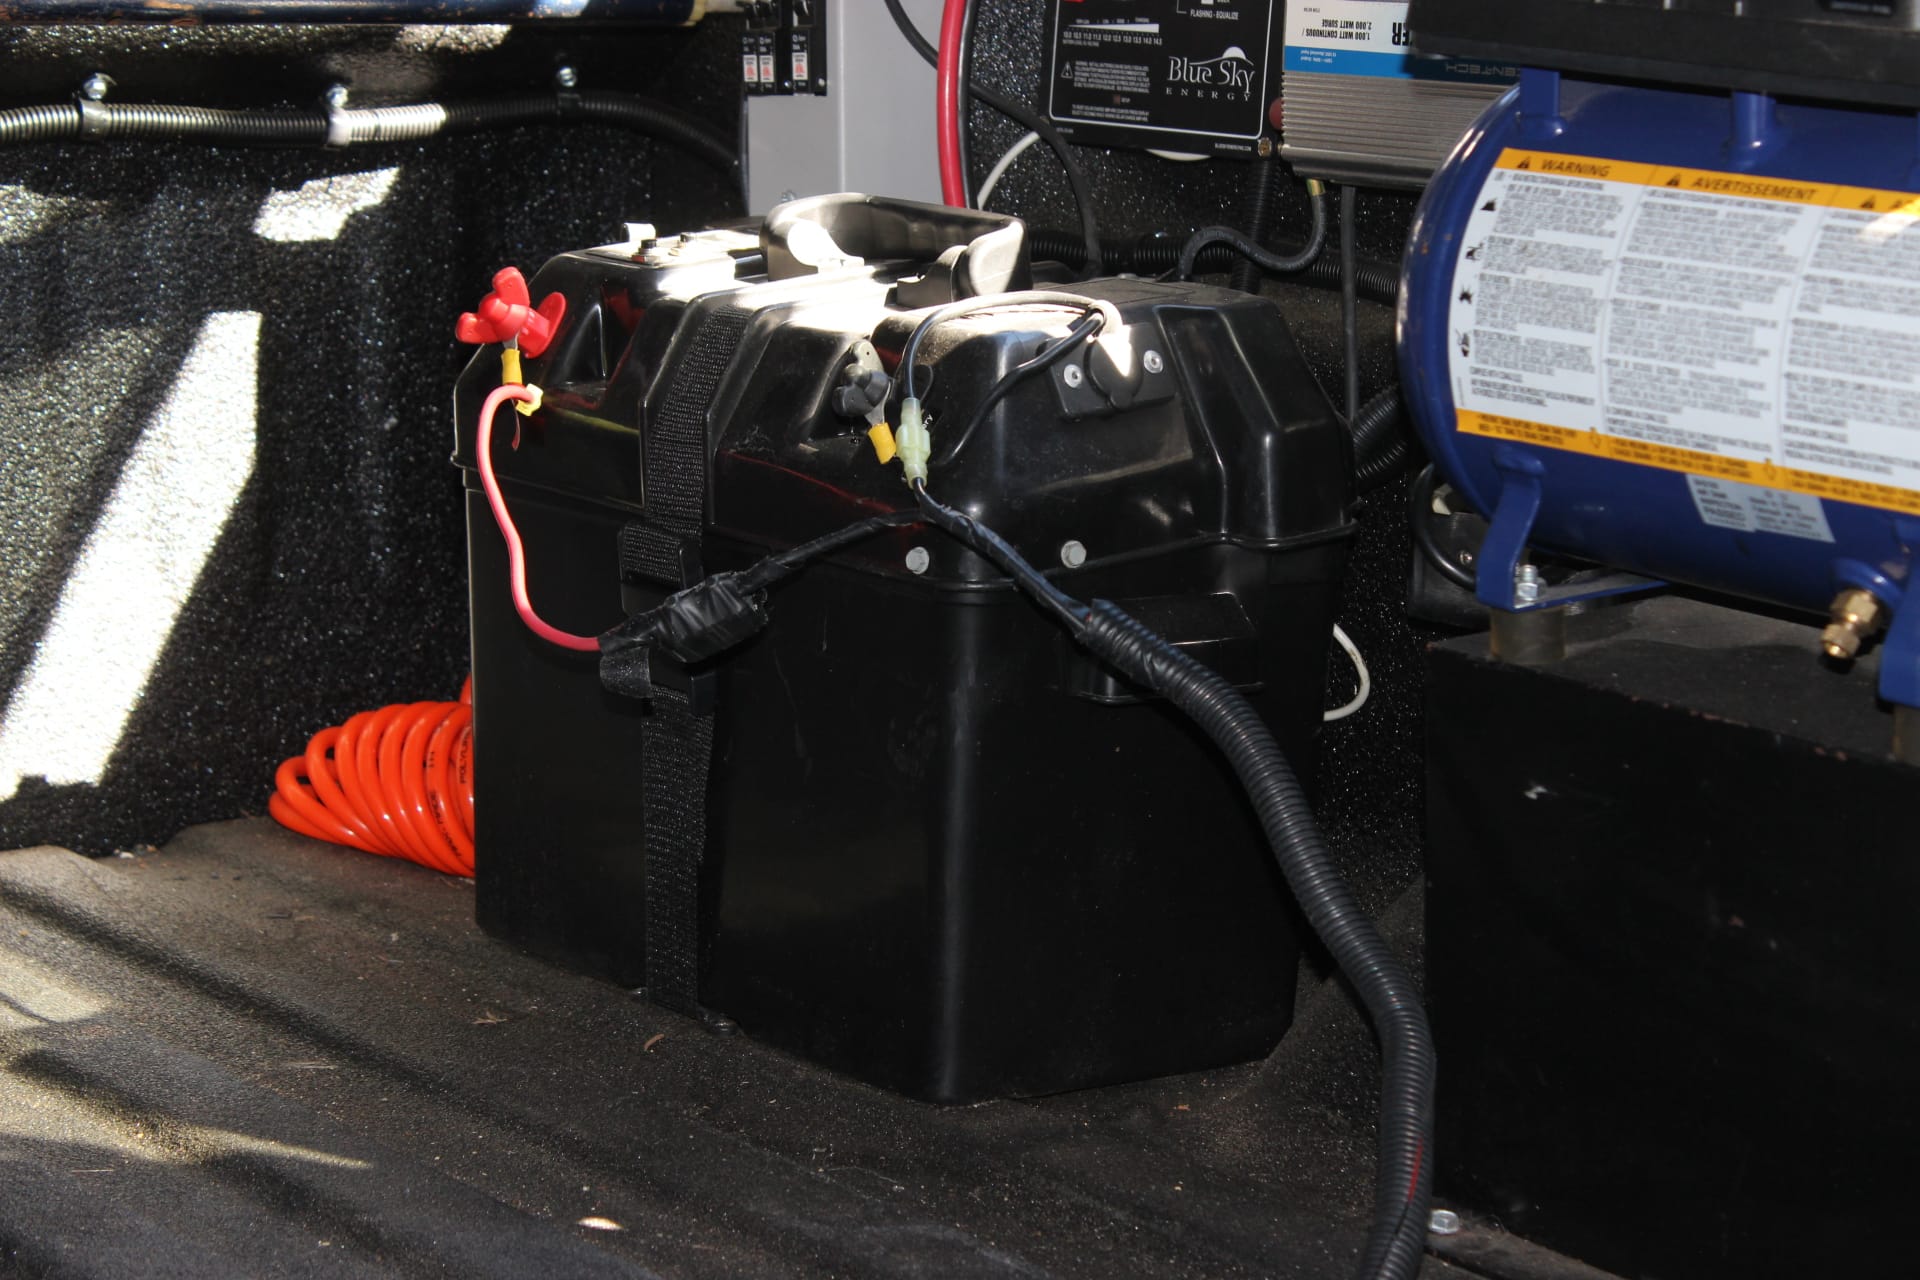
The wench is powered by the battery inside the truck bed (images 1653, 1659), connected to the terminals on the outside of the marine battery box with insulated quick connect spade connectors so you can connect and disconnect it easily without having to unscrew the wires at the terminals on the marine battery box. On the battery box side of the wires I used the male side on the positive and the female on the negative side. This way you don’t get the polarities mixed up.
Once everything is in place and hooked up, I just turn the remote on and extend the cable (image 1654), hook the hook to the eyelet on the trailer, push the retract button on the remote, and the wench takes up the slack and starts lifting the front shell. All I have to do is lift gently on my side and guide the shell as it opens up fully! AHHHH….and all for those occasions when I have to open it up by myself. On our last trip out to California my wife had limited time (since she works, she had only 10 days to vacation). What we did was, I drove out to Flagstaff AZ. by myself and she flew into there. Then on the return trip from San Francisco she flew home and I drove back with a friend of mine who flew up from San Diego. This way we saved 5 or six days travel time. Knowing that I would be having to open up the trailer by myself prompted me building this crane to assist me. It worked like a charm and it was worth the toil and dough.
So with two people it’s pretty easy, but with one it can be a chore…not any more though! You know it’s my aspiration to have a fully automated Trailmanor that with the push of one button, levels and opens itself after being unlatched. Lofty as that may sound, it is a possibility, you just need to throw enough money and time at it to make it so…..I’m not there yet but getting closer….who knows if that will ever happen with me. So making it easier is the next best thing…..hence the handles for two (crane for one)….you really should consider attaching some handles though….after all,….. they are aerodynamic!