Me, I’m the chef in this family and like most guys, I do a lot of my cooking on the gas grill at home (when the weather is nice ….which, in Austin Texas, is most of the time). So it should be no different out on the road. One of the observations we made was that the next biggest expense (lodging being the biggest) when on a vacation is paying for your meals. Having a Trailmanor with a full galley has cut this cost to the bone (no pun intended). We have worked out a very usable system when we travel. That being the days we are on the road we usually stop for lunch somewhere and have a very light evening meal and when we are camped or staying put in one place for a while, we usually eat in. Breakfast is most always done in the trailer no matter what the agenda for the day is. So this saves us a lot of money….money we could use of excursions….like horse backing in Bryce Canyon, or rafting down the Snake River under the Tetons or any number of bucket list items. That makes our vacations much-o fun-o!
So since I do the cooking, I love to grill. Grilling tastes great and also it keeps a lot of the odors and heat out of the trailer. But the problem is this….in order to grill, one has to get the grill out from wherever it’s stored, set it up somewhere, drag out a propane bottle (unless you have one of those totally inadequate dinky grills with the puny propane bottle the size of a beer can), hook up a hose to it and the hook that to the grill itself. Now you can start grilling if that didn’t wear you out. Then….you have to put it all away unless you want it to walk off! HUFF PUFF…….
When I was at the RV trade show hear in Austin some time back, I saw a Jayco trailer that had this slide out, outdoor kitchen with a two burner stove and a sink and I thought this is a cool idea accept most travel trailers already have a kitchen inside which makes it redundant unless you just want to not heat/stink up the trailer (which is good). What I did think was “instead of a stove and a sink, they should have a gas grill instead or at least offer one”. Well to my knowledge (and I look everywhere) no one offers such a thing because if they did, I wanted it. What you can get is one the attaches to you bumper, but I don’t want to have to walk all the way back there. You also can get one that attaches to the side of your trailer, but you still have to pack it away somewhere. SO….since no one offers what I really wanted, then I will just have to build my very own!
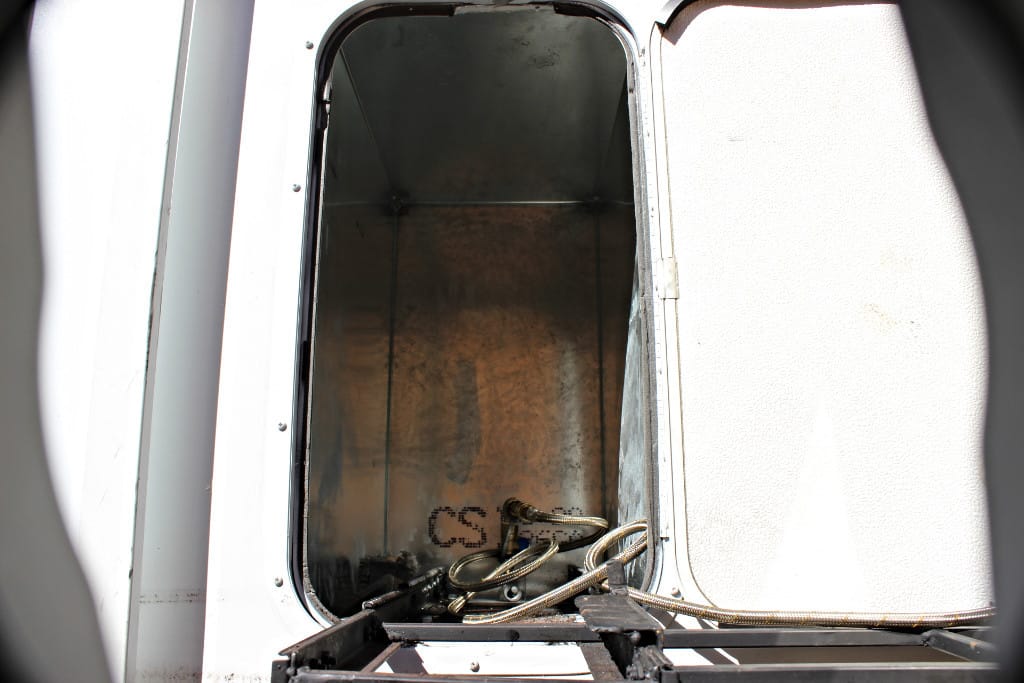
Now this does pose several question though….as to: where to put it, how it should work, what kind of grill do I want…etc…It would have to be in a compartment out of the elements , that would be handy with access to the propane system already in place on the trailer, and, it would have to be easy to access. The only place that would work on my trailer was the storage compartment under the bed (image 1606). I know that storage is at a premium but sacrifices must be made for the greater good versus space. The truth is, it didn’t take up all of the storage space under the bed, but about 2/3’s. So that’s where it must go. But there is no outside access to that under the bed compartment. HMMMMM…get the saws-all…
Now I can’t tell you how I did this, but I can tell you what I did and what I used and how it works.
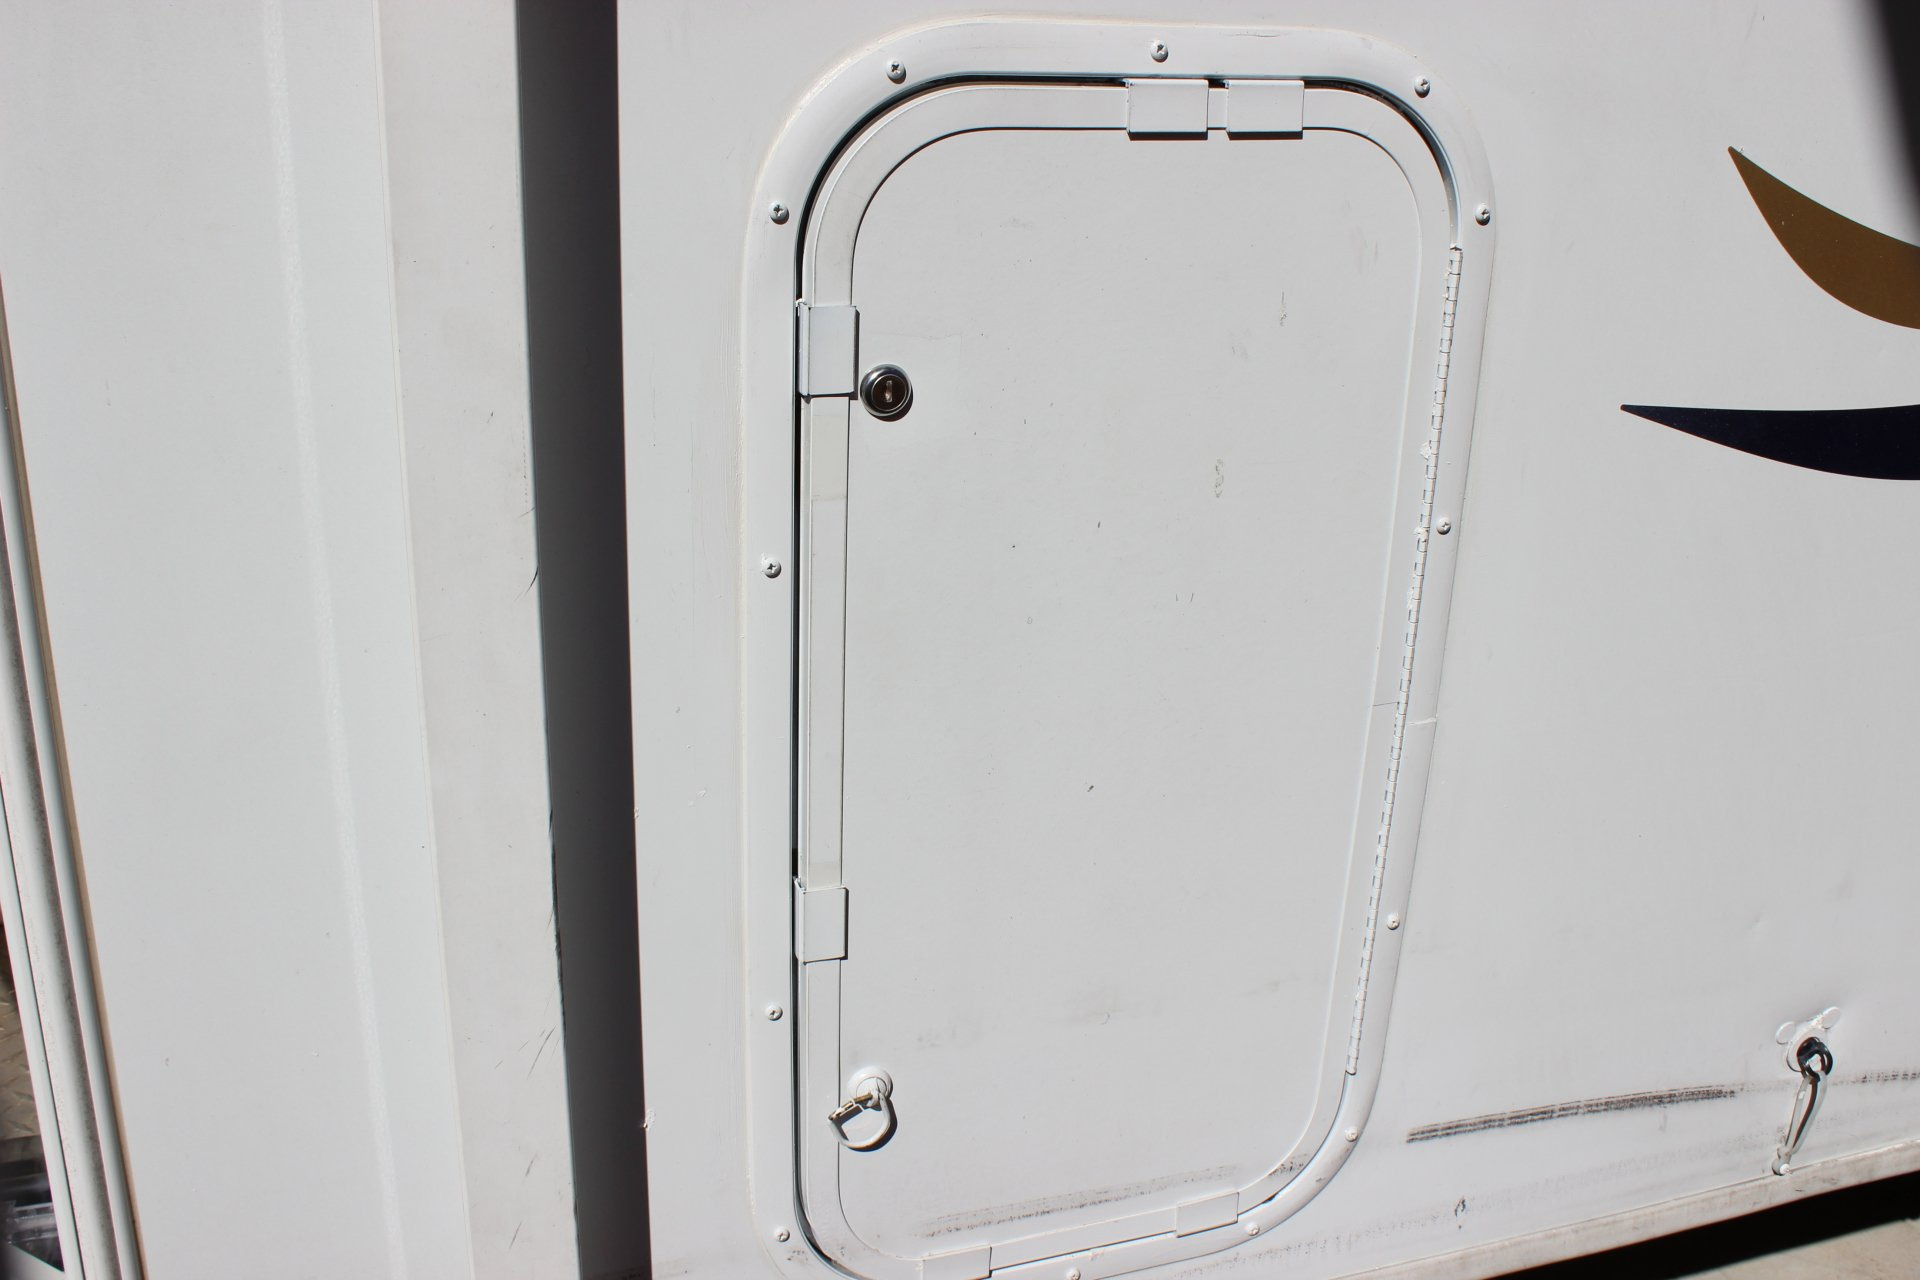
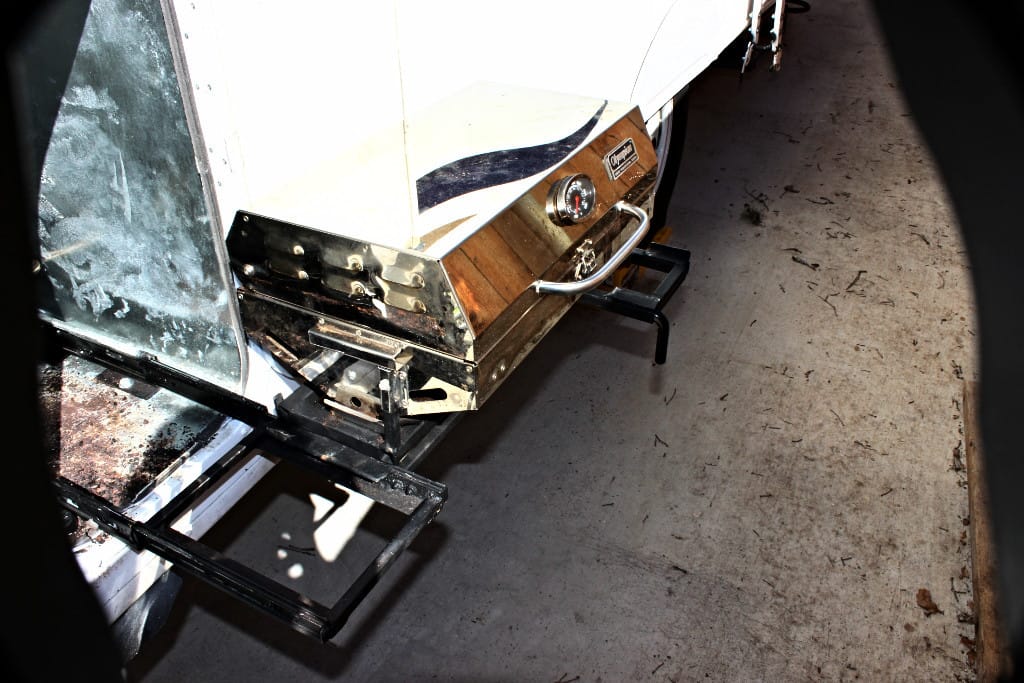
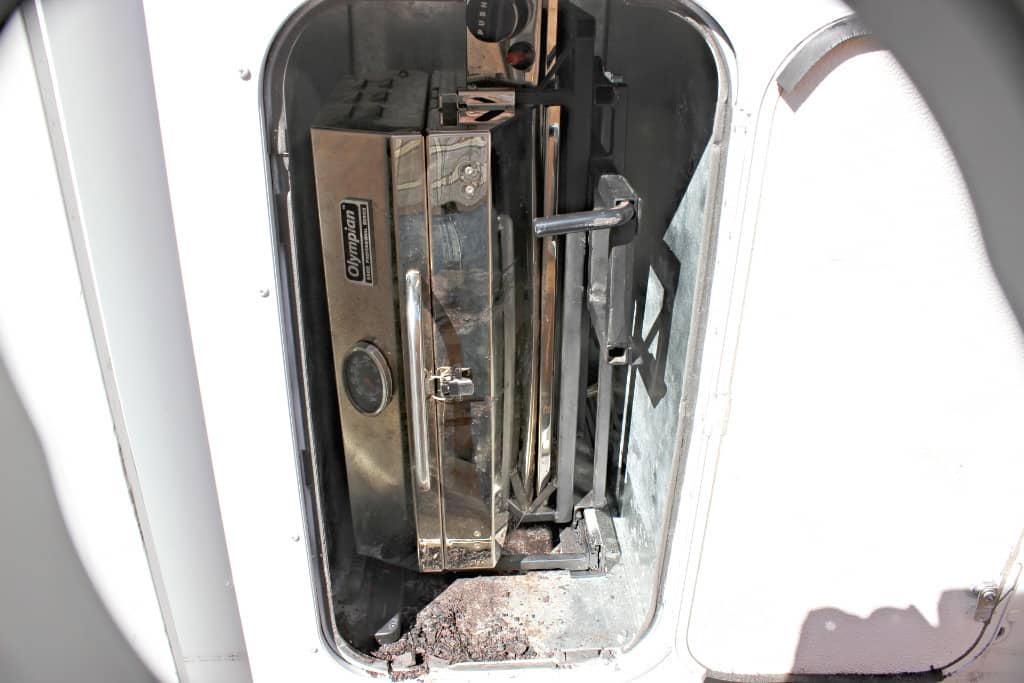
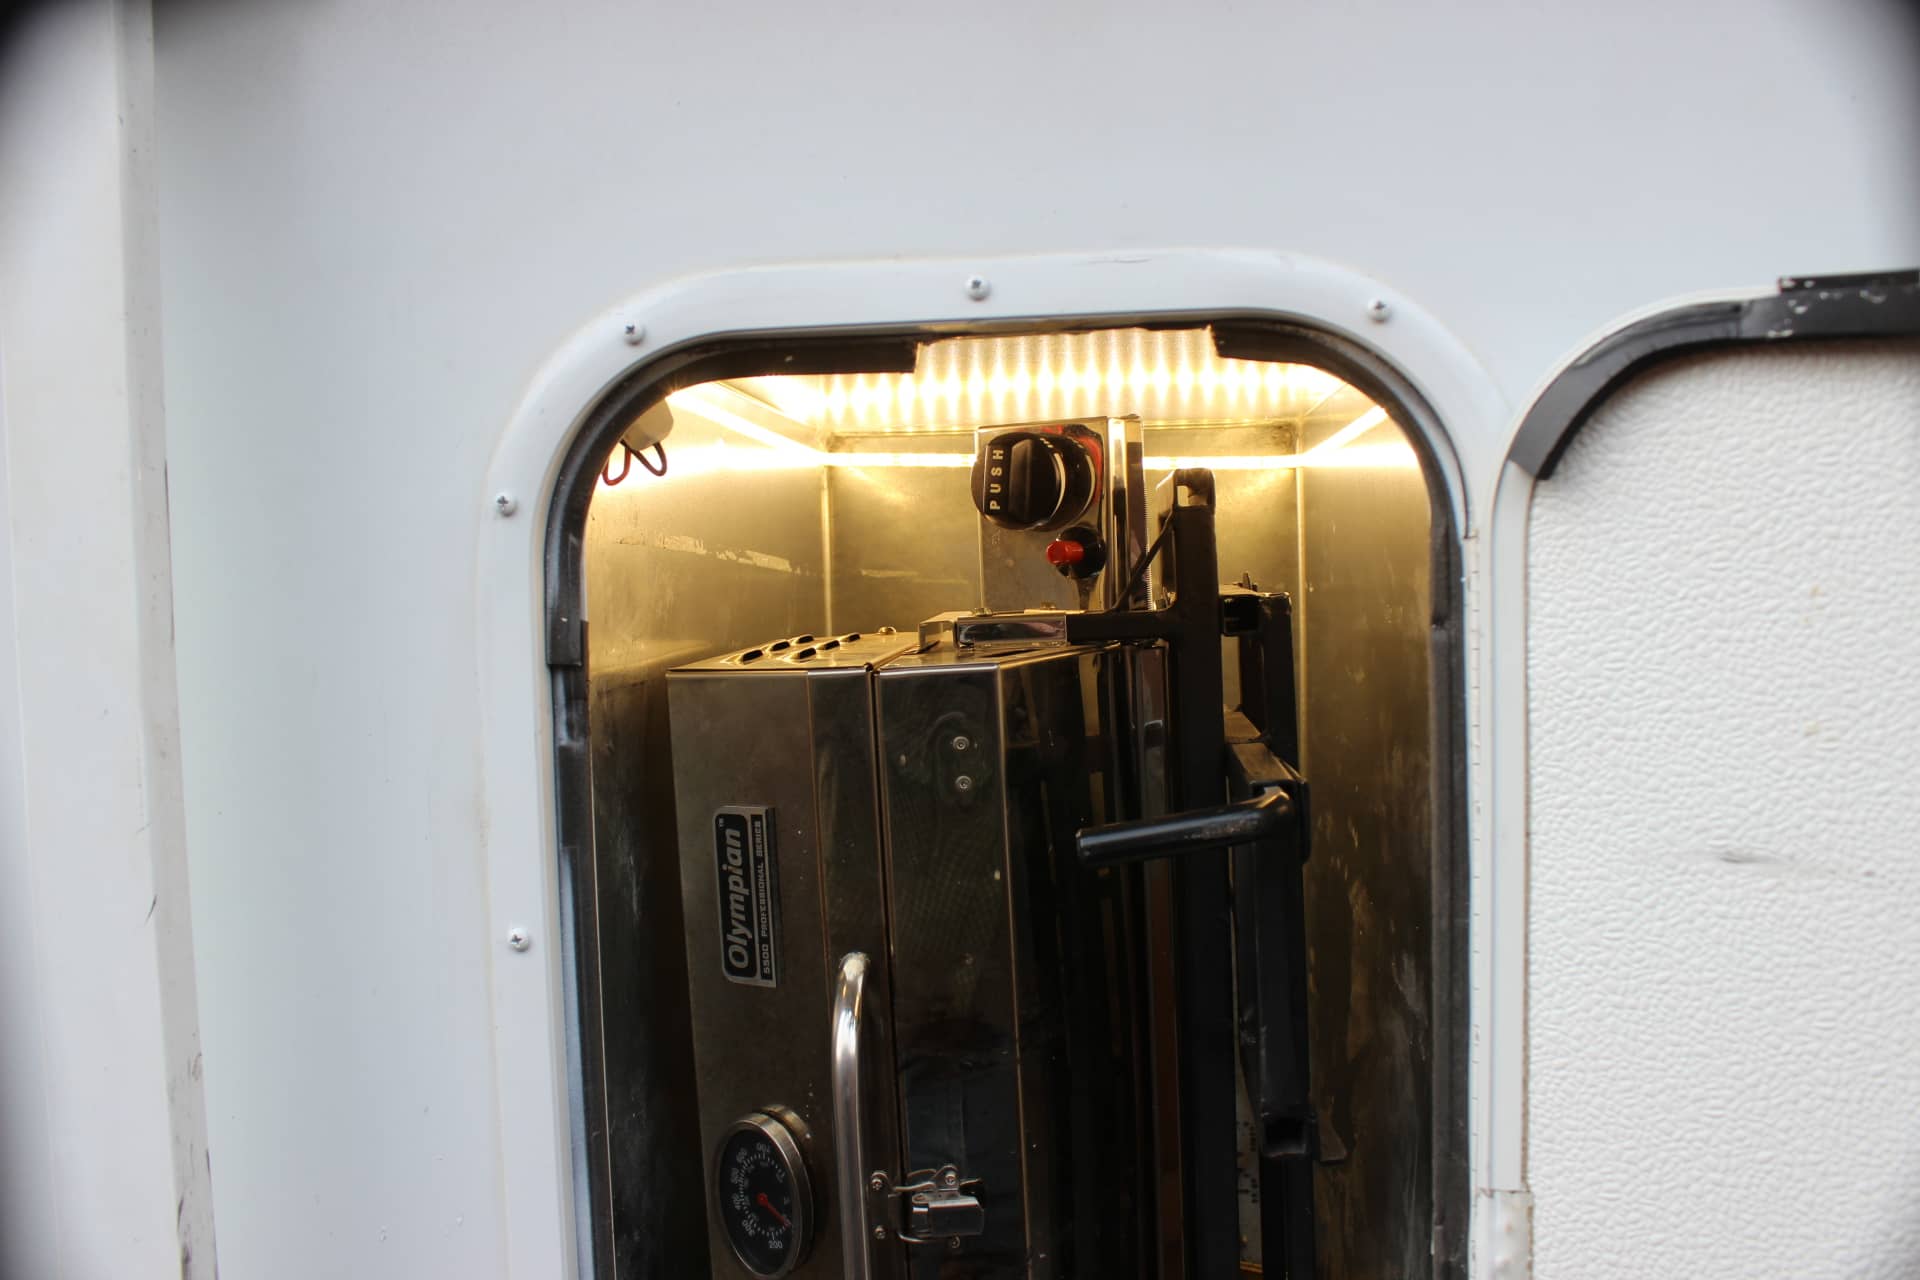
The very first thing was to get a grill. I bought the Olympian 5500 stainless steel gas grill (image 1477). It seemed to be the most compact and well built. Then I got a hatch door that I found online that had the closest dimensions that would work Image 1464). Its 26 ½” X 14 ¾” from the outside of the frame that goes around the door itself. I set it 12 ½” from the rear edge of the trailer (images 1463, 1464). Originally I had planned for my grill to just slide out flat and be ready to use, but that was not possible with the space I had to work with so I came up with an alternate plan.
Being a jack of all trades (and a butcher of most), I have delved into welding a bit and found a 90amp auto wire fed welding machine with all the fixens at Horrible Fraught Tools (communist Chinese Harbor Freight) on sale for just $70! Bought an angle grinder plus some good gloves and a welding helmet and table as well and started practicing my welding skills. I am self-taught and although my welds are not the prettiest most of the time, they are structurally sound. So with that in mind, this is what it will take if you decide to under-go this project. Or, you could hire a professional to do it for you (I don’t have the $$$ to afford such luxury).
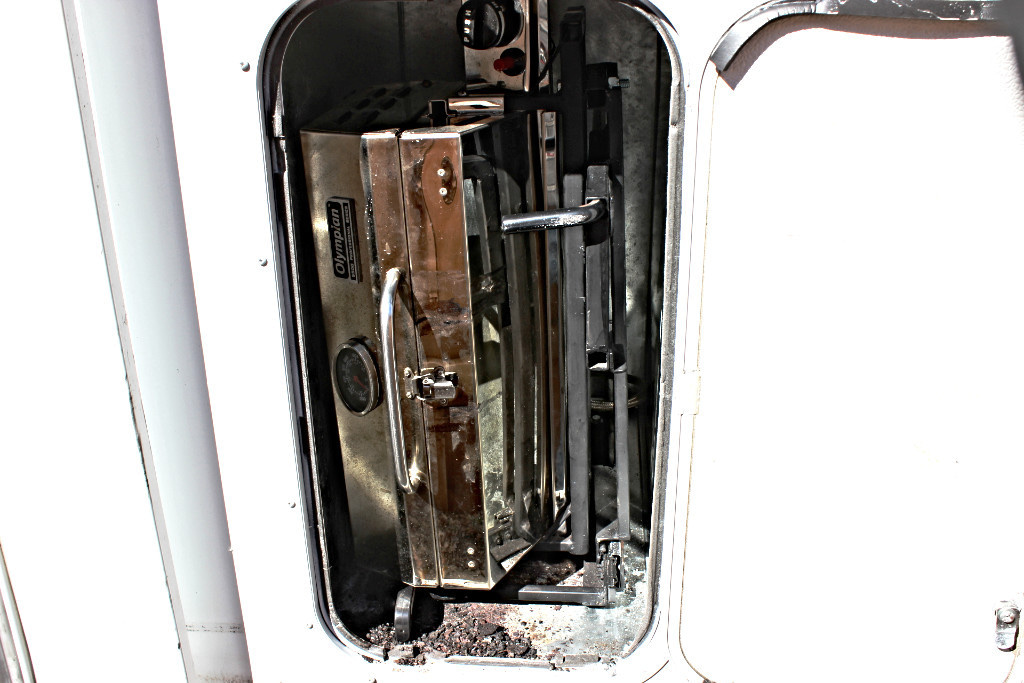
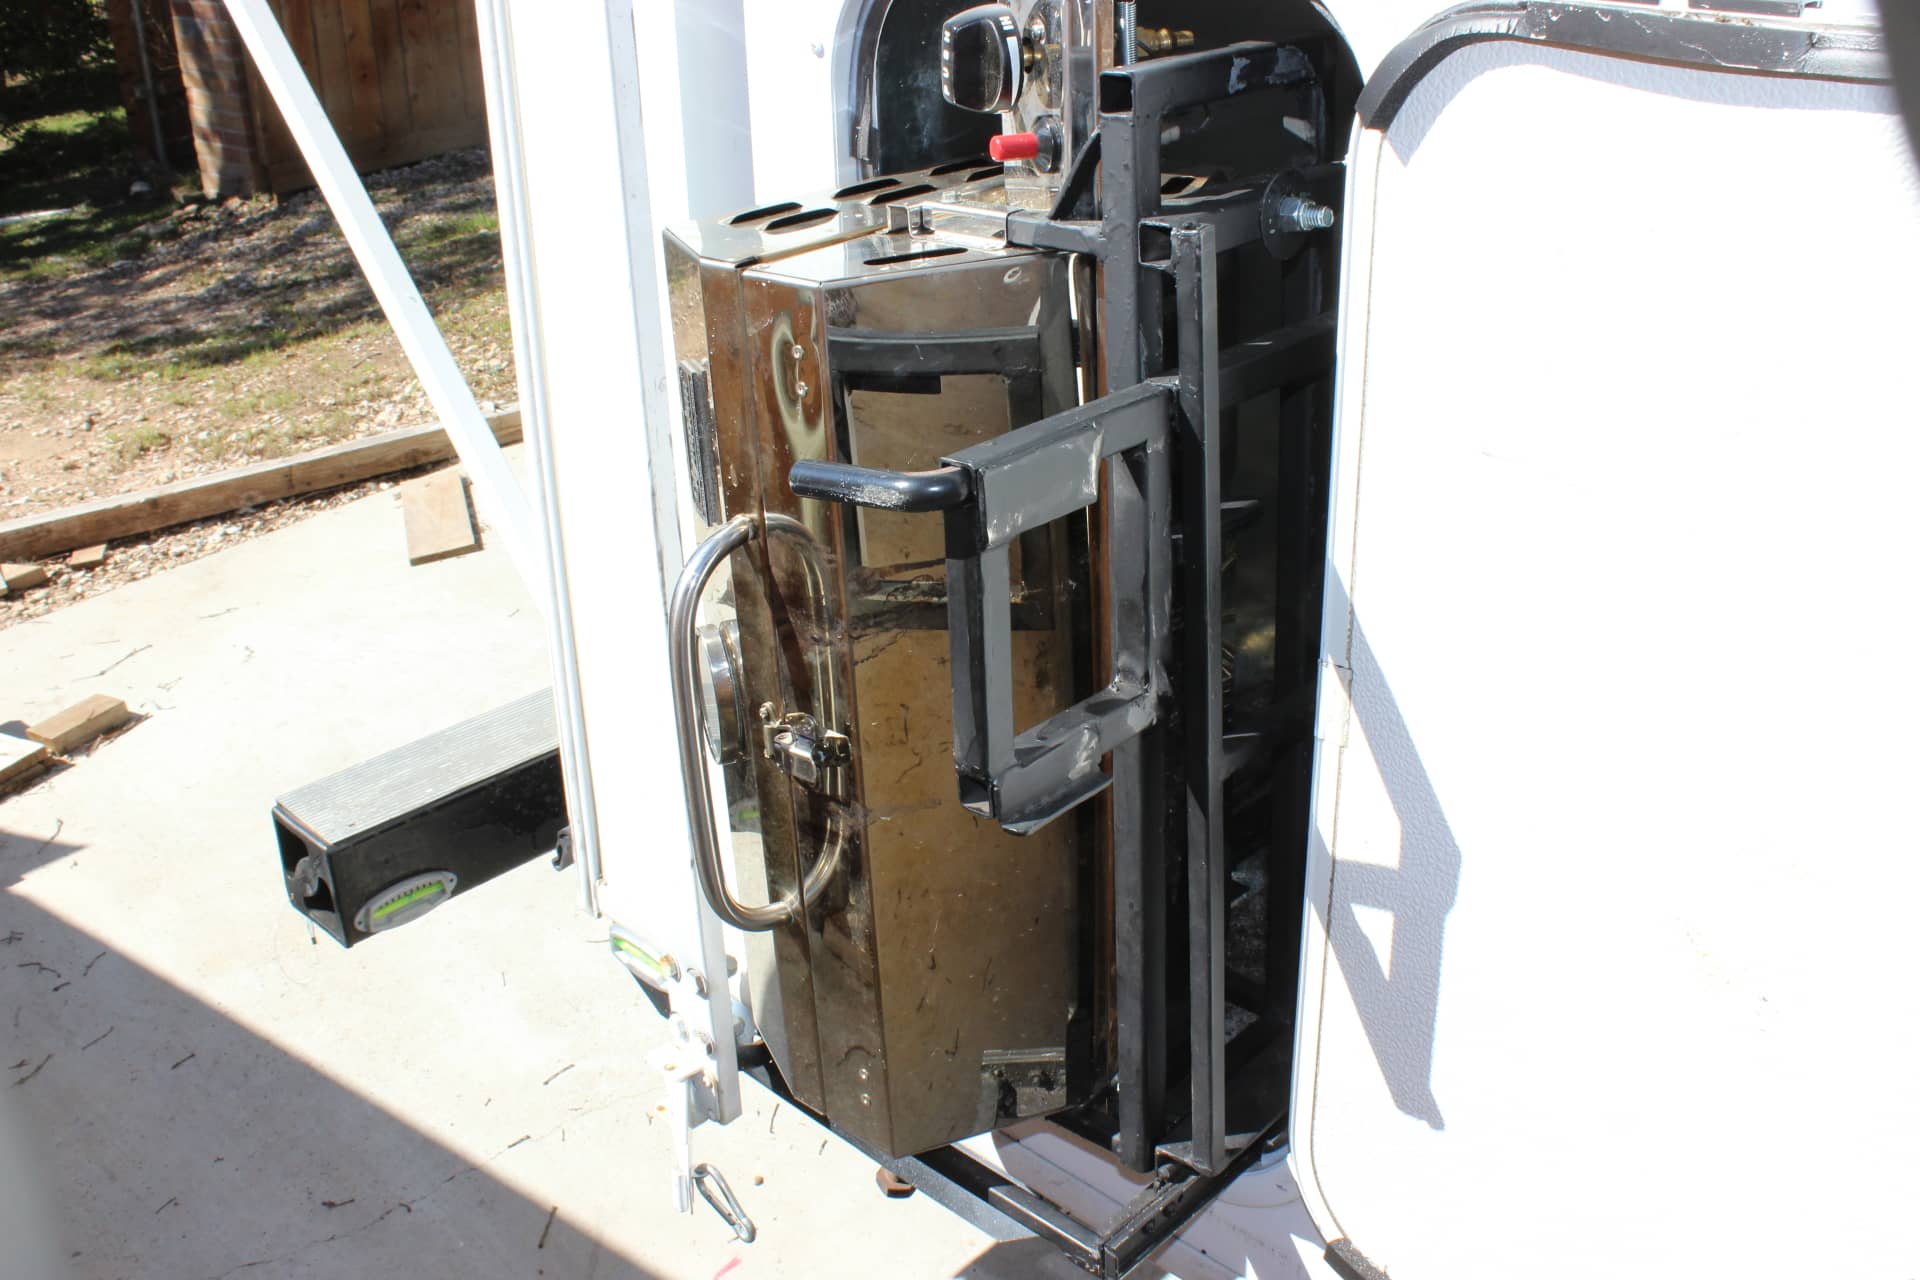
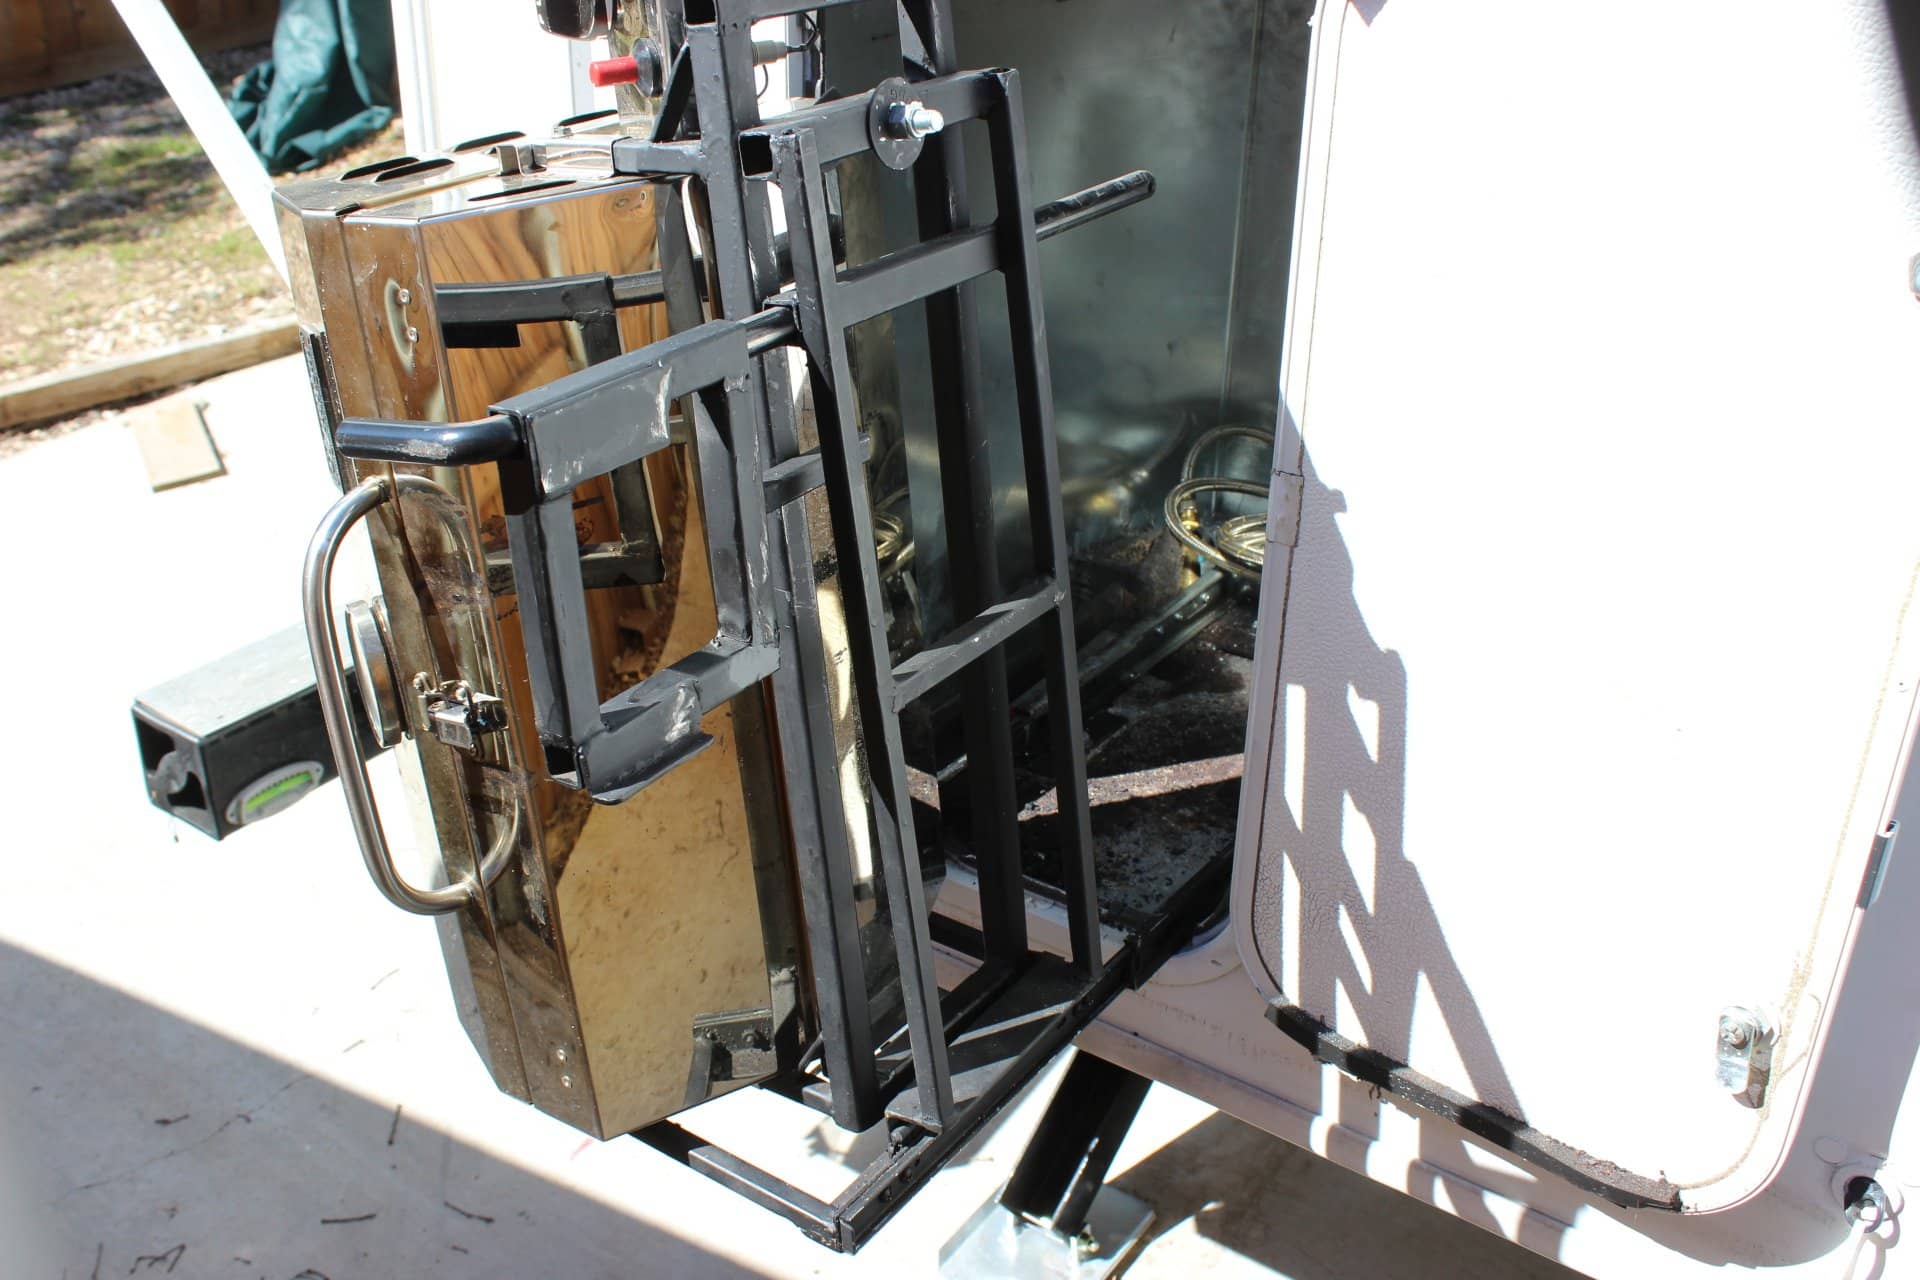
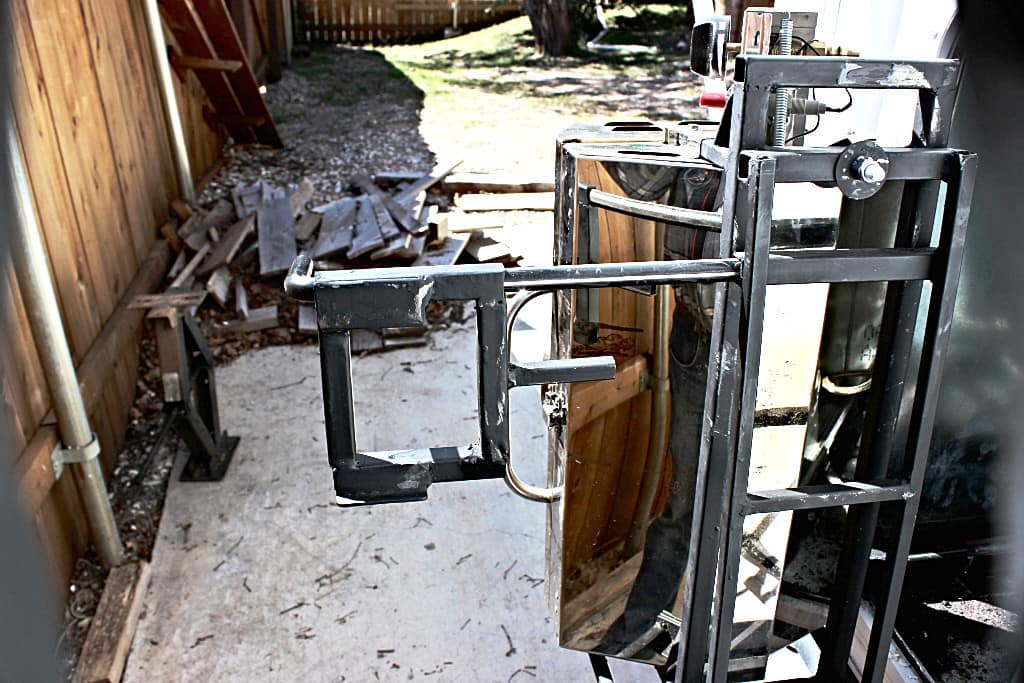
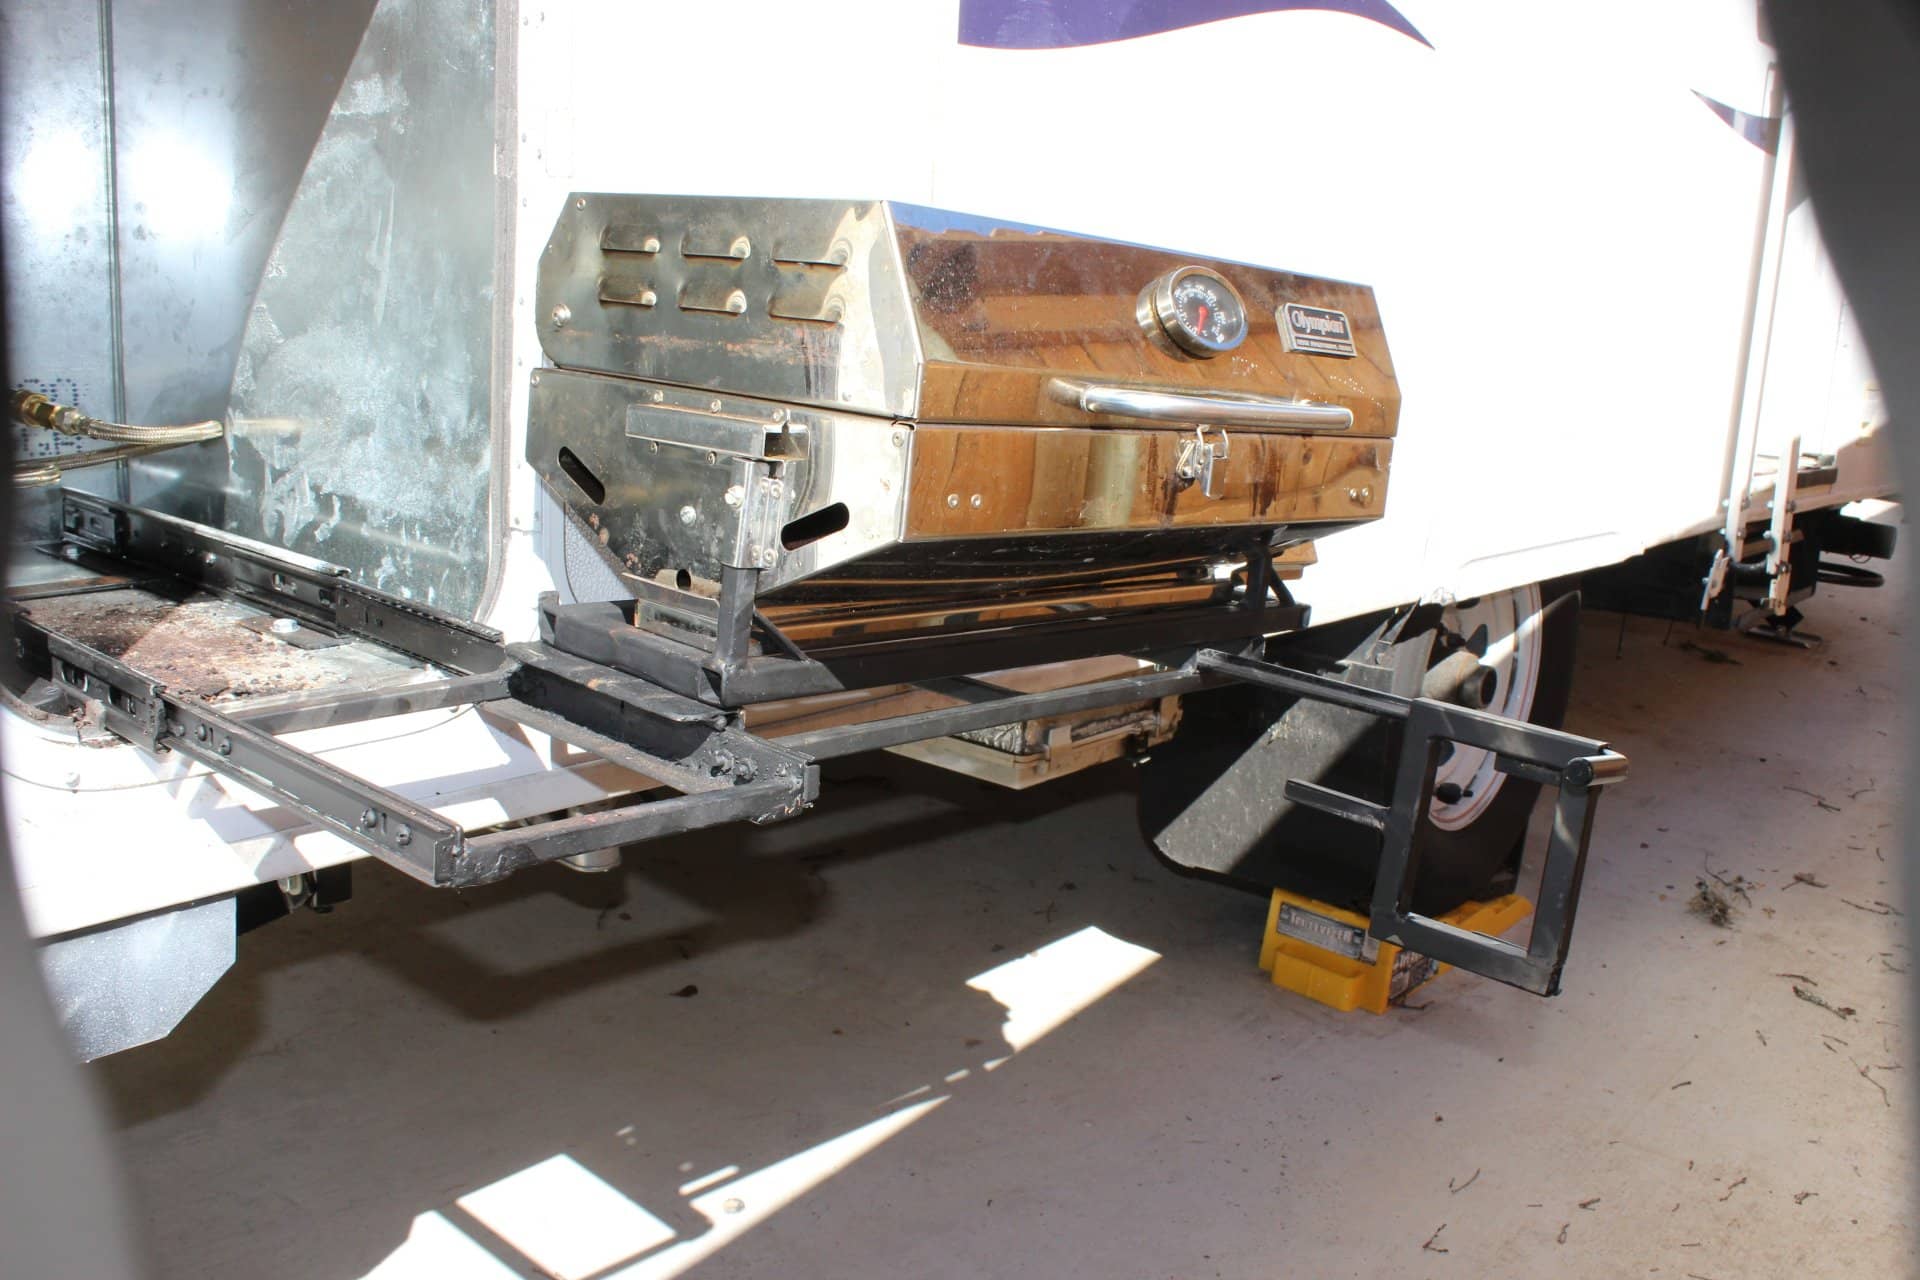
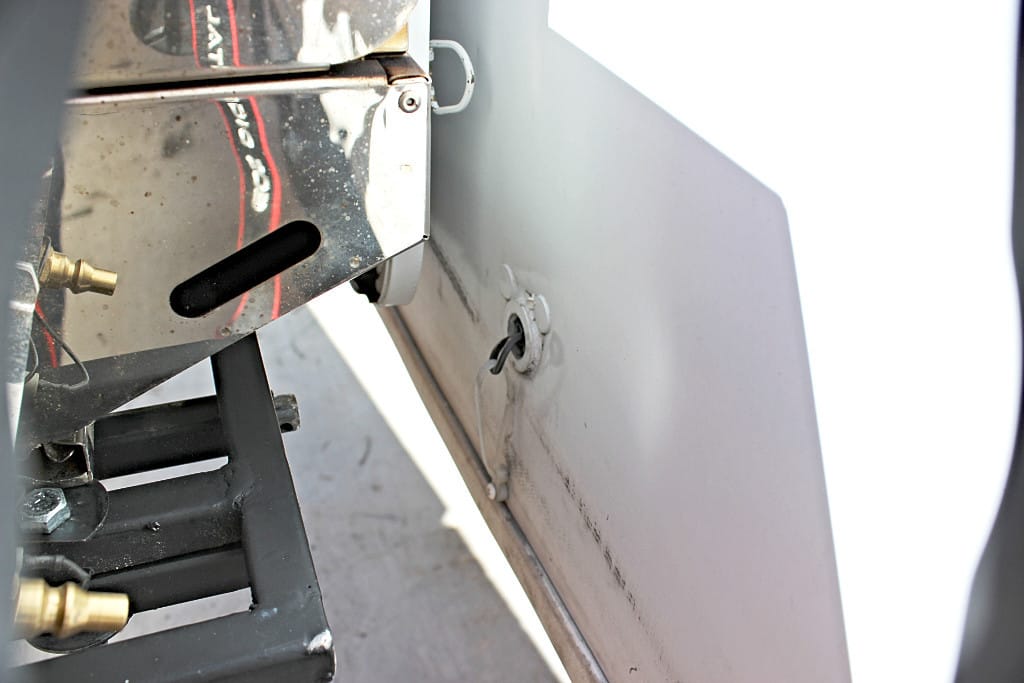
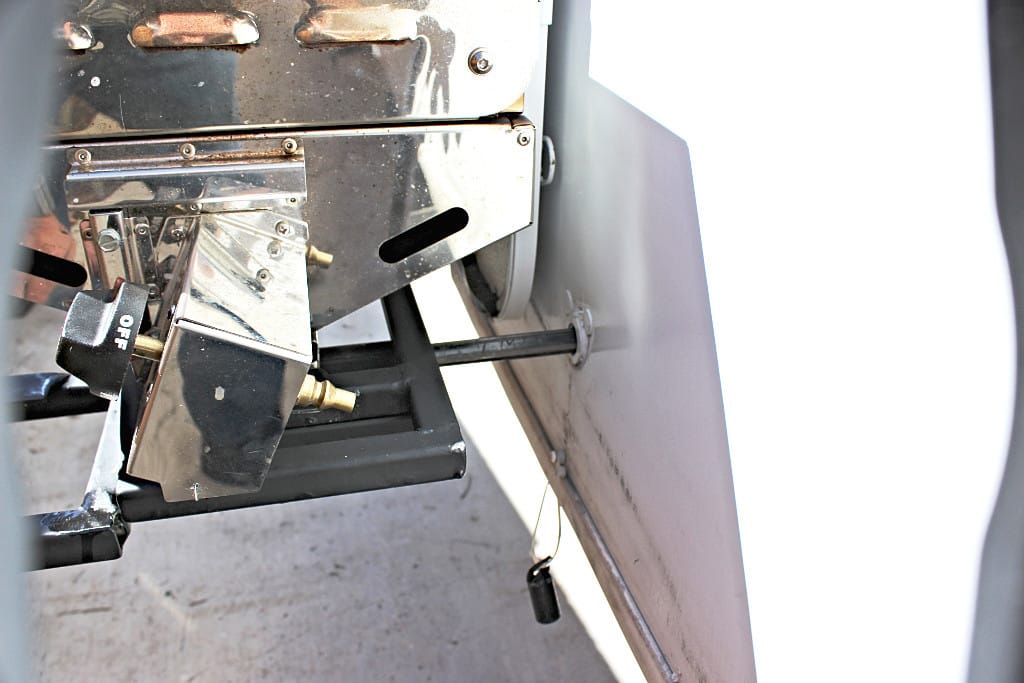
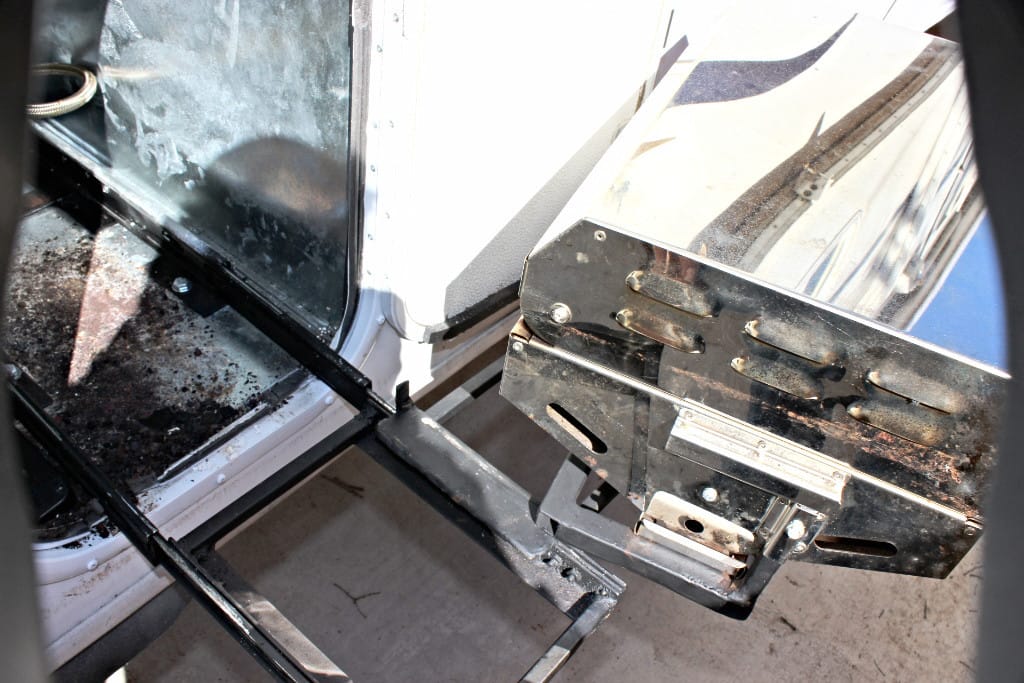
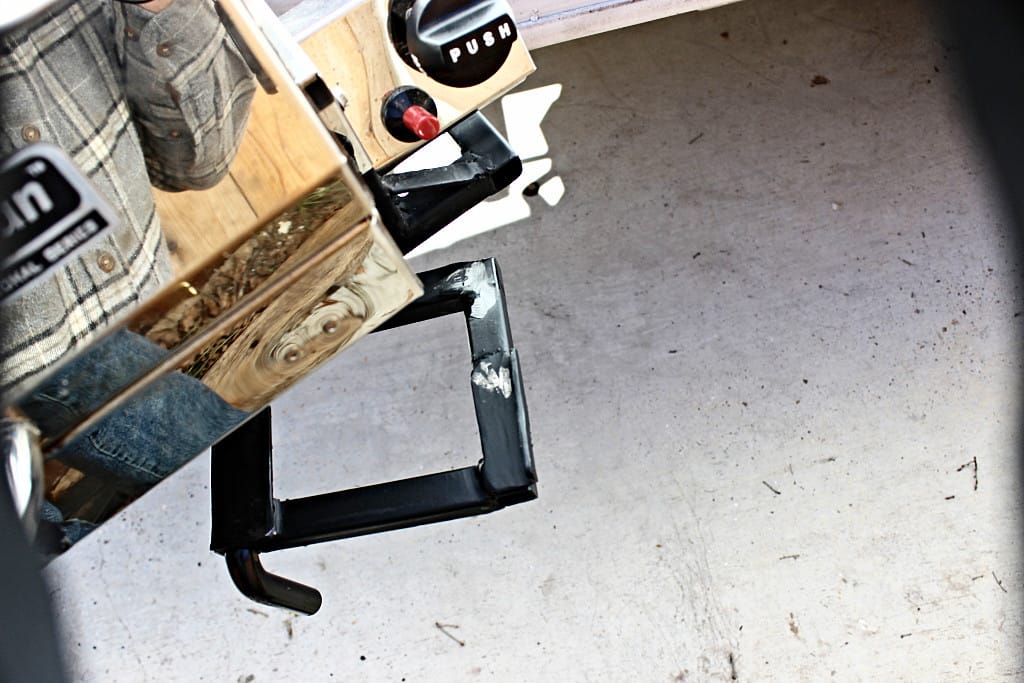
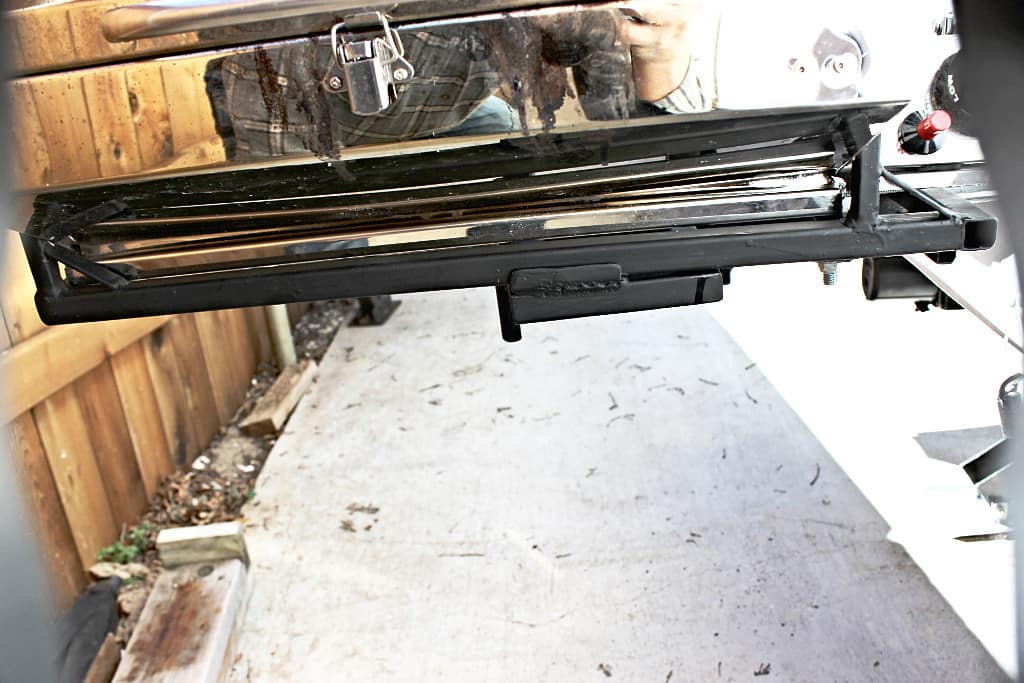
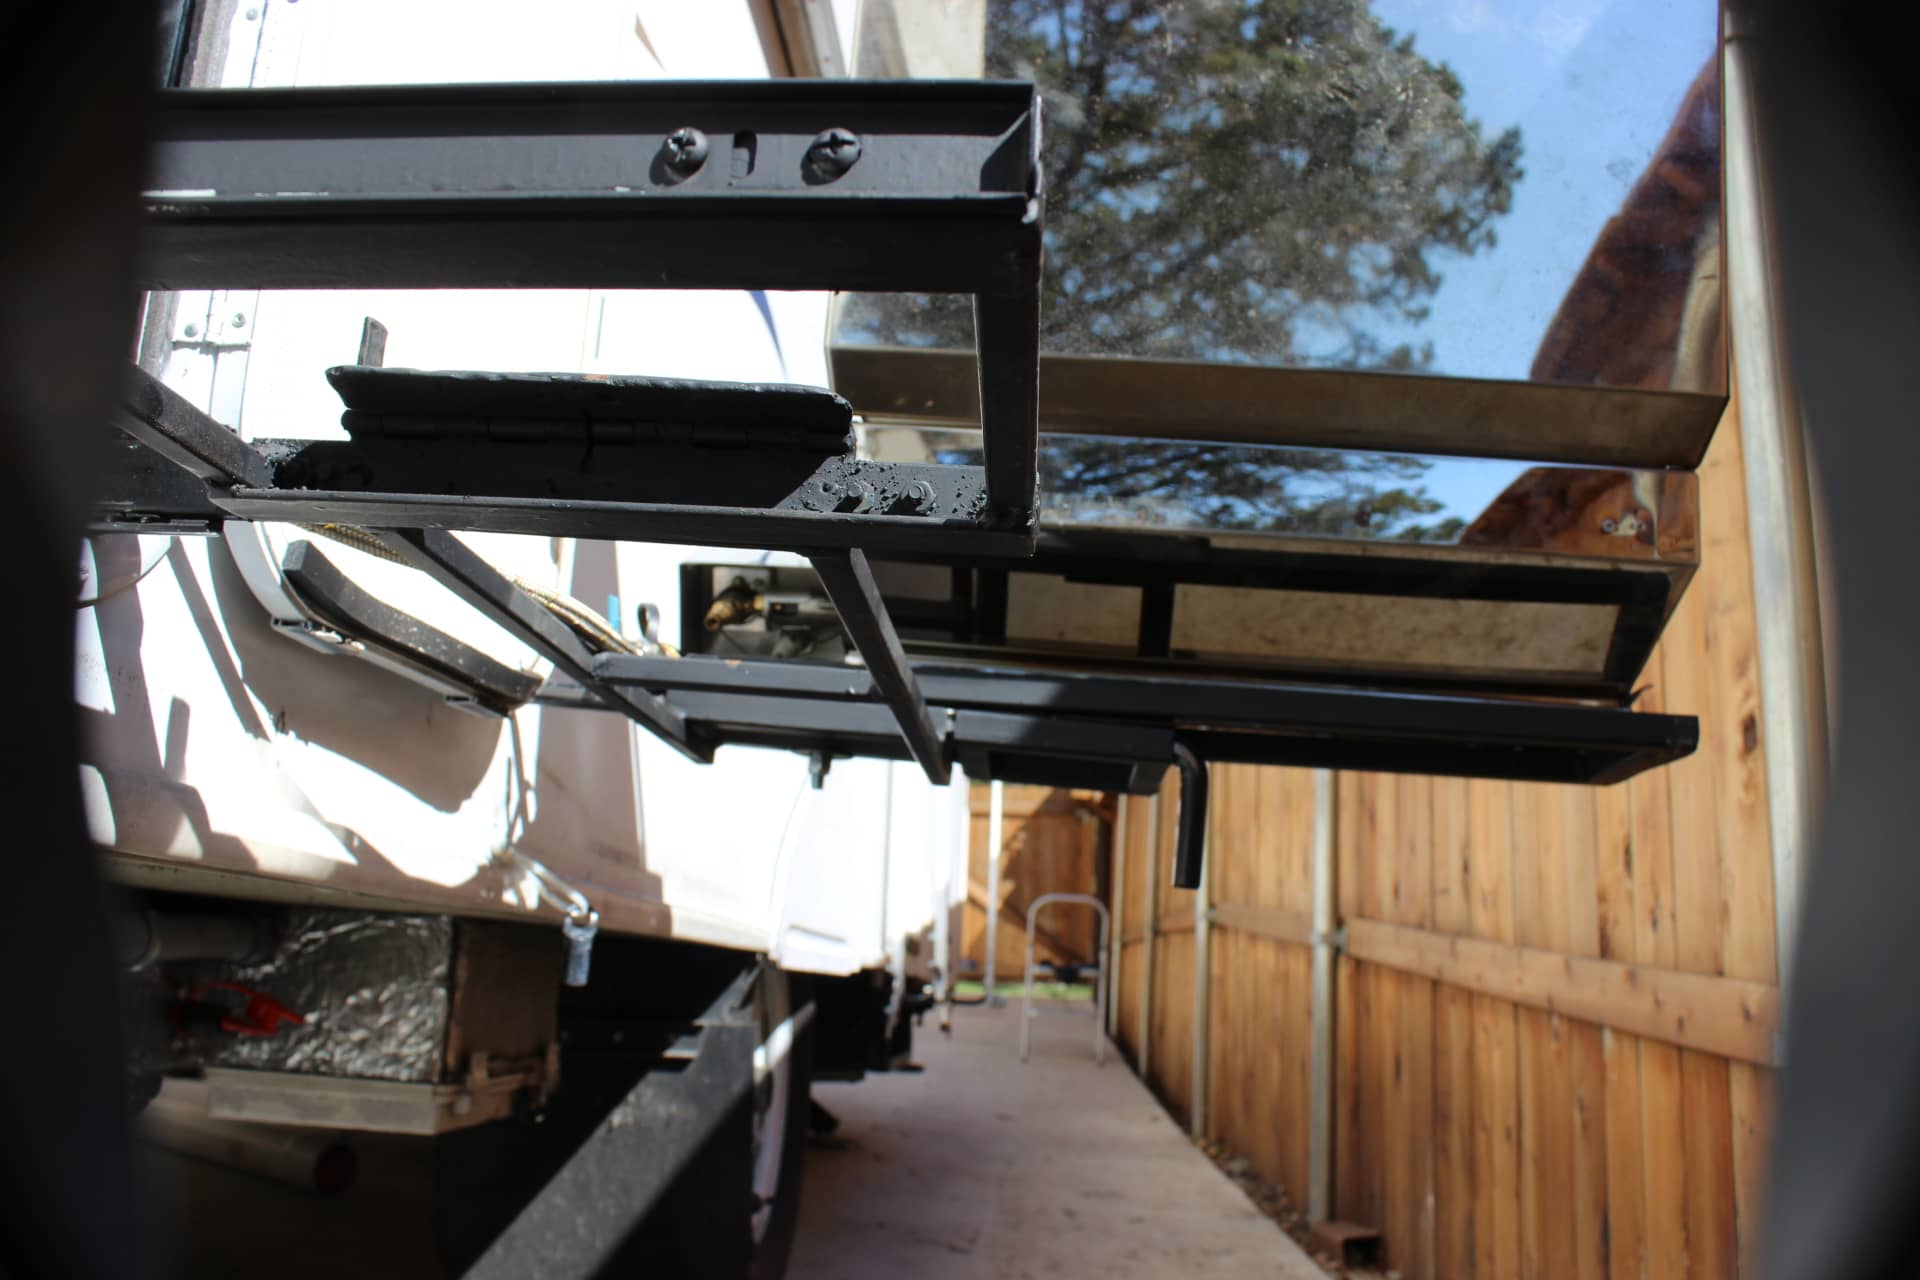
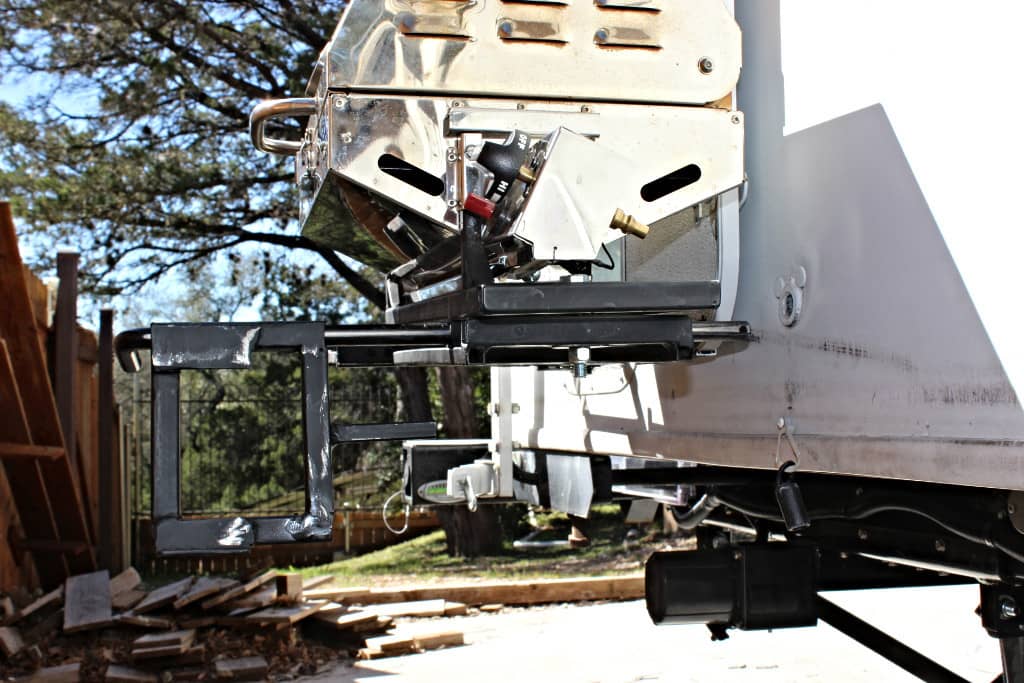
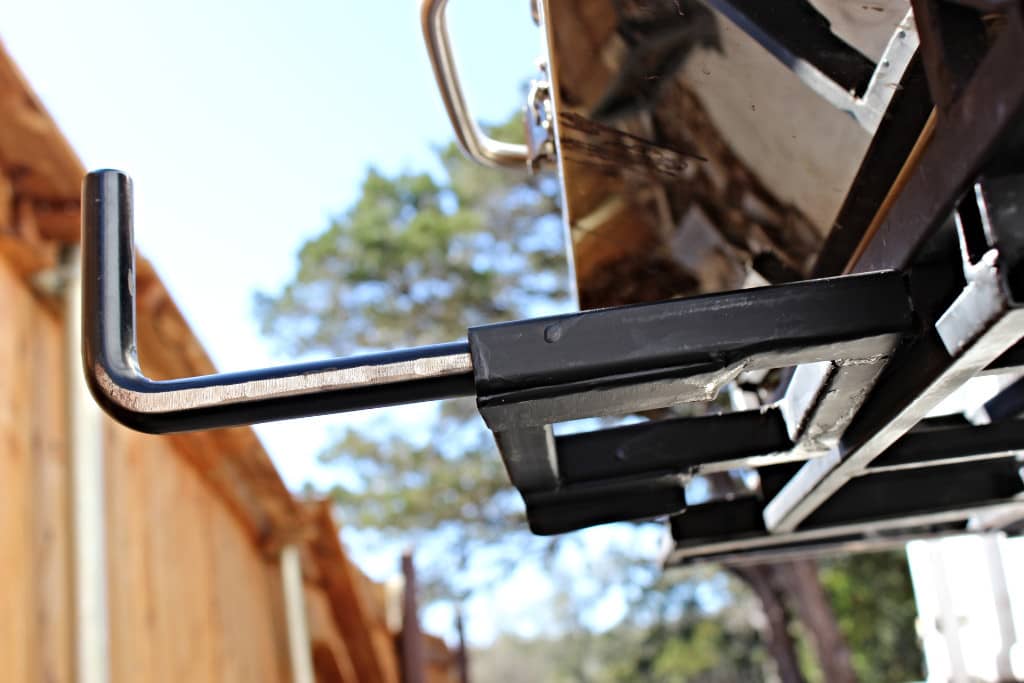
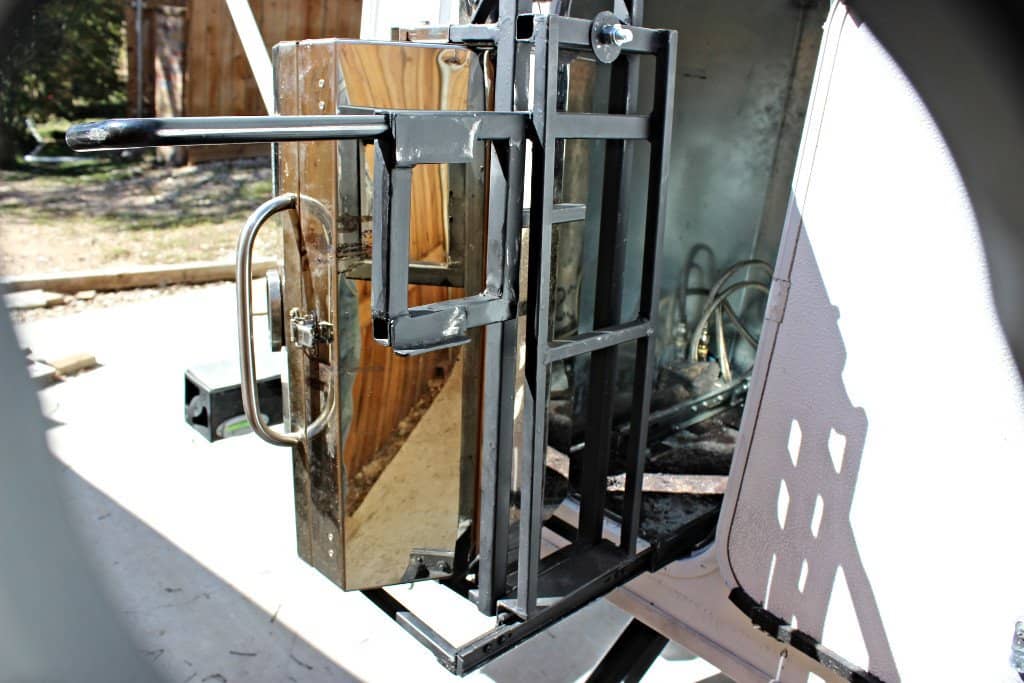
OK….now I have the grill and the hatch and a bunch of steel (mostly small angle iron) and a couple of strong drawer slides (I bought the ones with the longest throw and rated with the highest weight bearing capacity). So first I cut an access hole in the back compartment and mounted the hatch. Then I measured and made my plans on how it would work….which is like this….since I didn’t have the room to mount it flat like I wanted to (the rear torsion arm was in the way (image 1463), the under the bed compartment wasn’t wide enough, and I didn’t wish to butcher the cabinets on the inside of the trailer), so I had to mount the grill vertically on its end so it could slide out the hatch (images 1465, 1466). Since it was going to be mounted and tilted all sorts of ways I had to screw down the burner heat plate and the grill grid and anything else that might come off when the grill itself is tilted. Then when it is fully pulled out from the compartment (image 1467), it could then be laid down flat (image 1469). But I wanted it to be perpendicular or 90° to the side of the trailer (which would make it more convenient for grilling and safer in case of flare-ups on the grill when open…. image 1477). Although I know the siding on the trailer is aluminum and will not melt (accept under extreme conditions)…why take any chances?…they got Vegas for that. Now I wanted my grill to rotate 90 degrees (images 1473, 1485, 1476). The problem I encountered with that was the weight of the grill and frame (image 1483) made it sag and that was no good. So I got a support rod (it’s one of those “L” shaped “cane” locks for an outside gate) and made a resting brace frame (image 1487) for the rod to go thru and for the grill to rotate and rest on. The resting frame would slide into the base of the grill frame (image 1471) and the support rod would then be inserted thru the support base (image 1472) and finally into a support rod port on the side of the trailer (image 1470). This port is a galvanized nipple screwed into a threaded pipe base attached to the wall with screws (located inside the trailer in a lower cabinet, rear of the wheel well cover) and goes thru the wall to the outside. I found a plastic plug for this port to keep the bugs and elements out (image 1493) and put it on a tether so it wouldn’t get lost (images 1487, 1492). This way the rod gives plenty of support for the grill and is easy to work.
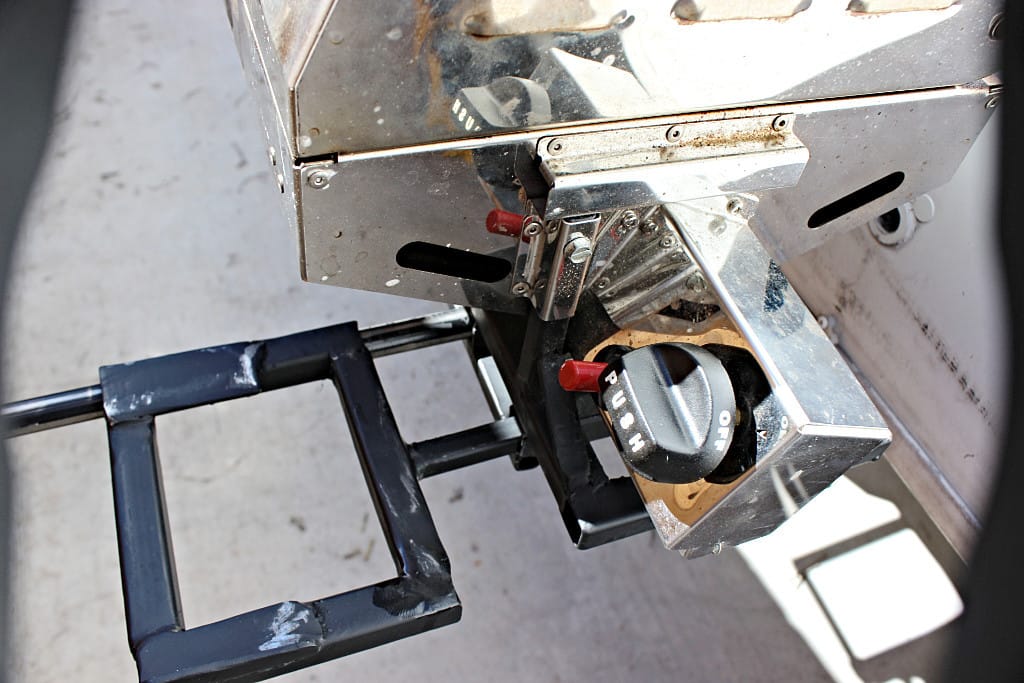
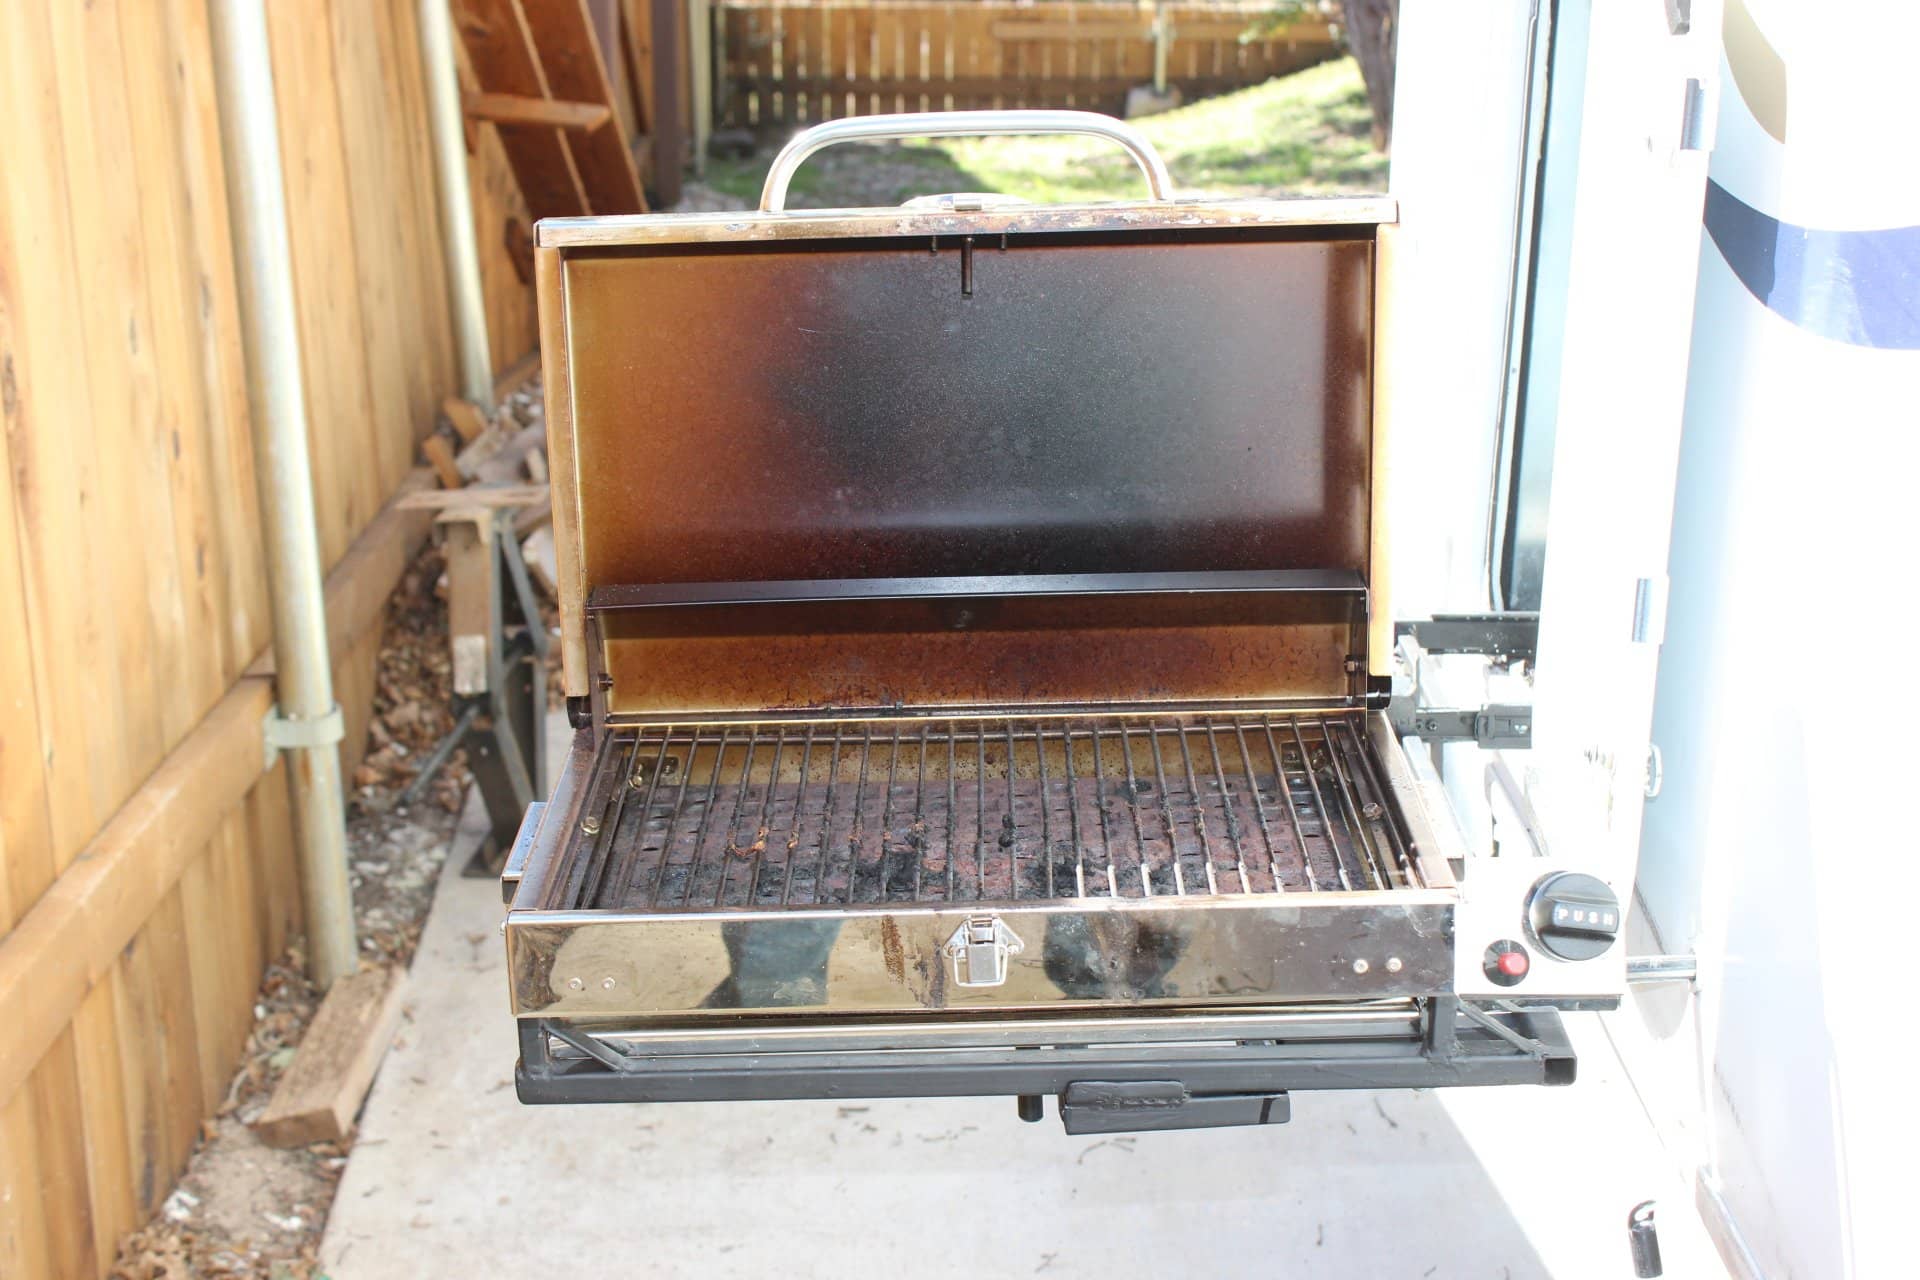
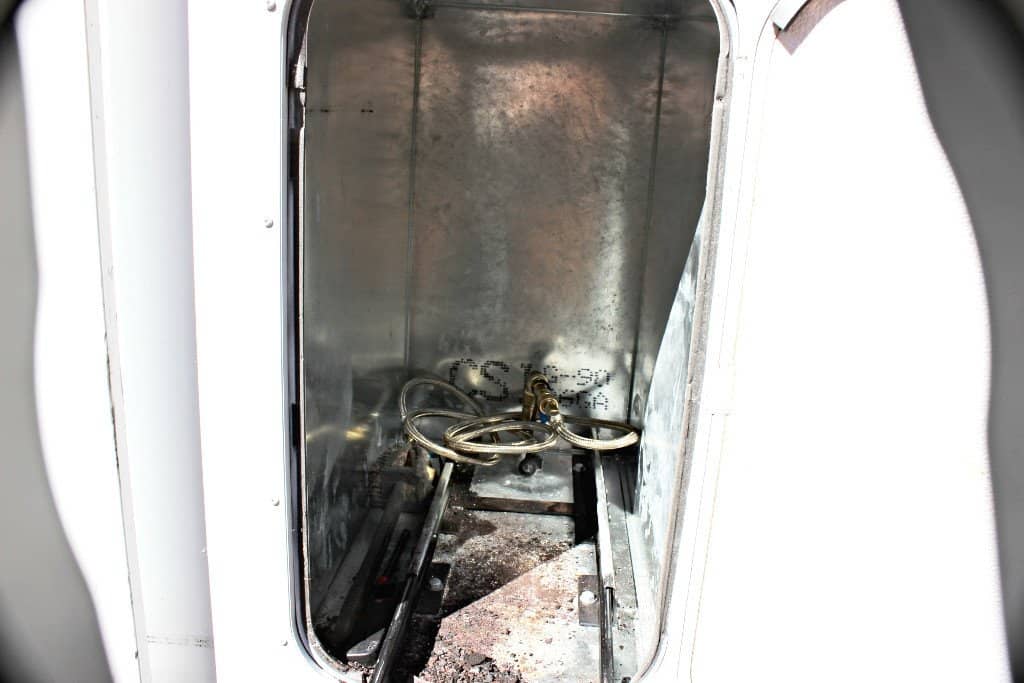
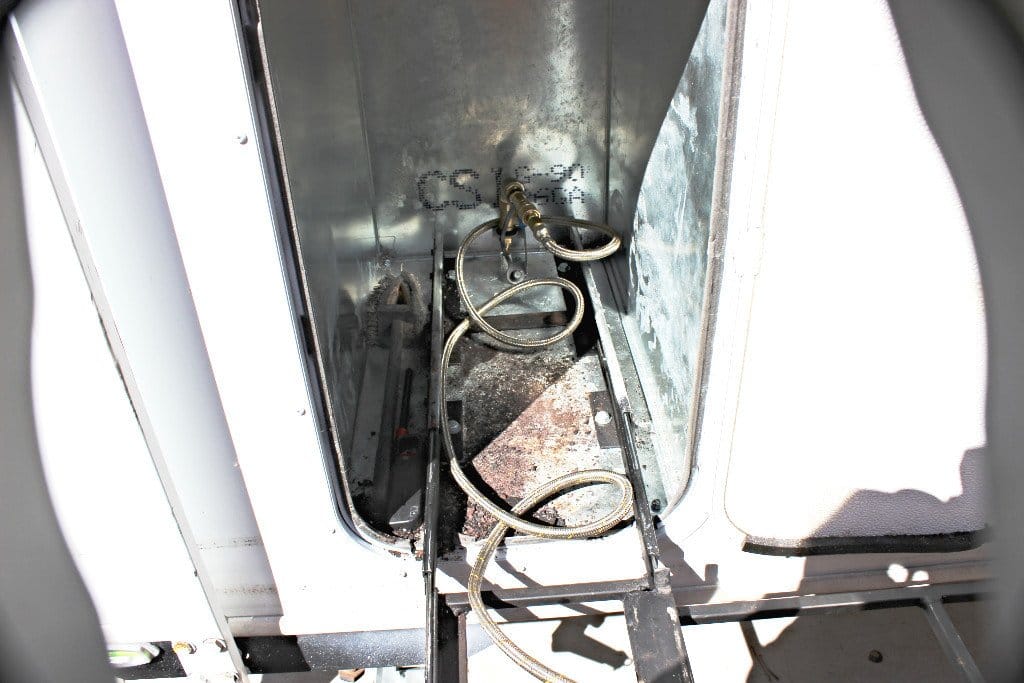
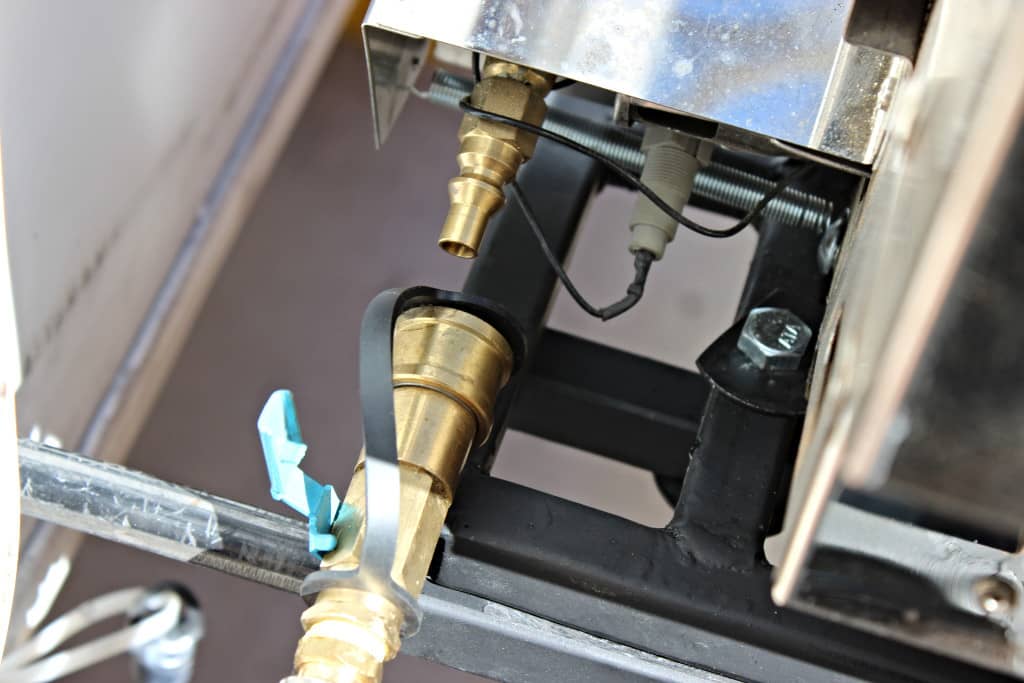
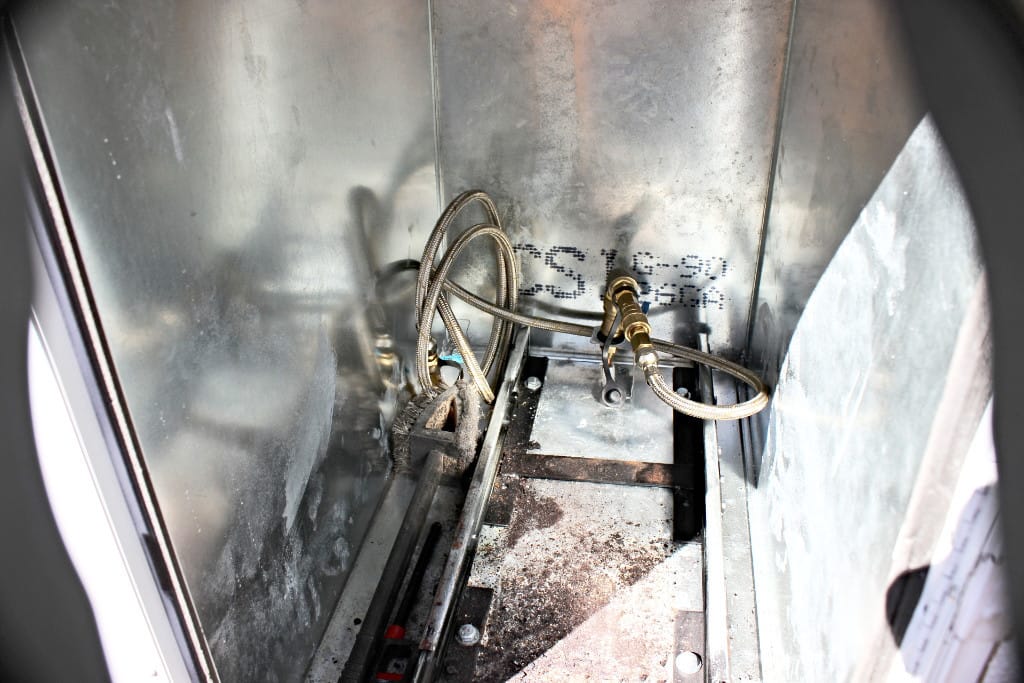
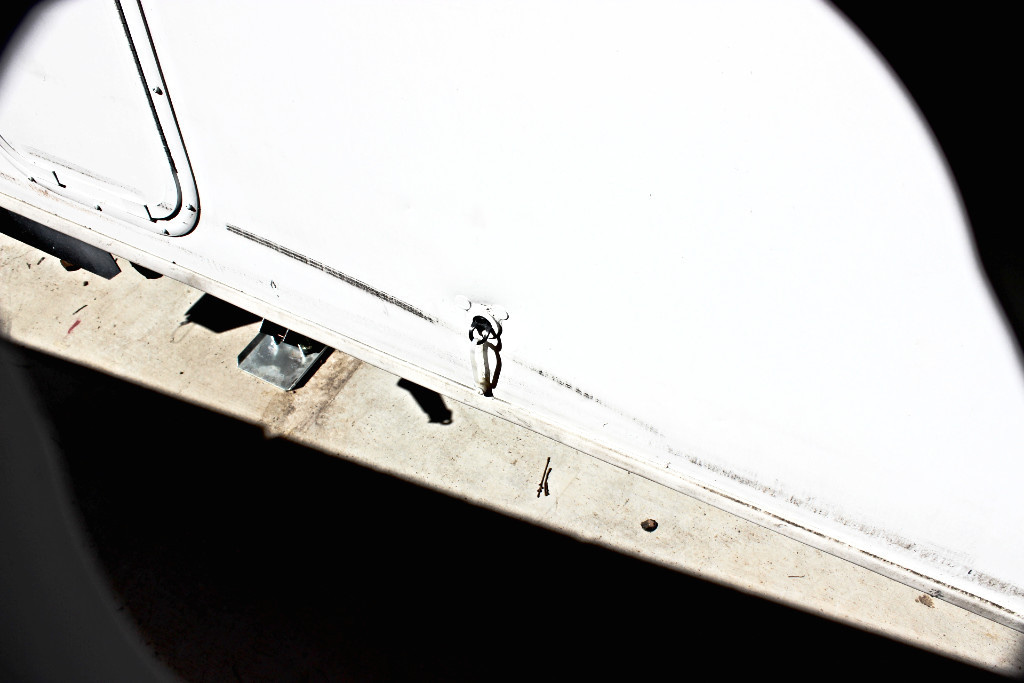
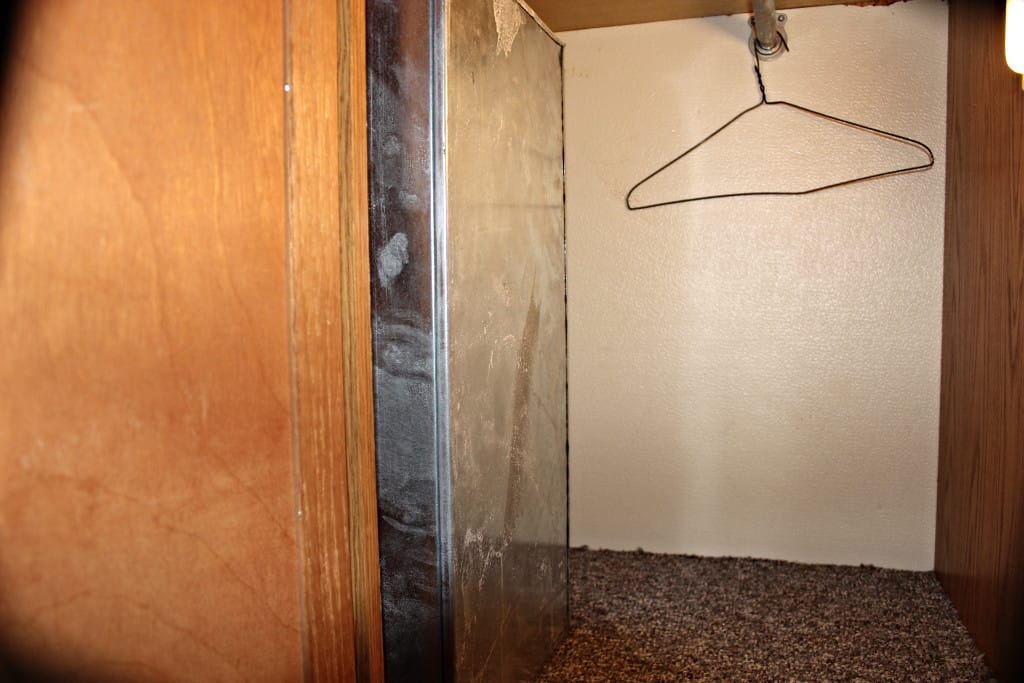
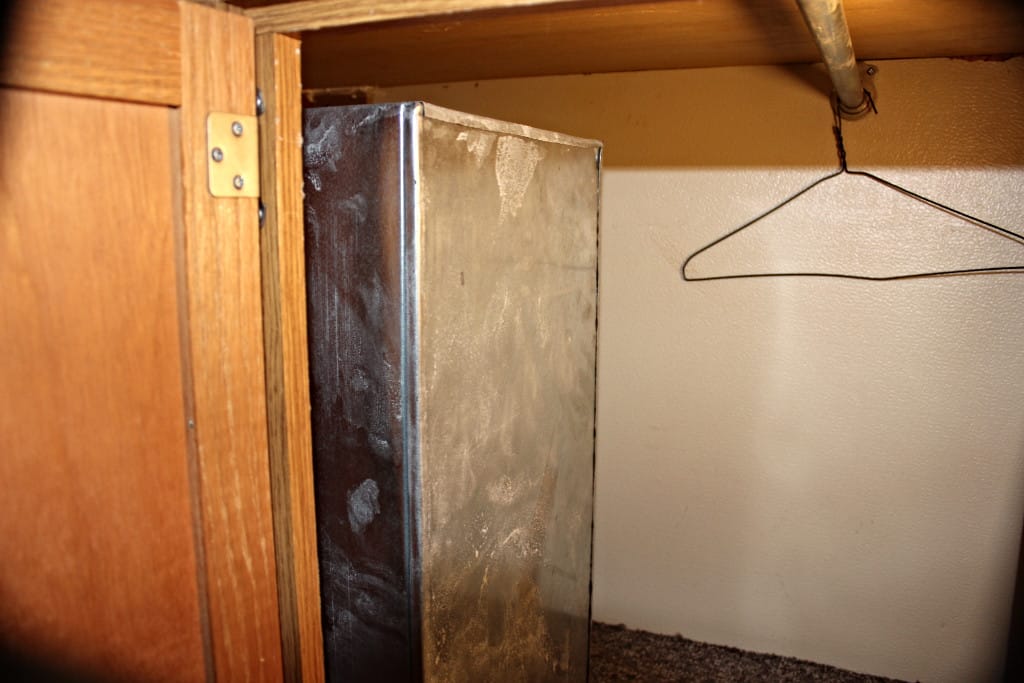
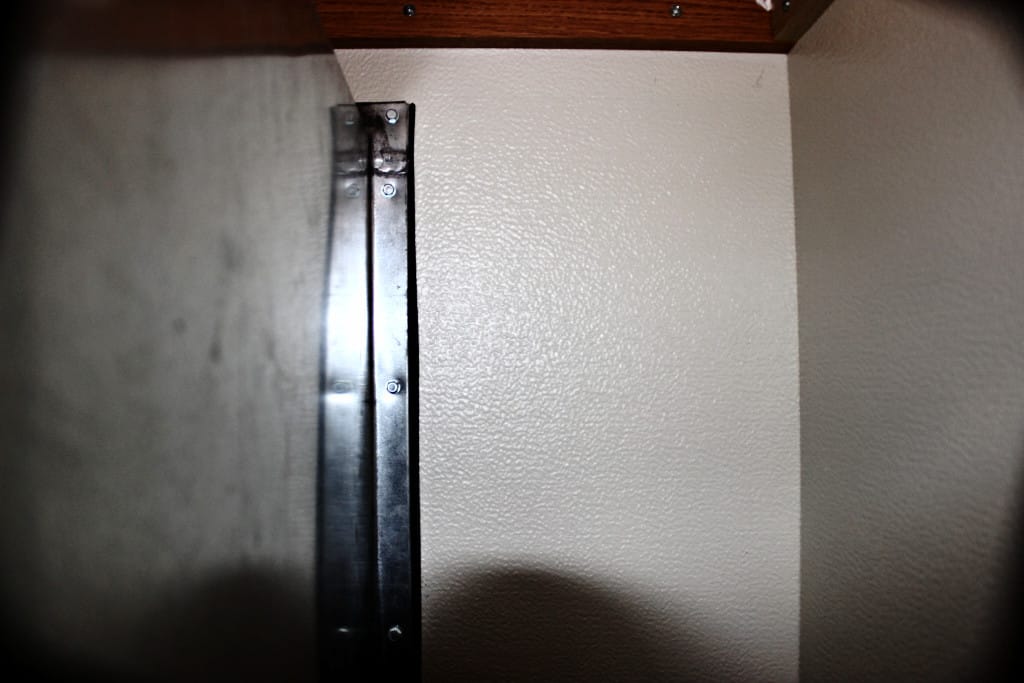
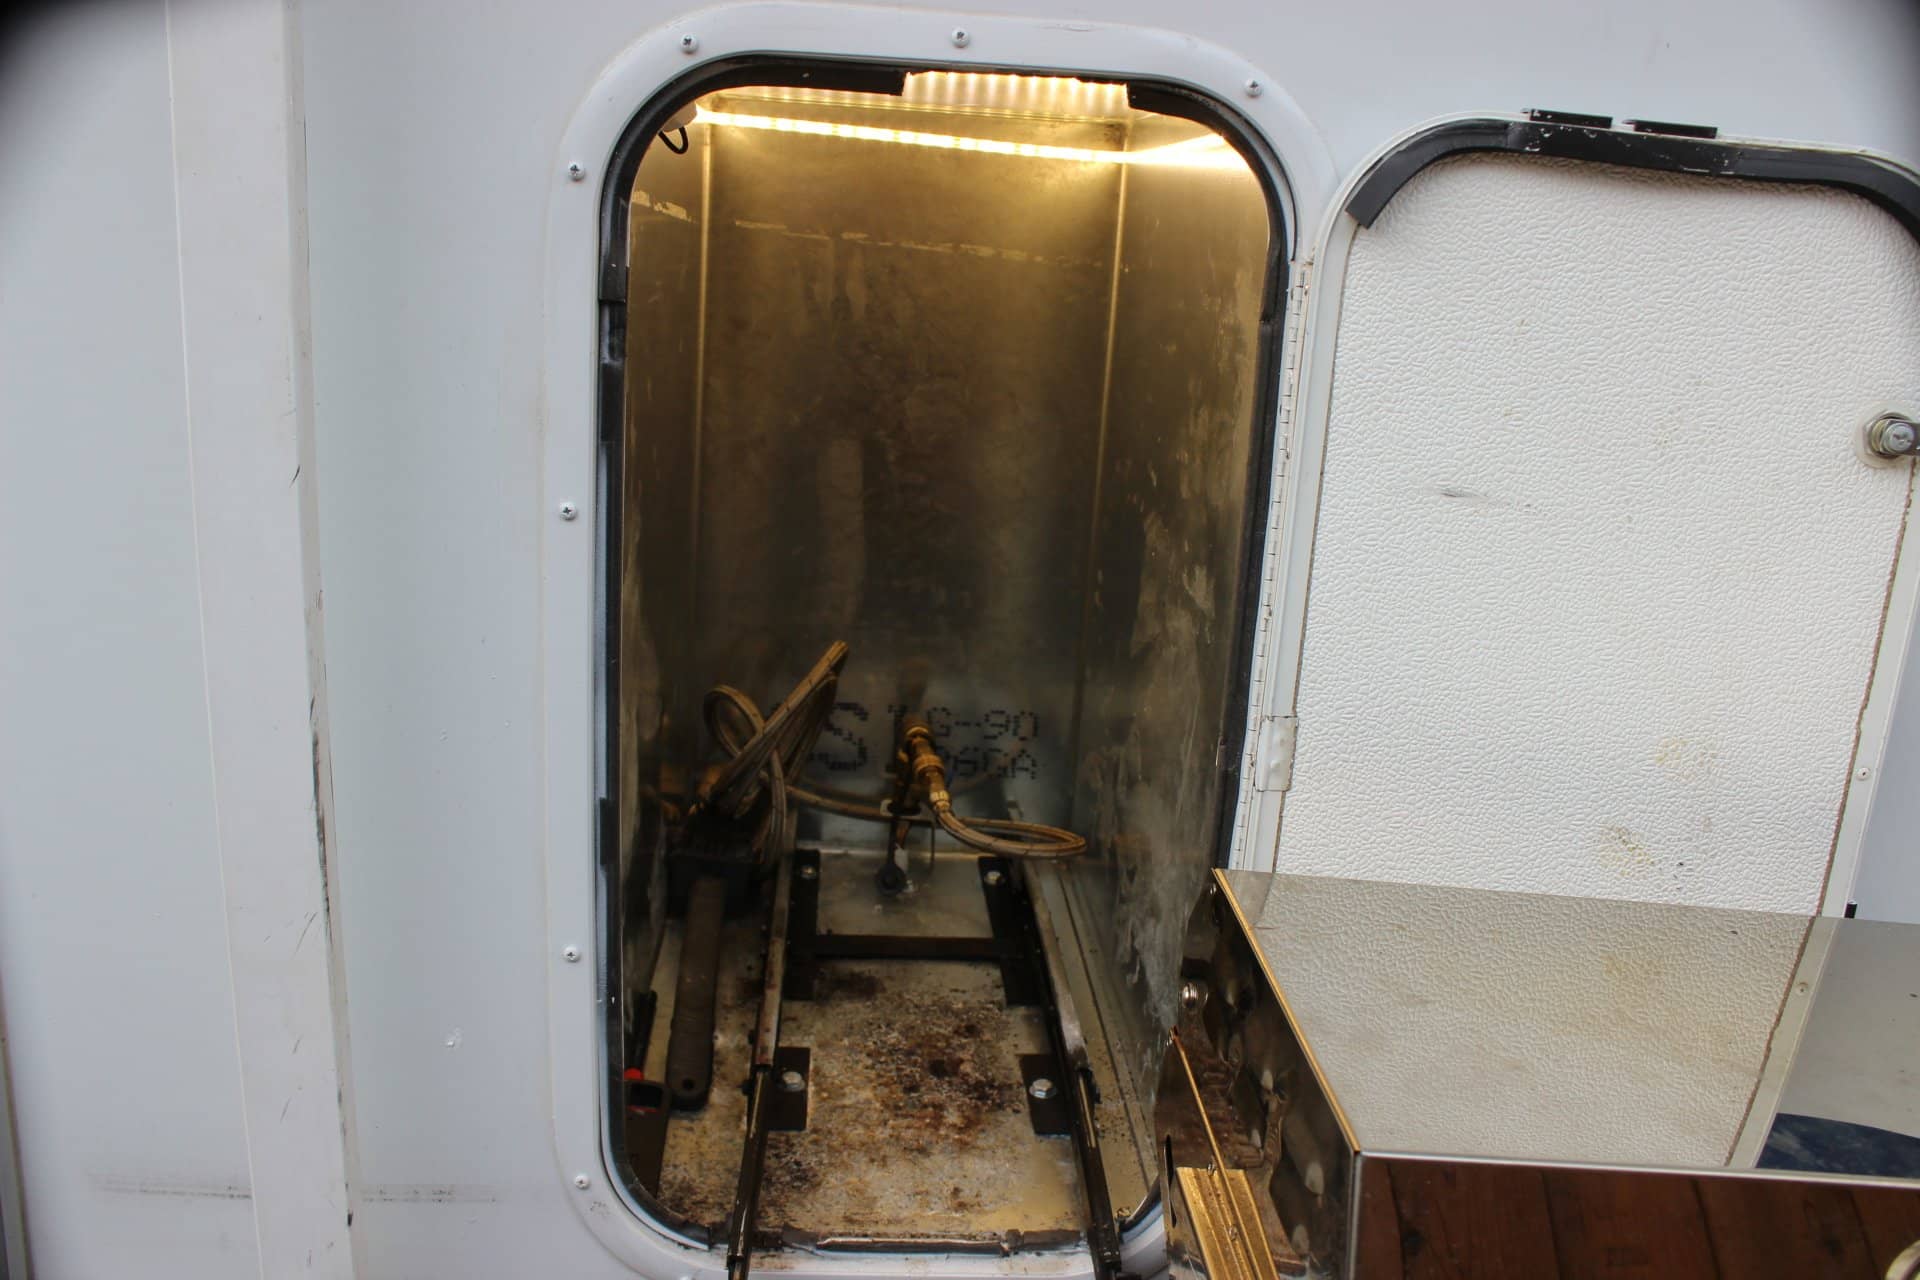
I had a local company build me an enclosure (13 ½ W x 25 ½ H x 22 ½ D … images 1606, 1607, 1608). I had them put a narrow 1/2” flange around the top and sides on the open end of the enclosure so I would have something to screw it to the wall with (images 1609, 1610). They made it out of galvanized sheet metal. I had a dickens of a time getting it in there from the inside but manage to do it by taking down the close hanger bar (images 1607, 1608 …which I had to cut and remount horizontally) and then loosening the top panel (or ceiling….the board that the bed sits on) in the little closet and lifting it up until the enclosure cleared enough so I could turn the whole thing and get it to butt up against the wall. I sealed it all up with rubber weather stripping on the flanged open end of the enclosure where it mates up against the wall of the trailer to keep the BBQ smell out of the trailer (image 1478 … it does a great job…there is NO smell in the trailer or even the little storage under the bed). After I got the enclosure in, and the slide rails/base frame bolted thru the floor, I then ran a propane gas line under the trailer from where it feeds the stove and oven. I mounted a “T” to this line and ran another new line back and up into the grill enclosure. I then put a gas valve on the end of the line with an elbow containing a quick disconnect fitting (image 1480). Now I had gas service into the enclosure compartment, and with a quick disconnect hose, to the grill as well (image 1479). So all I have to do is just plug the gas hose onto the grill (image 1481) and turn on the valves.
From the time I walk out the door of the trailer, and in less than a minute I can be grilling and after the meal (when the grill has cooled down) I can unplug the hose (make sure the gas valves on the enclosure fitting and the hose, are both turned off), rotate the grill (image 1485), pull out the support rod from the wall and the grill support base from the main grill base (image 1487), fold it up (image 1489), and then shove the support base, rod, and then the grill back into the compartment (images 1490, 1491) Close the door and lock it, and lastly, put the little plug back into the support rod port.
DONE!
Opened = less than 1 minute …….. Closed = less than 1 minute
No more dragging out the grill, propane bottle, hose, connecting it all up, and then have to put it all back up again….UGGGGH!
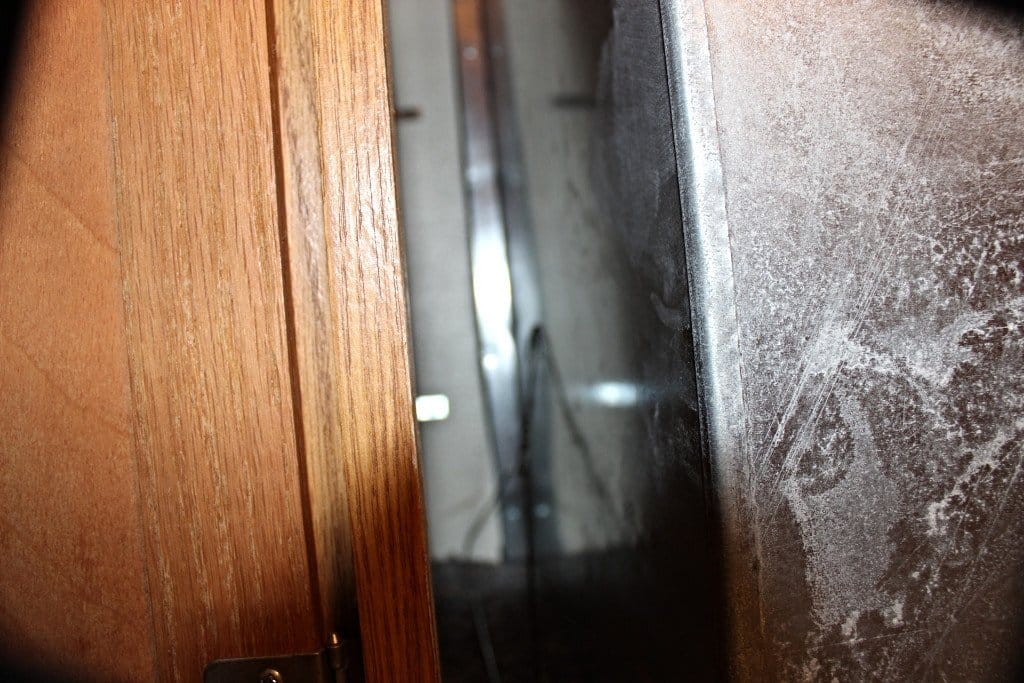
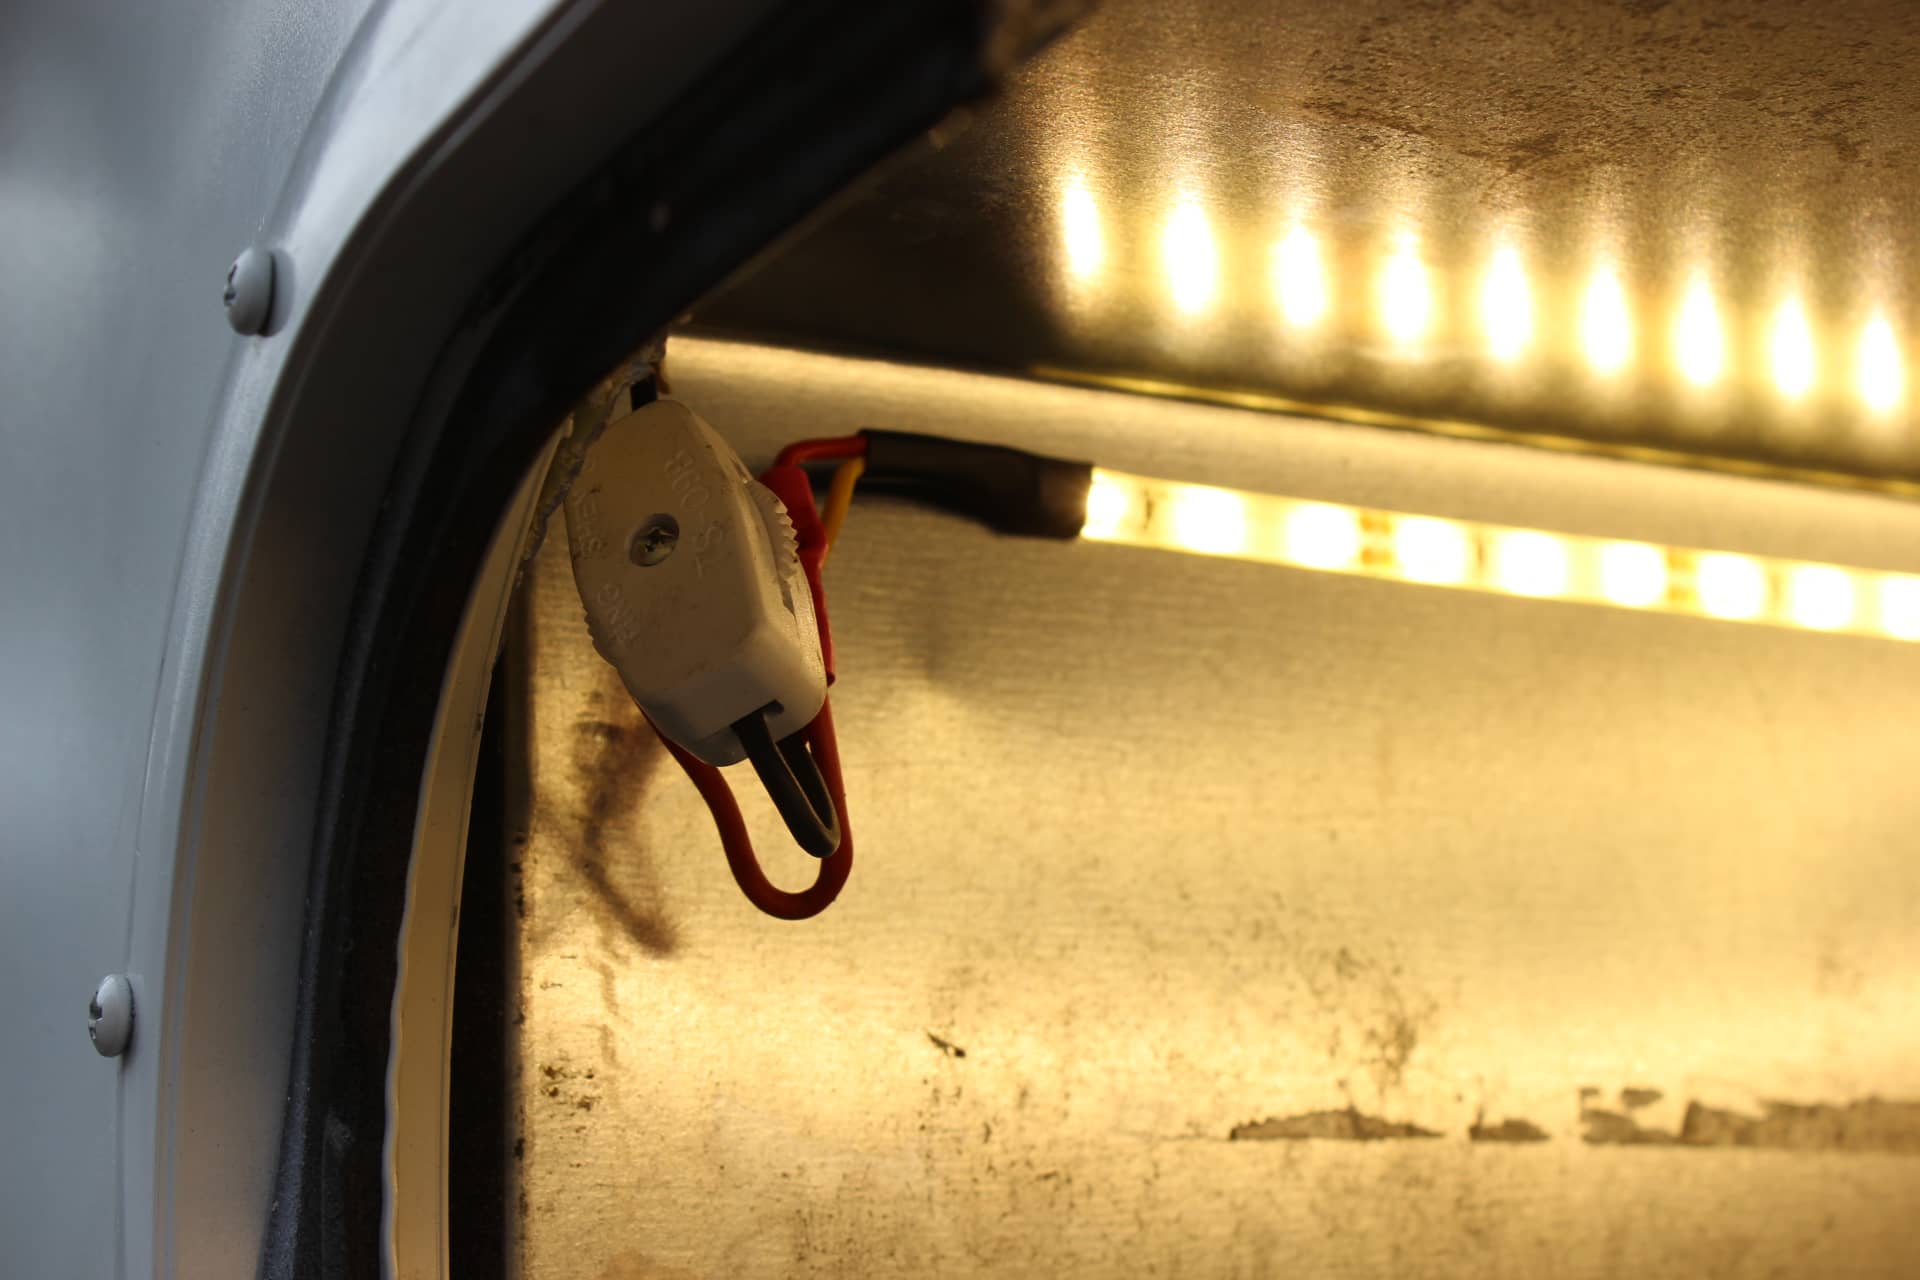
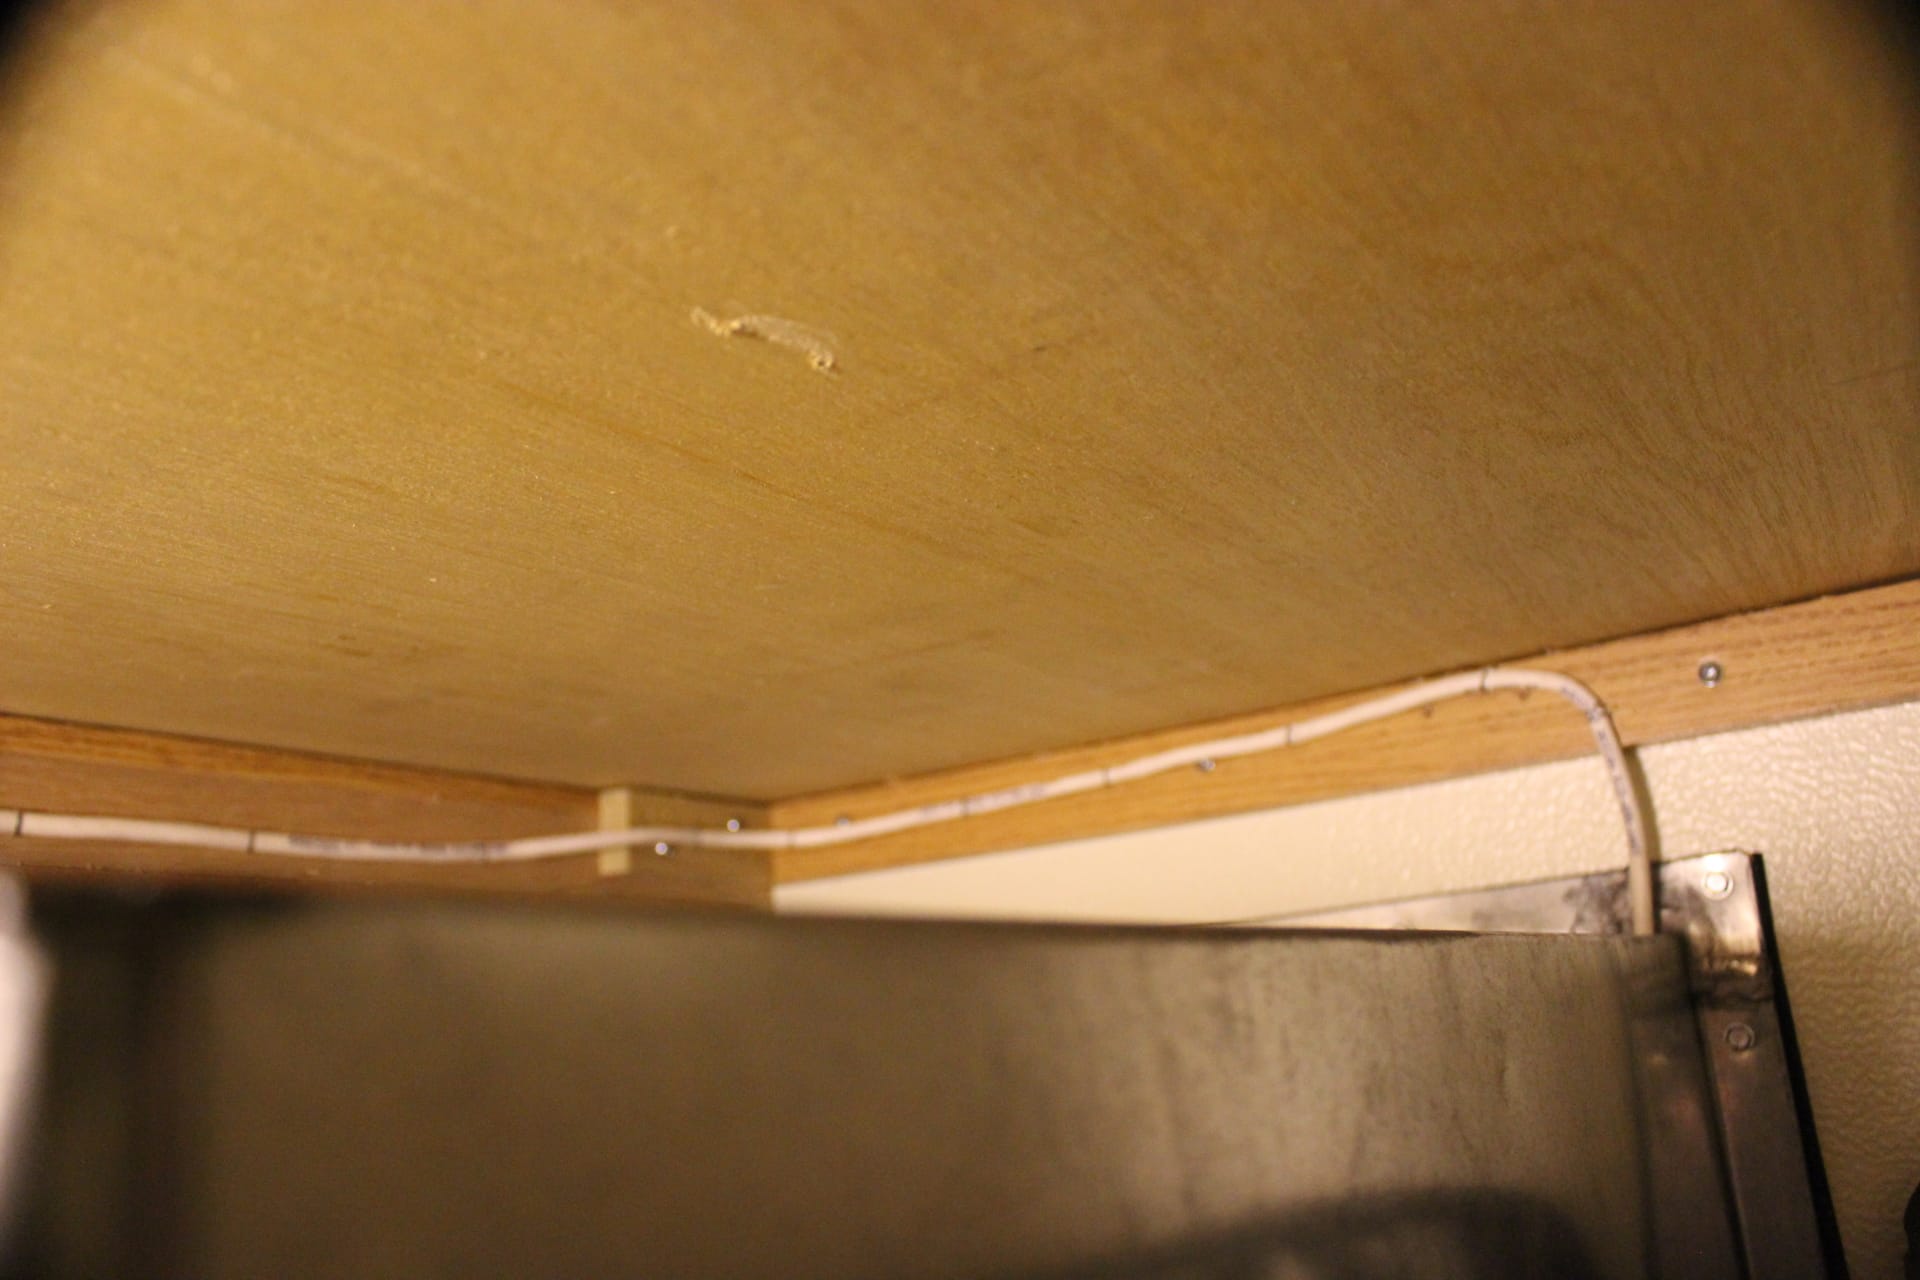
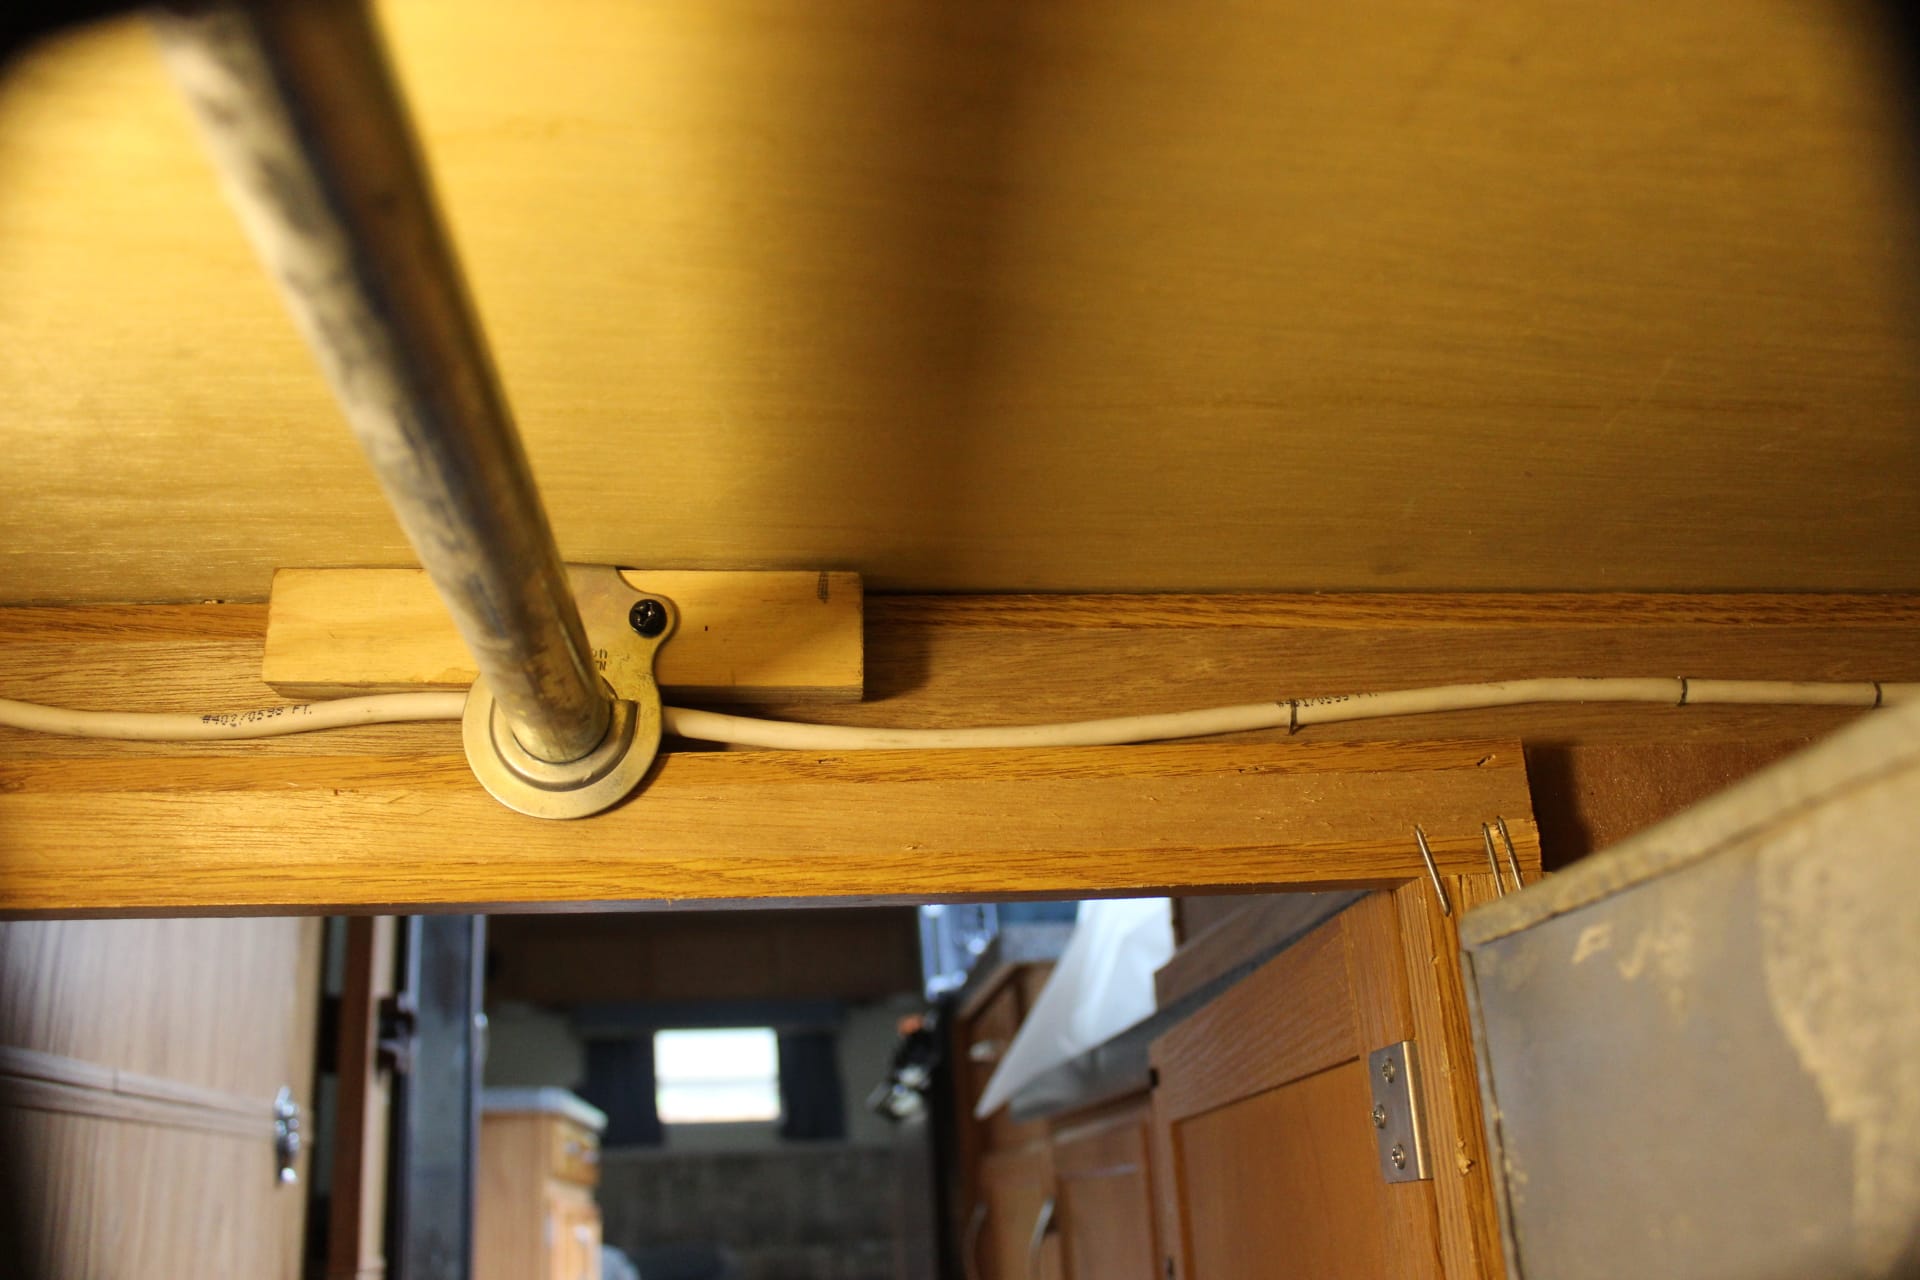
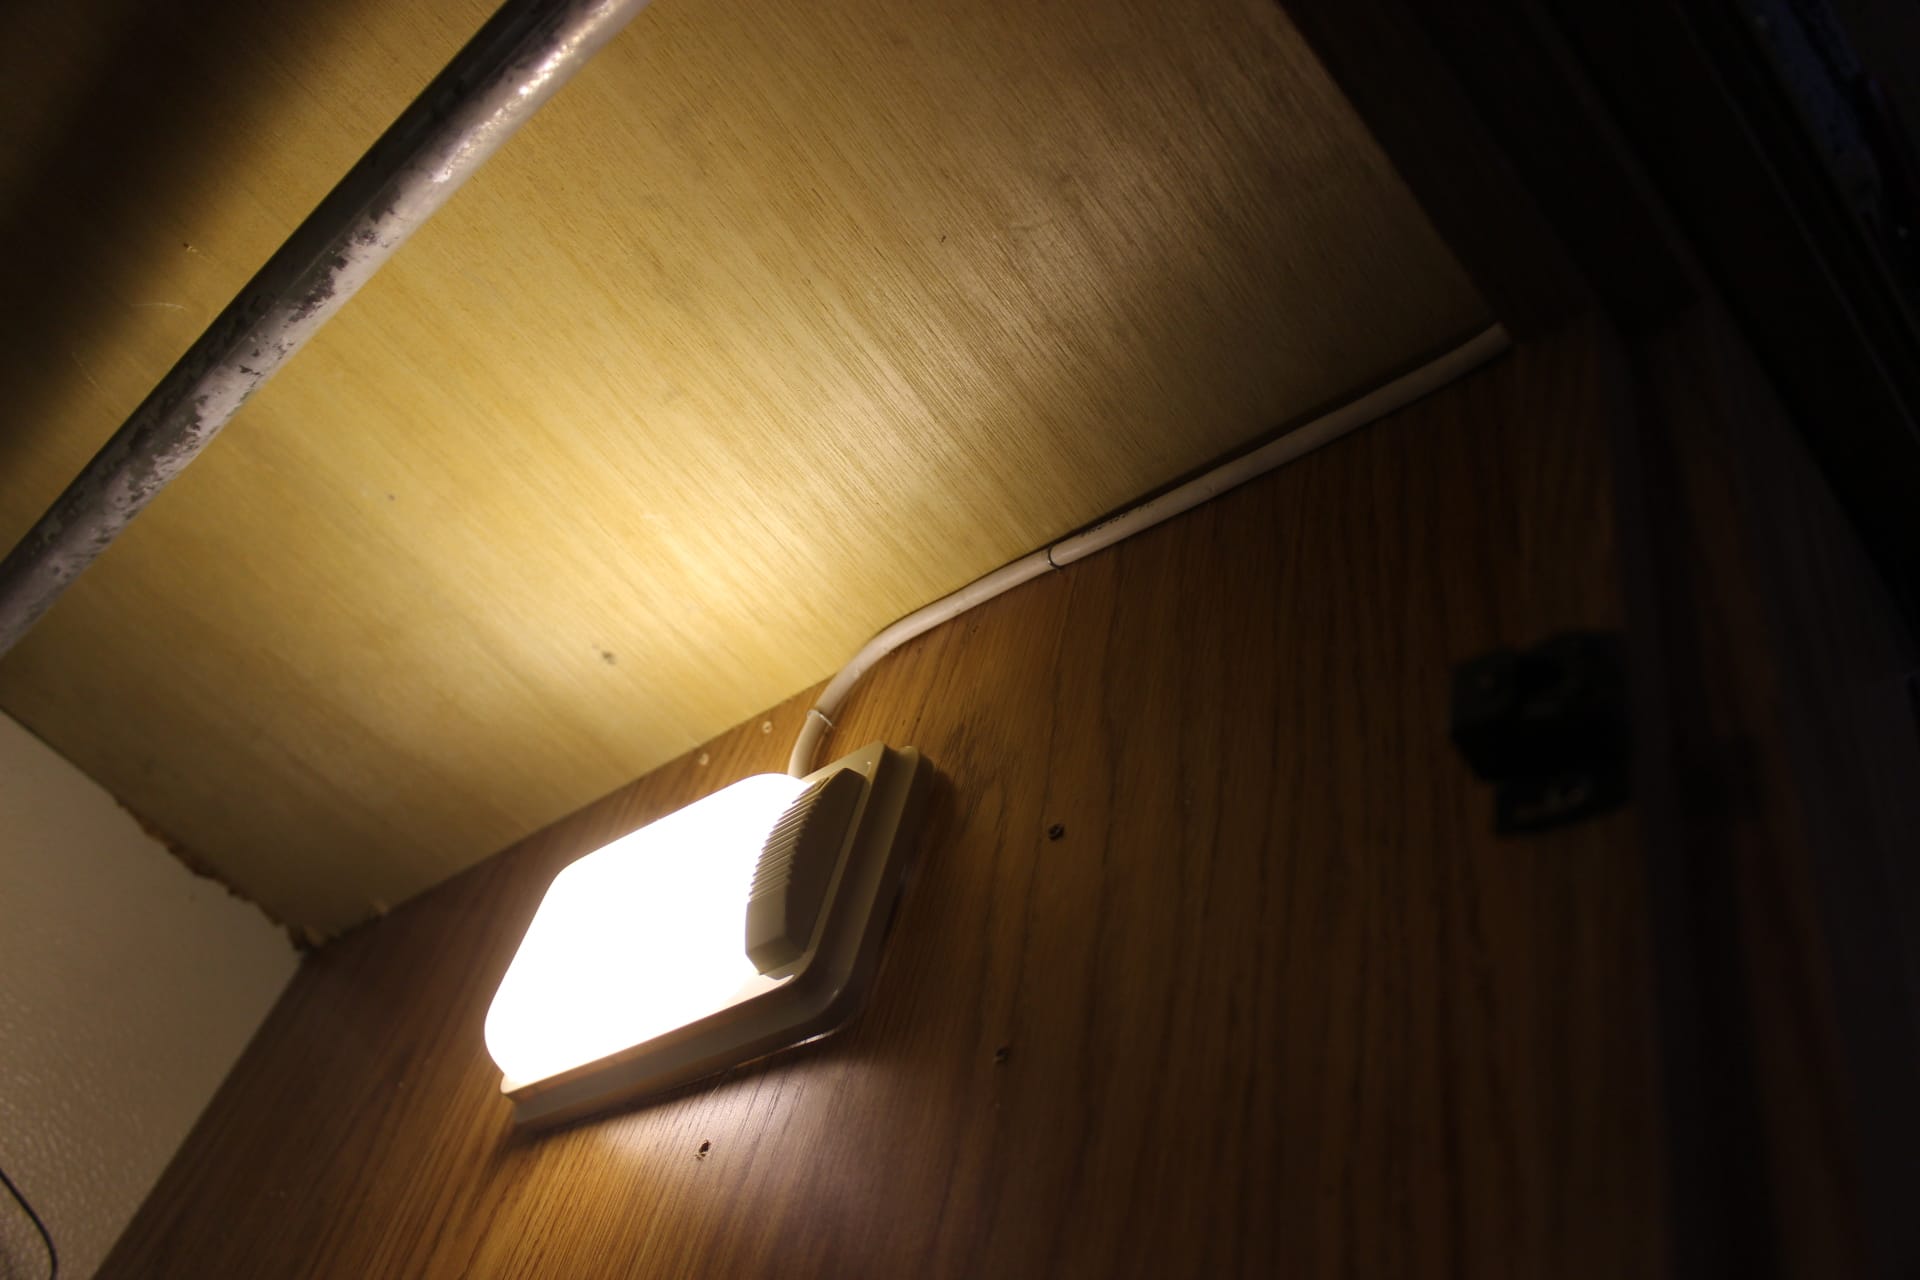
So just recently I added some waterproof LED strip lights to my bathroom and since I had to buy a 16′ reel of them, I had plenty left over for other uses. At night when grilling there was little to no light to see what I was doing so these LED’s were perfect for the job, especially when putting the grill away. So I ran a strip of these inside my grill compartment (image 1777) and put a thumb switch on the hot wire side (image 1776). They did the trick (images 1778, 1775) when it came to setting up and putting away my grill. I ran the power from the light fixture in the compartment under the bed (image 1781) and ran the wire around the top front edge inside the compartment (image 1780) and then thru a hole drilled in the grill inclosure itself (image 1779). No more fumbling around in the dark when grilling after the sun goes down.
This was my most ambitious project to date….well worth it in my opinion….saves me soooo much time and hassle. Maybe someday Trailmanor will offer this as optional equipment. If they did, they would be the only company in the entire industry that offered an onboard grill that packs itself away!….I mean who needs two kitchens????