If I were to do only one modification to my TM it would be this. I am talking about the Thetford Recirculating Toilet. It is the Achilles heel of all the TMs. The Trailmanor is the most unique trailer still on the market. It’s like having a pop up (which are traditionally soft canvas sides) and a conventional travel trailer rolled all in one. The main difference is the hard sides that the TM has to offer. Better security, endurance, and livability with the aluminum foam sandwich construction. But the real beauty is the lightness and the fact that it can fold down to about 65” high (depending on the model and accessories), which means that you don’t have to push the air like in a traditional travel trailer. This two factors equate to having very high gas mileage with your tow vehicle and that means more $$$$ in your pocket!
The Trailmanor is almost a perfect trailer. Like everything else out there it too could stand some improvement. This is where the Trailmanor Owners Forum is invaluable! Thru the owners out there “doing it” they experience firsthand all the short comings of the TM trailer. Then they have a way of coming up with several solutions to all the problems that crop up. On the forum is where you can read all about it. I just hope the owner at the factory reads these, for this is where the improvements come into play on the next productions and there by improve the end product…..Did you get that Bob?
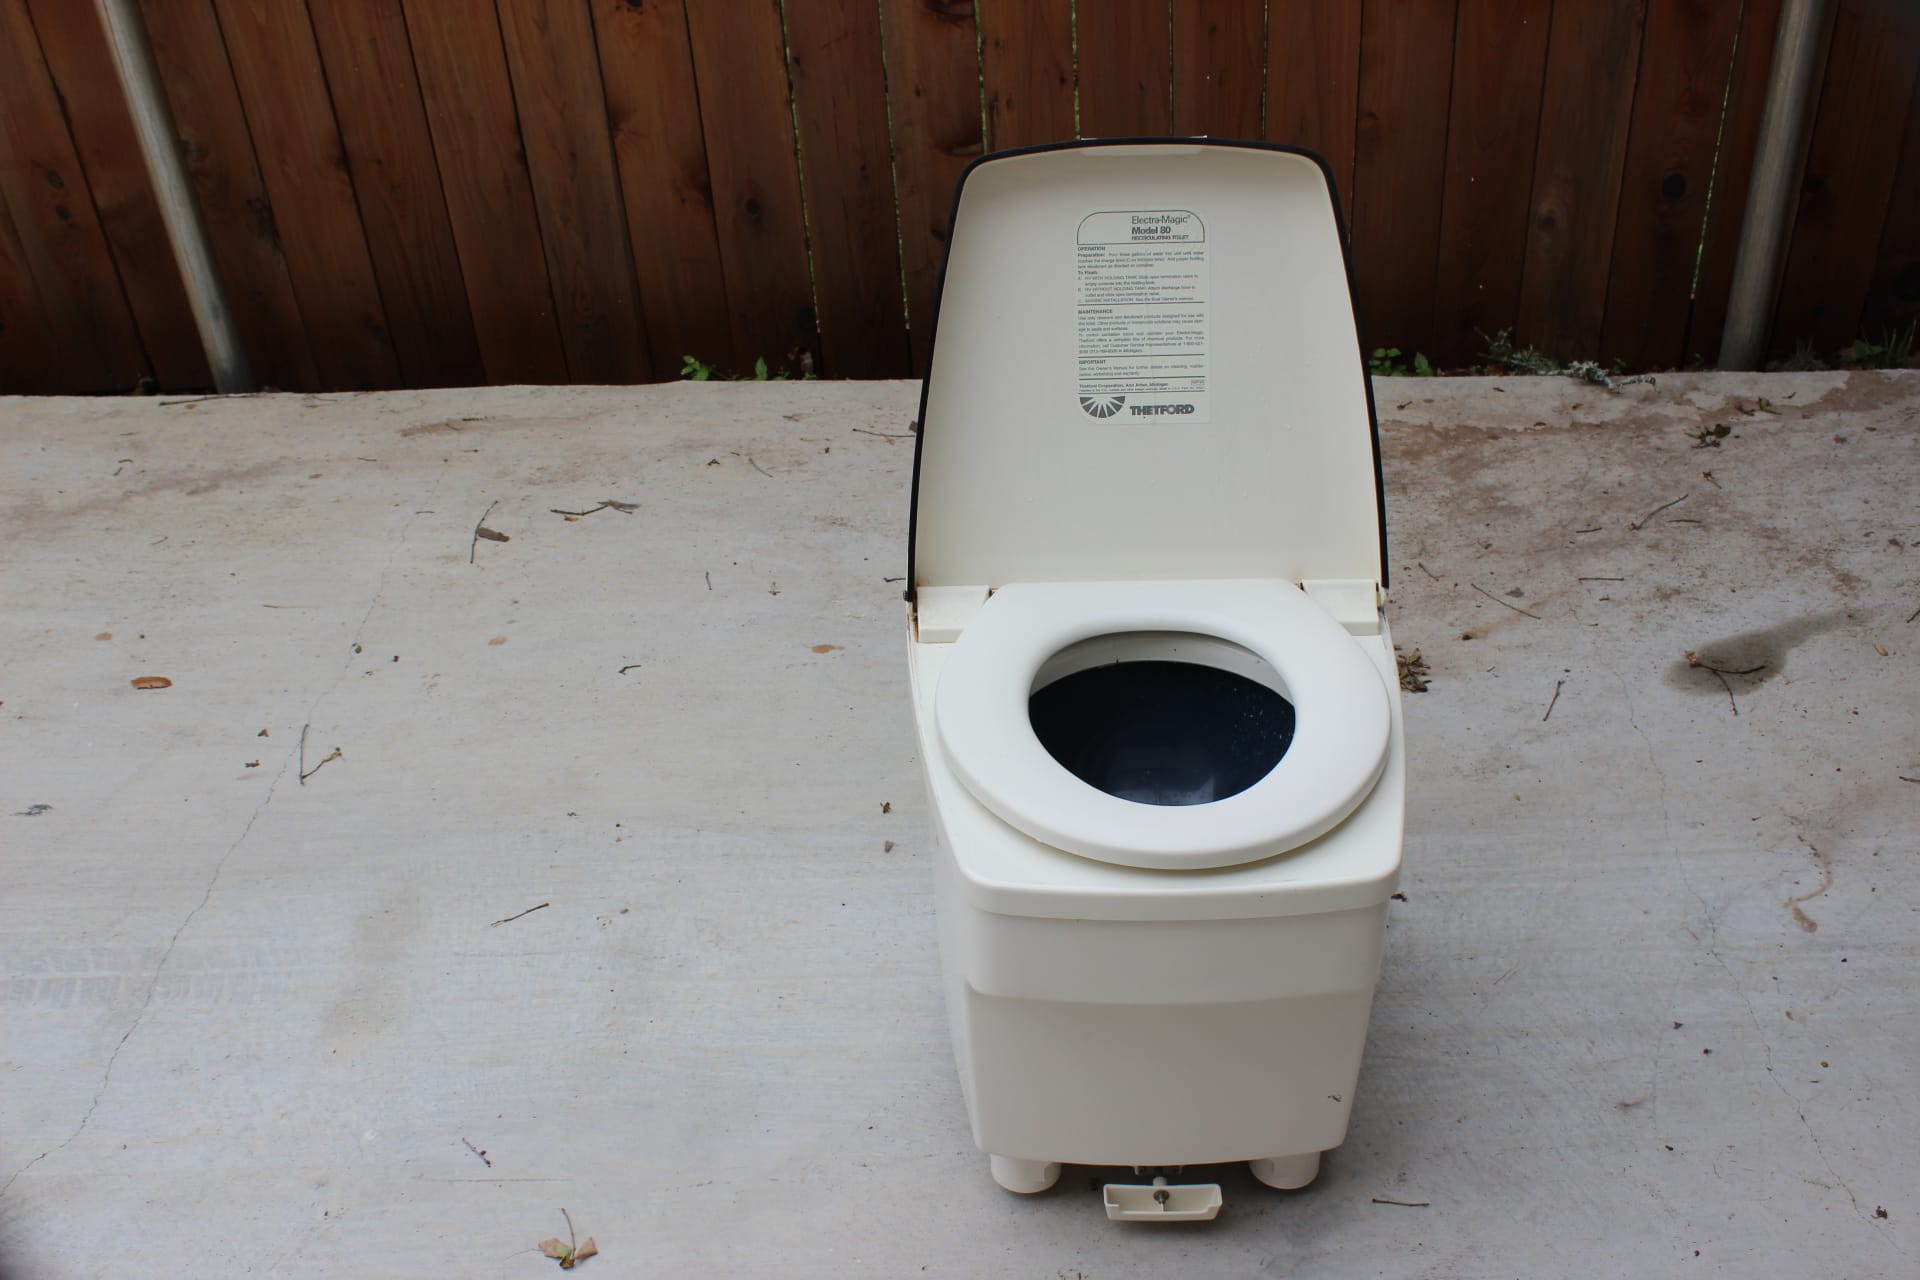
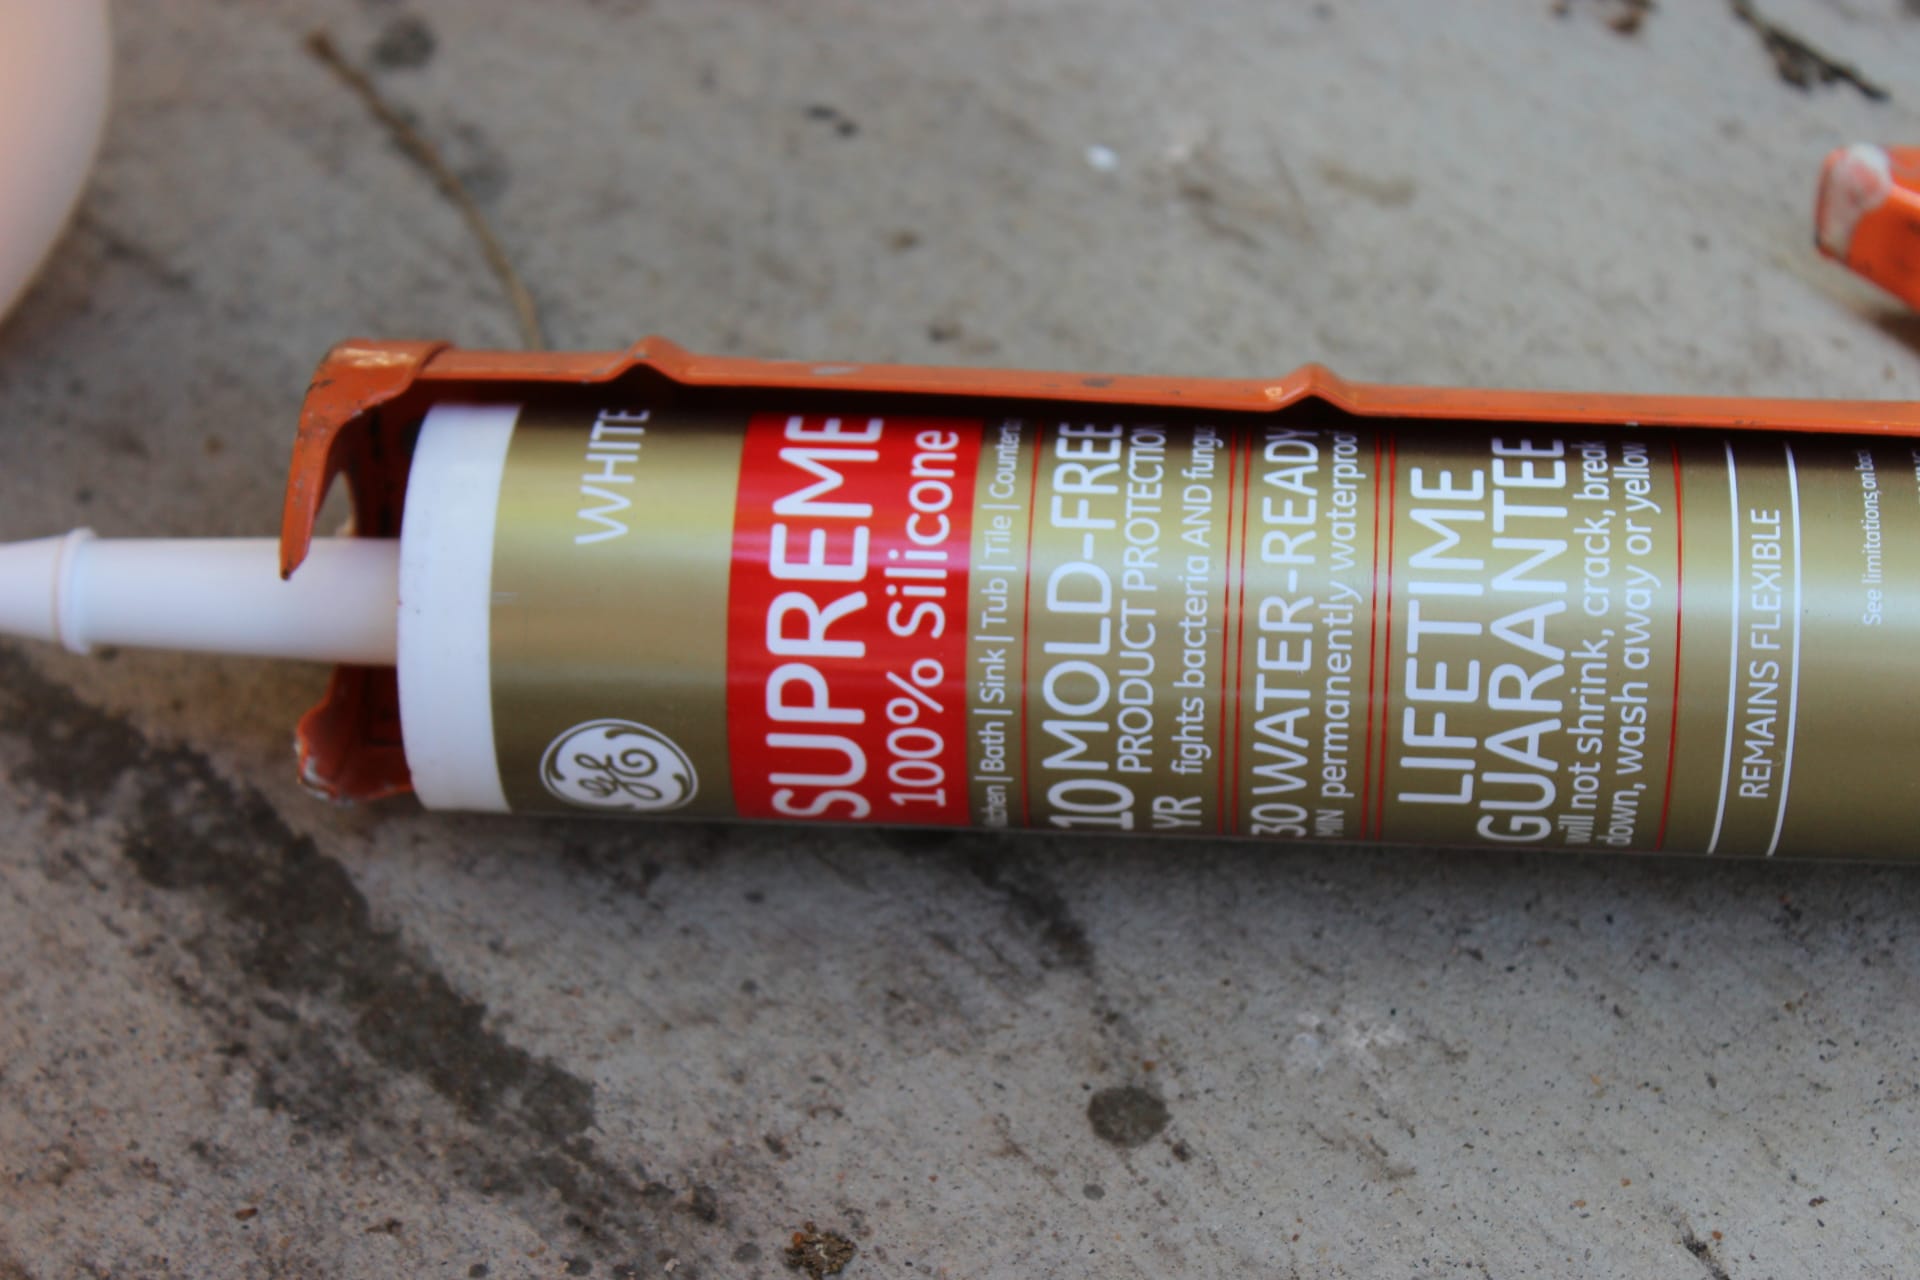
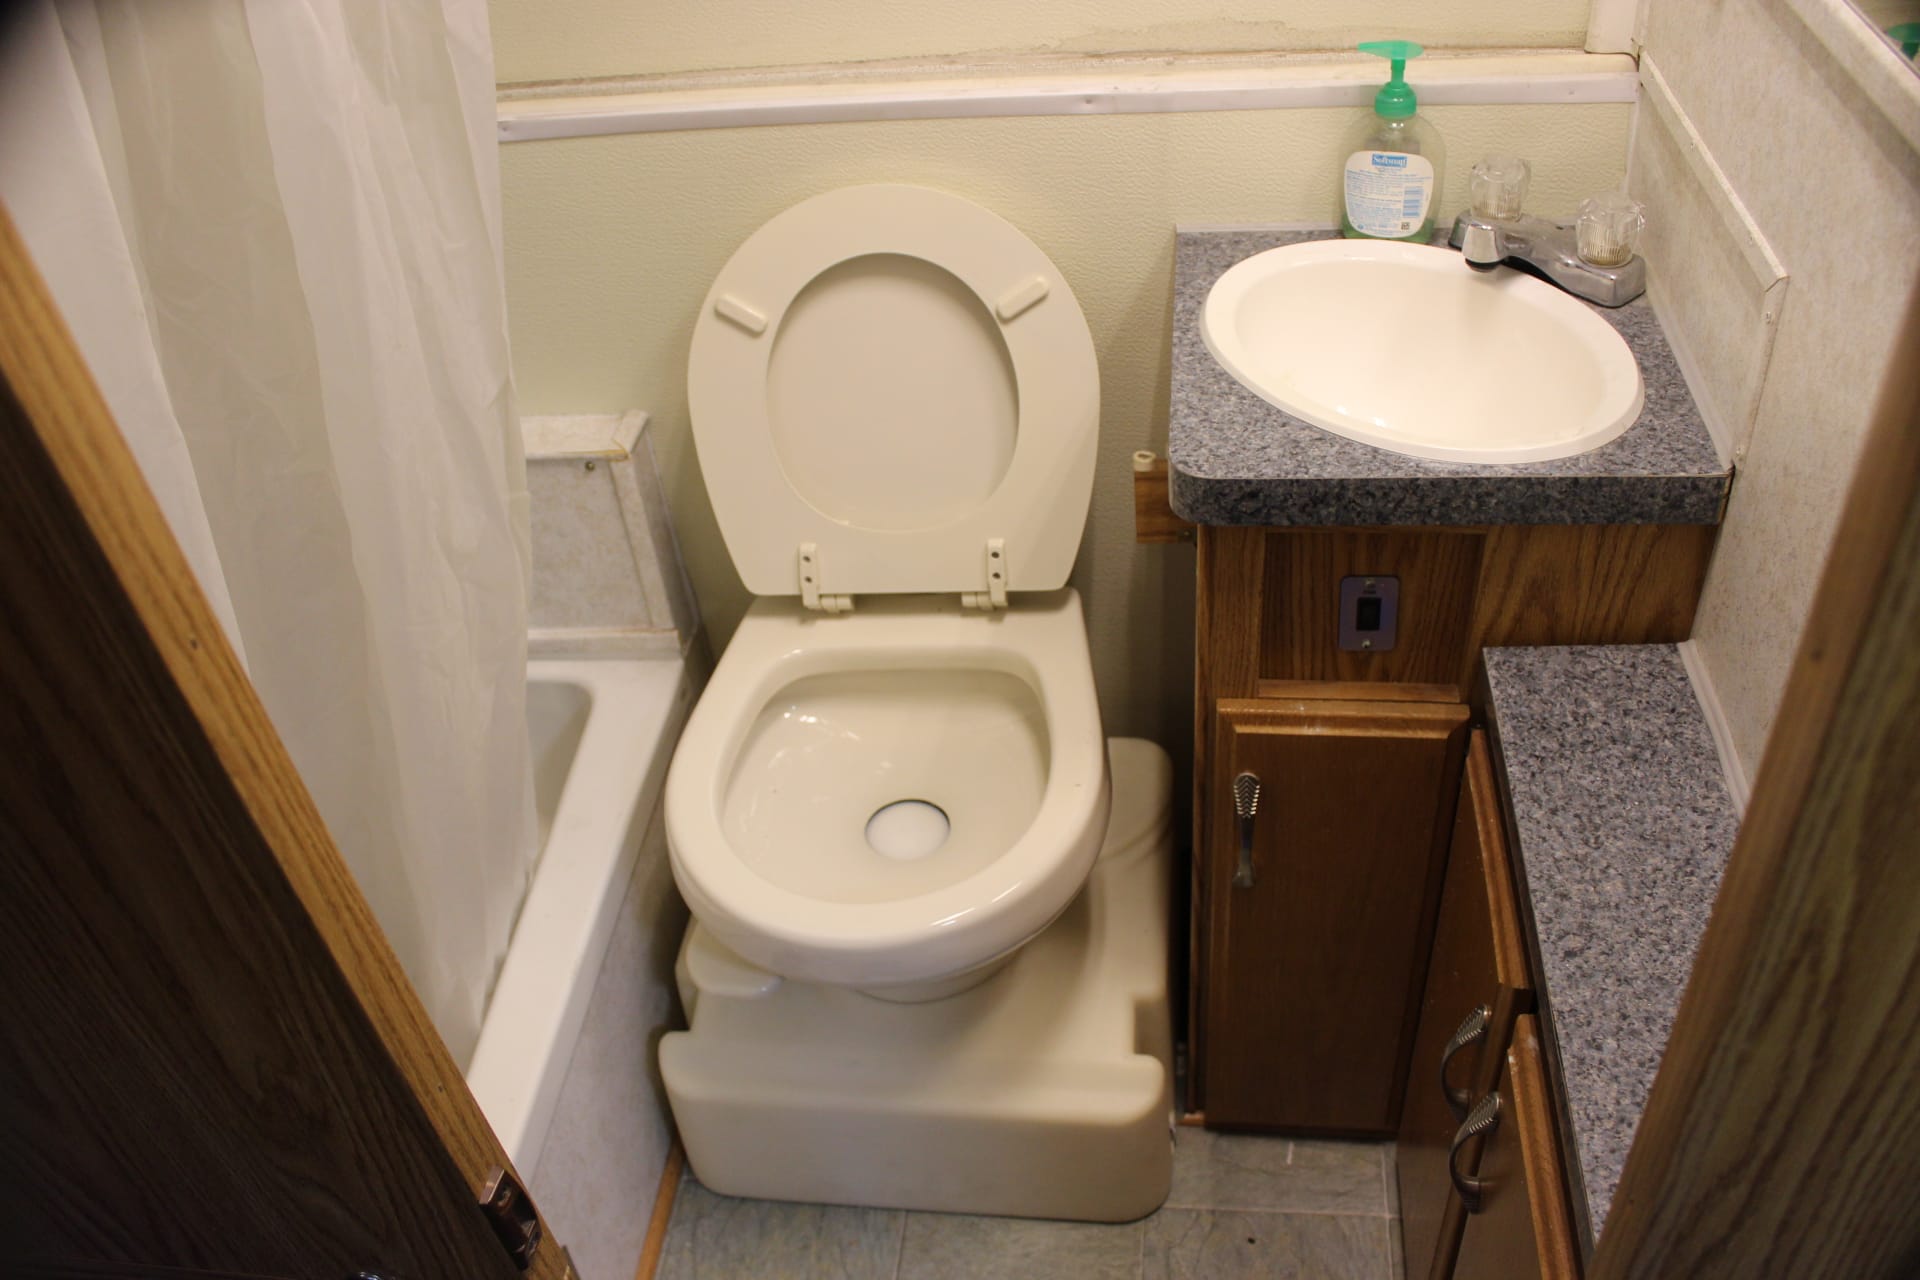
So now to the toilet. I just installed the Dometic Sealand 711 M28C. It is a REAL toilet unlike the Thetford Electro-Magic Recirculating Toilet which recirculates that water charge over and over and over to store and breakdown the waste deposited therein. And it does work ok for that….but it has MAJOR short comings! First and foremost is the venting for the toilet itself….which is directly into your trailer and up your nose! Then there is the fact that the capacity is not very big and so it needs to be dumped most often (always a fun prospect….NOT). Then along with that wonderful bouquet comes the wafting of those chemicals that you MUST use to break everything down….very yummy indeed! Having NO water in the bowl doesn’t help things either. Pretty soon your whole trailer STINKS! So unless your inviting your in-laws over I would suggest you don’t ask anyone in at all.
I would guess this topic sports more comments on the forum than any other subject.
I know it sure got my attention. How I jumped for joy when I first heard about this upgrade conversion modification….just think…a real toilet….what a relief (no pun intended)…. No more early morning dashes to the campground restrooms! I just hope the factory does something about this. If you were a stranger looking to buy a TM and ventured onto the forum, you might be scared off by the comments on this sore subject. I believe that at the very least, the factory should offer this alternative to the Thetford.
The reason for that is they sell the right one with extra fittings and such that can come in handy. Plus it’s the one with the center discharge hole. You might find it cheaper somewhere else, but it also might be the wrong model. Don’t gamble, just get it from Scamp Trailers and nut up the few extra bucks. It’s worth the hassle!
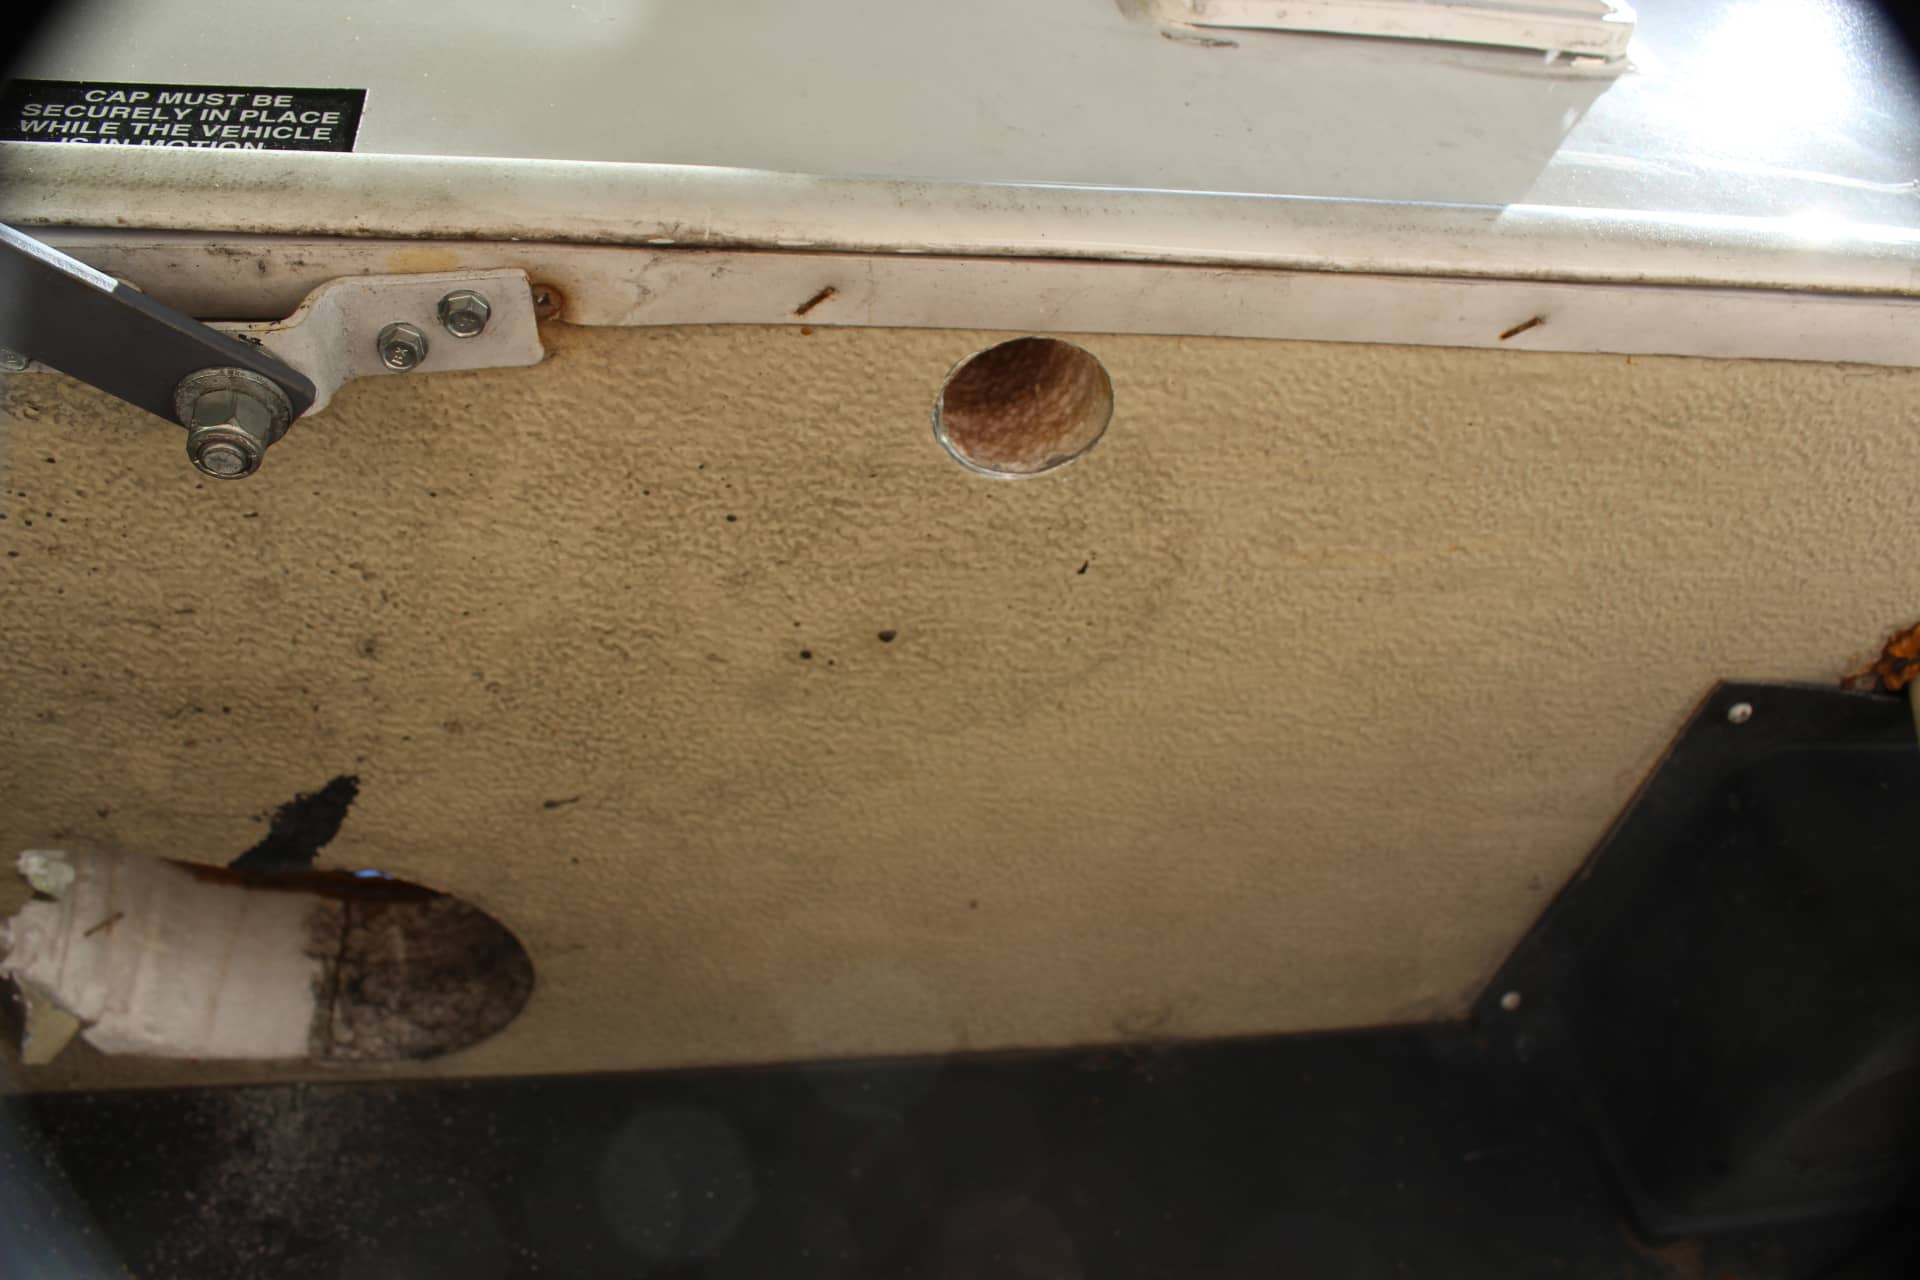
So I called up Scamp and ordered my Sealand. It took about 4 minutes to complete the process. Another 5 days later and it was sitting on my front porch (YEAH!). WOW!…just the thought of a REAL FLUSH TOILET in my TM…just like all the other trailers out there sent my heart racing. I couldn’t wait to start putting it in. I wasn’t sure how it would fit since I hadn’t read anything on a person installing one in a 3124KS. I just assumed that if guys could wedge one in a 2720, that I would have no problems. Well I was almost right. In my bathroom there is this little box cover that covers up part of the wheel well liner on the floor next to the vanity. That was the only obstruction that kept it from fitting perfectly. One ballpein hammer later and it fit perfect and snug (image 1750). I guess the biggest hassle was getting the old Thetford out. I had armed myself with posts and articles about this process and how easy it was
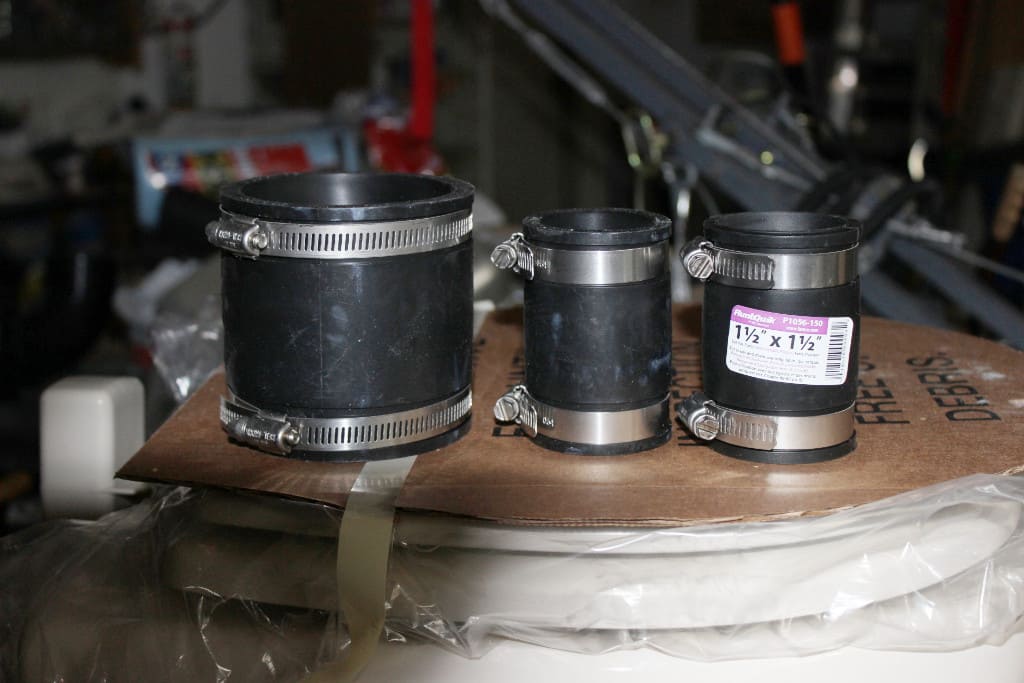
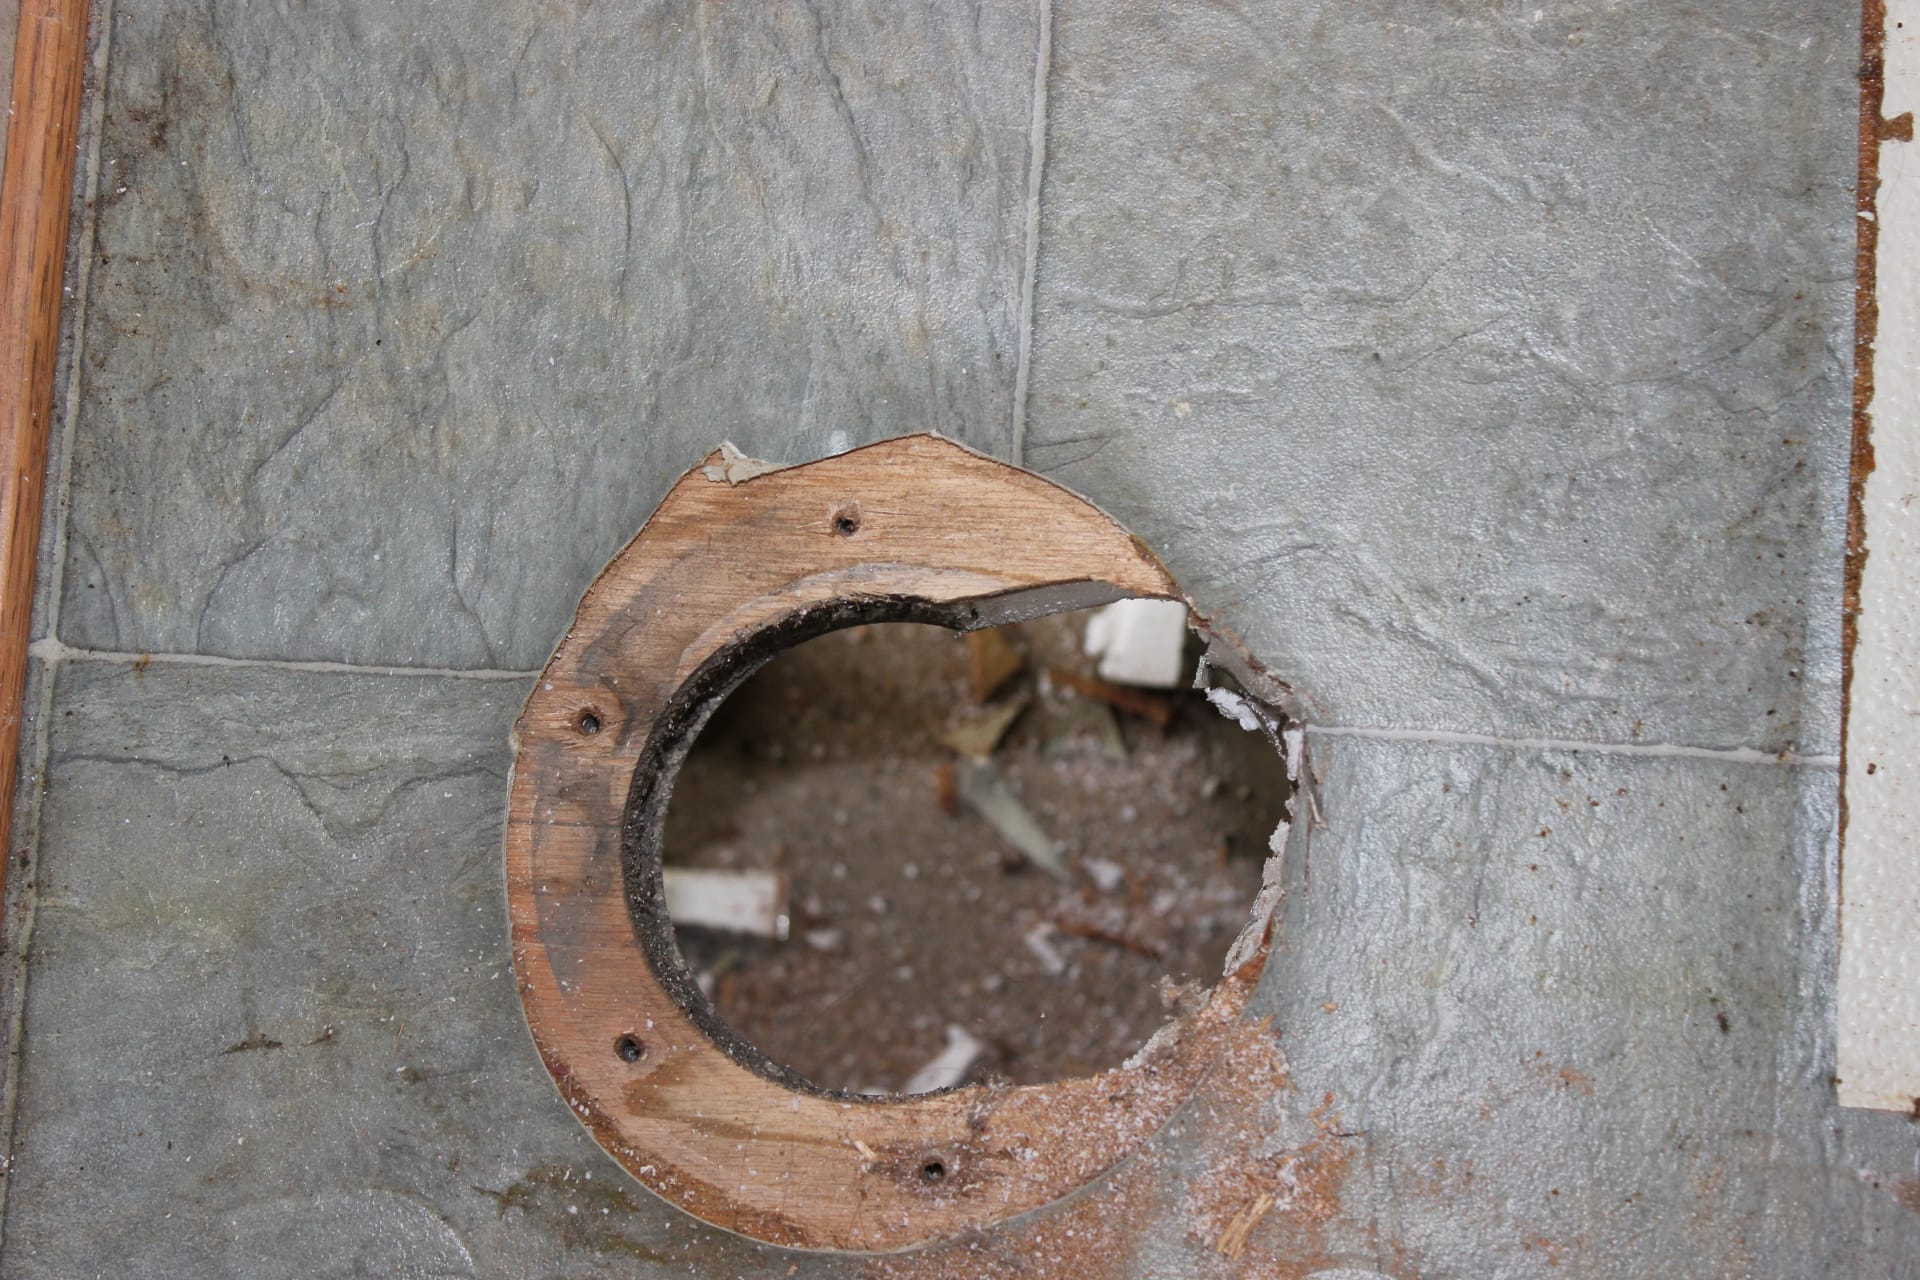
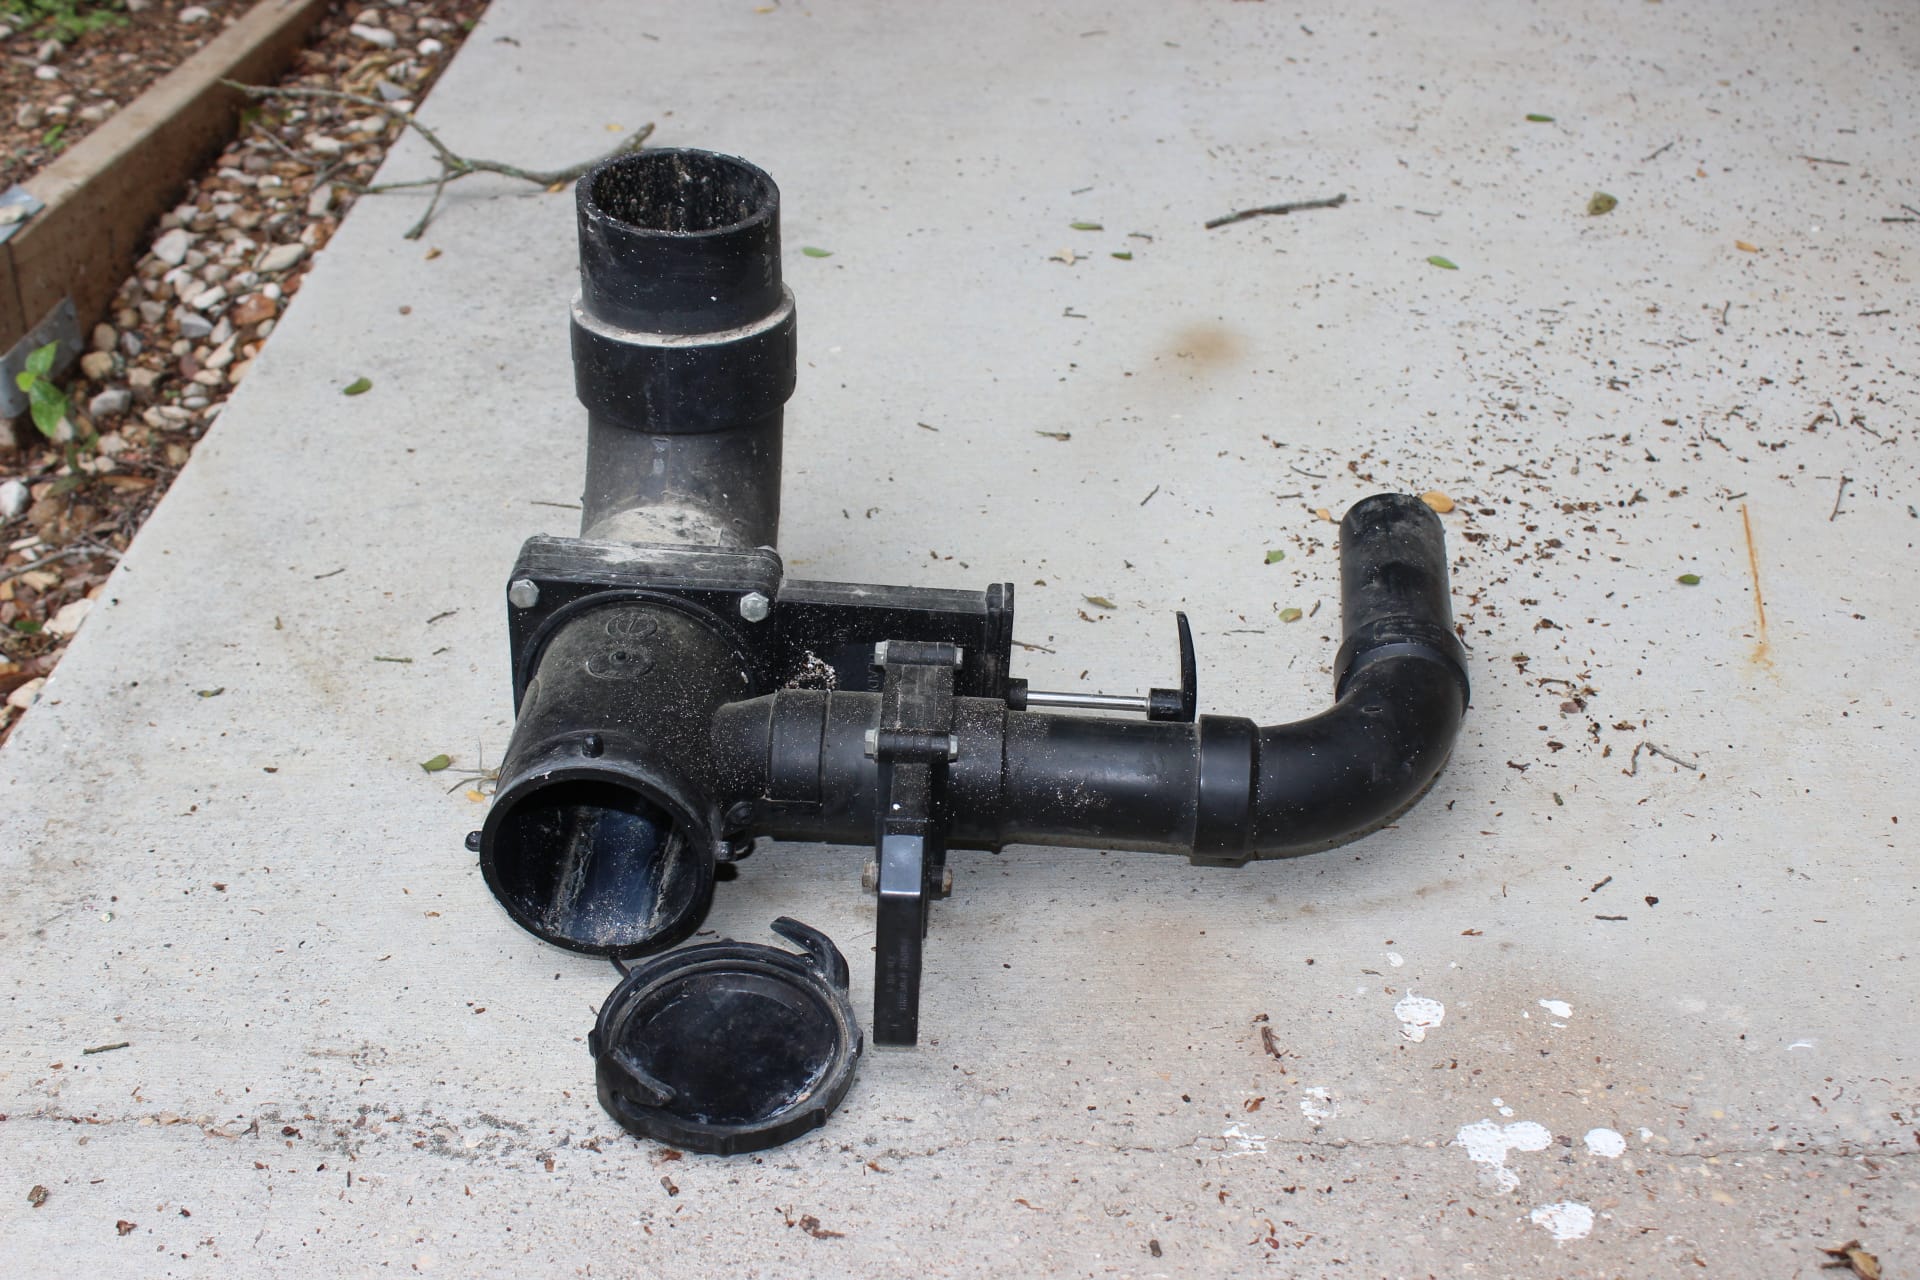
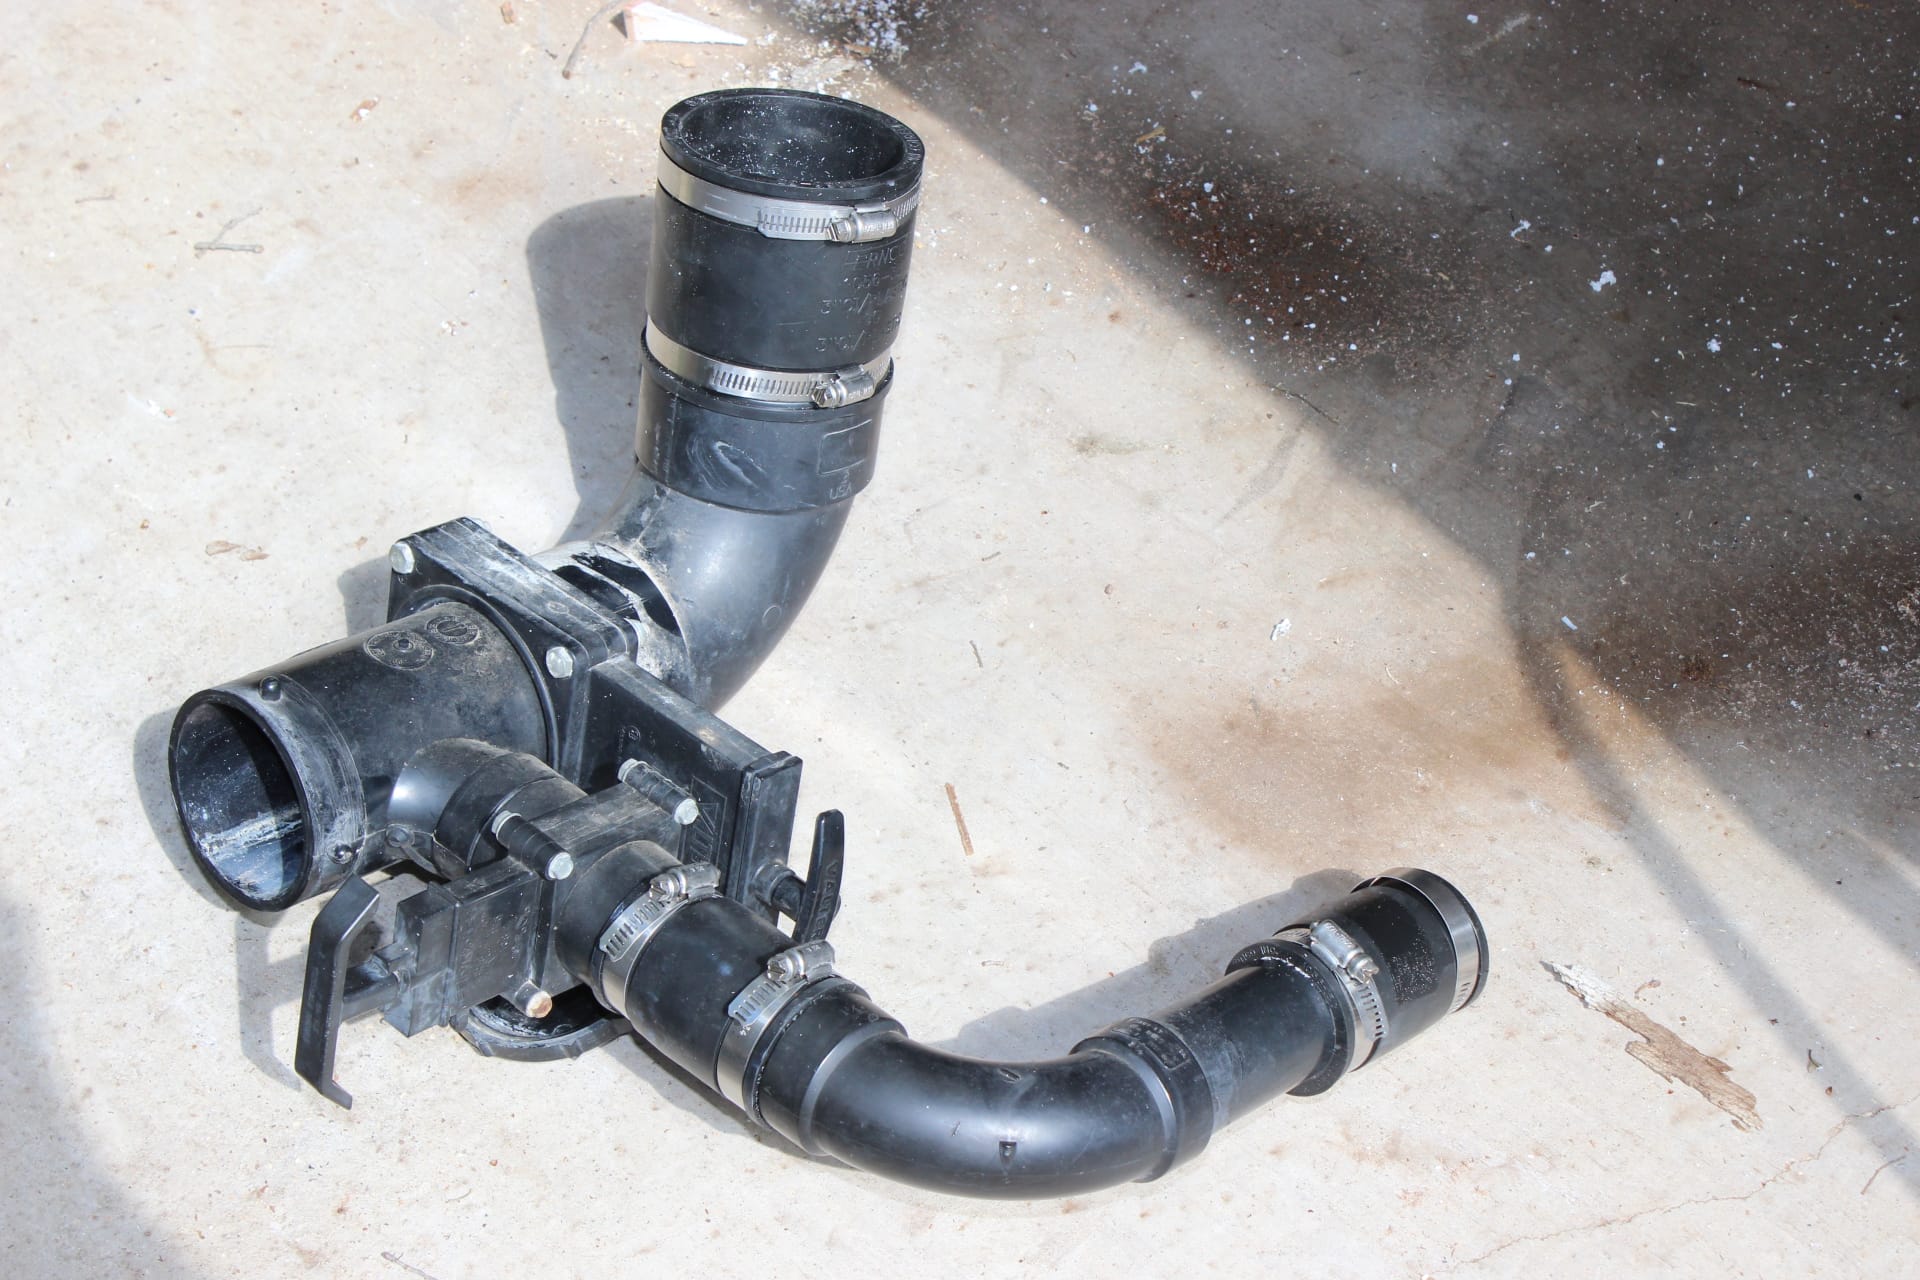
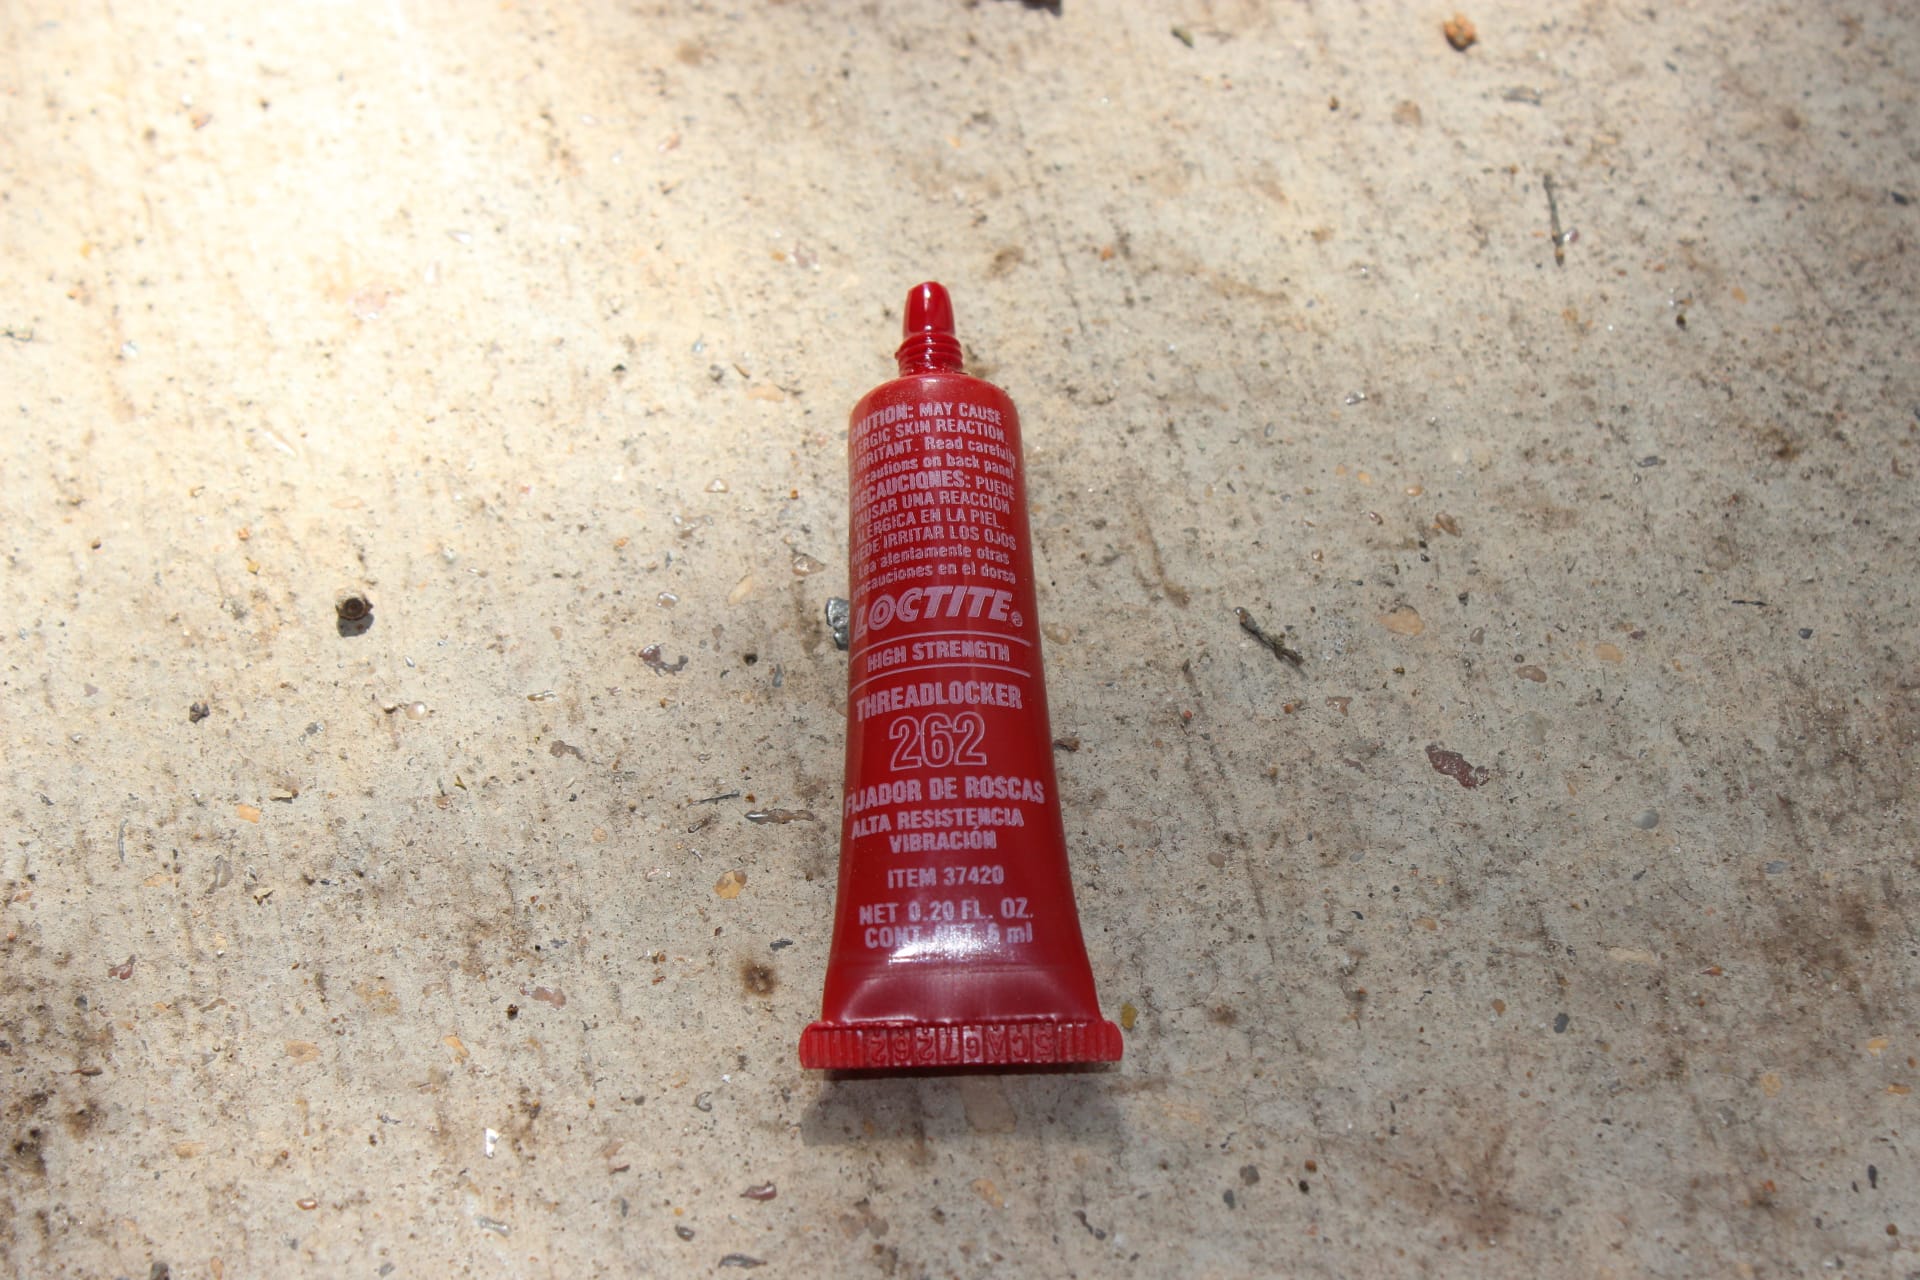
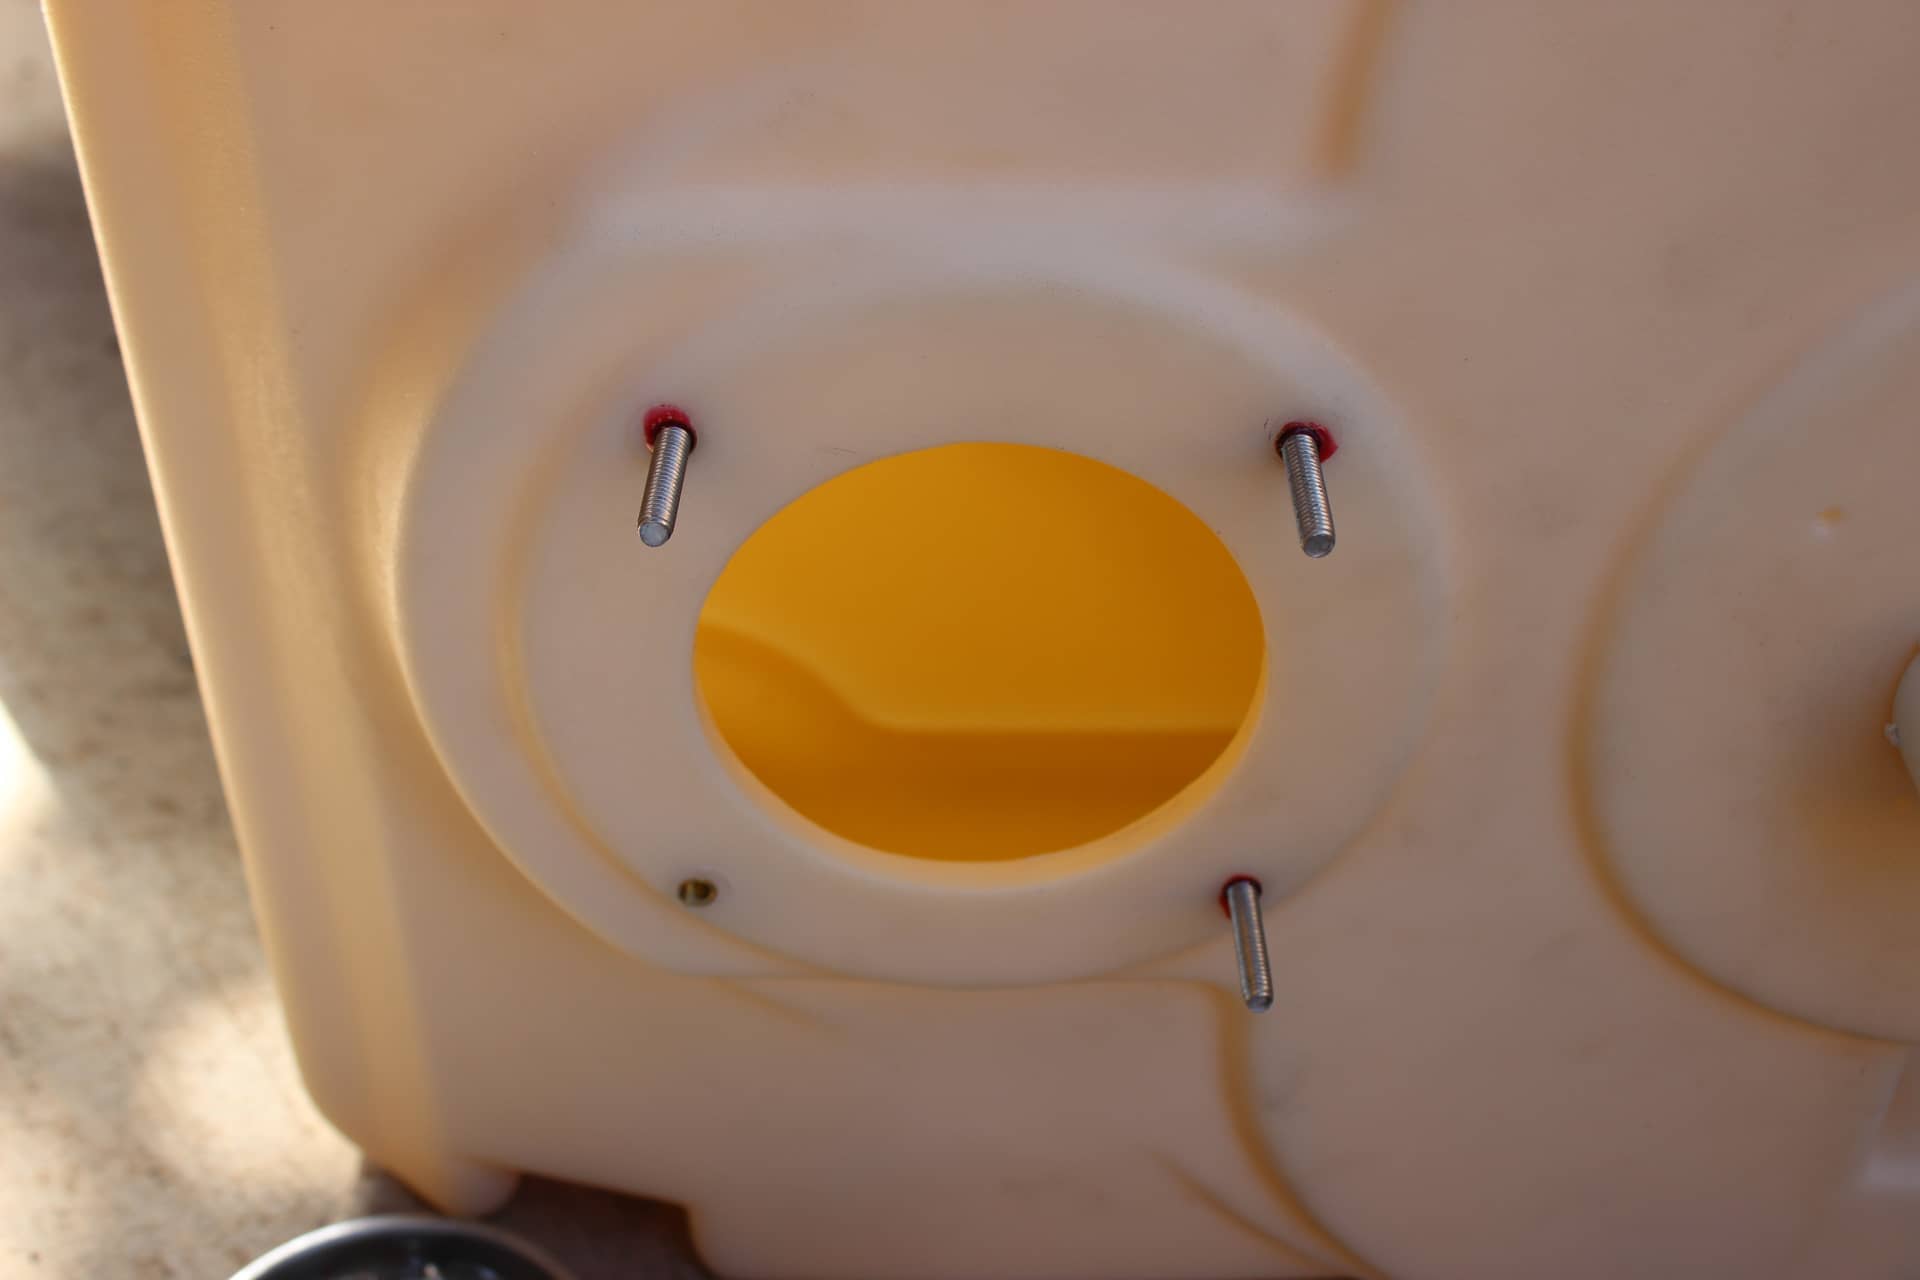
So once I got those pesky wedges out it was a piece of cake (probably chocolate). The toilet lifted right out (image 1749) and the flange was screwed to the floor. Next, I went outside and cut both pipes (the 3” toilet pipe as close to the trailer underside as possible, and then the 1 ½” grey water discharge pipe about half way between the elbow and the tank…image 1752). This dropped the valve assemblies and made it possible to remove the flange from the inside. I placed the tank in the vacant space and centered it side to side and an 1 ½” from the wall and traced the part of the hole that was not cut out on the floor and then cut the hole just a little bit larger than my trace to have a little wiggle room (images 1750, 1751….notice the exact precision of the cut to the nearest nanometer!). Once the tank was positioned, it was now time to consider the 3” discharge pipe. Wrapped the threaded fitting with Teflon tape and screwed it in to the tank. It helps if you have a monster pair of channel locks for this. Installed the studs for the toilet with a drop of Locktite (images 1756, 1758) on each and screwed them in (image 1757). Then I temporally screwed down the tank to get the length of the 3”discharge pipe and then removed the tank and glue that into the threaded fixture. I decided to use the rubber cuffs to reattach the valve assembly back into place for two reasons…first it’s just soooooo much easier to do it this way and second, I read about a guy who did it this way in case he had another blowout because his last one took out his whole valve assembly and he thought it would be easier to replace with the rubber cuffs in place. This made since to me, plus when you order from Scamp, they give you two of these cuffs. A 3” and a 1 ½”. So all I needed was another 1 ½” cuff to put it all back together. This keeps the exact measurement to a minimal (images 1747, 1753). I did have to cut the 1 ½” pipe between the valve and the elbow to extend the pipe. This is where the second 1 ½” cuff comes into play (image 1770).
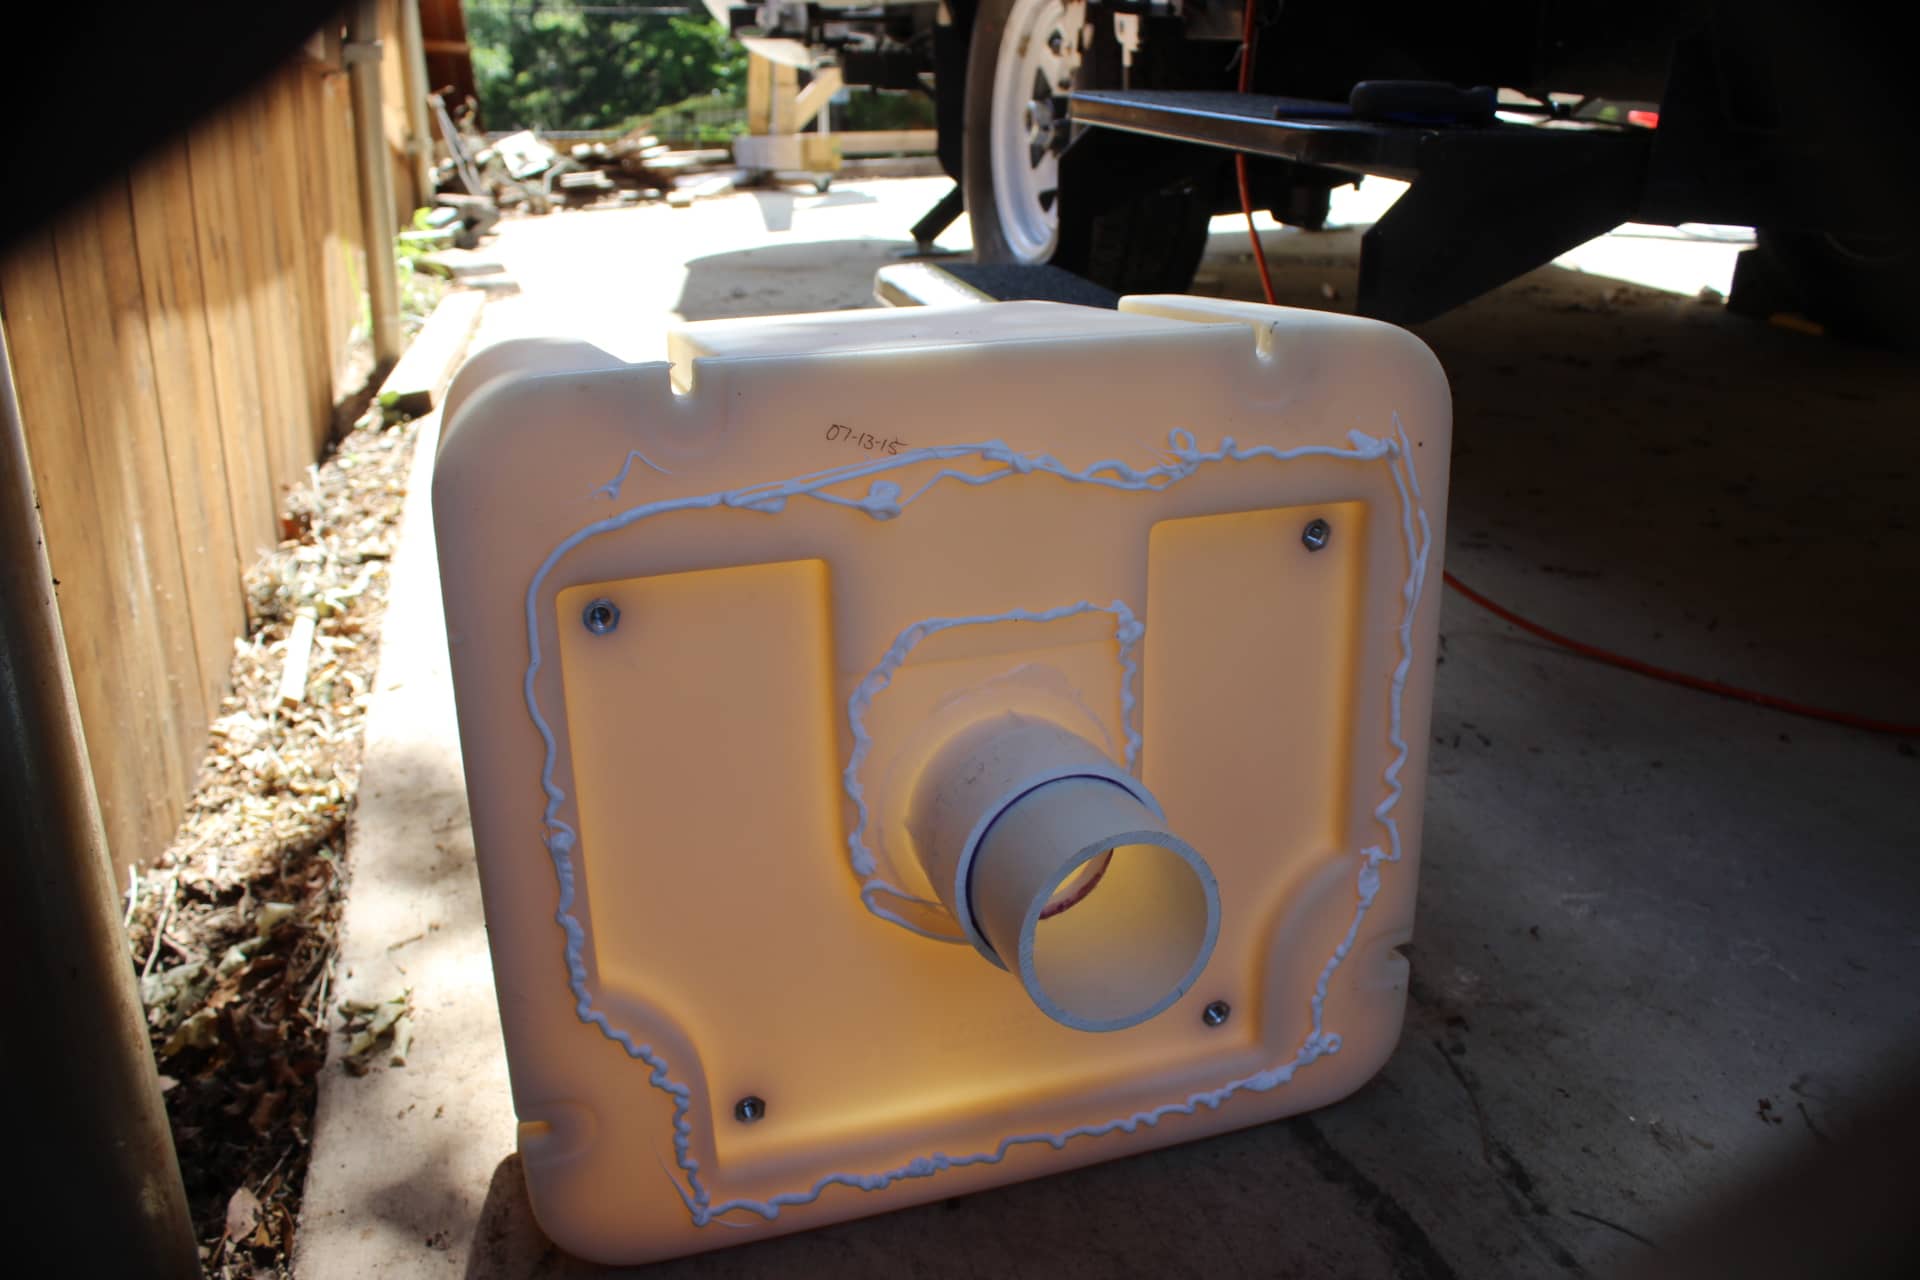
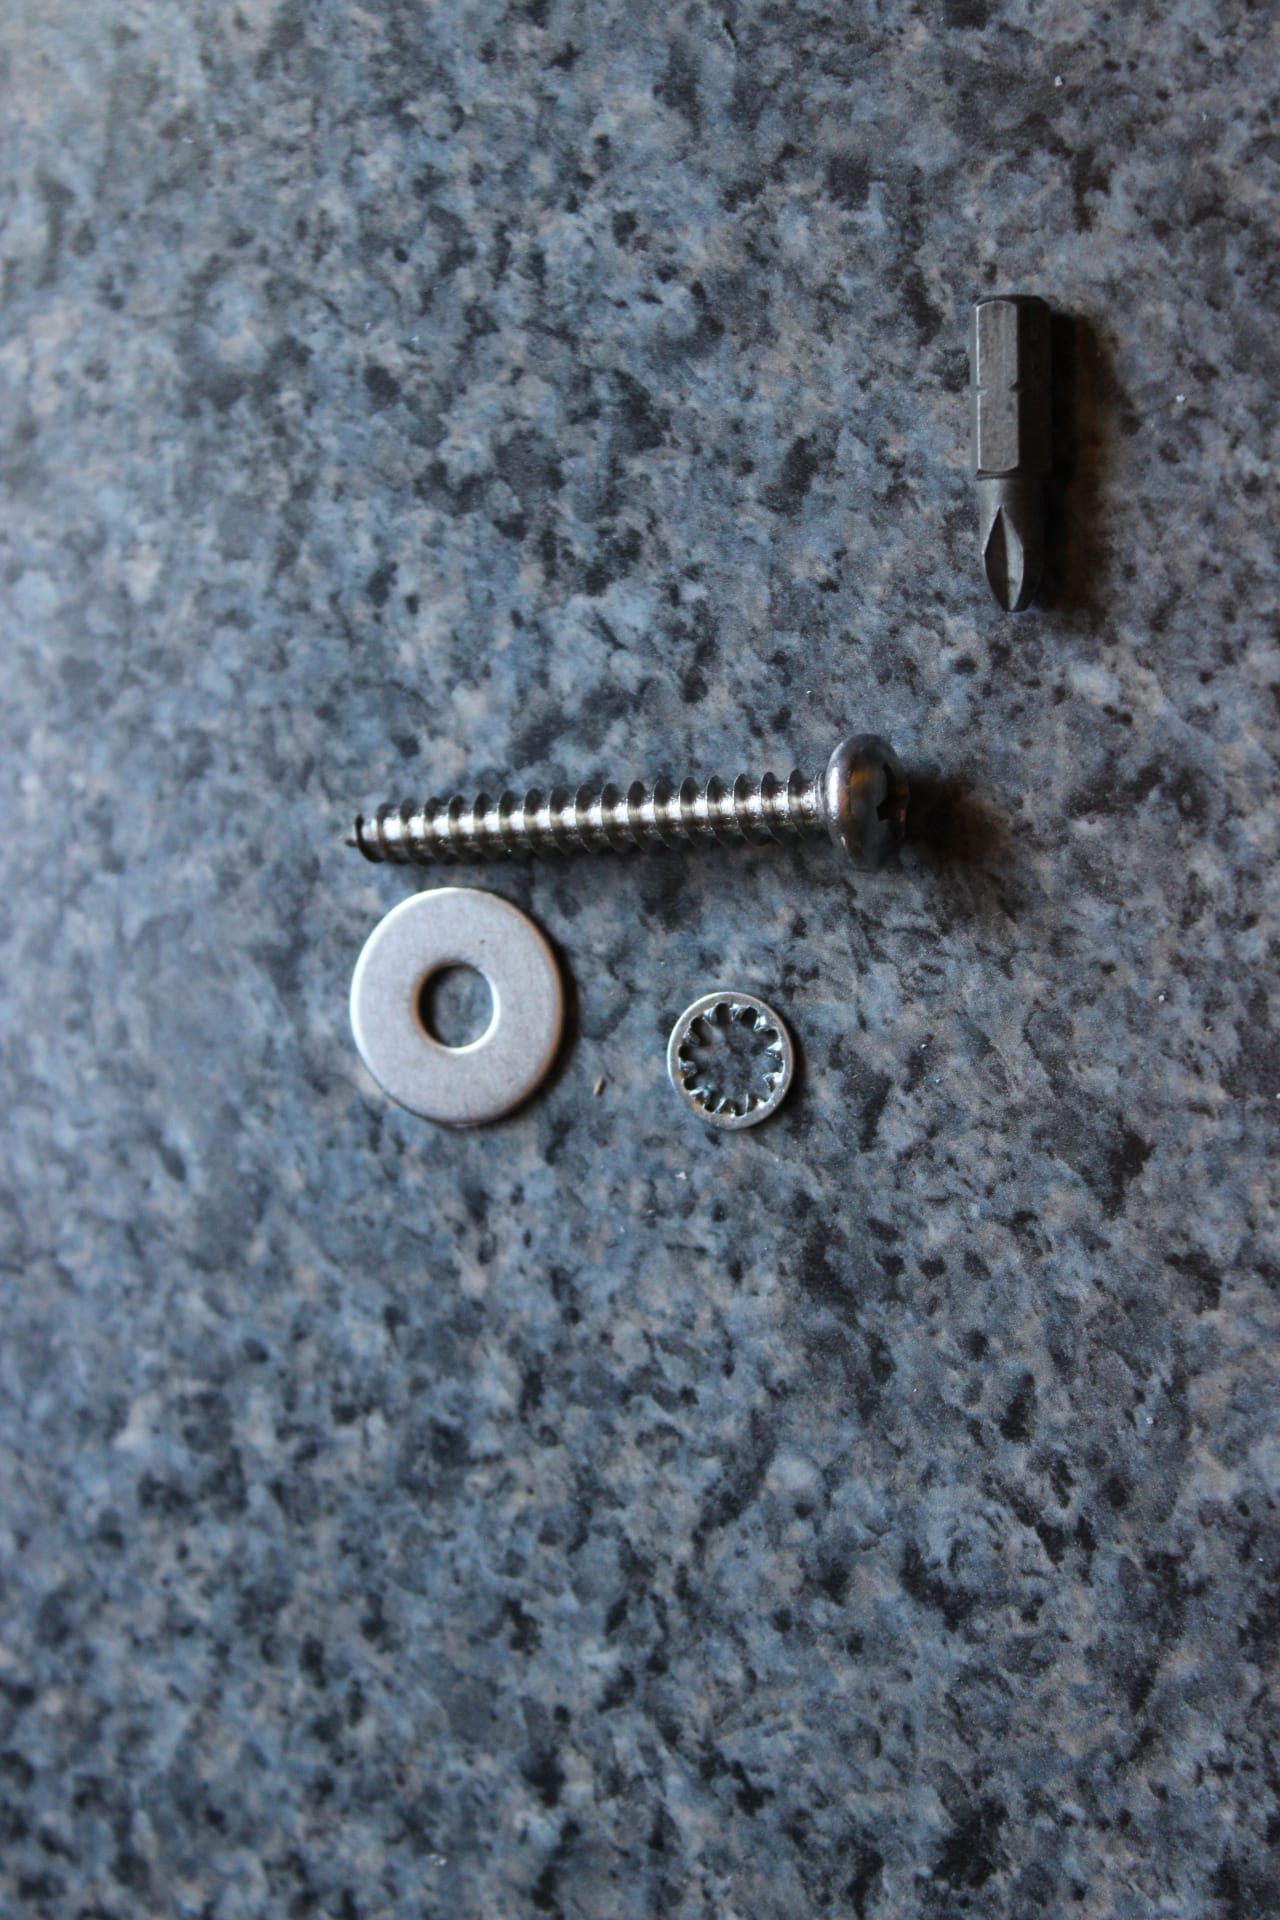
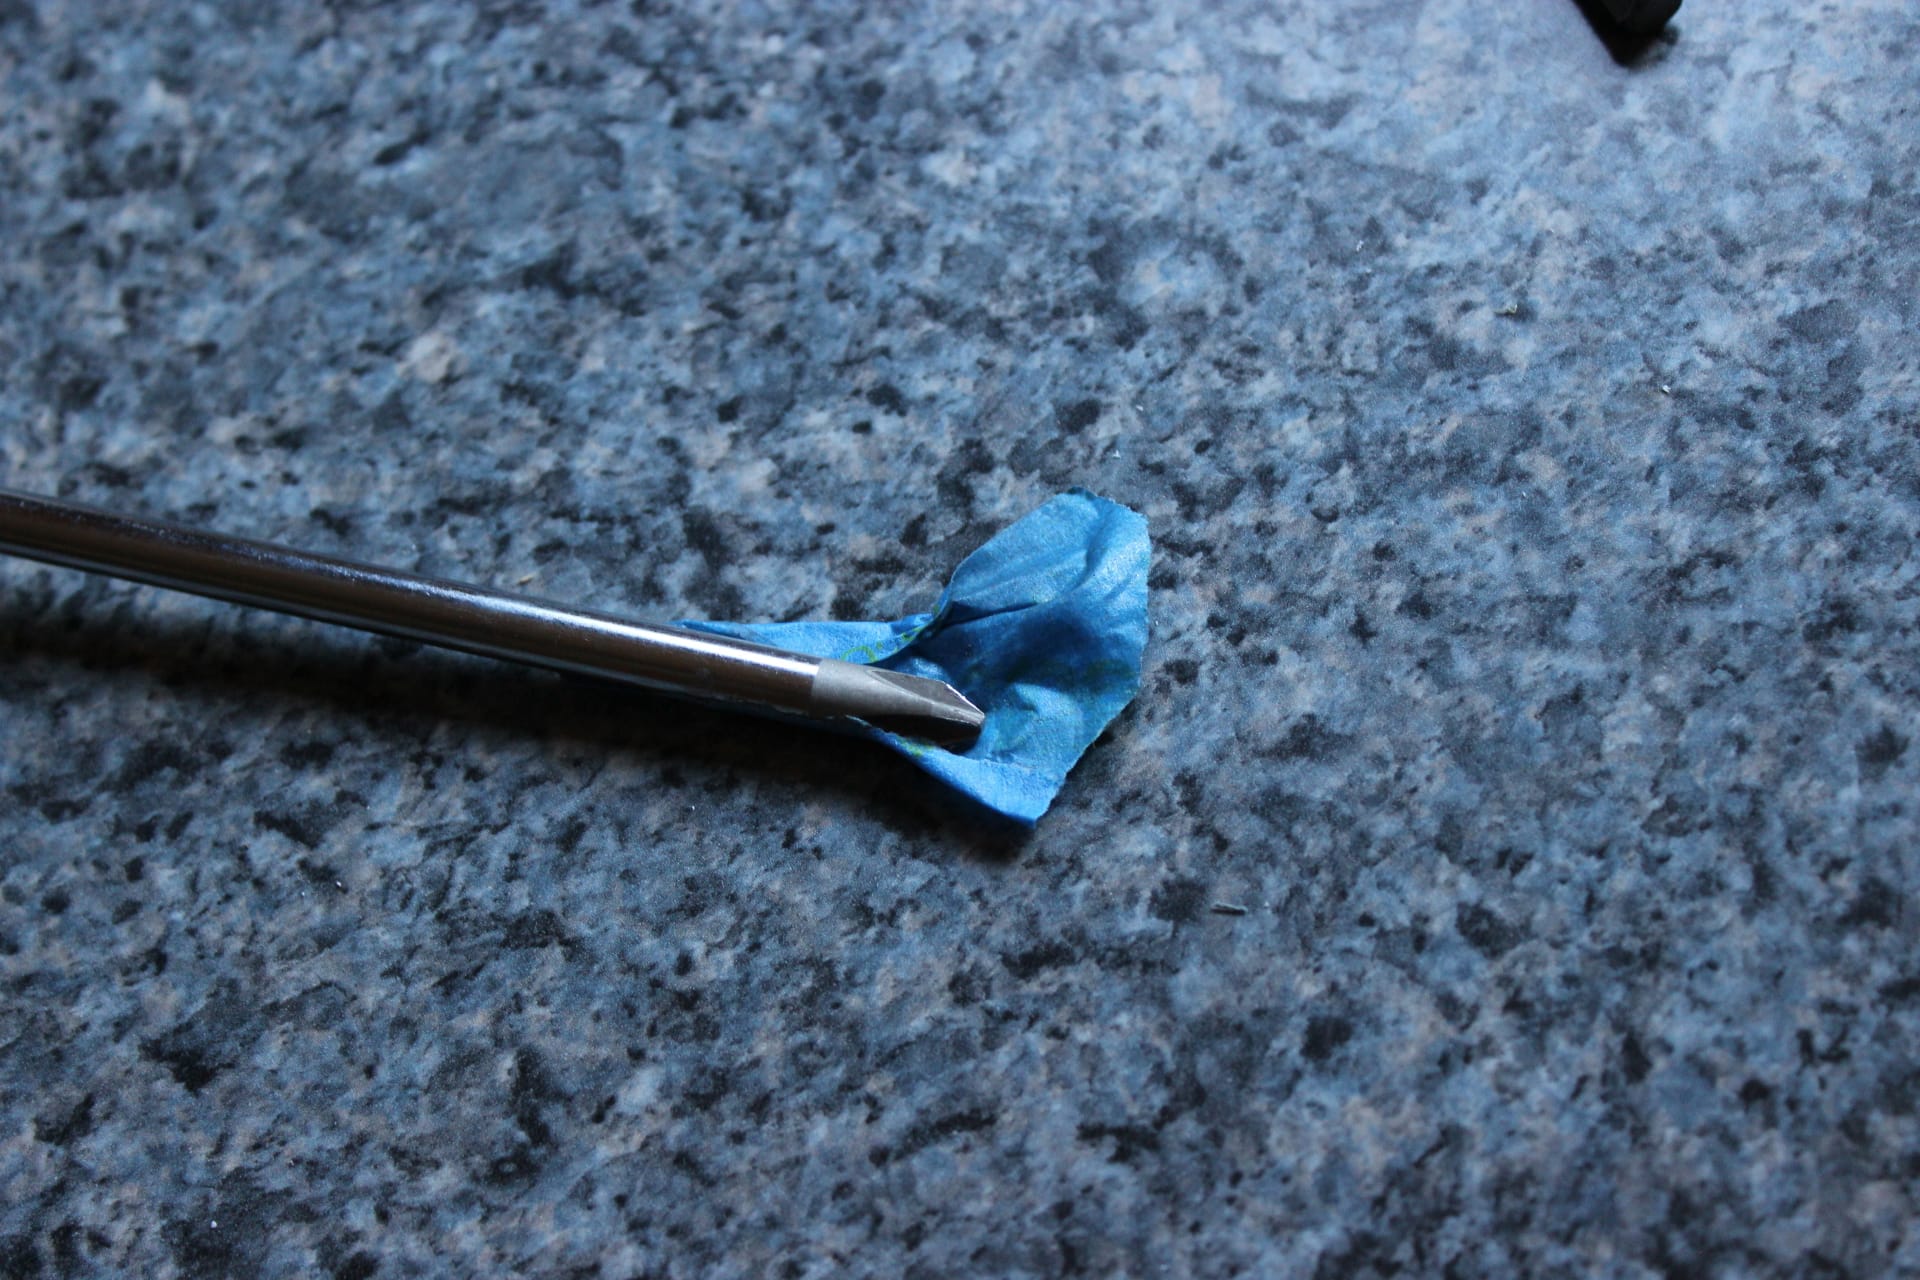
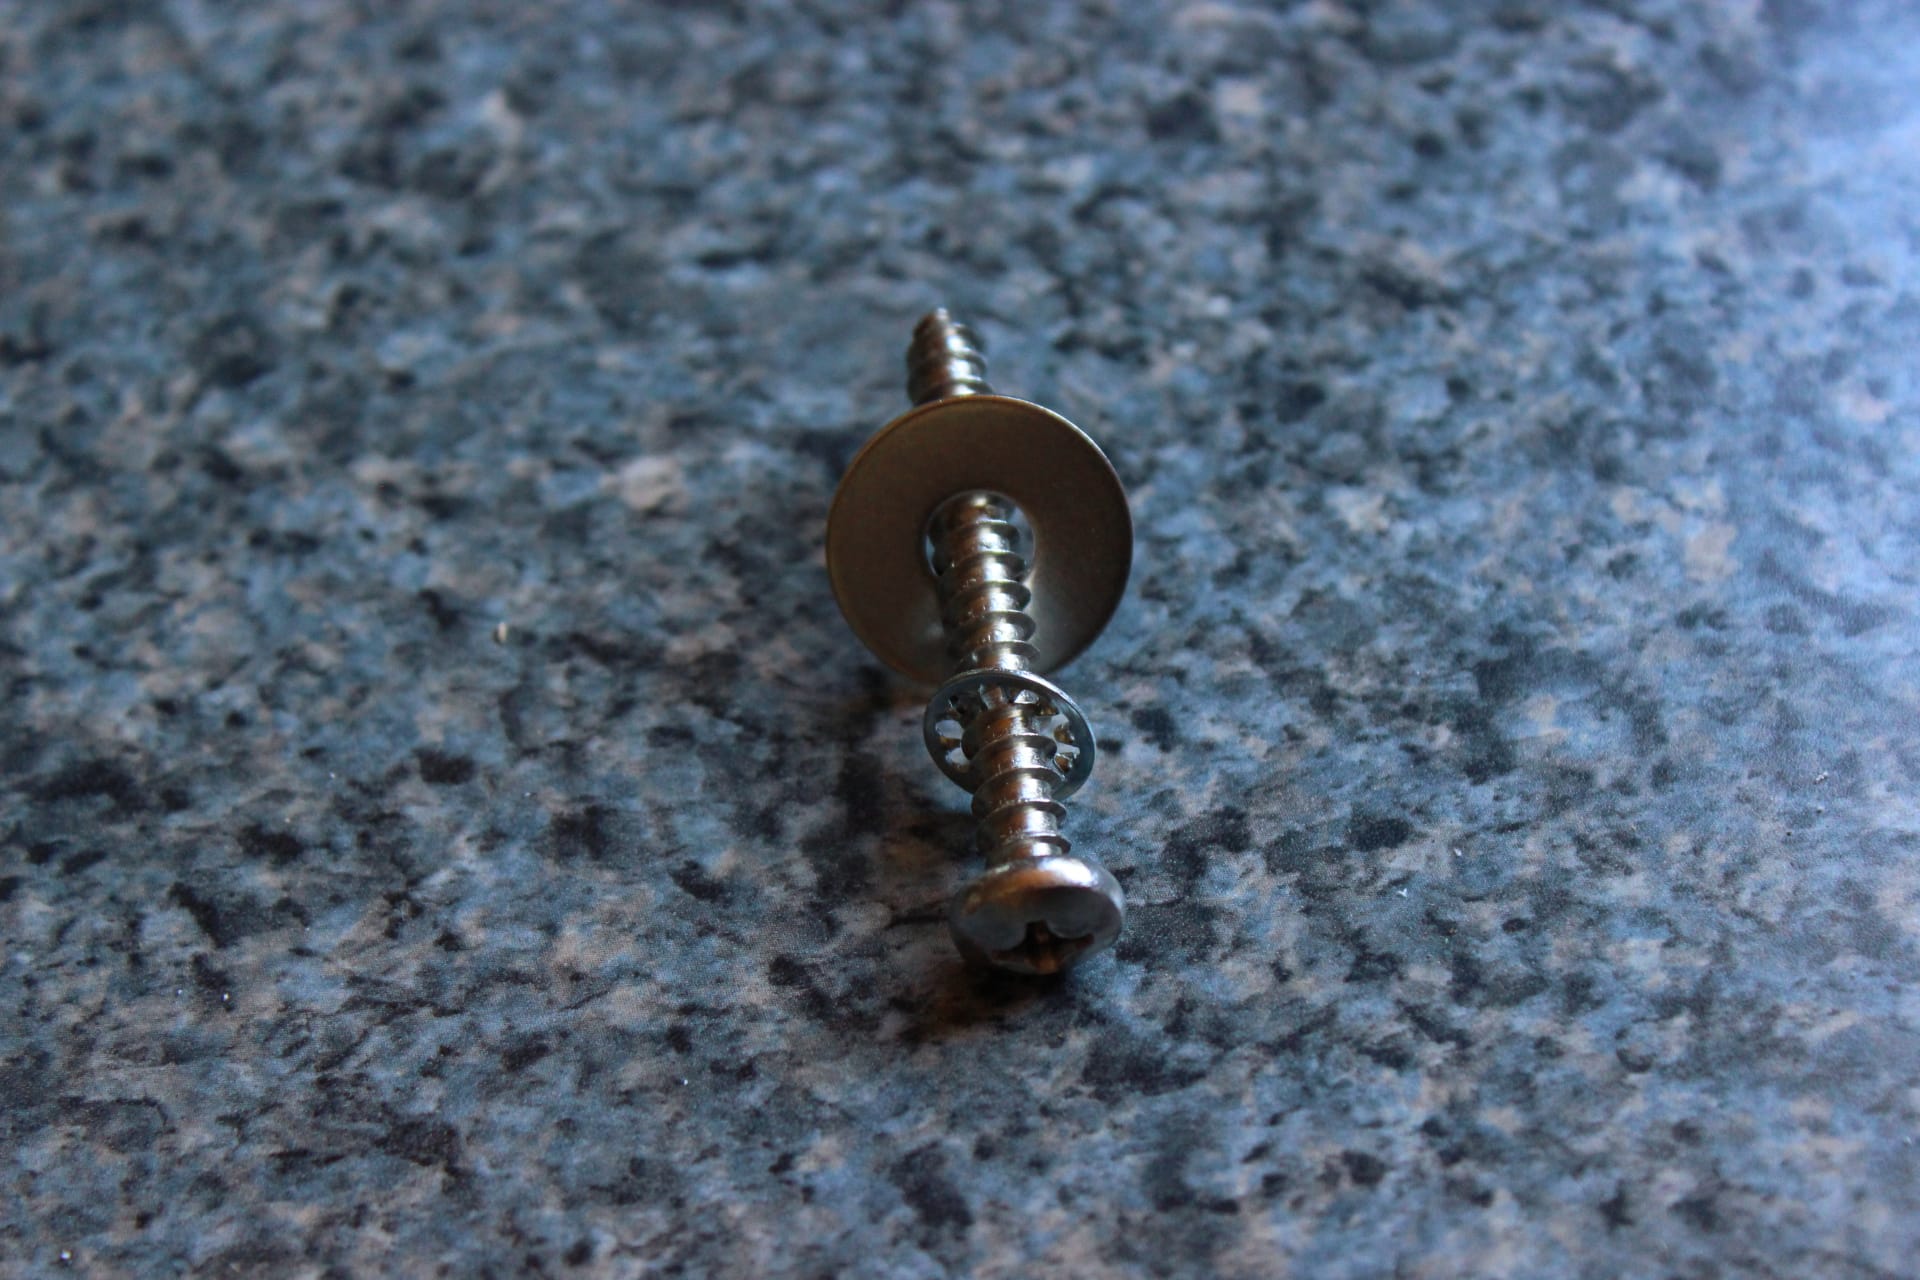
Next I ran a bead of silicone around the edge of the bottom of the tank (images1759, 1760) and let it set for about 10 minutes before securing the tank to the floor with the screws provided in the Sealand box. I did add some lock washers with the inside splines (images 1761, 1762) to the screws and used the trick by placing tape on the head of the screwdriver to hold them in place (stainless is not very magnetic) while getting them started (image 1736). After I got them started in the hole I used a cordless drill with several extensions to run them home. Then tightened them all the way down with the regular 8” long shaft Phillips head. Now the tank was set in place.
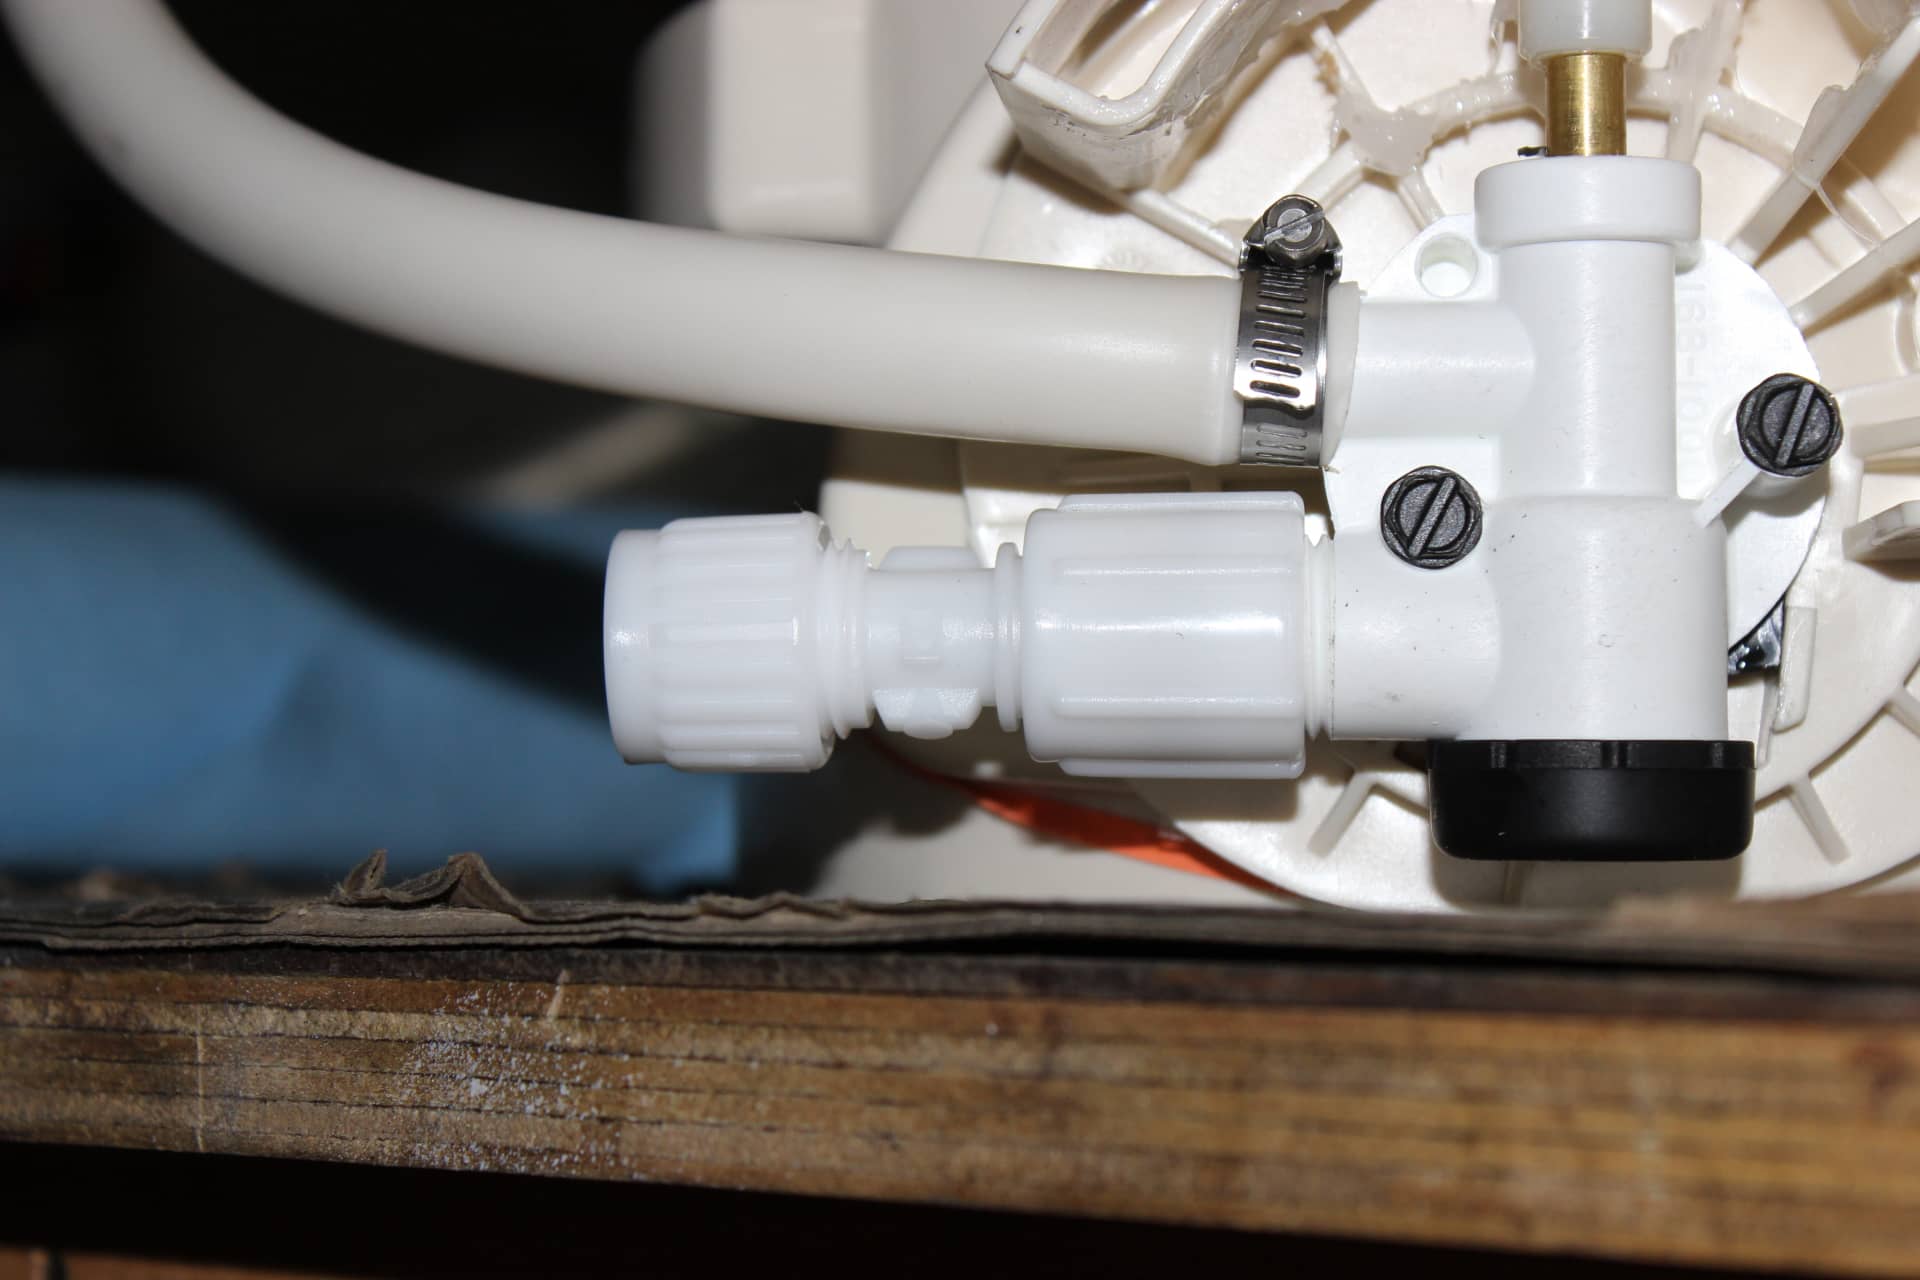
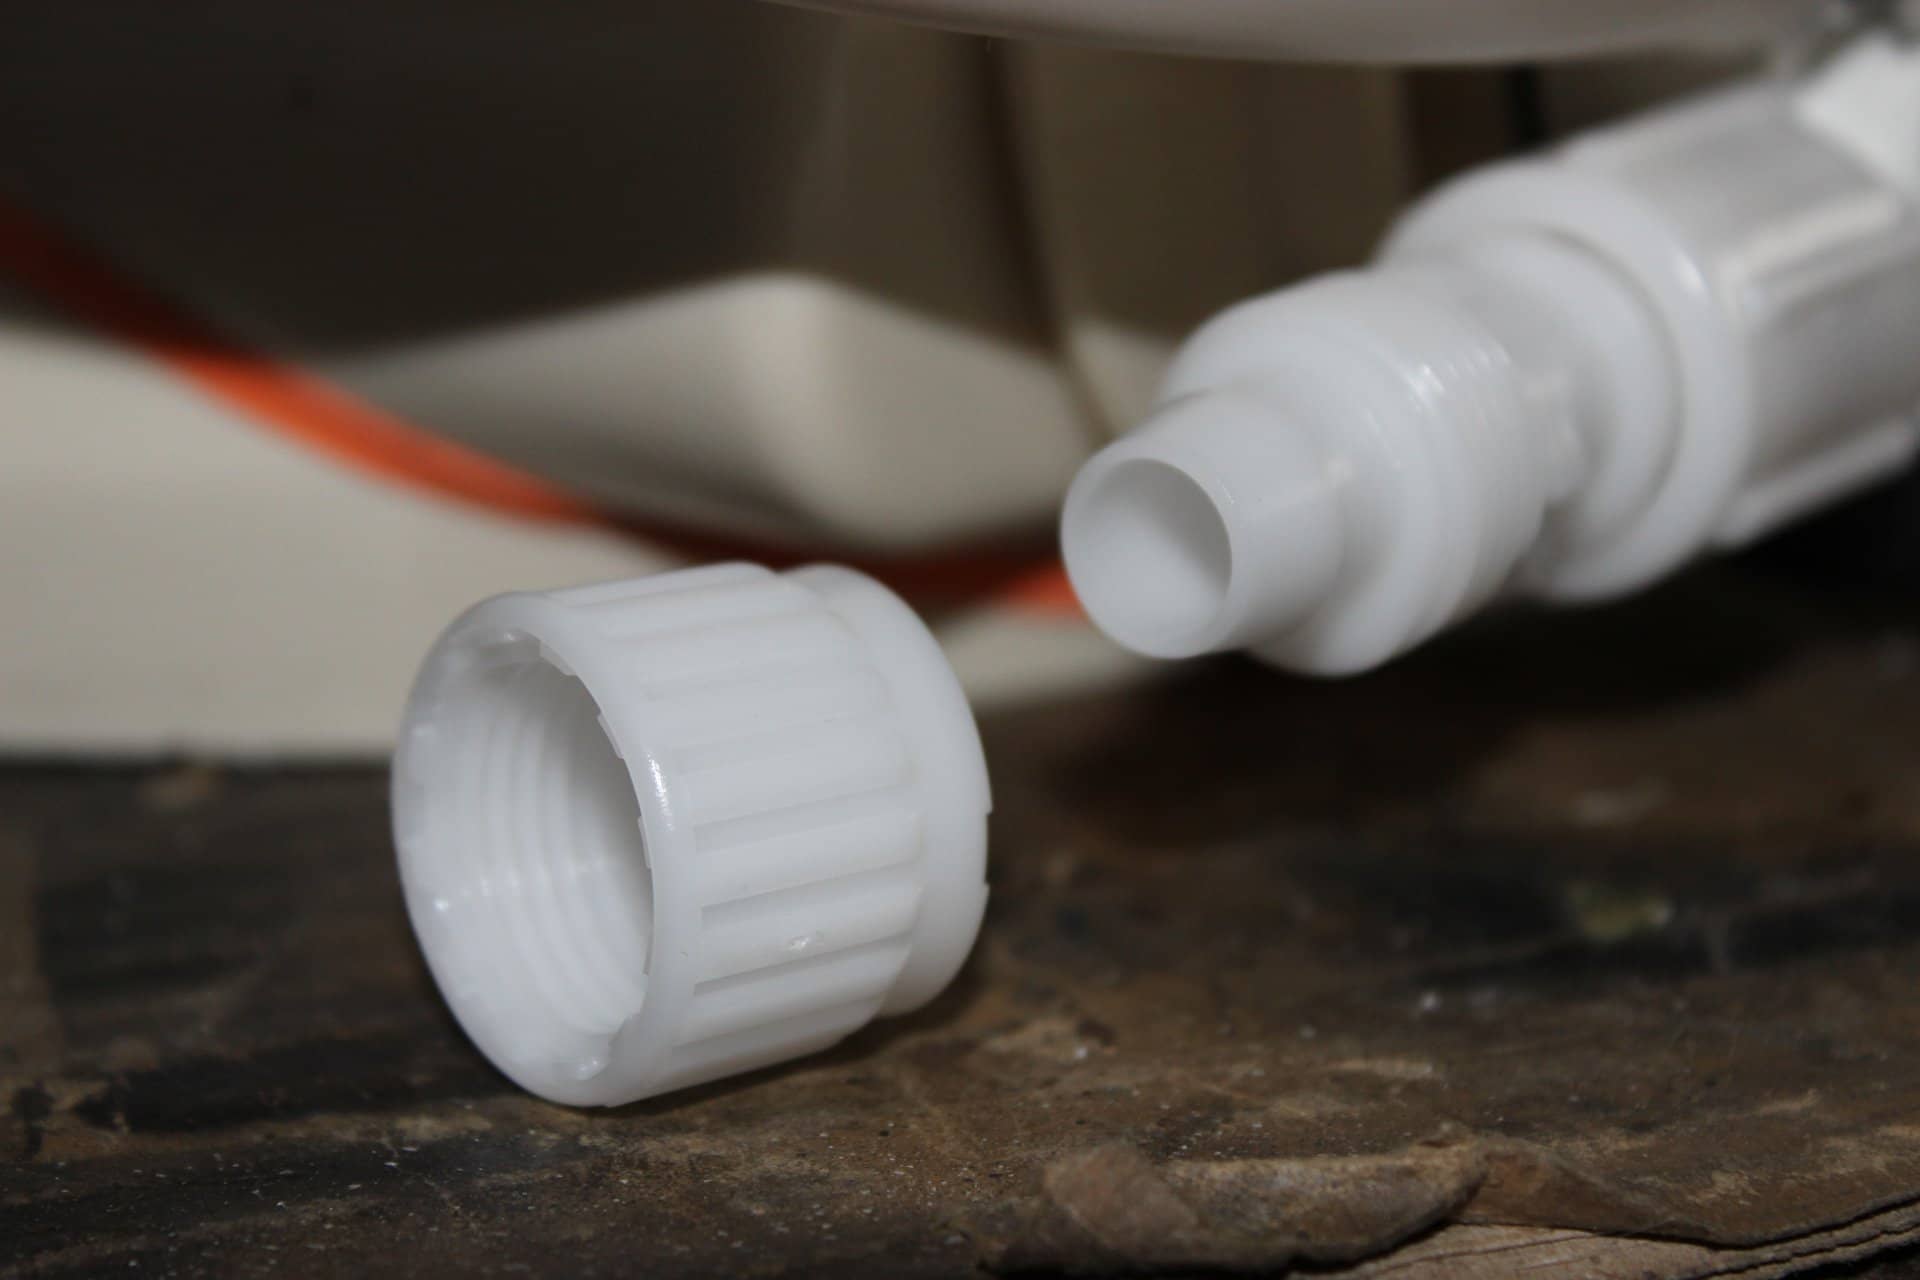
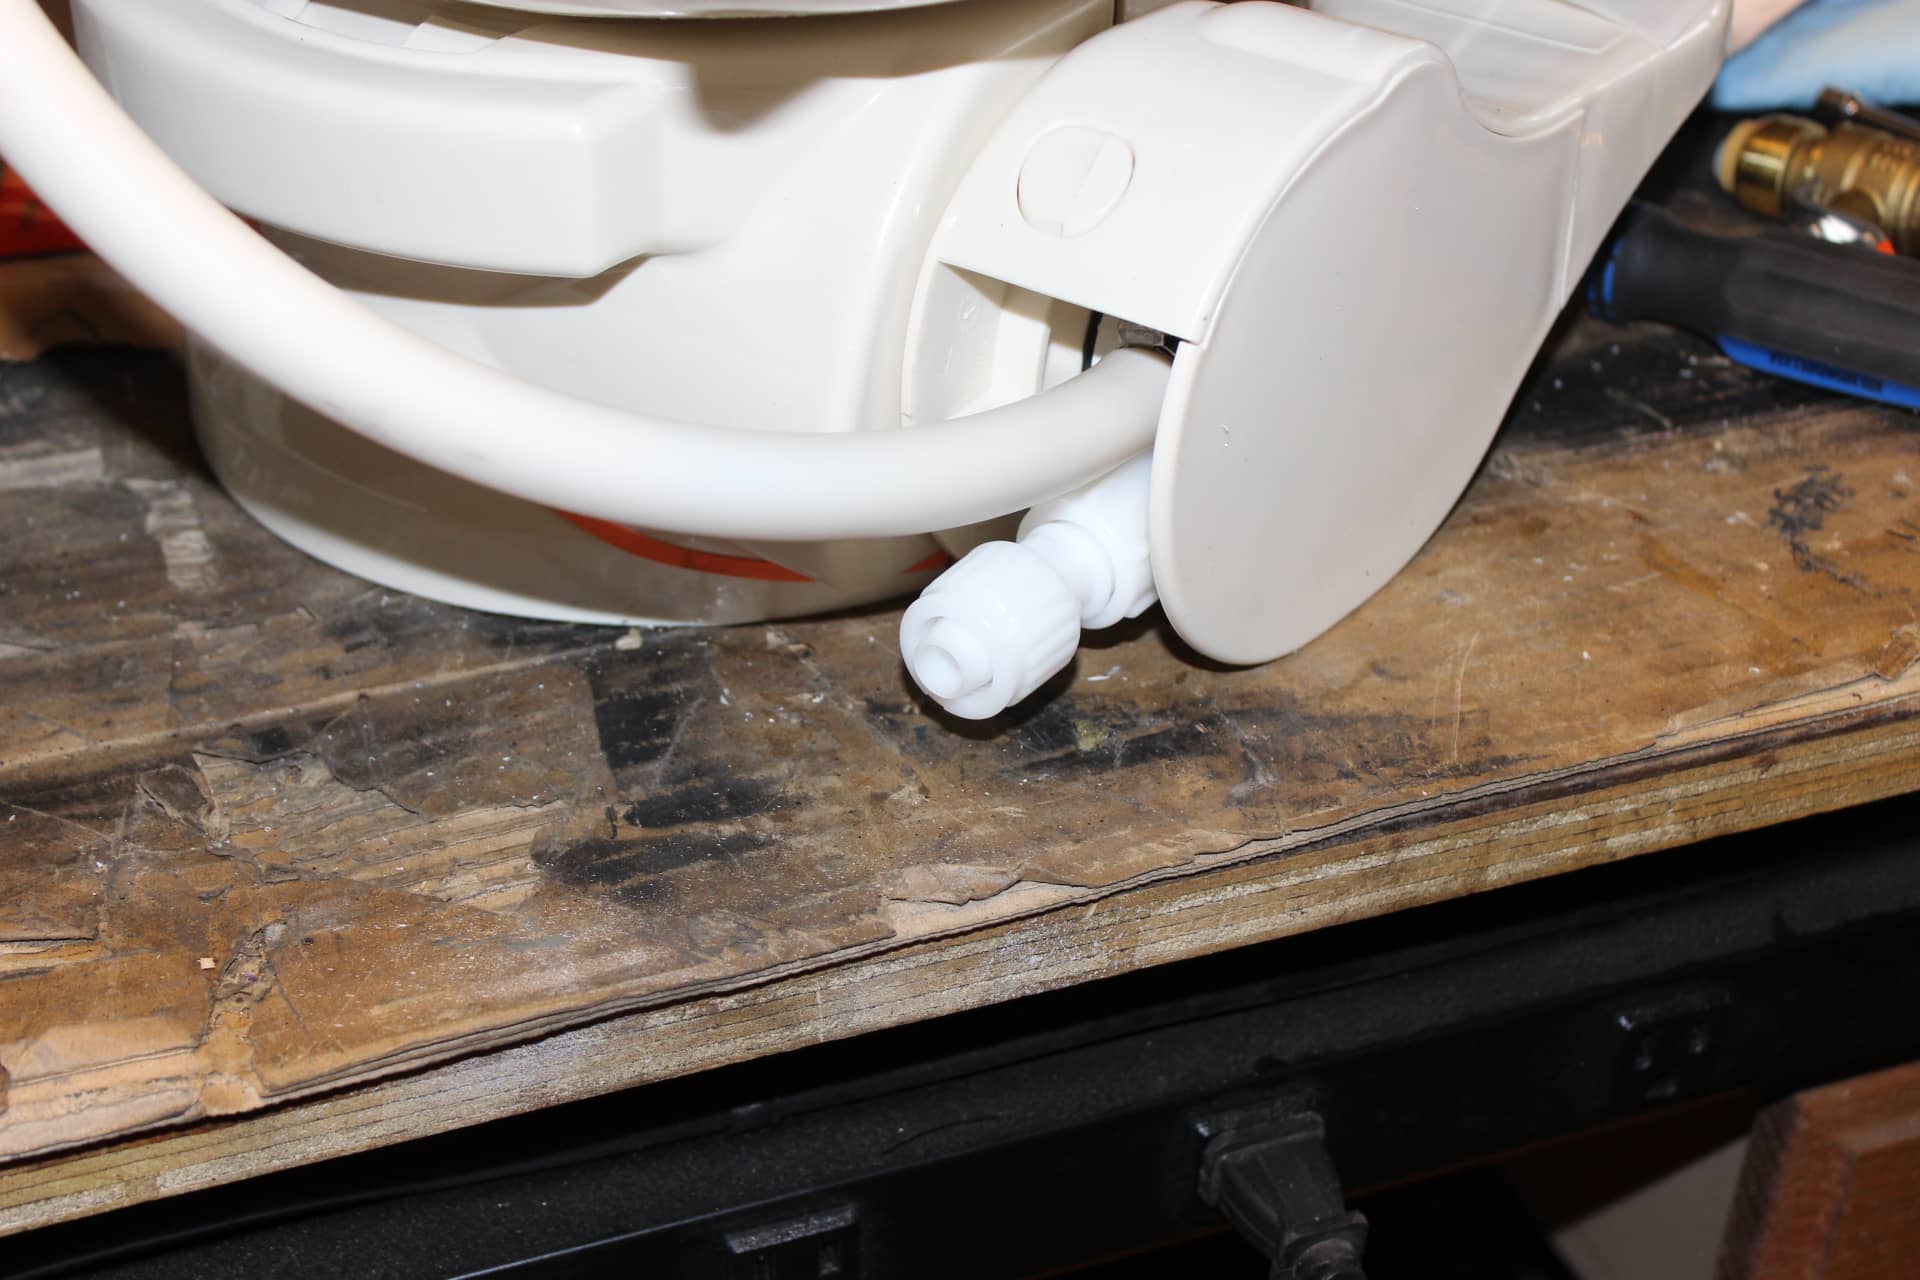
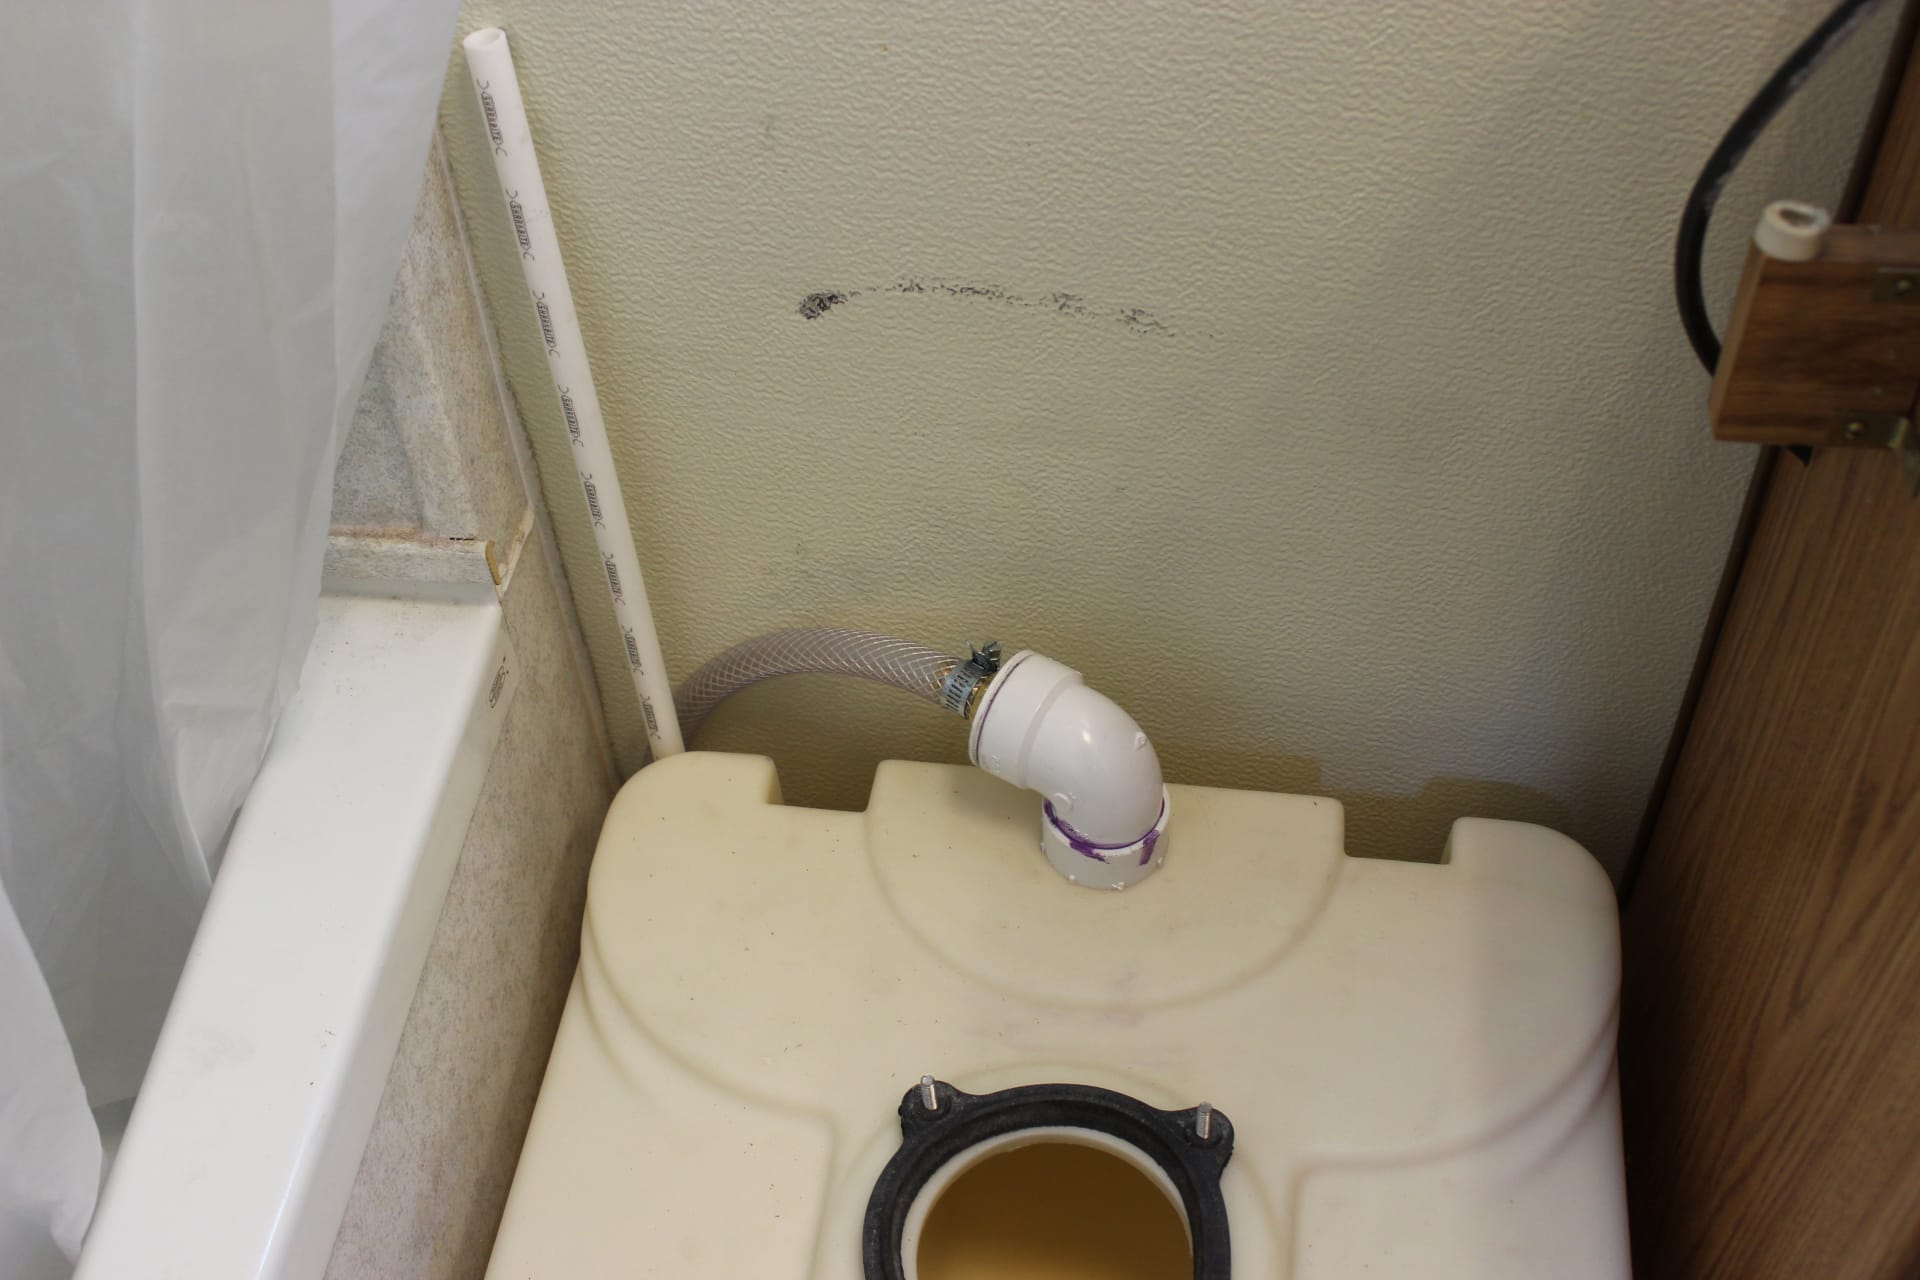
on how he did his with a few accept ions. I set my tank another ¾” from the wall so that I could vent my toilet out the bottom next to the tub and run my flush water line there as well. There were several reasons for this. First, getting the water from under the kitchen sink was out. I have an R/O filter for our drinking water under there on top of the fresh water tank and the connections to that take up some room so it would have not been easy to do it that way. Next I considered the vanity sink in the bathroom like someone else had done. Well on theirs, the front panel with the exhaust fan switch on it unscrewed from the vanity making access easy that way (ELM-JLM). Mine didn’t have that, and so it was very cramped to get your hand in there much less work. So that was out too. I could go thru the side of the tube enclosure and hook into the outside shower, but, that avenue has been taken as well by my alternative city water hook up. That includes a potable water hose reel hooked into my whole trailer filter system and finally into the trailers water system thru the outside shower. Besides, I had a devil of a time getting that all back together when I used that. So I didn’t want to open that can of worms again. I decided to use the cold water drain pipe near the back of the trailer (image 1771). Just cut and use a sharkbite “T” and there you have it. Easy and simple. So with a 1 ½” hole cut near where the tub touches the wall, I was able to run my water and vent thru the same hole (images 1754, 1755, 1764). I think it looks cleaner this way too without pipes and hoses going thru the tub or into the vanity (image 1765). Once I got the tank installed and the vent hose and the flush water pipe into the inside, then it was a matter of hooking it all up. I had seen in another post (by ELM-JLM on the forum) where they had put in a shutoff valve in there water line and I thought this was smart and decided to do the same. Lucky for me I had just enough room between the sharkbite 90° elbow to the left and the pex flare fitting connected to the foot valve on the toilet (images 1766, 1767). Funny thing about that foot valve fitting (images 1745, 1746, 1748). Someone had mentioned a sharkbite fitting that would work, but I tried one and almost stripped the threads on the valve. I ended going to Crestview RV (a big rv outfit in Texas) and they had this fitting that worked perfectly. After screwing it to the valve, you then flare your pex a bit and push/hammer it onto the flare. Screw the flare cap on and that’s that. I tried Lowes and Home Despots and even a big plumbing supply house and none of them could scratch my itch on this. I am glad I went to a big RV dealer.
Now with the tank in place, the vent line hose run and the water pipe sticking out of the floor, I was ready to attach the toilet. I put down the rubber gasket (“this side up”) over the studs and placed and bolted the toilet down. Then I finished the flush water line with the shut off valve in place and connected it all together to the toilet.
The only major thing left to do was connect the valve assembly to the 3” stem and tighten the stainless steel clamps on the rubber cuffs. Kept my eyes crossed when I turned on the water and all went like it was supposed to. WHEEEW!
So to finish things up. I used some expanding insulating foam spray to seal up the two holes I had cut in the floor (images 1768, 1769). That’s some nasty stuff (be sure and have some acetone on hand for cleaning your hands and such). A piece of thick felt on the wall to keep the lid from banging the wall is a good move too.
I want to thank all the wonderful folks on the forum that have contributed to this project to make it so easy to do. This is the very best thing that I have ever done to my TM. And, I have done a lot to it!